Headers have become a necessary part of the sites. A good header enhances user navigation & gives a clean look to the websites. Until now, creating a Header with Elementor was dependent upon the use of Theme Builder available only in the Pro version, but with PowerPack's Header/Footer option, you can add a custom Header to the site in few simple steps.
Create a Custom Header#
1. Add a new page named taxonomically Header (for easy identification) and start editing it using Elementor
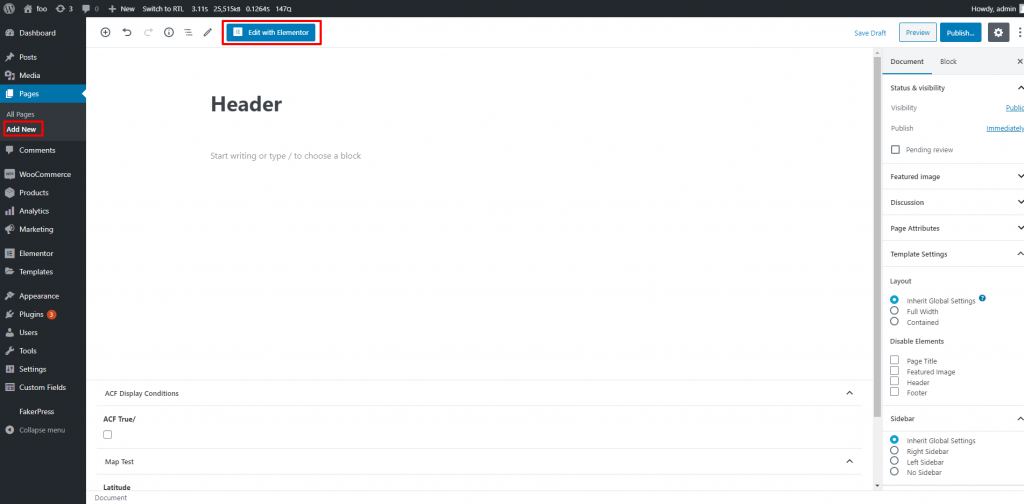
2. Once in the editor, you have two options to design a Header:
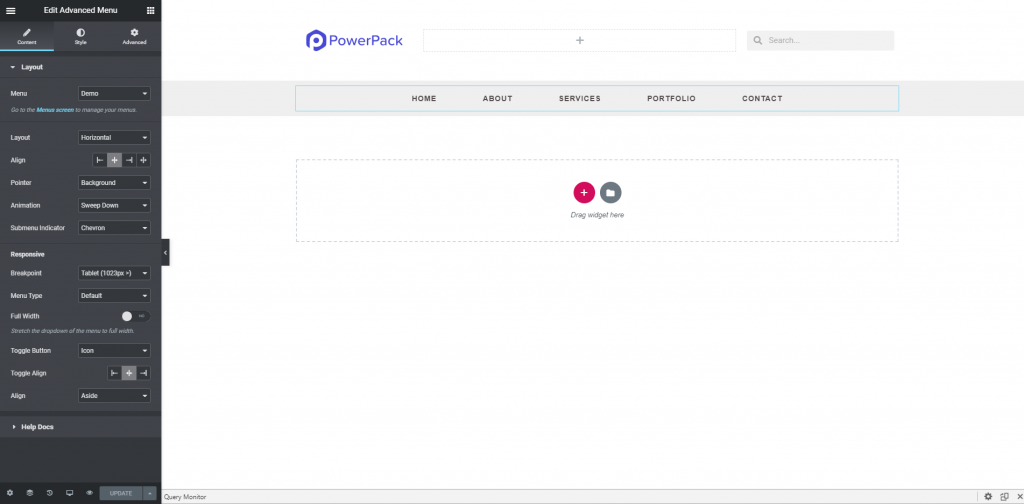
- Design a new Header from the scratch using Elementor Widgets.
- or use the pre-built Header Templates to add a professionally designed Header layout to the page easily.
3. Once done with the designing publish the page.
Setting up the Header#
1. Now go to the WP Dashboard > Settings > PowerPack > Header/Footer > Set the page we just created as Header.
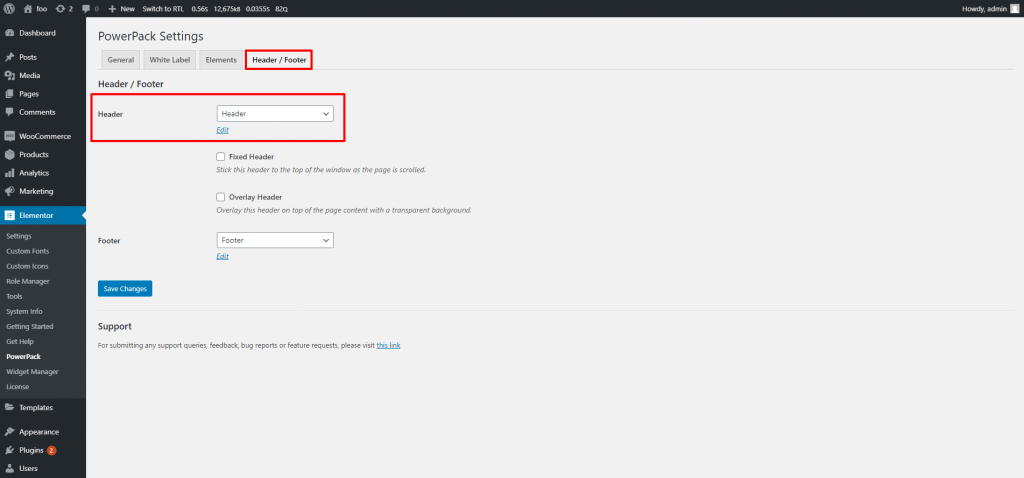
2. Click save and the Header will appear on the entire site.
If you have any questions then feel free to reach out to us. We'll be happy to help you.