PowerPack Tooltips Extension allows you to add fancy tooltips to your Elementor widgets in just a few clicks. By adding tooltips on your web page elements, you can make them more interactive and informational for your site visitors.
Let's see how the Tooltips Extension works:
Step 1: Open any page and edit the widget using the Elementor editor.
Step 2: Head over to the Advanced Tab, click on the PowerPack Subsection, and Toggle On the Tooltip Extension feature.
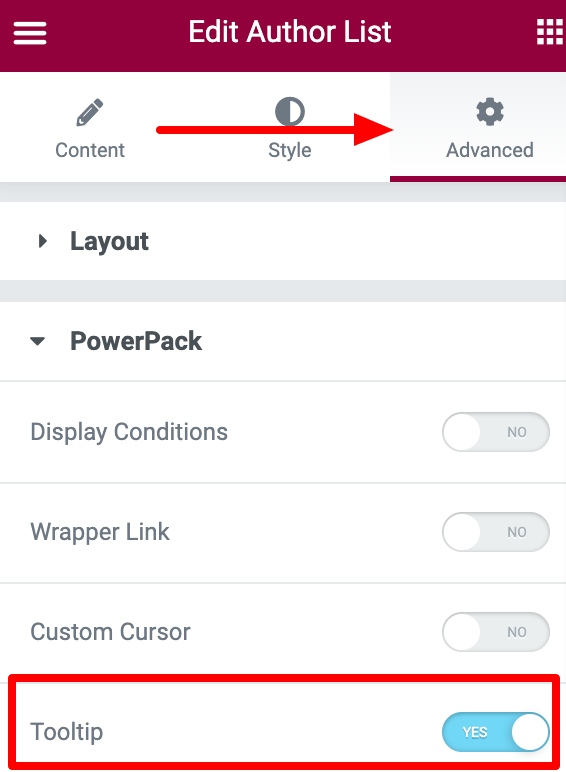
As soon as you enable the option, you'll be displayed with more options.
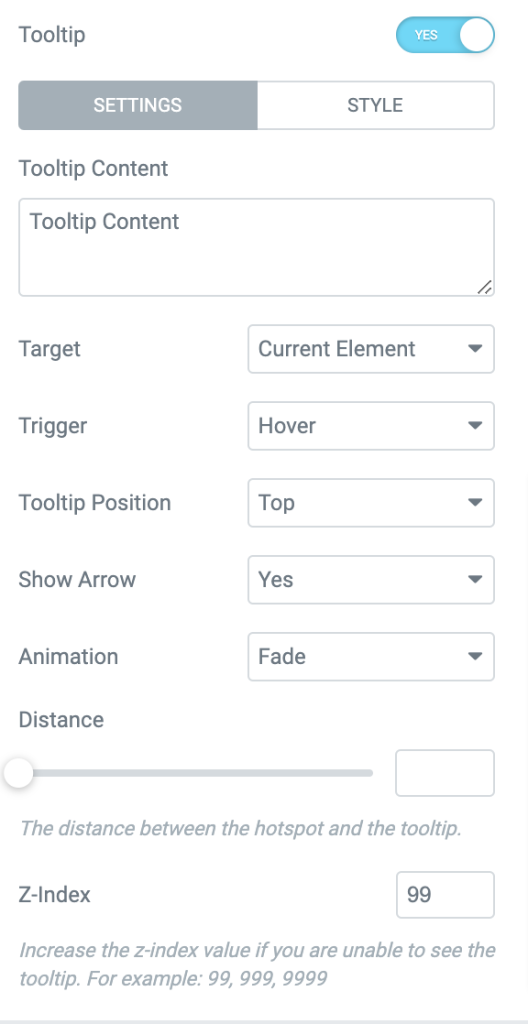
First, let's see what options you get in the SETTINGS tab:
- Tooltip Content: Add the custom text that you want to display in your tooltips.
- Target Element: Target the Current Element or choose the Customer Selection option to use a CSS selector for any HTML element within the respective element.
- Trigger: Choose to trigger the tooltip On Hover or On Click.
- Tooltip Position: Set tooltips' position to be on Left, Right, Botton or Left.
- Show Arrow: Enable/disable the display of tooltip arrows.
- Animation: Choose tooltip animation from the available options.
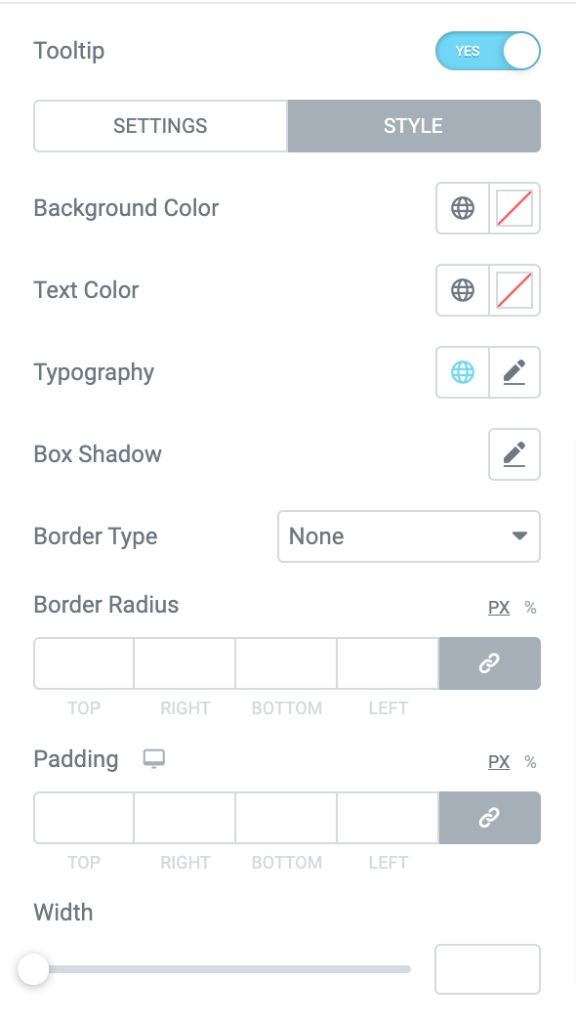
Now let's explore the STYLE tab options:
- Background Color: Choose a background color for tooltips.
- Text Color: Customize the tooltips' text color.
- Typography: Alter the text font, size, etc.
- Box Shadow: Add a box-shadow
- Border Type: Add a border to tooltips.
- Border Radius: Set the border-radius:
- Padding: Adjust padding.
This is how you can tooltip to any widget of your WordPress websites using the PowerPack and Elementor page builder.
Hope this helps!