WordPress's default login page is quite simple and boring, isn't it? Let us see how it can be revamped using PowerPack Login Form Widget.
Step 1: Creating a New Page#
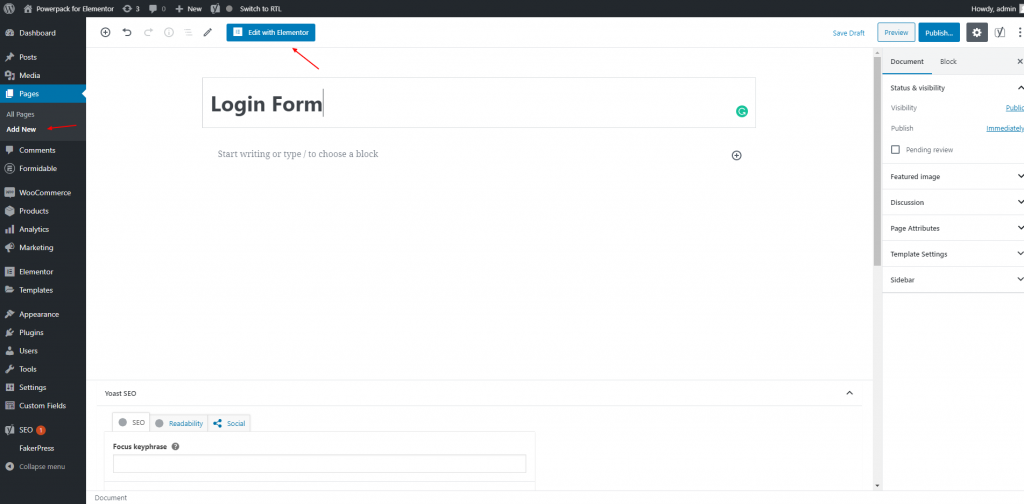
Go to the WP Admin Dashboard >> Pages and click on Add New button. Give your Page a proper name and click on the Edit with the Elementor button to launch the Editor.
Step 2: Add Widget to the Page#
Add the Login Form Widget to the page so that you can start editing it.
If the widget is not visible in the widgets panel than check at WP Admin > Elementor > PowerPack > Elements that the Widget is enabled or not.
The PowerPack Login Form widget is one with colored PP label on the top right corner as shown in the screenshot below.

Step 3: Customize the Login Form Widget#
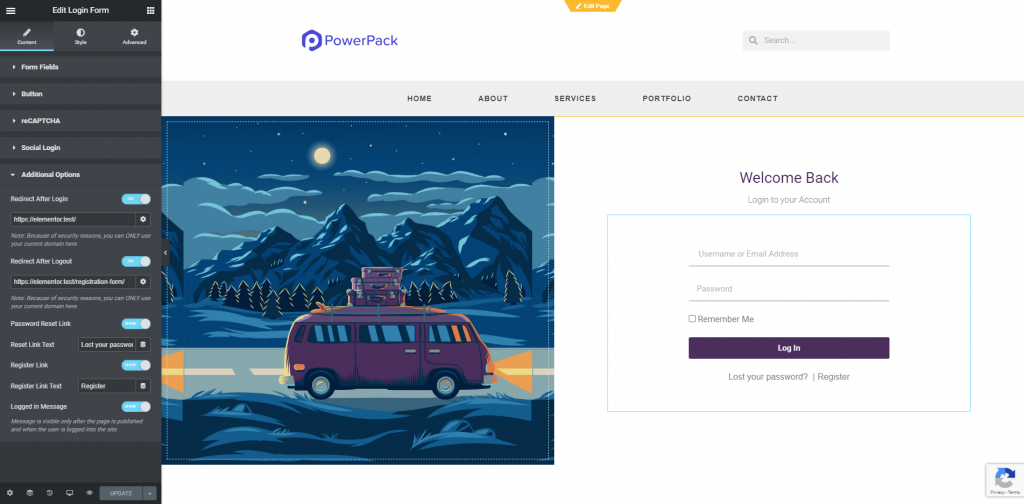
Now its time to customize the Login Form to make it look better and visually beautiful as per the design requirement.
Step 4: Finishing Up Setup#
After completing the design setup Publish the page and then follow the instructions mentioned in this doc to set the page as Login Page.

If you have any questions than feel free to contact us.