PowerPack Image Gallery widget lets you add captions to individual images, making your gallery more descriptive and interactive.
Here's how you can add captions to images:
Add Image Caption to PowerPack Image Gallery#
Step 1: Add Images to Your Gallery#
Start by adding images to your gallery. You have two gallery options: Standard and Filterable.
Step 2: Choose Your Gallery Type#
Select your gallery type and pick an image from the media library.
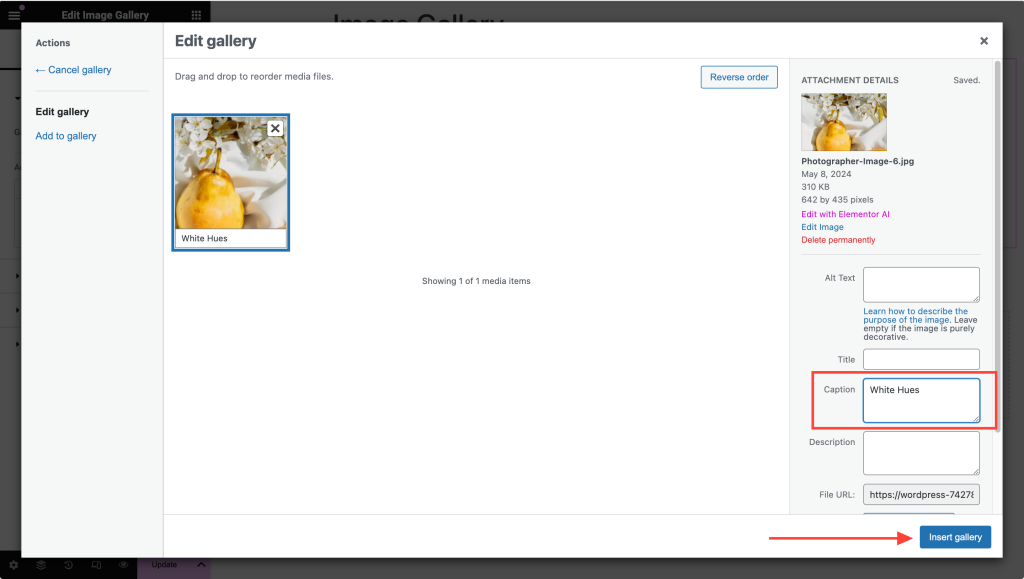
Step 3: Add a Caption#
- After selecting an image, a Caption option will appear in the media information column on the right side.
- Add your desired image captions and click the "Insert Gallery" button.
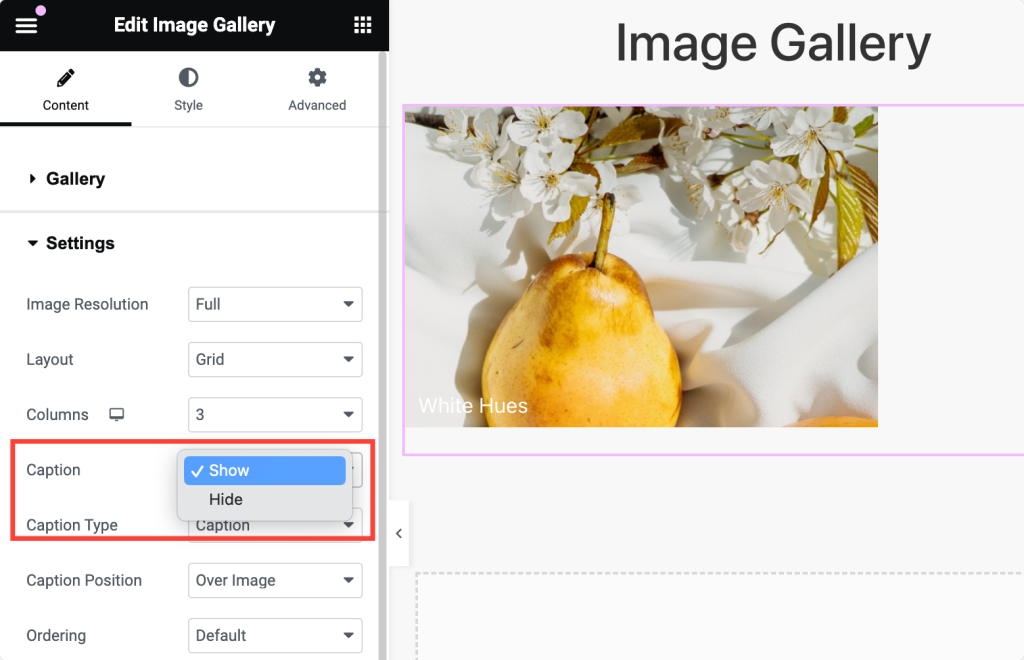
Step 4: Enable Captions in the Gallery Settings#
In the Content tab, go to Gallery >> Settings.
- Scroll down until you see the Caption option.
- Ensure the Caption is set to "Show" to display your image captions.
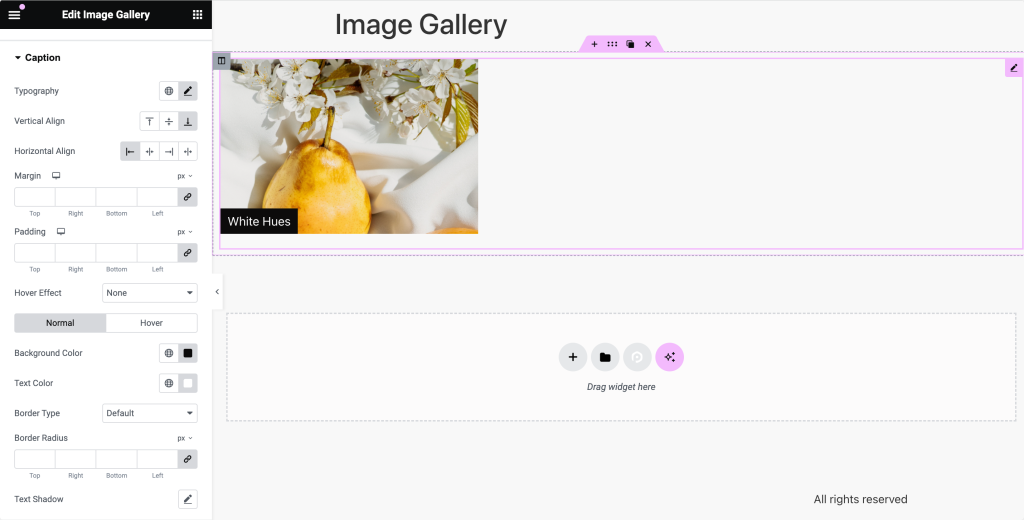
Step 5: Customize Your Captions#
You can further customize the captions by adjusting typography, setting margins and padding, adding background colors, text colors, and more.
Find all these styling options under the Style tab >> Caption.