PowerPack Instagram Feed widget allows you to display your Instagram feed on your WordPress site using Elementor. This widget is designed to be user-friendly, requires no coding knowledge, and offers a variety of styling options to customize your feed to match your website's look and feel.
To fetch and display your Instagram feed on your site, you first need to create an Instagram Access Token.
Let's walk through the steps to do that!
1. Create a New App on Facebook for Developers#
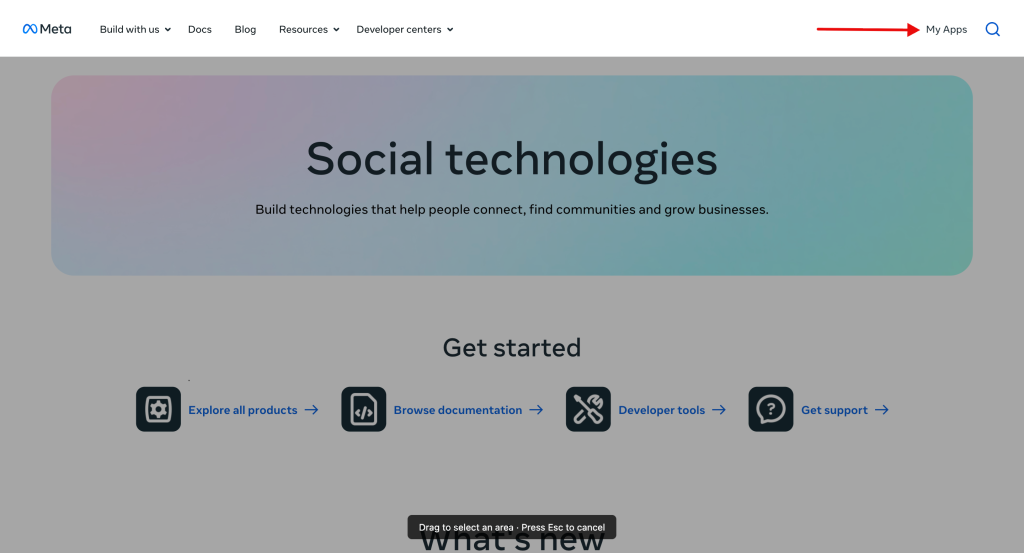
To generate an Instagram token for displaying your Instagram feed on a WordPress website using Elementor, first visit the Facebook for Developers website and click on “My Apps.”
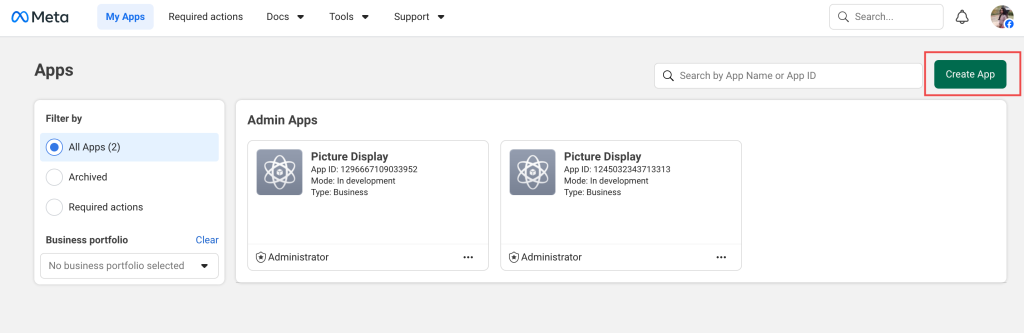
Next, you need to add a new app. To do that, click on the ‘Create App’ button.
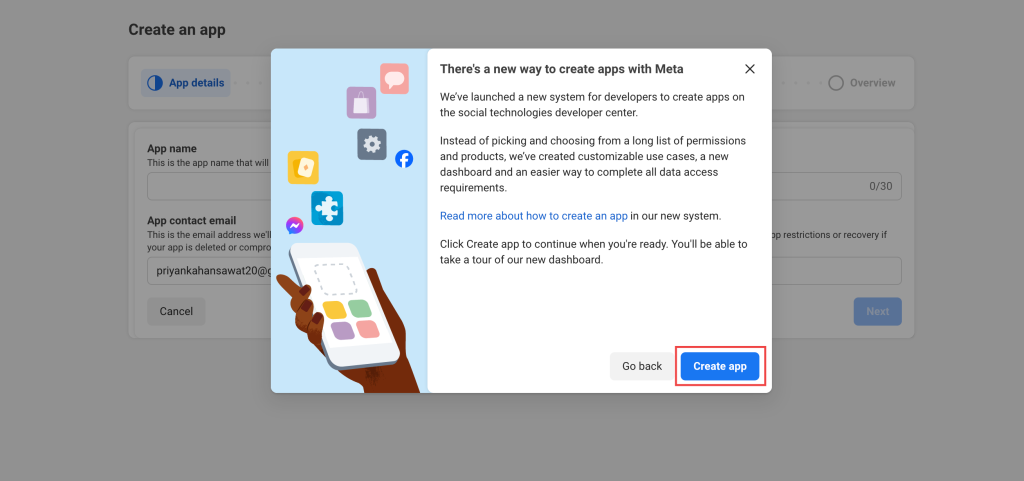
As soon as you click the button, a pop-up window will appear with some information on Apps. Click the blue Create app button again.
Add App Details#
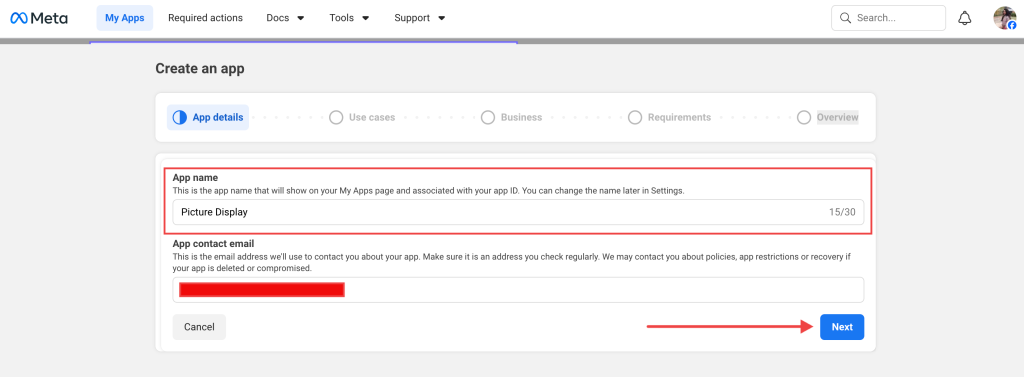
Next, you’ll be asked to provide some basic details.
Enter an App Name and add your App Contact Email. After filling in the required fields, click Next to move forward.
Define the Use Case of Your App#
On the next screen, you need to choose how your app will be used.
Click All under the filter options to see all available use cases.
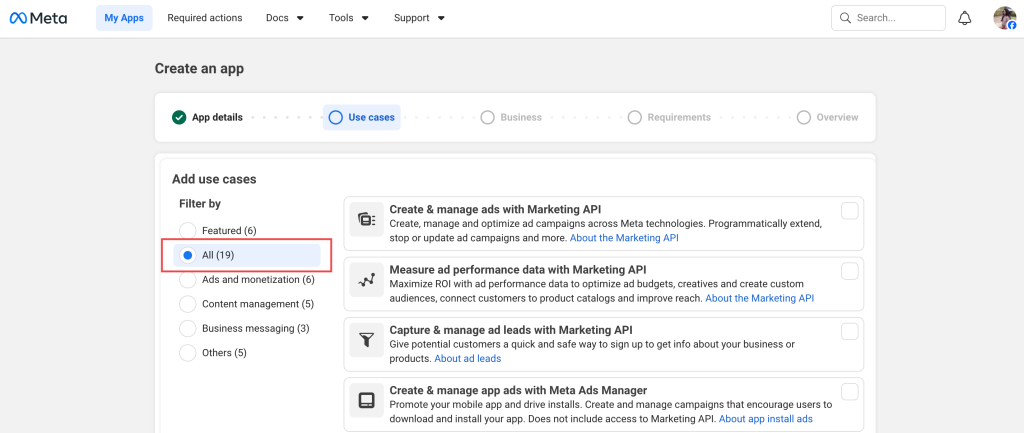
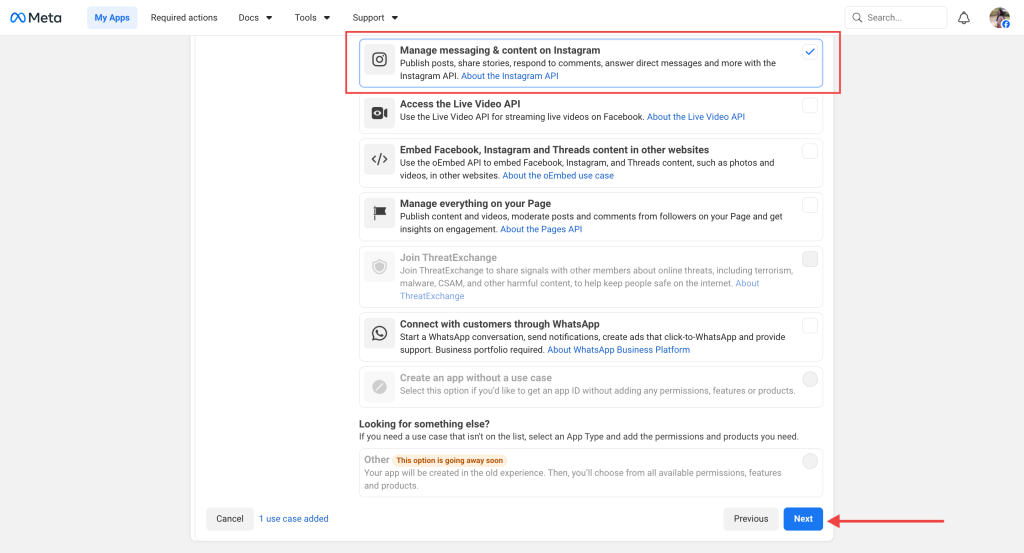
From the list, select Manage Messaging and Content, then click Next. This option allows your app to access Instagram content, which is required to display your feed.
Select a Business Portfolio (Optional)#
You’ll now see a screen asking which business portfolio you want to connect to the app.
If you already have one, select it. If not, simply choose “I don’t want to connect a business portfolio yet,” then click Next.
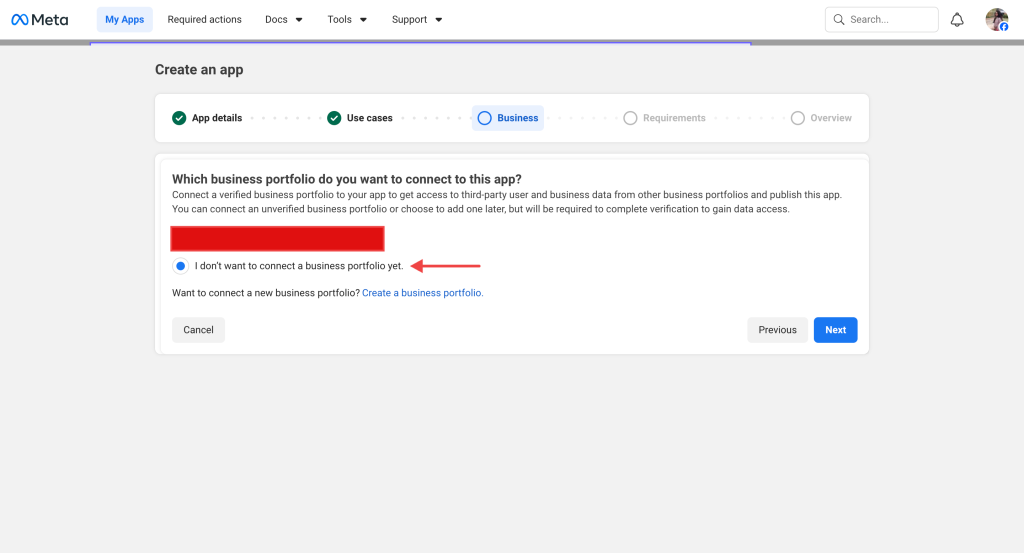
You don’t need a business portfolio to generate an access token.
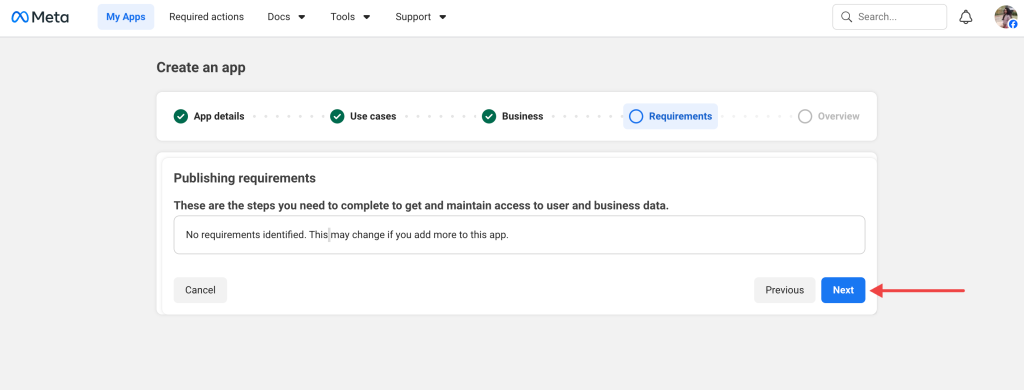
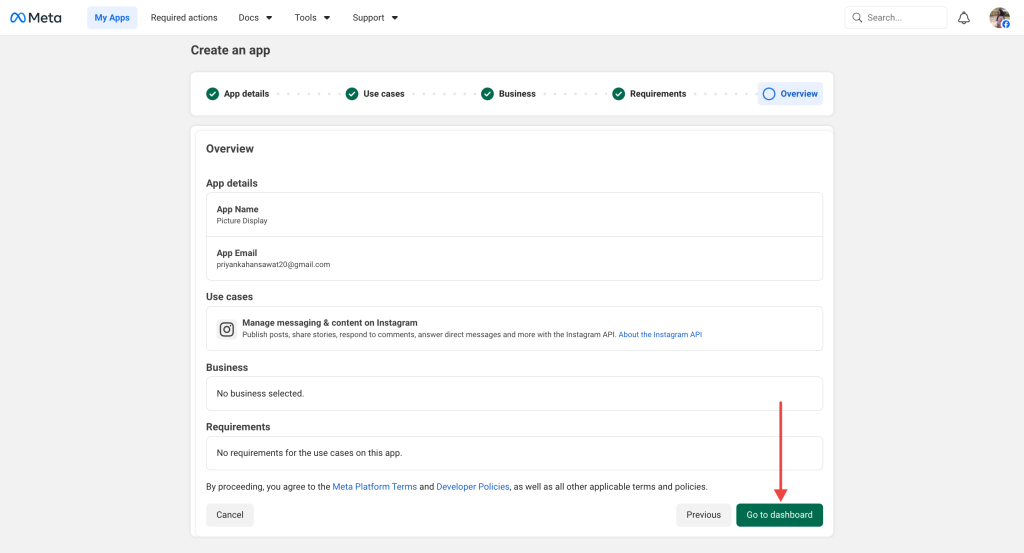
Review and Confirm App Requirements#
On the next page, you'll be shown the permissions your app requires for Instagram access. These typically include Instagram-related permissions such as accessing basic profile data, managing comments, and handling messages.
By default, Instagram-related permissions include:
- instagram_business_basic
- instagram_manage_comments
- instagram_business_manage_messages
Here, you don’t need to change anything. Just click Next.
Next, you’ll now see a complete overview of your app details. Click Go to Dashboard to proceed.
Add Your Instagram Account#
You’ll now be redirected to your App Dashboard.
Inside the dashboard, go to App Customization and click "Customize the Manage messaging & content on Instagram use case."
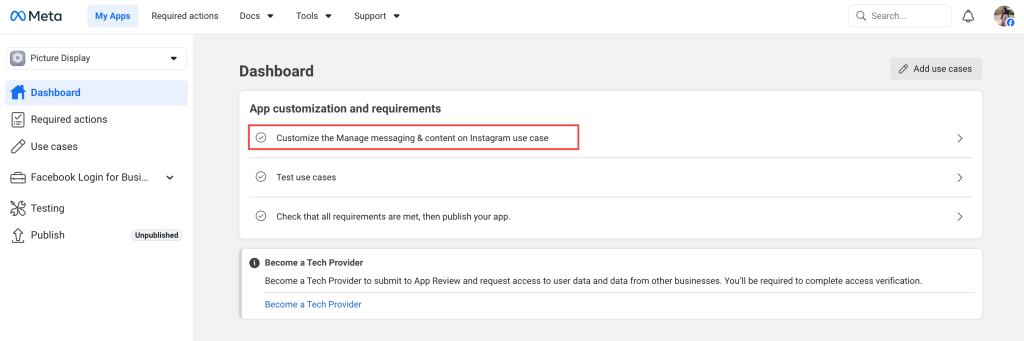
This is where you’ll connect your Instagram account.
Add Your Instagram Account as a Tester#
Before generating the access token, you must add your Instagram account as a Tester.
A. Add Instagram Tester Role#
From the left sidebar, go to App Roles >> Roles.

Then click on the ‘Add People’ button, and a pop-up will appear.
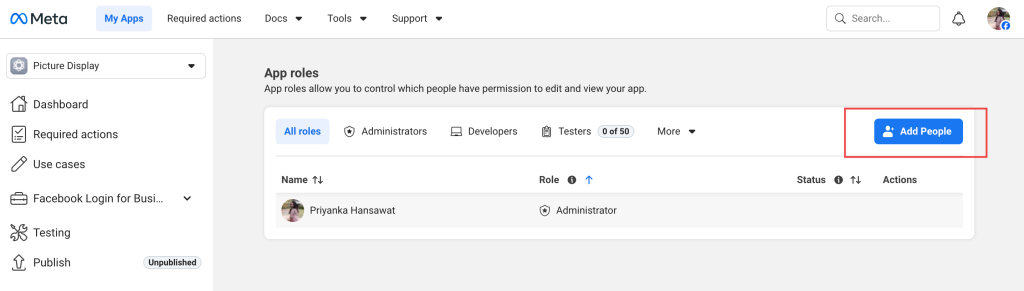
In the popup:
- Select Instagram Tester
- Enter your Instagram username
- Click Add

B. Accept the Tester Invitation from Instagram#
Now you need to approve the tester request from your Instagram account.
- Open your Instagram account.
- Go to Settings.
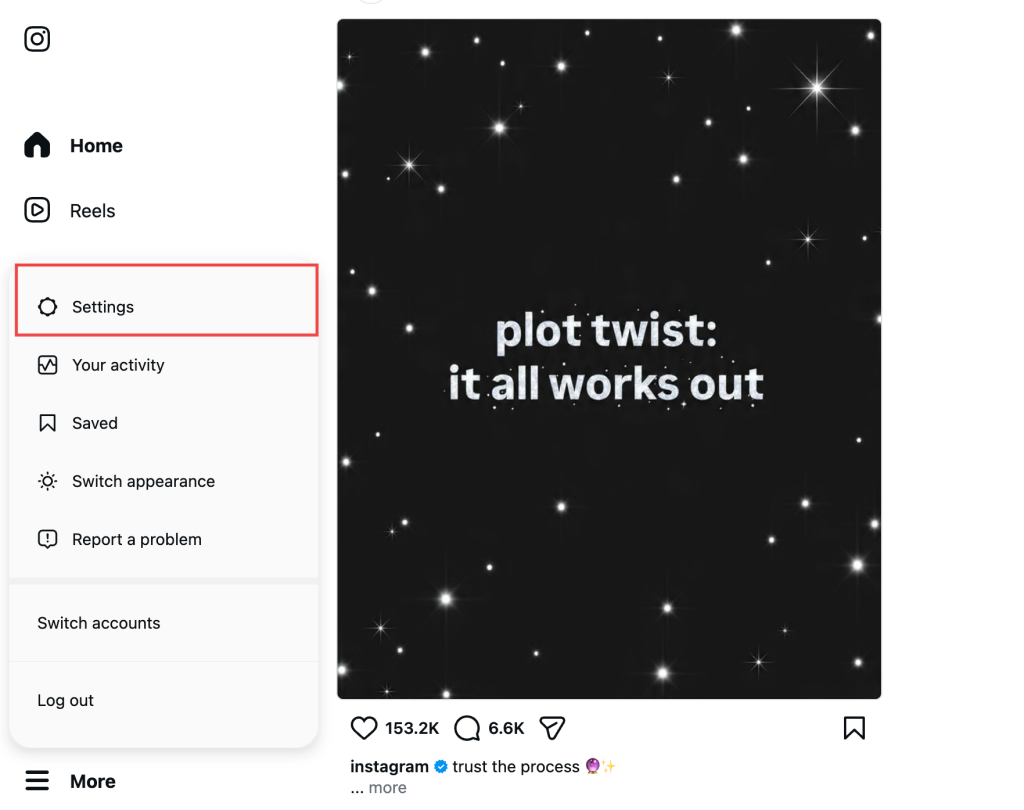
- Click Website Permissions.
- Select Apps and Websites.
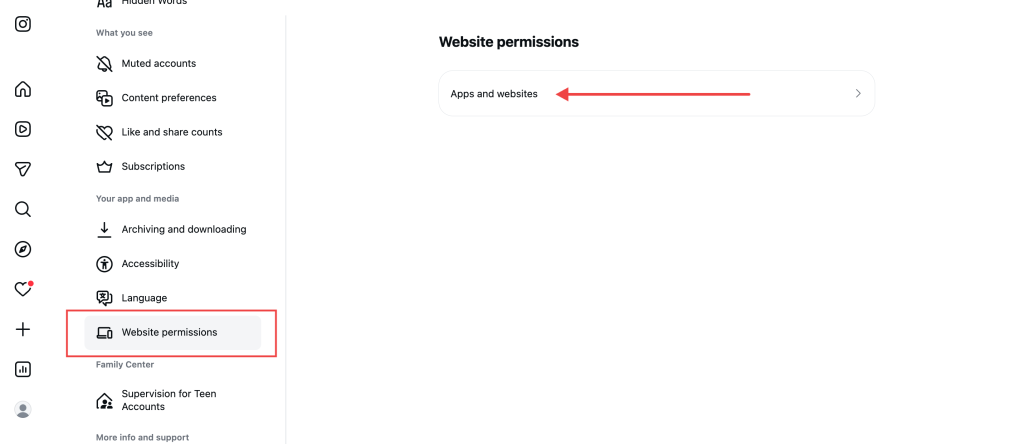
- Open the Tester Invites tab.
- Click on the ‘Accept’ button.
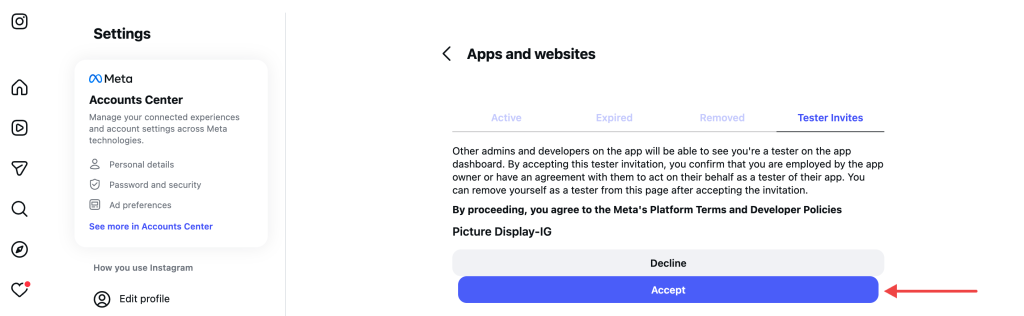
Once accepted, your Instagram account is successfully connected to the app.
Generate the Instagram Access Token#
Now you’re ready to generate your access token.
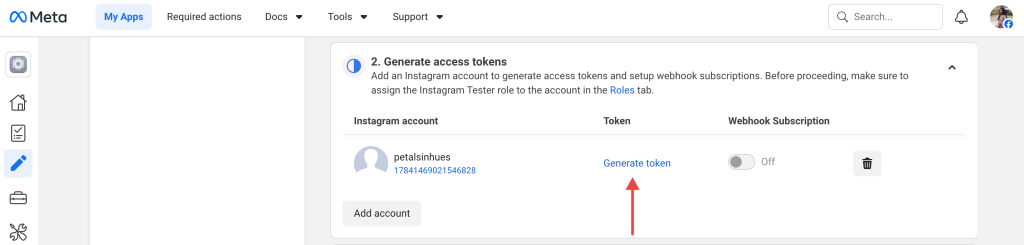
Go back to the Meta Dashboard & again open the Customize the Manage messaging & content on Instagram section, and scroll to the Generate Access Tokens area.
Click Generate Token.
Log in to Your Instagram Account#
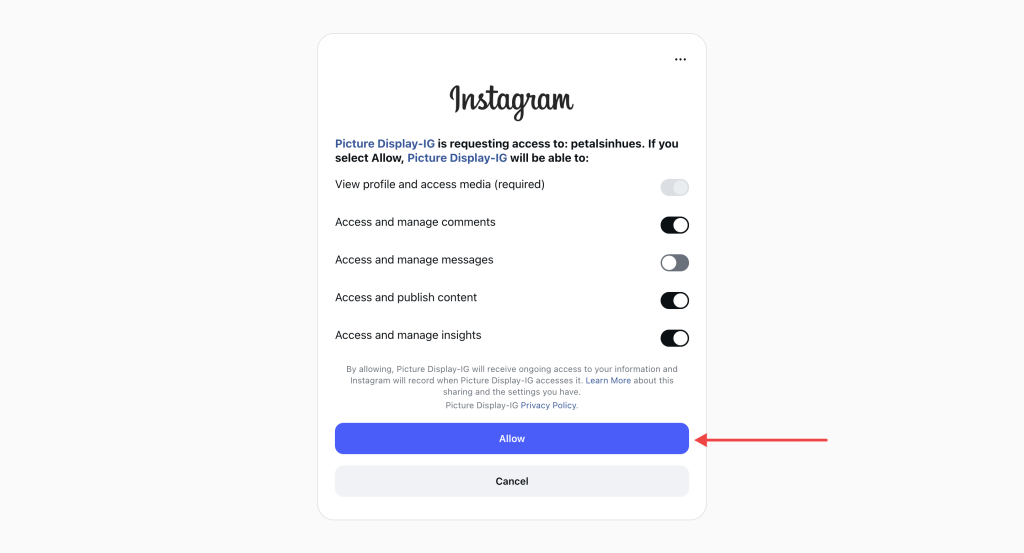
A login window will appear. Log in using your Instagram Business or Creator account.

Here, you need to grant permissions to the app. For security, you can restrict “Access and manage messages” if you don’t need it. Then click Allow.
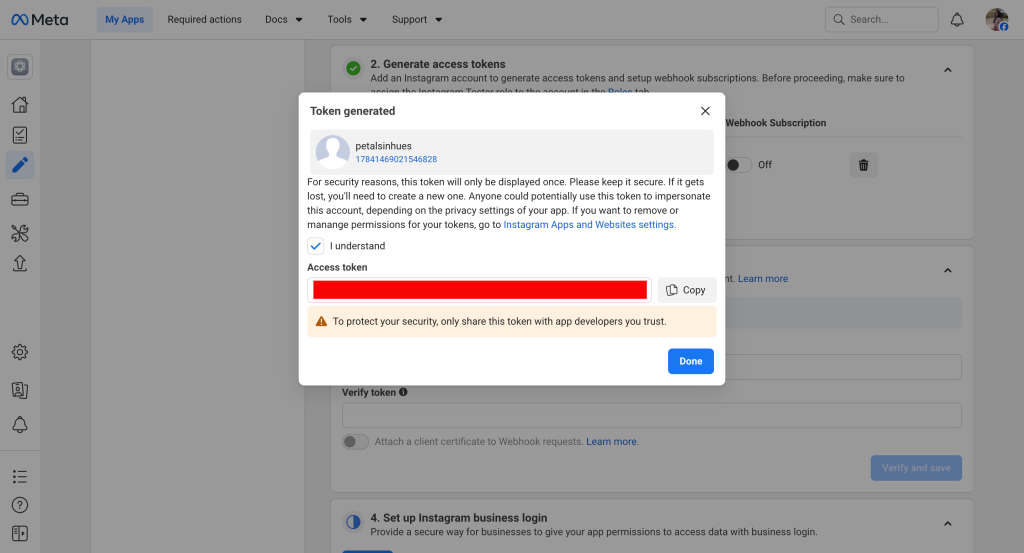
Copy Your Access Token#
After completing the authorization process, your Instagram Access Token will be generated.
Simply copy the token to the clipboard. You can now use this token to display your Instagram feed on your website using Elementor.
Add Instagram Access Token in the Instagram Feed Widget#
Method 1#
- Head over to WordPress Dashboard >> Elementor >> Editor >> PowerPack >> Integration.
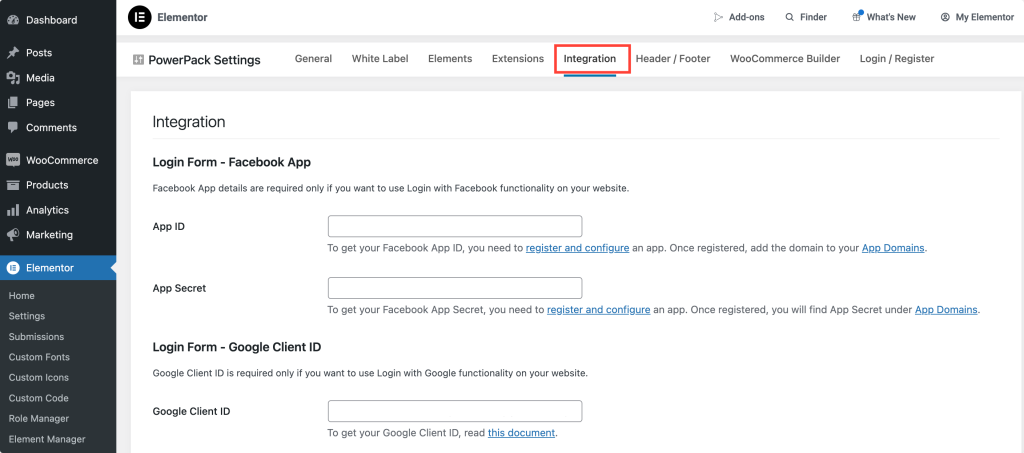
- Scroll down to the Instagram Access Token field. Add the Instagram Access Token that we generated in the previous section to the Instagram Access Token field.
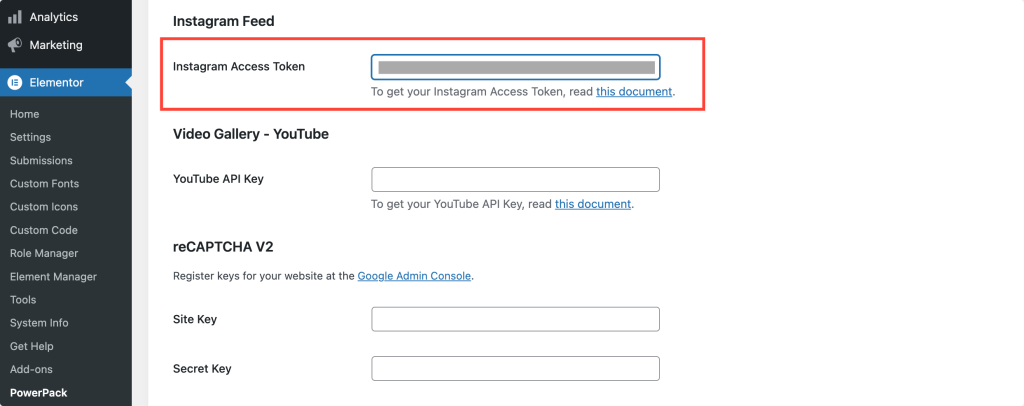
- Save the changes.
Method 2#
- Add the Instagram Feed widget to any page.
- In the Instagram Feed widget, add the Token that you generated in the "Custom Access Token" option.
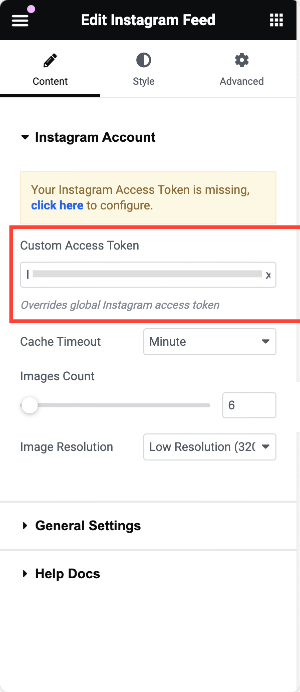
- Publish the page.

Feel free to contact us if you face any difficulties setting up the Instagram Feed widget! :)