PowerPack Login Form widget supports the social login option via Facebook and Google. Let us see how to create the Facebook APP ID for use with the Social Login option in Login Form.
If you want to learn about How to create a Google Client ID for using Google's Social Login option, please check the documentation here.
Setup a Facebook App#
1. Log into Facebook with the account you want to use to set up the Facebook Developer account and App.
2. Now go to https://developers.facebook.com/ and set up the developer account.
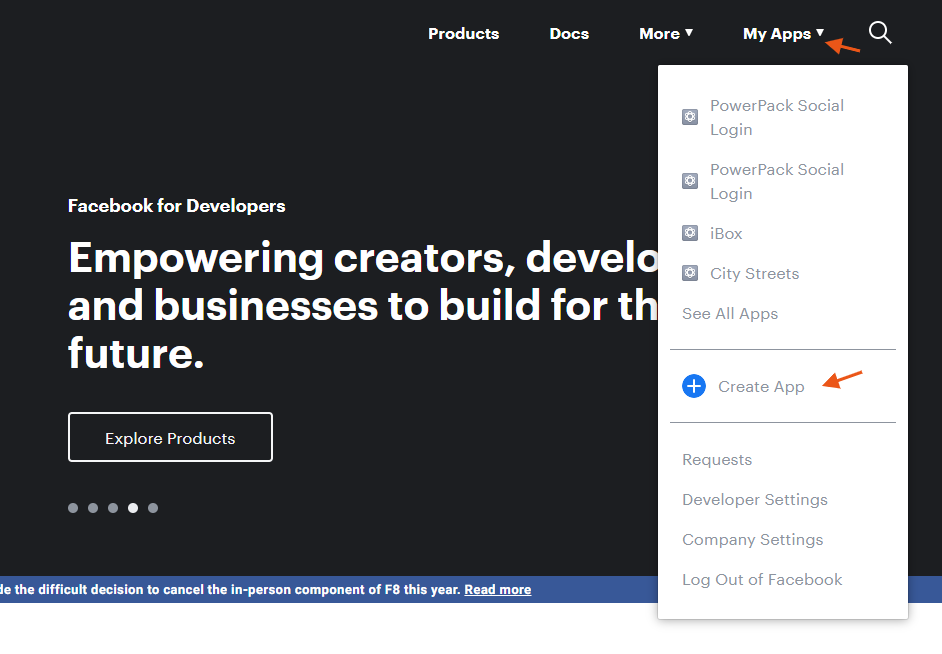
3. After completing the setup, go to the My Apps menu and select Create App.
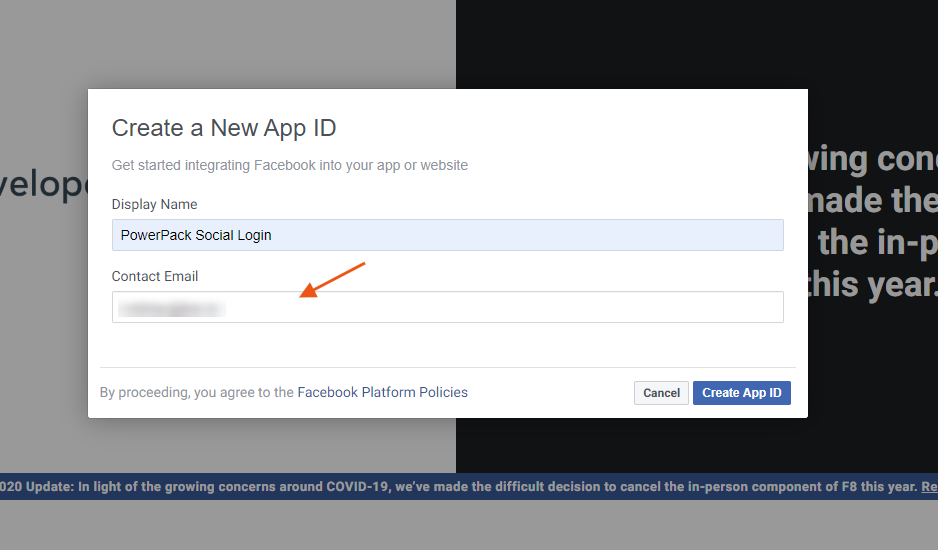
4. Give the App a name and then proceed with the setup.
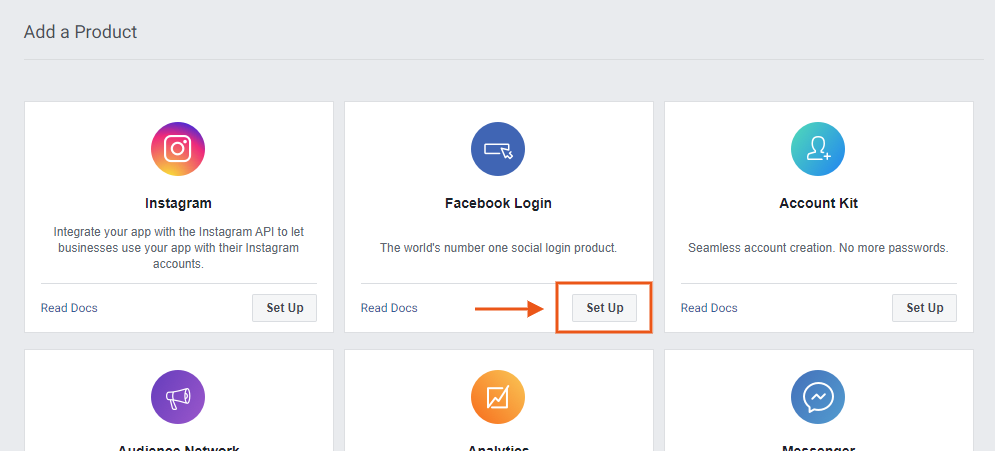
5. Now select the Facebook Login from the Product List to begin the setup.
Setup Facebook Login#
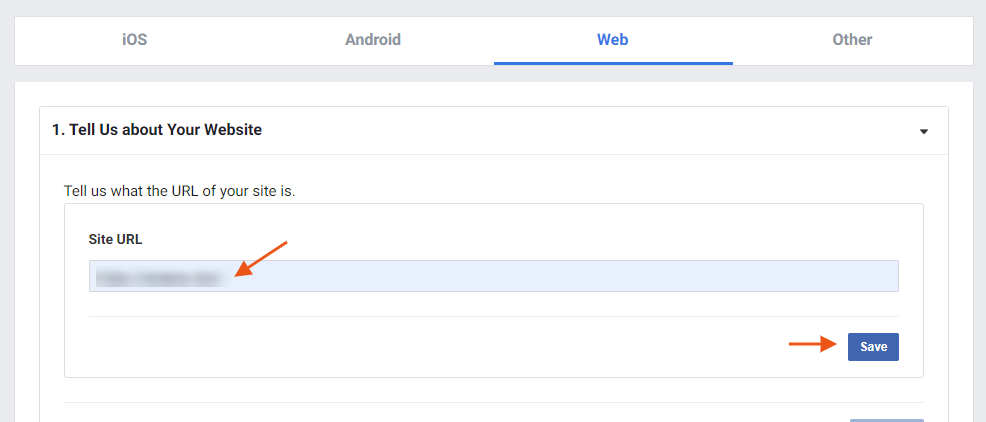
1. Select the Web as the platform.

2. In the next step, add the web address of the site where log-in is to be used.
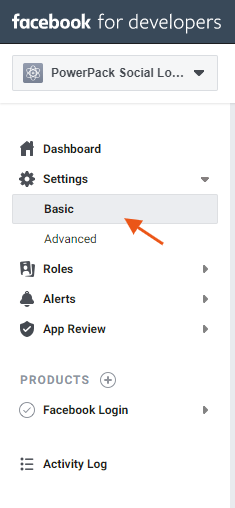
3. The next step is to make the app live. Go to Settings > Basic in the Dashboard.
4. Add the URL for the Privacy Policy of the site and select the suitable category for App.
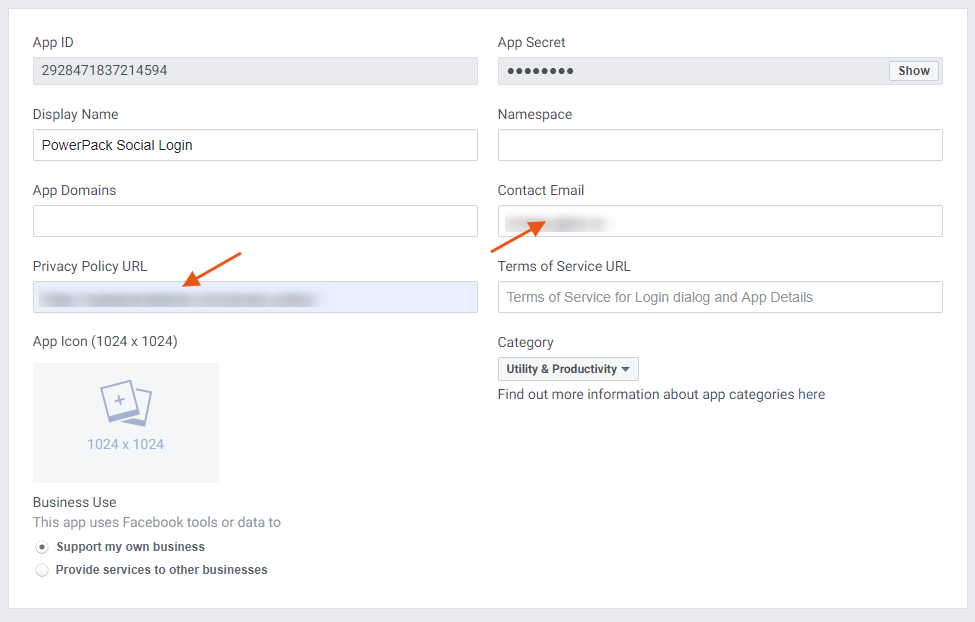
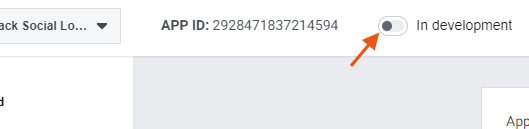
5. Click save changes and toggle the app status switch to Live.
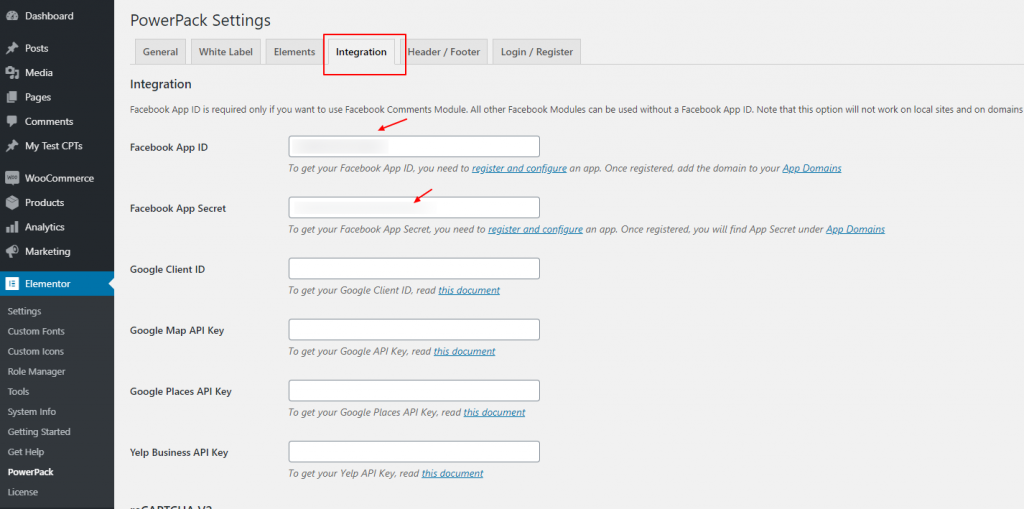
Add the App ID and App Secret#
1. Copy the App ID and App Secret from Settings > Basic
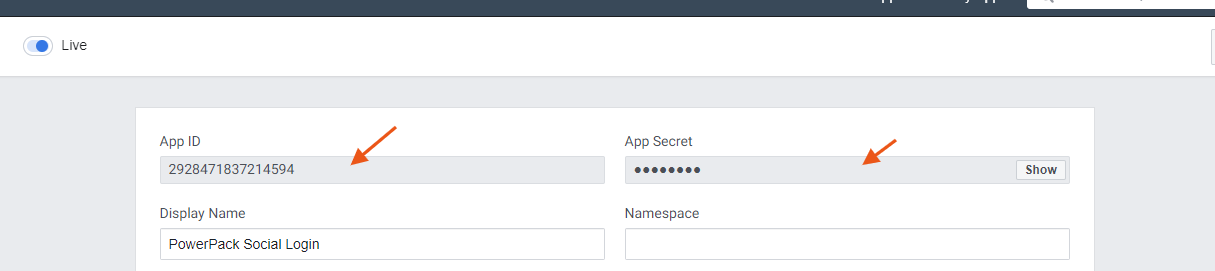
2. Paste them to WP Admin > Settings > PowerPack > Integration
And we're all set to enjoy the awesomeness of Social Login!
Couldn't find what you were looking for? Feel free to contact us with any questions.