Are you looking for a way to set up your WooCommerce store using Elementor? Are you looking for an easy way to customize your WooCommerce store using the Elementor Page Builder? You’ve landed on the right spot! In this WooCoomerce Elementor Tutorial, I will cover every step of setting up a WooCommerce store using Elementor.
Having a custom look for your WooCommerce store can make a lot of difference in your store’s performance. But customizing WooCommerce parts is not that easy. But it does not mean you can’t customize your WooCommerce store how you want.
In this tutorial, I will take you through a step-by-step journey on how to customize WooCommerce store parts with Elementor. By the end of this WooCommerce Elementor tutorial, you will have a custom-designed functioning WooCommerce store up and running.
Not just that! We will be doing all of that using the Elementor FREE version.
Yes! That’s right! So let’s get started!
Build a Custom WooCommerce Store Using Elementor
For our tutorial, we will be using the brand new WooCommerce builder of PowerPack Pro addon to customize the WooCommerce pages.
In this tutorial, I will start with the basics. Then I will cover every aspect required to set up an eCommerce store with the Elementor Free version and WooCommerce using PowerPack Addon.
So, without any further ado, let’s jump into it!
For this tutorial, we will be using these three plugins:
- Elementor Free Version: Elementor is the page builder we will use in this tutorial. It is a simple drag-and-drop front-end builder that allows you to customize your website without coding. Get Elementor.
- WooCommerce Plugin: This free plugin allows you to set up your eCommerce store on your WordPress website without touching a single code line. Get WooCommerce
- PowerPack for Elementor: Since we will be using the free version of Elementor, we will be customizing our WooCommerce store with the WooCommerce builder of PowerPack. Get PowerPack.
If you are not sure why we are using these plugins, here is a quick explanation:
Why WooCommerce and Elementor?
WooCommerce allows you to set up the entire store with a couple of clicks, and with its powerful setup wizard, you do not have to worry about technicalities.
You need to enter the details and information about your store, and WooCommerce will take care of the same.
WooCommerce automatically adds eCommerce parts to your eCommerce websites, like the cart page or the checkout page.
When a user buys a product, they go through a proper step-by-step buying journey.
This journey usually starts from Adding Product to the Cart > Cart page > Checkout page > Payment and finally to the Thank You page. The WooCommerce plugin handles all of this.
So, you might be wondering why we are customizing WooCommerce.
Let’s see…why?
Why are we customizing WooCommerce with Elementor?
WooCommerce is reliable regarding functionality, but if you want to make design changes, there is not much you can do here.
You can make some basic changes to your store parts, like color or typography changes, but if you want to revamp your store’s look, we will need extra help.
And for that, we will be using the Elementor Page Builder. With Elementor, you get loads of options to customize and alter your WordPress website’s look easily.
Elementor has a powerful editor interface that allows you to drag and drop the elements like text, images, or sliders to create a custom-looking layout easily.
Also Read: 10+ Reasons to use Elementor.
You can create a custom theme design using the Hello theme and Elementor plugin. Don’t worry! We won’t be doing that, but if you follow this tutorial, you will be able to customize your website entirely.
Okay, Elementor is required… but then why PowerPack?
Elementor has two versions: Free and Pro. You get loads of options with the free version, but if you want to customize your WooCommerce website’s look, you will need the Pro version.
Also Read: Elementor Free VS Pro Comparison
With PowerPack for Elementor, you can create WooCommerce pages and parts using the Elementor Free version.
We have recently added the WooCommerce builder to PowerPack. Now anyone can create and customize the WooCommerce parts without the help of Elementor Pro.
Apart from the WooCommerce builder, PowerPack is loaded with many more powerful widgets that we will be using in this tutorial.
The only things you will need for this are the WooCommerce plugin, the Elementor Free version, and the PowerPack Pro addon. You can go with any theme of your choice, but if you want my recommendation, I would suggest the Hello Theme by Elementor would be good enough!
Okay, I think we now understand why we will be using the combination of the three widgets.
Now, let’s start setting up our WooCommerce store. At this point, I am assuming you have a website up and running on WordPress.
Installing and Setting WooCommerce, Elementor, and PowerPack Addons for Elementor
If you do not have a website up and running, then wait! Go back a few steps. Get yourself a good domain name and a hosting plan. Set up your website and install WordPress. Once you have got that covered, we shall continue with our WooCommerce Elementor tutorial.
Let’s set up our epic WooCommerce Store!
1) Install and Set Up WooCommerce Plugin
In this section, I will install a fresh WooCommerce plugin on a WordPress website. If you are unfamiliar with installing the WooCommerce plugin, don’t worry. Just follow along!
You can skip this step if you already have the WooCommerce plugin installed and set up on your website.
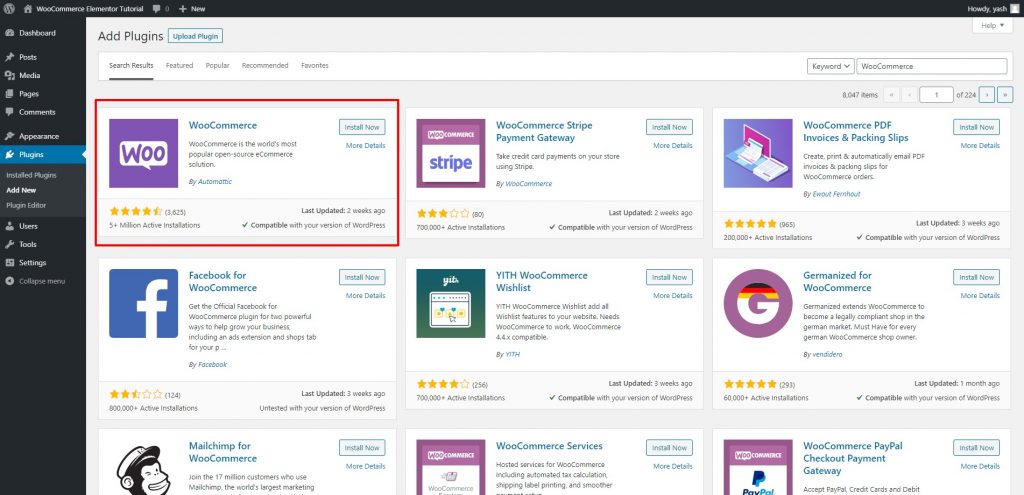
Step 1: Log in to your WordPress website’s admin dashboard. Now go to the Plugins > Add New.
Step 2: Look for the WooCommerce plugin and install WooCommerce. Once it is installed, click on the activate button.
Step 3: As soon as you click on the activate button, you will be redirected to the WooCommerce setup wizard, which will look like this.
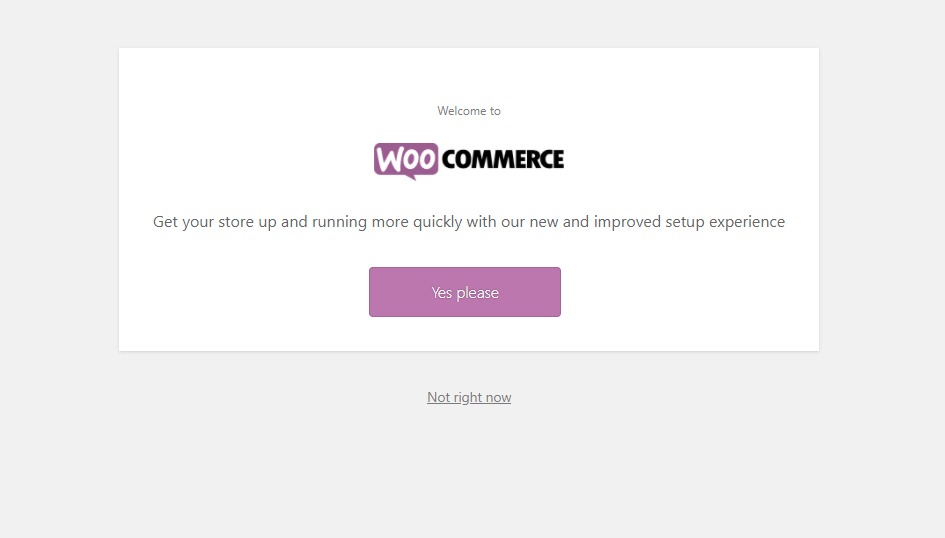
Click on the Yes please button.
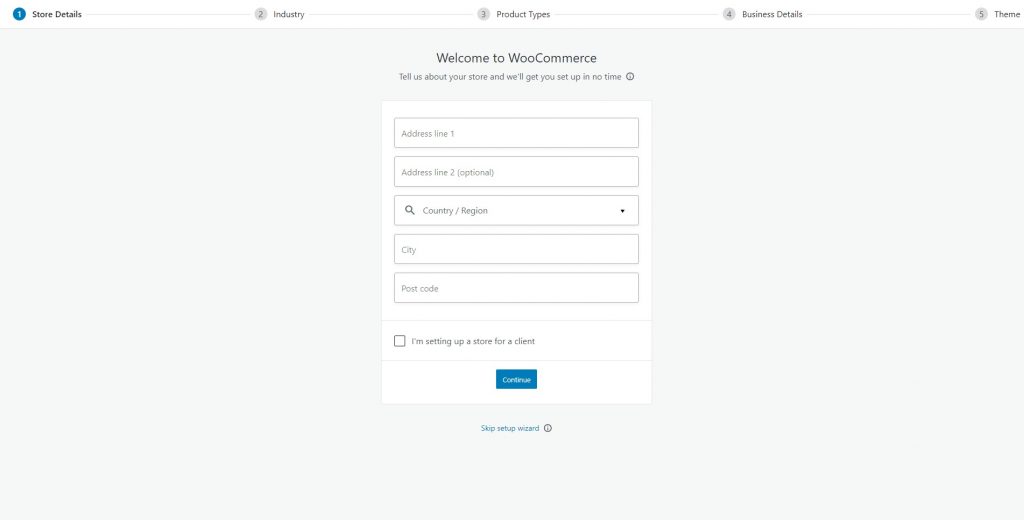
Step 4: Follow the installation wizard’s instructions. Now enter your store’s details in the first step.
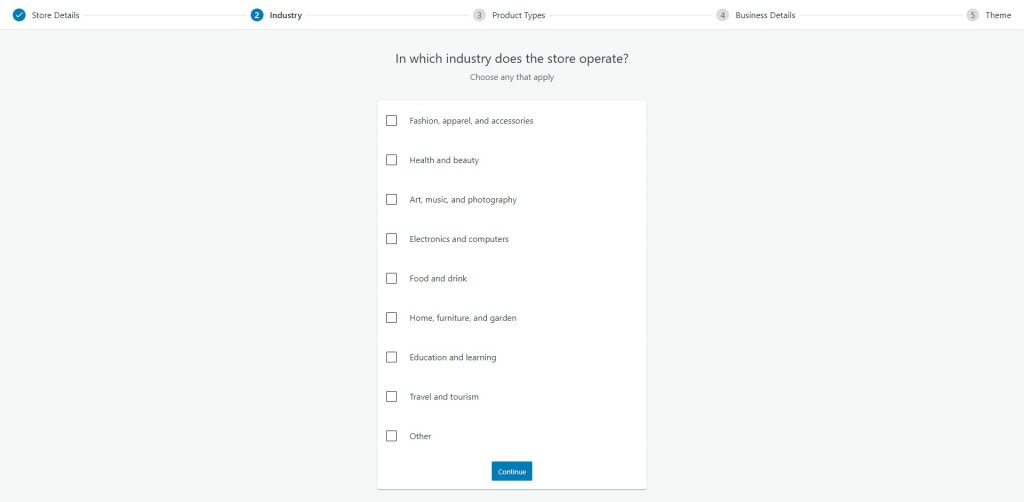
Step 5: After clicking continue, select the industry for which you want to set up your store. Click on the Continue button.
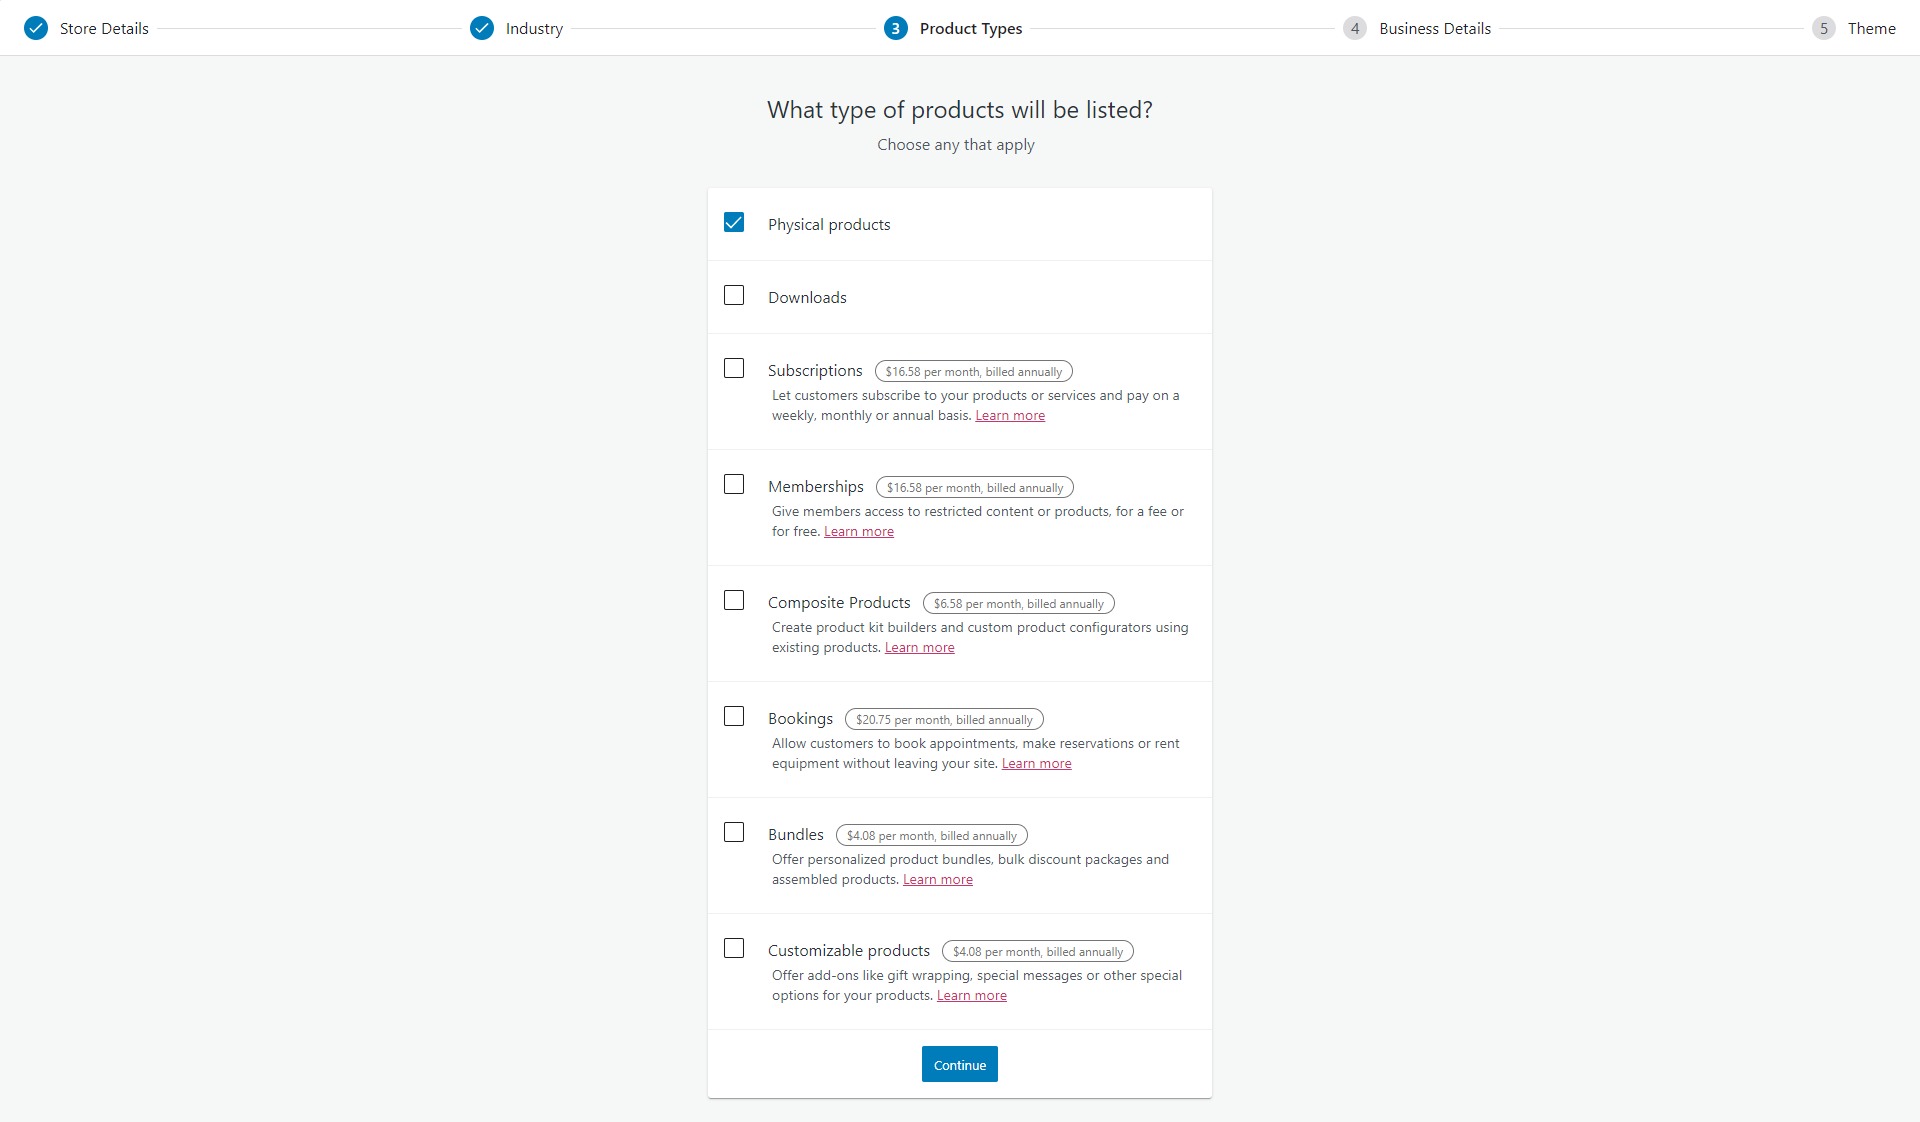
Step 6: All of this is pretty straightforward, and on the next screen, select the type of product you will be selling. For my tutorial, I am choosing Physical Products.
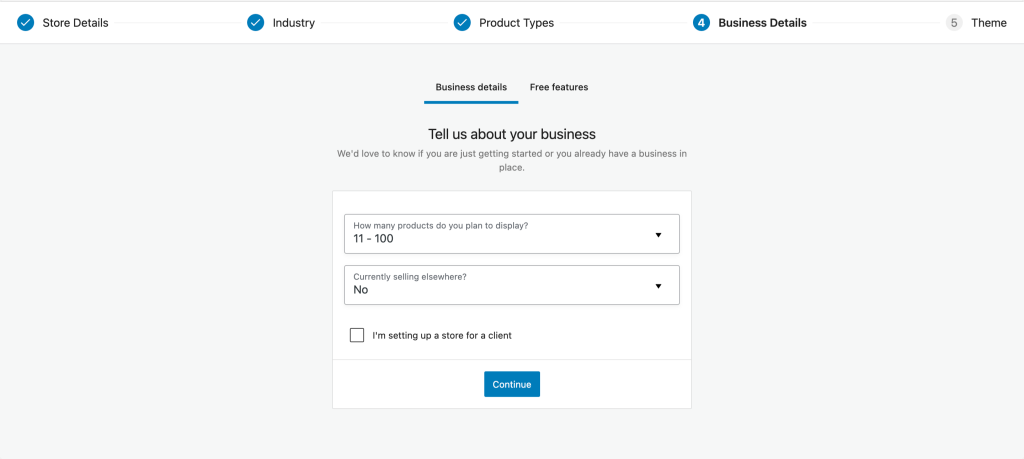
Step 7: After clicking on continue, enter how many products you are planning on selling.
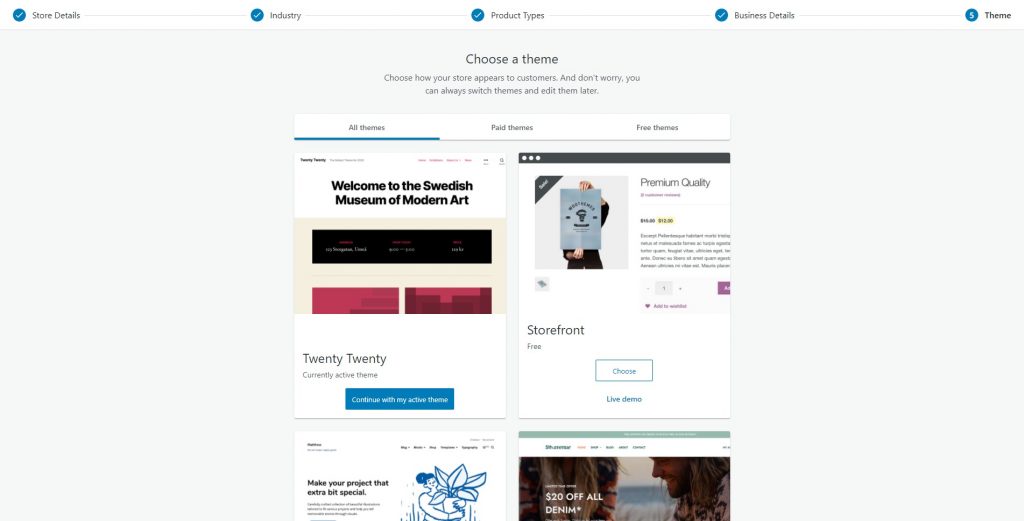
Step 8: In the last step, you get the option to choose the theme for your store. You can go with any theme of your choice. I am going with the Hello Elementor theme.
After finishing, you will be redirected to the WooCommerce backend. Here you will be checking on your orders, listing products, and keeping track of everything.
Let’s complete the setup process first.
You will see the finish setup option in the top right corner. Here you can complete all the pending tasks like adding products, tax and payment details, etc.

Now, if you have made it this far without getting confused, I am sure you can go ahead without any issues. Add new products, payment details, and tax info to complete your store’s setup process.
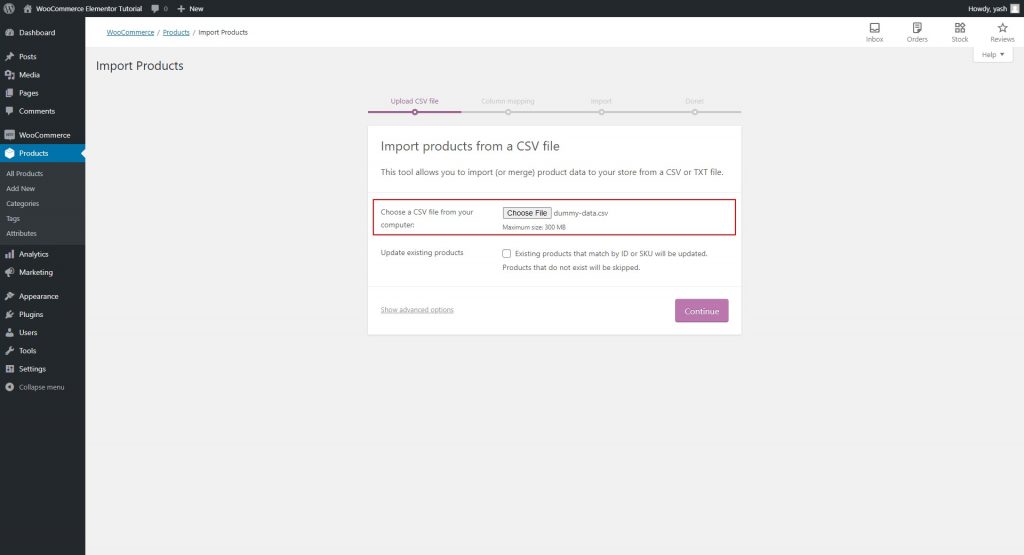
For example, I am importing the products’ data CSV as sample data for the tutorial.
Go ahead and personalize your store by adding your logo, etc. The Finish Setup tab we checked earlier can take care of this. It will look like this:

After checking off all the tabs in that table, you will be all set. We can set up Elementor and PowerPack now.
2) Install and Activate Elementor Plugin
For Elementor, we will be following the same procedure.
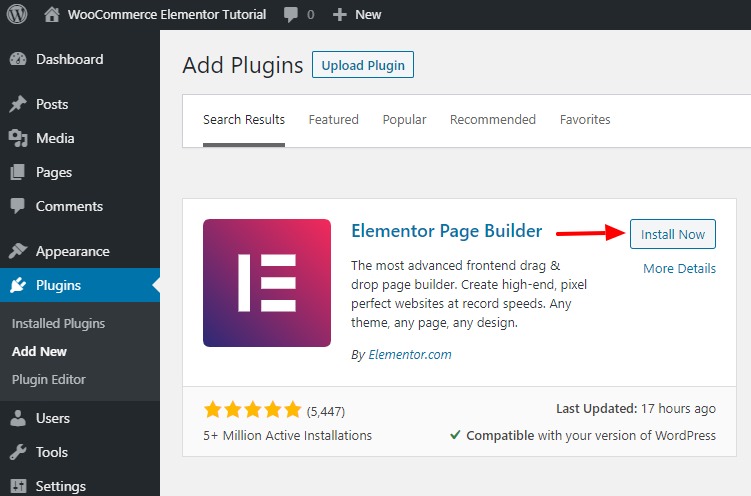
Step 1: Go to the WordPress admin dashboard. Go to Plugins > Add New and search for “Elementor.” Install and activate the plugin.
You will automatically redirect to a quick guide. You can go through that and familiarise yourself with the builder.
Anyways, we will be going through a step-by-step process here on how to use Elementor for setting up pages.
Now let’s set up the last yet most important plugin for the tutorial, PowerPack for Elementor.
3) Install and Activate PowerPack for Elementor
Let’s install and set up PowerPack Addons for Elementor now.
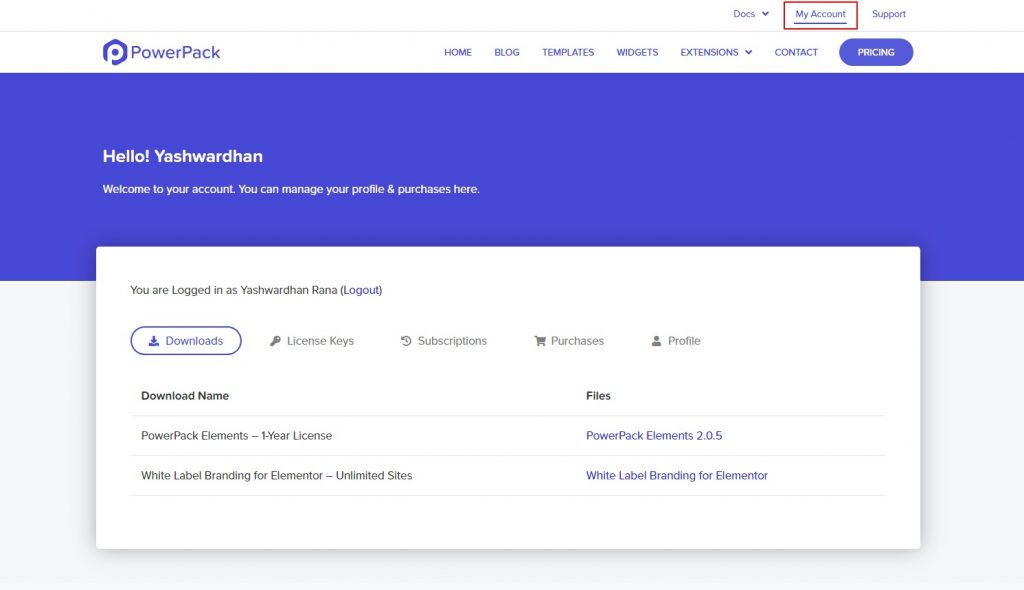
Step 1: Go to your My Account area on PowerPackelements.com and log in to your account.
If you do not have an account with PowerPack, you can get the PowerPack Pro version here.
I know you will love PowerPack, but if you are not sure, don’t worry! It comes with a 14-day money-back guarantee! 🙂
We’ve got you covered!
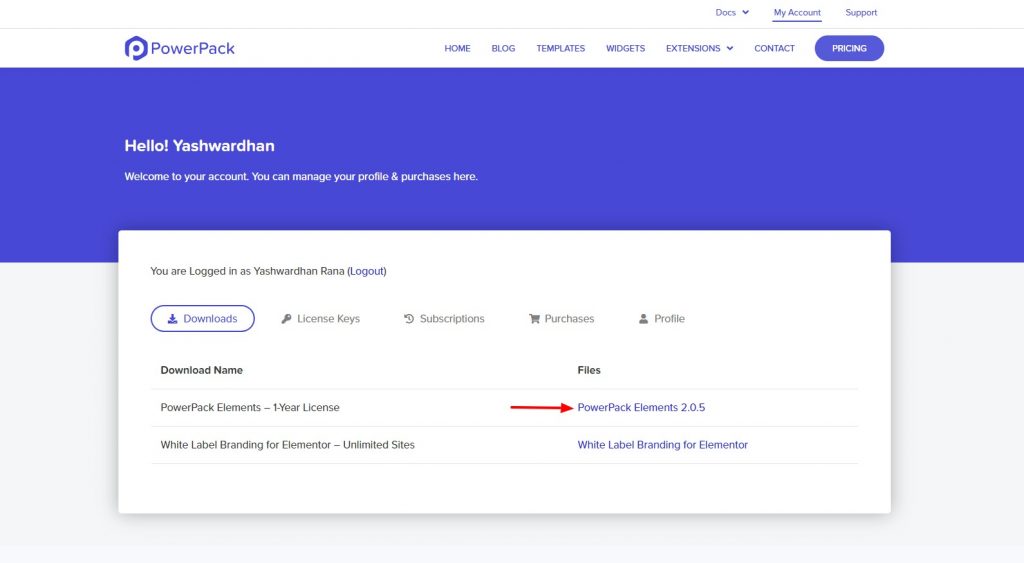
Step 2: Once you have logged in to the My Account area, go to Downloads and then click on the product you want to download.
Step 3: After downloading the ZIP file, return to your WordPress website. Now go to Plugins > Add New.
Step 4: Now, this time, we will be uploading the zip file. Click on the Choose File button and select the file you want to install. In our case, it will be a PowerPack zip file.
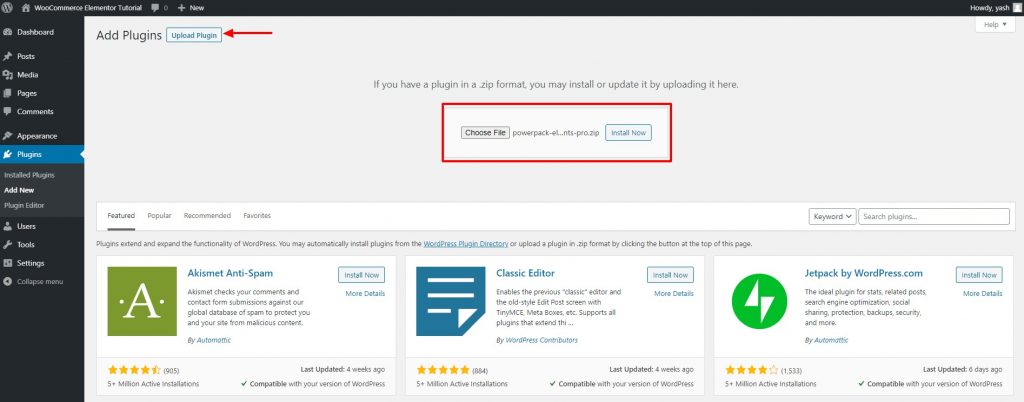
Step 5: Once the installation is complete, click on the Activate button.
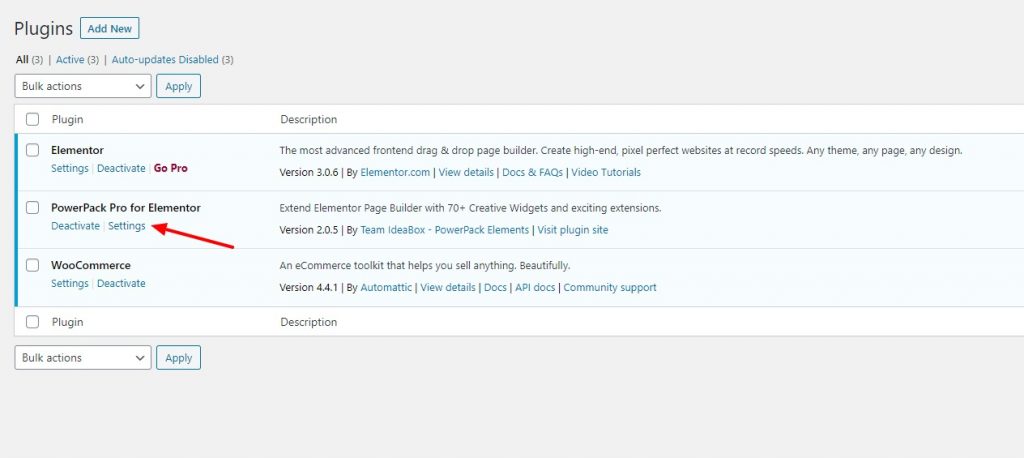
Step 6: Now go to PowerPack settings and enter your License to activate the plugin.
Now we are all set. We can directly jump into customizing our store’s pages.
Let’s start with the Product page. After all, this is where our user will start their journey.
Let’s set up our first page!
Setting up WooCommerce Shop Page Using Elementor
WooCommerce automatically adds some pages to your websites, like the Shop, Checkout, and Cart pages.
But for the WooCommerce products page, we will add a new Elementor template and later assign it in the settings.
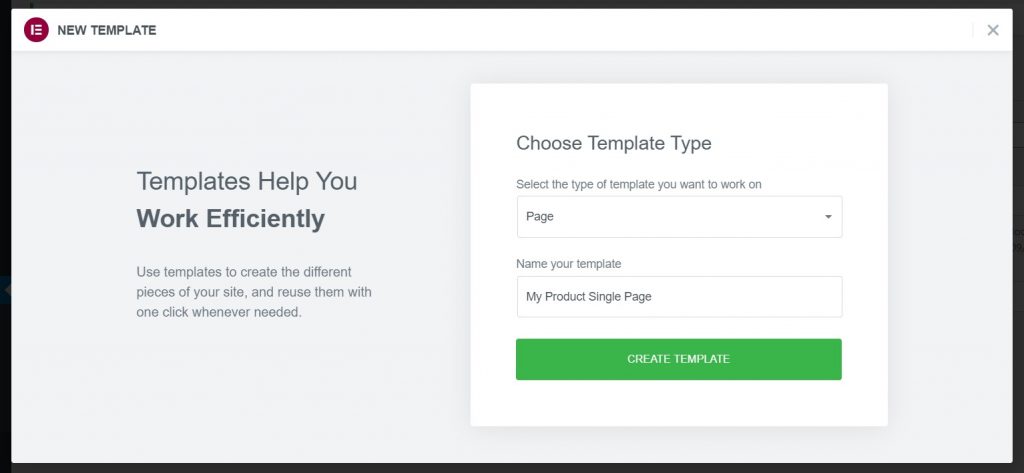
Step 1: Go to Elementor > Saved templates > Add New.
Select the template type as Page and give your template a proper name.
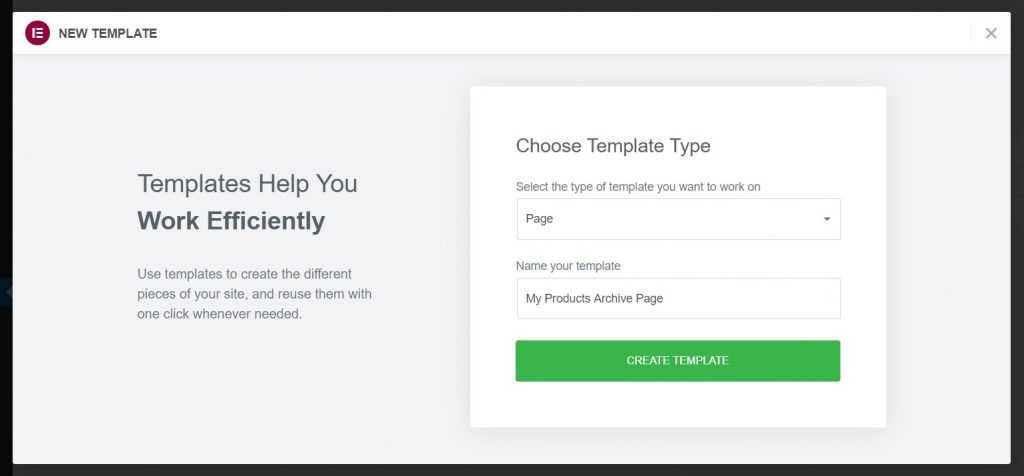
Step 2: As soon as you click the Create Template button, the editor will load up. You might see your page’s default style in the editor but don’t worry; we will change this.
Let’s start by changing the layout of the page.
Customizing WooCommerce Products Page with Elementor
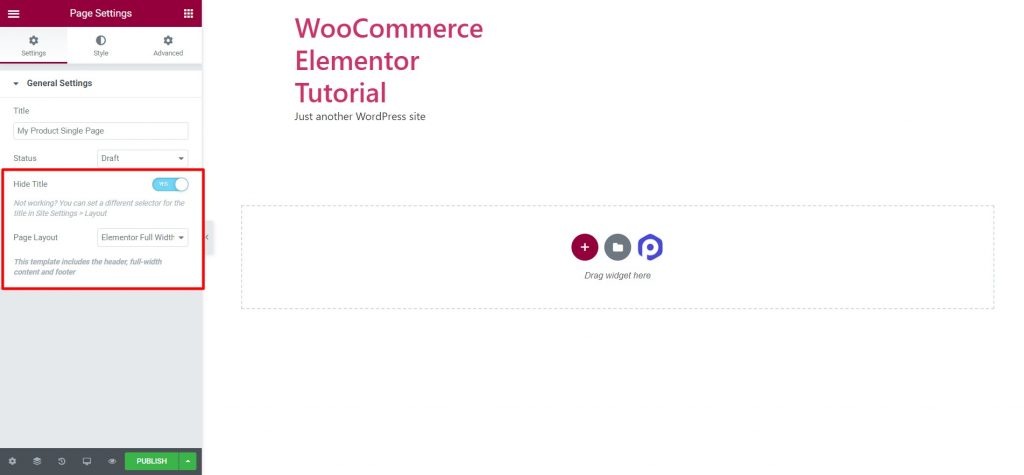
Step 3: Click on the little wheel icon (⚙) at the lower-left corner of the page. Doing this will open up page settings. Now change the page layout to Full Width or Canvas.
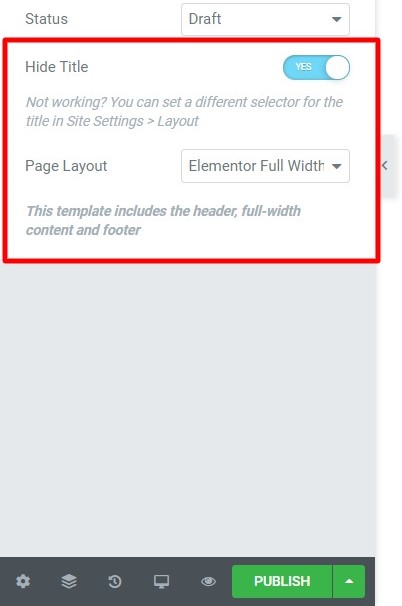
The full-width layout will leave the header and footer on the page, and the canvas layout will give you a completely blank space to work on.
I will be choosing the full-width layout here.
Oh! And while I am at it. With PowerPack, you can also create your custom header and footer designs! Check out the Header and Footer builder.
If you want to learn how to create a custom header or footer with Elementor free, check out this video:
Coming back to our page, let’s start by adding the Product Grid widget.
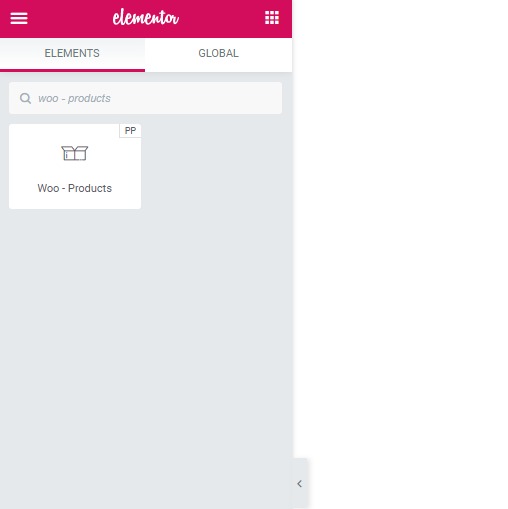
Step 4: In the search widget bar, look for “Woo – Products” and drag and drop the widget on the page. As soon as you drop the widget, you will see the products appearing right away.
Now you get three tabs on the left, Content, Style, and Advanced. We will be majorly working with the Content and Style tab.
The content tab allows you to change the contents of the widget.
And the style tab tells the widget how the content should look.
Step 5: You can go ahead and make the changes to the content and style tab easily. If you want to know how you can do this, here is a reference video that you can use:
After making the changes I wanted to make, this is what my Products grid looks like:

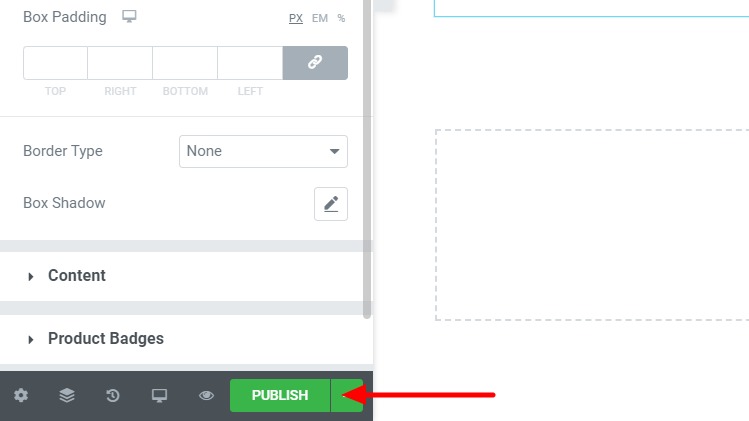
Step 6: You can go ahead and explore the options, and once you are done, you need to publish the page. Look for the publish button at the lower-left corner of the page. Click on it, and the changes will be made live.
Now we have created our products page successfully. Let’s create the Product single page.
Creating WooCommerce Single Page with Elementor
Again we will be adding a new template just like we did for the archive or the products page.
Step 1: Go to Elementor Templates, add a new page template, and give it a proper name.
Step 2: Click on the Create template button, and once you are in the editor, change the layout to full width. Disable the page title just like we did for the Products archive page.
Step 3: Now, simply publish the page as it is. We will be making the changes after a small required step.
Step 4: Return to the WordPress Admin dashboard once the page is published. Now go to Elementor > PowerPack settings > WooCommerce Builder.
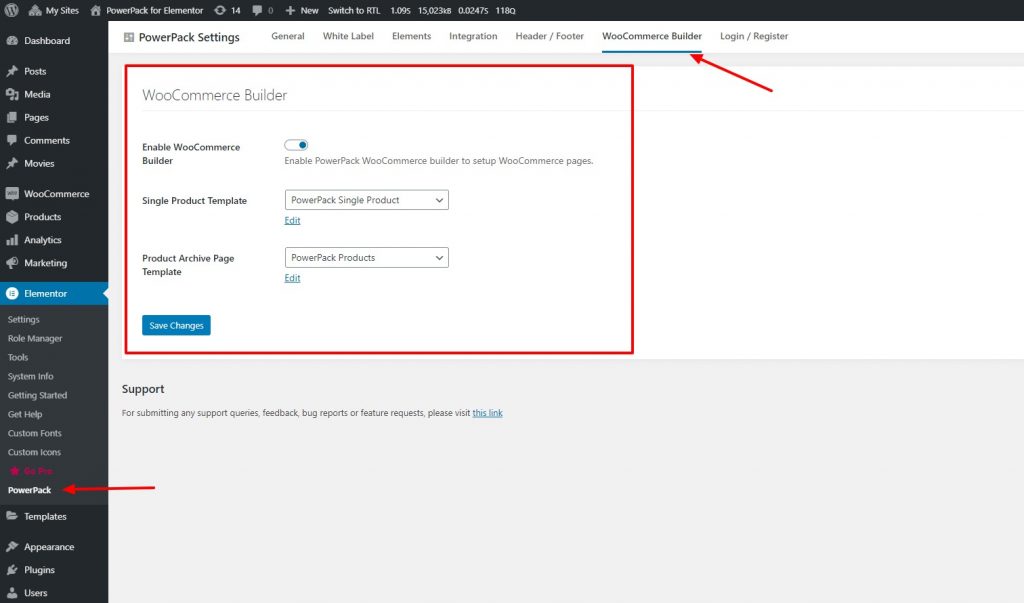
Step 5: Enable the WooCommerce builder and select the page template you created from the field’s list: Single Product template.
Step 6: Also, while you are at it, select the template you created for products or the shop page in the Product archive page template’s dropdown. Once done, click on the save changes button.
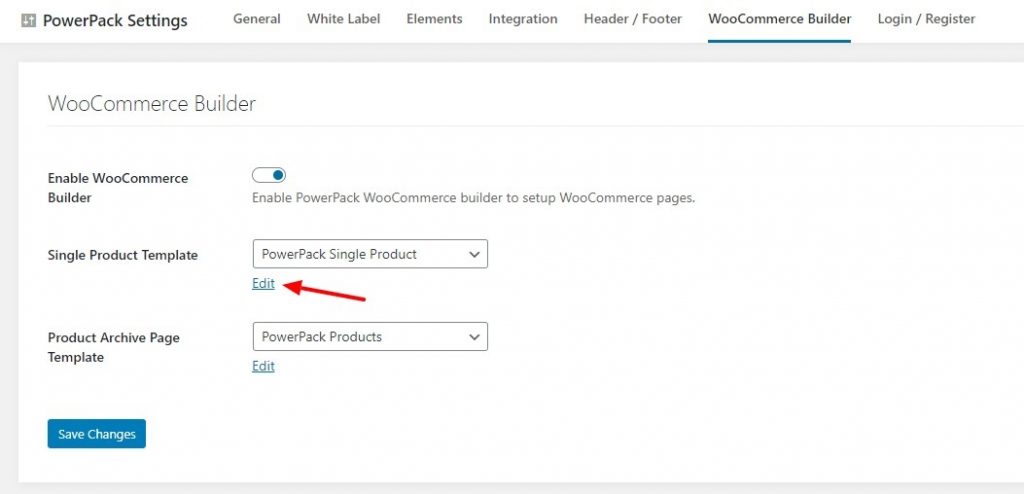
Step 7: Now, we will go back to editing our single product page. For that, click on the edit button below the single product template dropdown. This will load the editor, and now you can customize the layout of the single product page.
Customizing WooCommerce Single Page with Elementor
Step 8: Once in the editor, click on the wheel icon at the lower-left corner and select a product from your store in the preview settings.
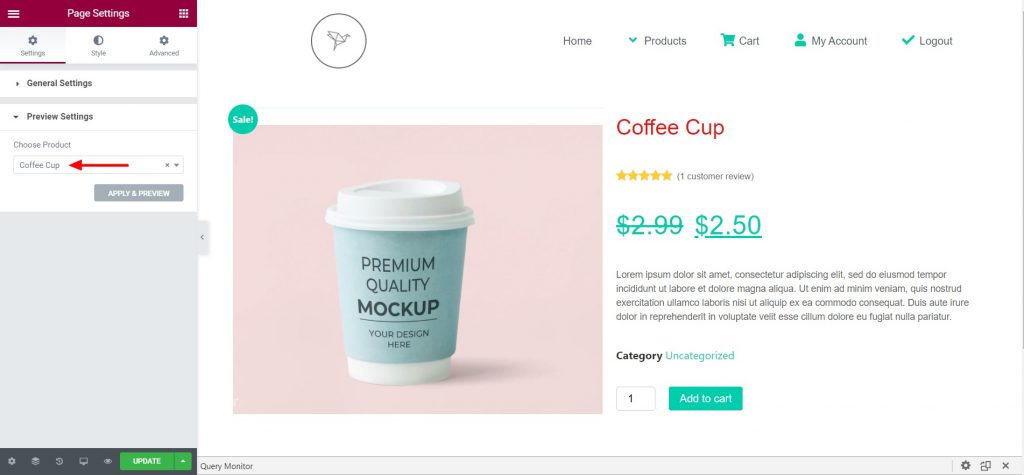
With PowerPack’s WooCommerce builder, you get loads of widgets you can use to create a single-page layout.
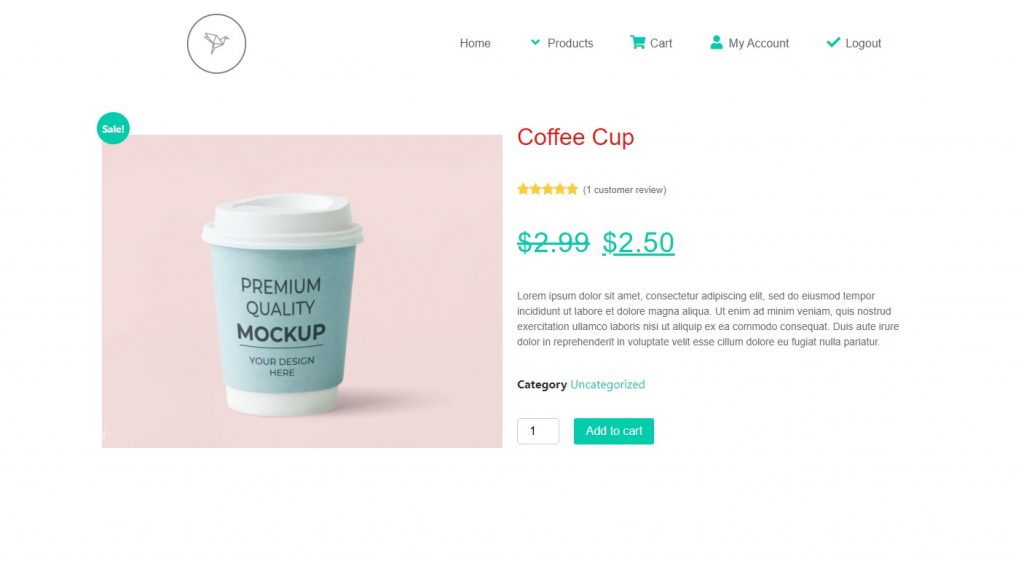
Here I have added a 2 column layout. On the left column, I have added the product image widget, and on the right column, I have added the following widgets:
- Product Title
- Woo Product Rating
- Woo Product Price
- Product Content
- Add to Cart
This is just a simple design I created for my website. You can easily do that if you want to make a different format. Just drag and drop the widget on the page, and that widget will take the properties of the product selected for the preview.
Step 9: Once you are done, publish the page, and the single page will start working flawlessly on all the single product pages.
If you would rather watch a video on how you can customize the page, you can check it out here:
After making a few tweaks and changes to the widgets, my single product page looks like this.
So far, we have the product and archive/shop pages ready. Now we need to complete the rest of the pages.
After adding a product to the cart, let’s customize the page that a typical user sees.
That’s right, the Cart page.
Customizing WooCommerce Cart Page using Elementor
To customize a WooCommerce cart page, we do not need to create an Elementor Page template. We can directly edit the WooCommerce cart page.
Again, for this section, we will be using the Cart Page Styler of the PowerPack addon.
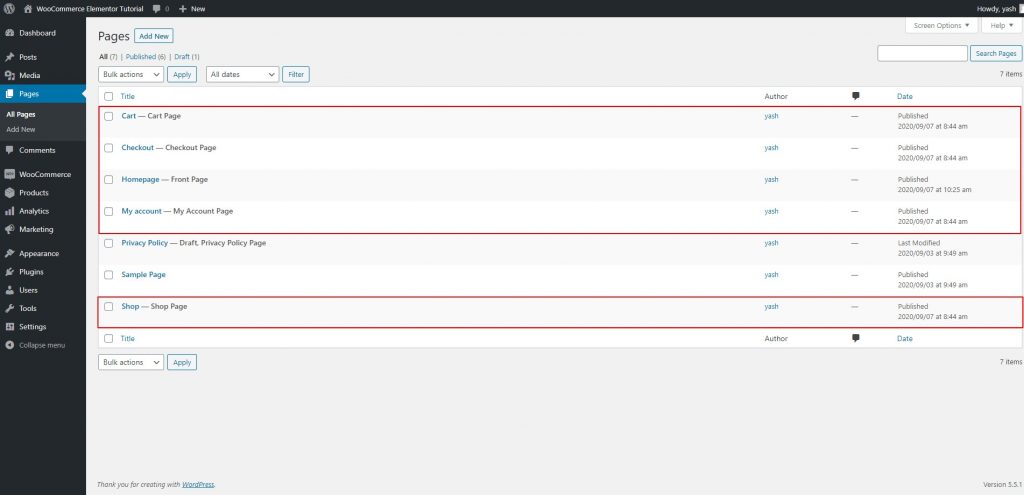
Step 1: Go to WP Admin Dashboard > Pages. Now look for the Cart Page and click on the edit button. Open the page using the Elementor editor by clicking on Edit with Elementor button.

Step 2:Once you are in the editor, change the layout to full width and disable the page title if you want.
Step 3: Remove the existing WooCommerce cart from the page. Simply go ahead and remove that section entirely.
Step 4: Now, we will be adding the PowerPack’s Cart widget. Look for the Woo – Cart widget and drag and drop it on the page.
If you see a message like this, go back to your store page and add a few products to your cart.
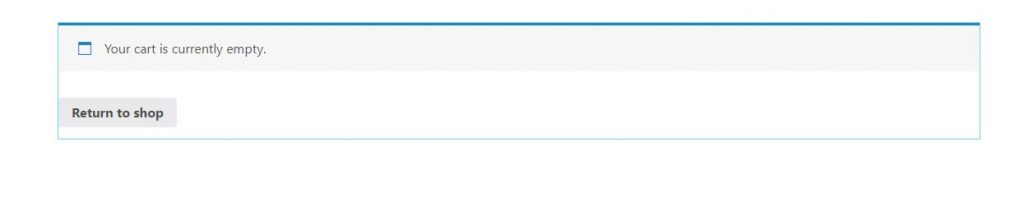
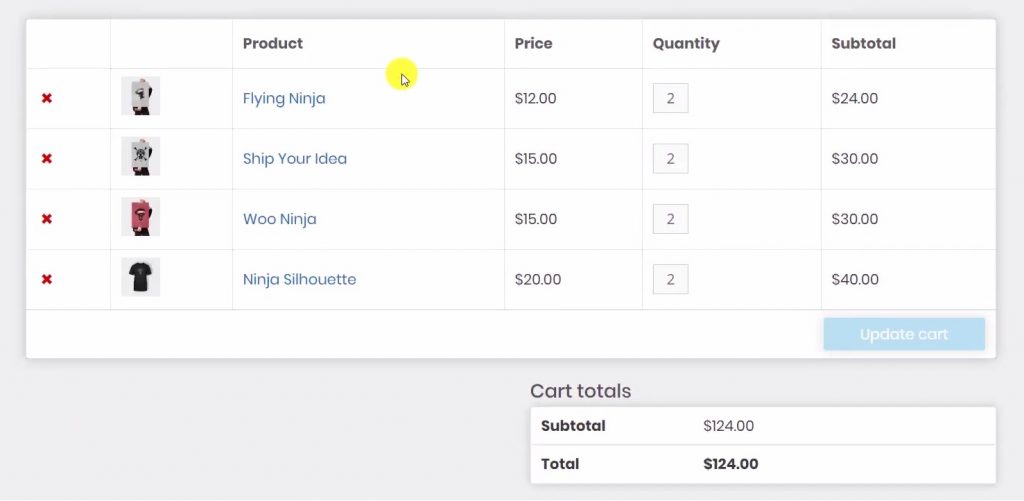
Once you have added a few products, you will be able to see your cart and its contents. If you still don’t see the cart in the editor, refresh the page, and it will work.
Now we will start customizing our cart.
Customizing WooCommerce Cart Page with Elementor
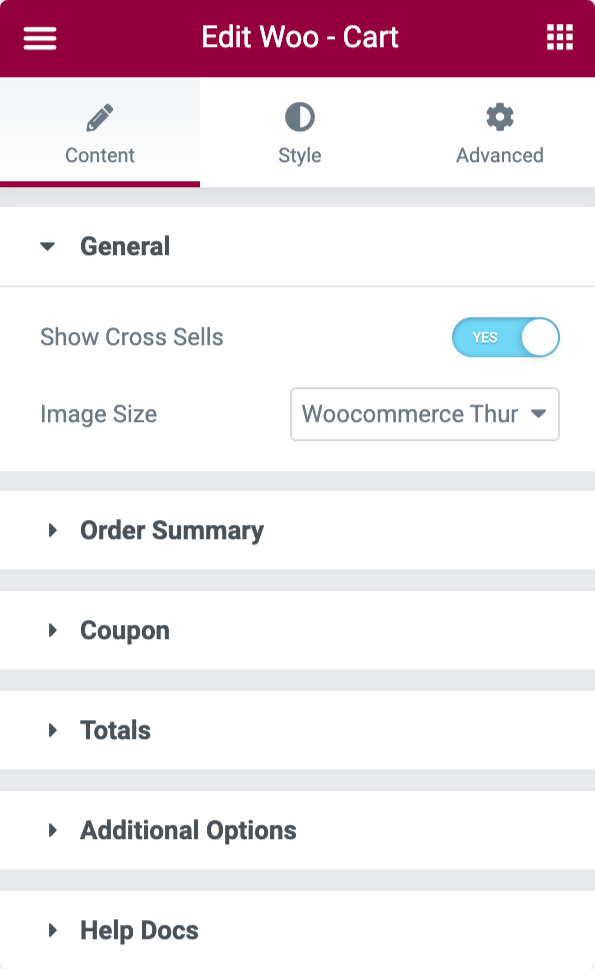
Step 5: From the Content tab, you get options to enable or disable the coupon field and cross-sells. You can disable it using the toggle buttons if you do not want it.
Step 6: Now, coming to the style tab, you get options to customize the look and design of all the sections and products separately.
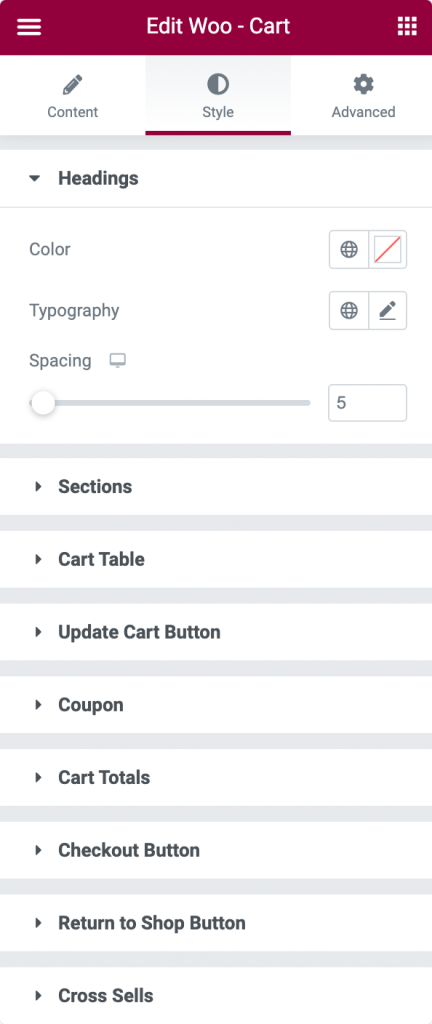
Go ahead and give the settings a try and set them to the values you like. Feel free to customize the look and feel of your cart page.
After making all those changes, here is what our cart page looks like:
If you need help with the same, you can check this video, which explores every Cart widget option.
Step 7: Now, once you are done editing, go ahead, and publish the page. We will be assigning this page in the WooCommerce settings later.
Now let’s customize the page that the user will see after the cart page: The checkout page.
Creating a WooCommerce Checkout Page with Elementor
Step 1: For this, again, we will be editing the existing Checkout page. Open the page and click on the Edit with the Elementor button.
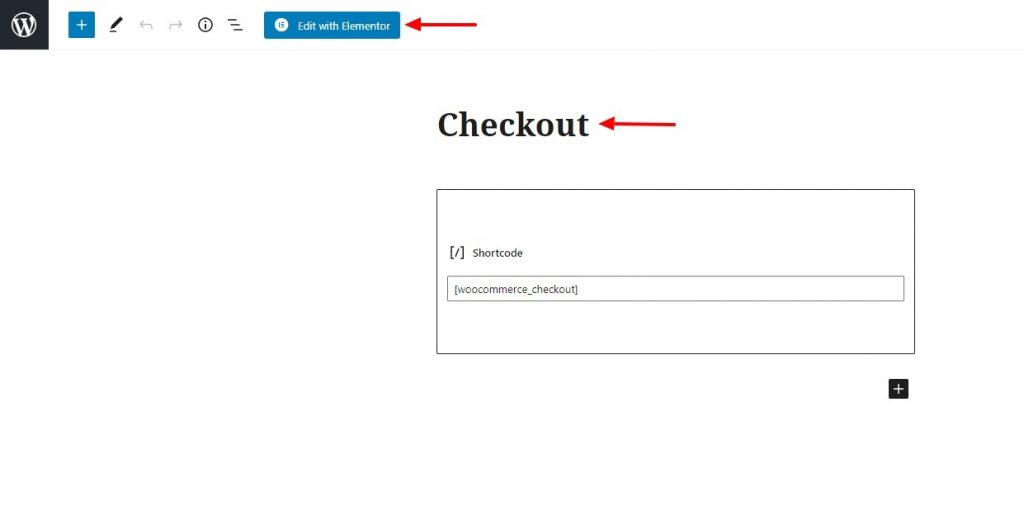
Step 2: Now, change the page’s layout to full width and remove the title if you want. Also, remove the existing checkout section from the page.
Now add the PowerPack’s Checkout widget on the page. Just drag and drop it on the page.
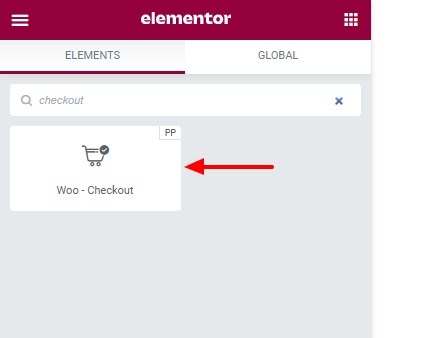
Once you have added the widget, you can start customizing your checkout page.
Step 3: For the content, you can go with the One-Column or Two-Columns layout. You can also enable or disable the additional information box.
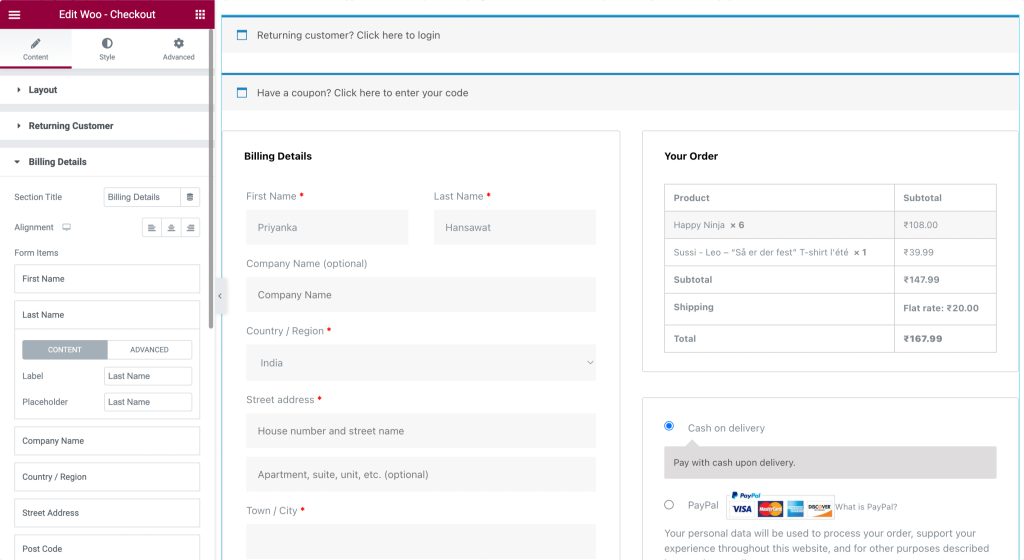
Step 4: For the styling, you can customize and alter almost every part of the checkout page.

If you are not sure how to customize the widget, you can check out this video.
Go ahead and make the changes you want and publish the page like any other page once you are done.
We’ve got so much covered now! The only thing left to create is the My Account page. Let’s do it!
Customizing the WooCommerce My Account Page with Elementor
For this part, too, we will be using the PowerPack addon for Elementor.
PowerPack comes loaded with the powerful My Account widget, and with this widget, you can customize how the Account area of the user looks.
Just like we did before, we will be making changes to the existing My Account page.
Step 1: Open the page and load it using the Elementor editor. Make the same changes we made earlier, i.e., Giving it a proper name, changing the layout to full width or canvas, and removing the existing My Account section.
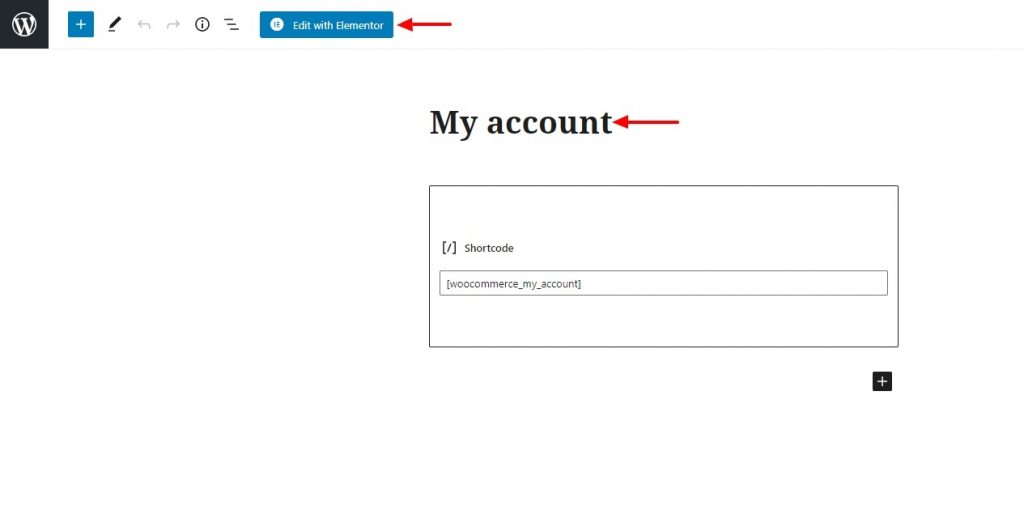
Step 2: Once you are in the editor, we will add the My Account widget. Simply drag and drop the widget on the page.
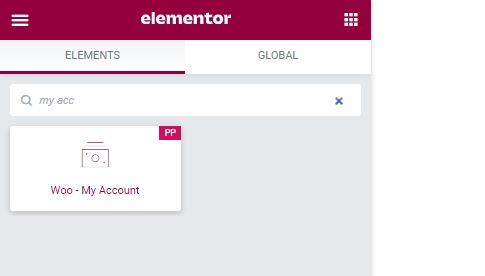
Now let’s start customizing the widget.
Customizing WooCommerce My Account Page using Elementor
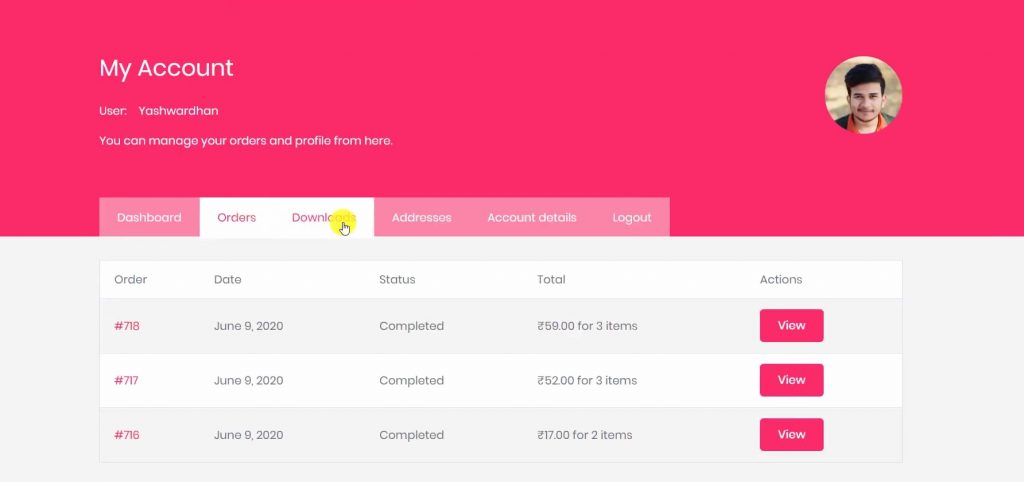
Step 3: You can select the endpoint you want to customize from the Content tab. If you are customizing the Downloads tab, you can set the endpoint for the same, and you will see the change you are making there.
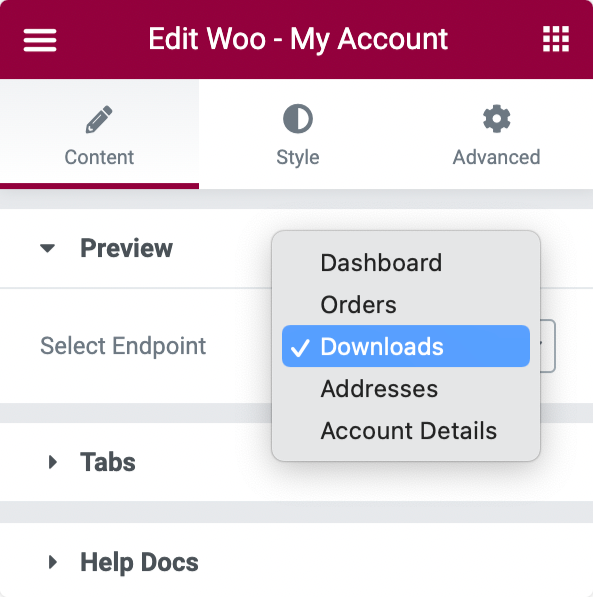
Step 4: Further, you can enable or disable the tabs as well. For example, if you want to show the logout link tab, you can disable it using the toggle button.

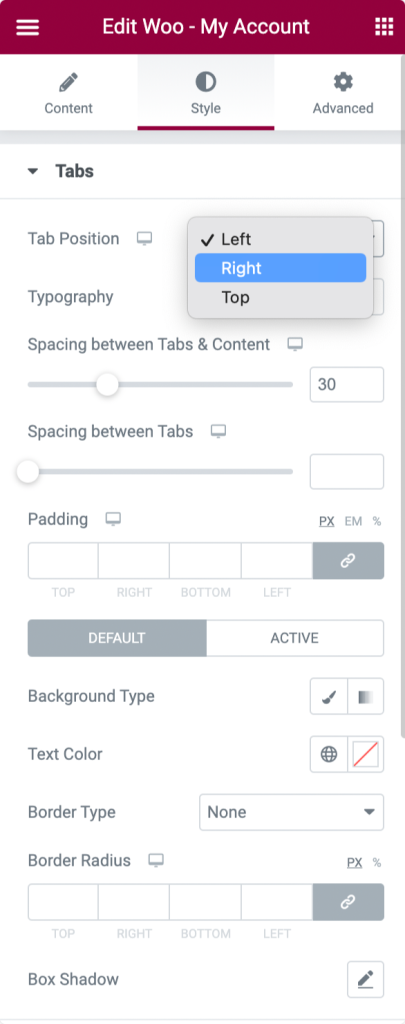
Step 5: Coming to Styling, you can change all the tabs’ look and feel individually. Using styling options, you can customize the tabs, tables, buttons, forms, and even notices. Go ahead and make the changes you want here.
If you want to check out a video to help you with setting up the My Account page, here is a video I made precisely for this:
Step 6: Once you are done making the changes, go ahead, and publish the page.
Here is what our My Account page looks like:
We finally have a functioning store!
Woohoo! You have successfully set up a custom-functioning WooCommerce store with Elementor Free and PowerPack!
Great job!🎉
You can go ahead and give your store a trial run. If you want to customize the store any further, you can always go back and make the changes you want.
Start Selling With Your WooCommerce Elementor Store Now!
I am sure, with the help of this tutorial, you would have been able to set up your WooCommerce store without the need for the Elementor Pro.
You can do a lot more with the PowerPack addon for Elementor. There are more than 70 creative widgets that you can use to customize your Elementor pages. If you wish to learn more about the PowerPack add-on for Elementor, check here.
What are your thoughts on this WooCommerce Elementor Tutorial? Do share if you found this guide useful!
More Tutorials on WooCommerce:
