Are you looking for a way to create a landing page with Elementor on your website? Are you bored with the current landing page and want to make a new page for your visitors to see? In this article, I’ll go through a step-by-step tutorial on how to customize your website’s landing page with Elementor.
Your landing page is basically the first page your visitor sees after the user clicks on a link and “enters” your website.
The landing page is designed with a focus on conversion, so to make sure the page converts your viewer into a customer, you need to pay attention to some details that can boost the conversion on your website.
Often people look for a theme, activate it on their website, and try to tweak it according to their needs. But only a few themes offer good customization options, so in that case, you need a Page builder, and we will be using the Elementor Page Builder for customizing our landing page.
What Makes a Landing Page Good?
The sole goal of a landing page is to increase a website’s conversion to reach a campaign goal. This conversion goal can be anything ranging from increasing sales, getting more newsletter subscriptions, or ranking higher on search results.
Your landing page’s most important role is to rank and start pulling in traffic. This can be taken care of with good SEO practices and keyword targeting, but even if your users land on your website and bounce off immediately, it defies the whole purpose. And that is why we will be paying attention to all the critical details of the landing page and how you can make it conversion oriented.
Top 10 Checklist for a Well-Optimized Landing Page Creating with Elementor
- Purpose/Goal: Before creating a landing page, define the goal that you want to achieve with this. If you wish to add a landing page to increase conversion or sales, ensure your landing page follows the same goal and has no distractions that can divert your user to other pages.
- One Primary CTA: The CTA will redirect your visitor toward the final goal you want to achieve with your landing page.
- Lightweight: Do not load up your Landing page with irrelevant content. Only add the content your user wants to know before landing on the page. Ask yourself what you would like to know if you land on this page.
- Value Proposition: Consider adding your value proposition if you have multiple competitors. The ideal place for this is to include it in the second or third section but make it clear in the first place. You need to convey your USP to your audience so they feel more confident in signing up for your product/service.
- Social Proof: Another point you should pay attention to is adding social proof. Social Proof helps in boosting your viewer’s buying decision. You can do this by adding Customer logos, testimonials, reviews, etc.
- Design: Keep your design consistent! I often see people giving a lot of effort into building a page but forgetting to keep the elements’ design consistent. If you want your landing page to look good, keep them consistent in all sections. Be it color, typography, or image styling, maintain consistency.
- Images/Videos showing Context of Use: Not everyone likes to read a lot, and when it comes to a landing page, people often have a very little attention span. You can grab your audience’s attention using images and videos. Add them appropriately!
- Content: You need to work on fine-tuning your page’s content. Do not add a lot of content in the sections. Also, do make sure your message is clear to your audience.
- Answer all the questions: Your viewer might have many questions, and if you wish them to convert, you need to answer them. You can also add an FAQ section to make things more simple.
- Contact Details: Make it easier for your viewers to reach you. Many prefer to get all their questions answered before signing up for a service or buying a product. If possible, this can be done by adding contact details, social media profiles, and a live chat feature.
This list goes through all the important aspects of a landing page. Do make sure you have checked off every item on this list while building your landing page.
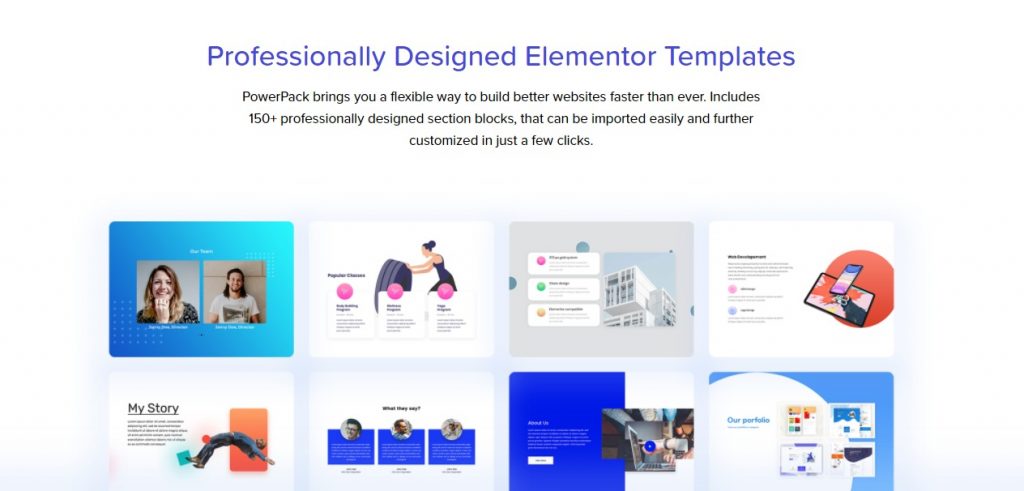
Let’s see how you can build a landing page with Elementor in minutes with the help of the PowerPack Elementor Addon.
Let’s dive in!
Creating a Landing Page with Elementor
Since we will be creating our landing page with Elementor and the PowerPack’s Template Library, make sure you have the Elementor Lite/Pro plugin and the PowerPack Pro addon installed and activated on your website.
Once we have the plugins installed, we can start setting up our page.
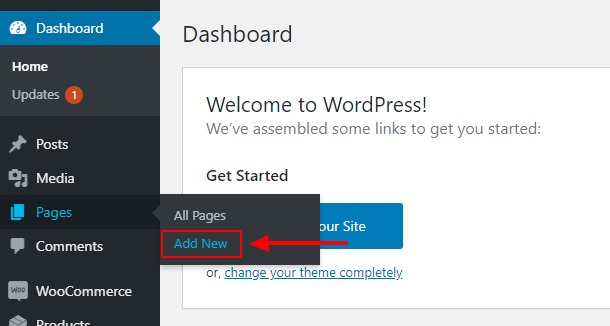
Step 1: Creating a new page
Let’s start by creating a new page. Go to Wp Admin dashboard > Pages > Add New.
Now give your page a proper name. I am going with “My new Landing Page.”
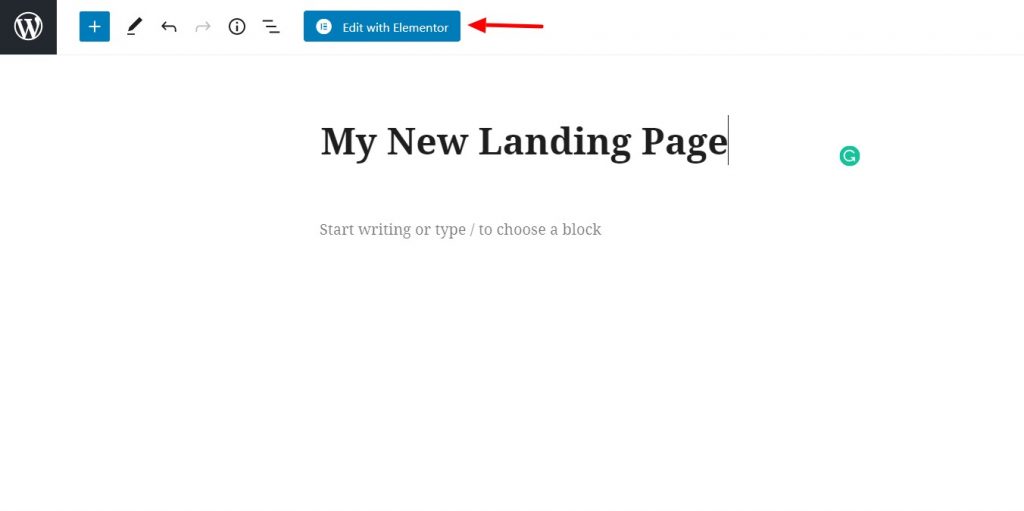
Once done, click the “Edit with Elementor” button to launch the Elementor editor.
Step 2: Building the Elementor Landing Page
Here, we will start building our page.
Firstly, go to Page Settings by clicking on the wheel icon in the lower-left corner. Change the page layout to the canvas. If you want to keep the header and footer, go with the full-width layout.
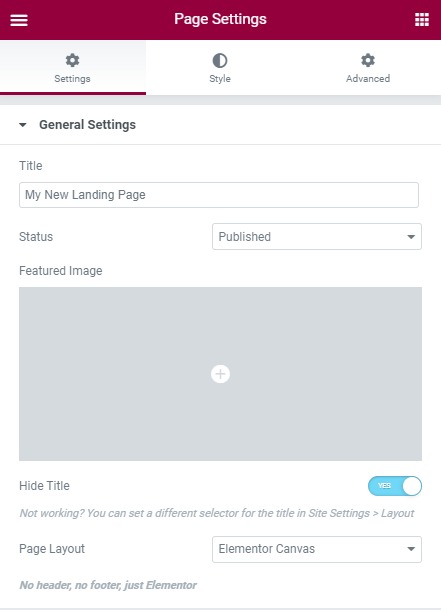
If you are going with the full-width layout, make sure you have a good-looking header and footer on your website as well. With PowerPack, you get the Header/Footer builder that allows you to create stunning headers and footers for your website with Elementor Free version.
If you want to learn how you can use the header/footer builder to enhance the design of your landing page, check here:
- How to Create a Custom Header using Elementor Free?
- How to Create a Custom Footer using Elementor Free?
Now let’s start adding the sections on our page.
Step 2.1: Hero Section
The hero section is the topmost section of a page. The Hero section is the first section that the user sees when the page loads, so you need to make the message of your campaign clear in this section.
Let’s add a hero template from the PowerPack templates library.
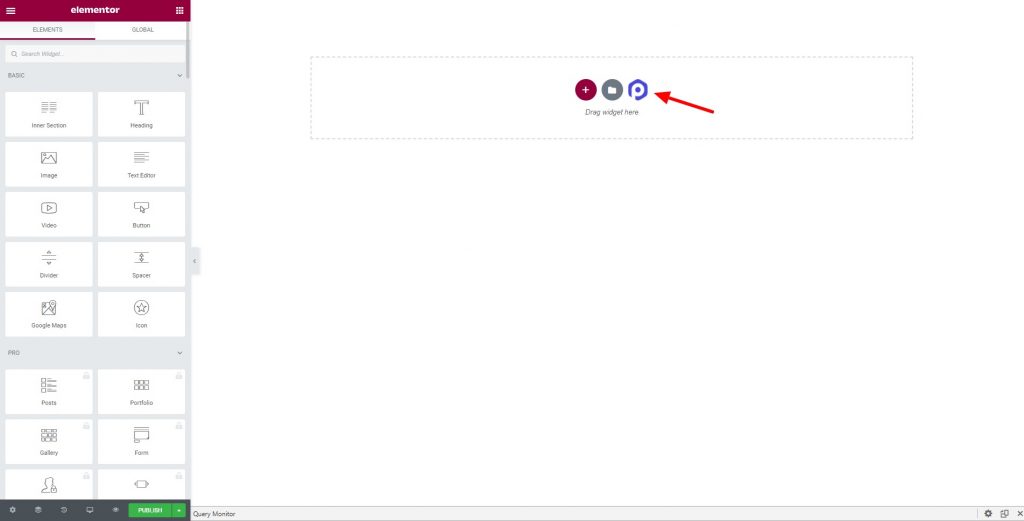
Click on the PowerPack logo in the center of the page. Doing this will load all the PowerPack templates.
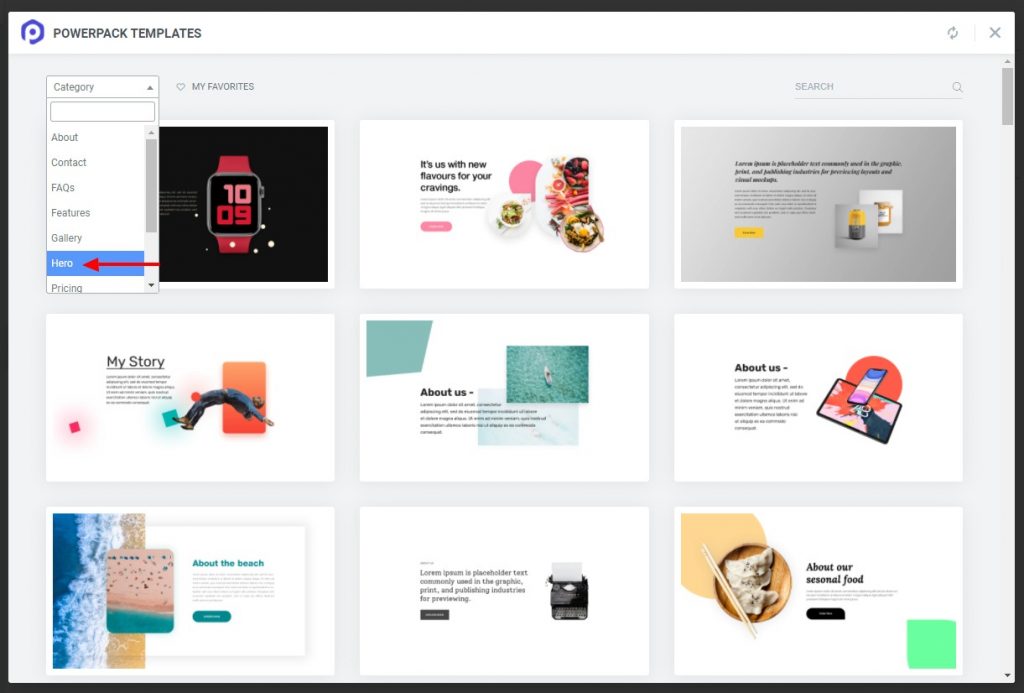
Now select the category “Hero” from the top left corner. This will load all the hero sections.
Now choose the one you wish to add and click on the insert button. That section will be added to the page.
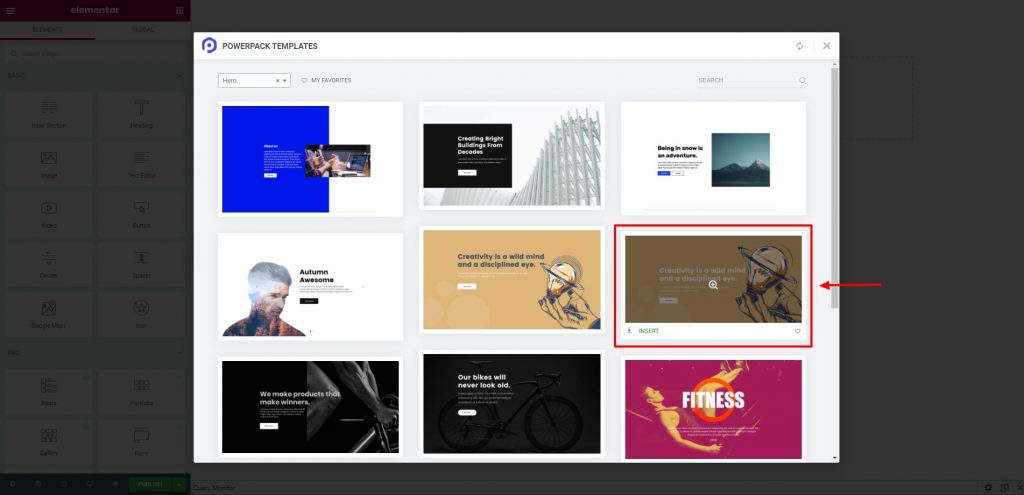
I am using this hero section for my landing page.

Now it is time to tweak the landing page with elementor. You can change the text, images, links, and even add a few elements.
Pro Tip: Your hero needs a lot of breathing room, so do not add a lot of stuff in this section. You need your user’s focus to drive toward the CTA button only. For starters, you can add an image, a title, and subtitle, and finally, the CTA button. Keep the text to a minimum in this section.
When you are done with the hero section, we will move to the next one. Features Section.
Step 2.2: Features Section
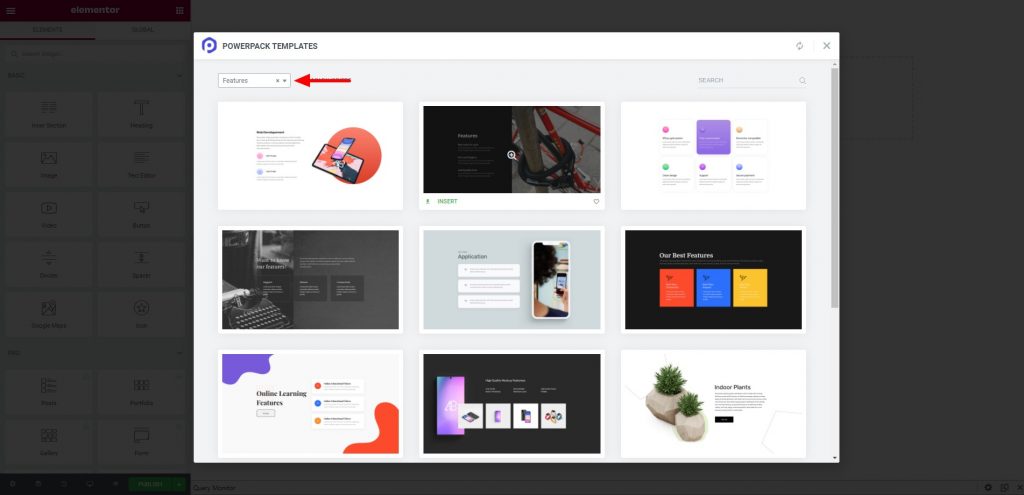
Now we will again add a new section like the last one by clicking on the PowerPack logo and selecting the category “Features.” Now look around and add the one you want using the insert button.
Again here, make the changes you want to make, like text, styling, and images, and once you are done, we will move on to the next section.
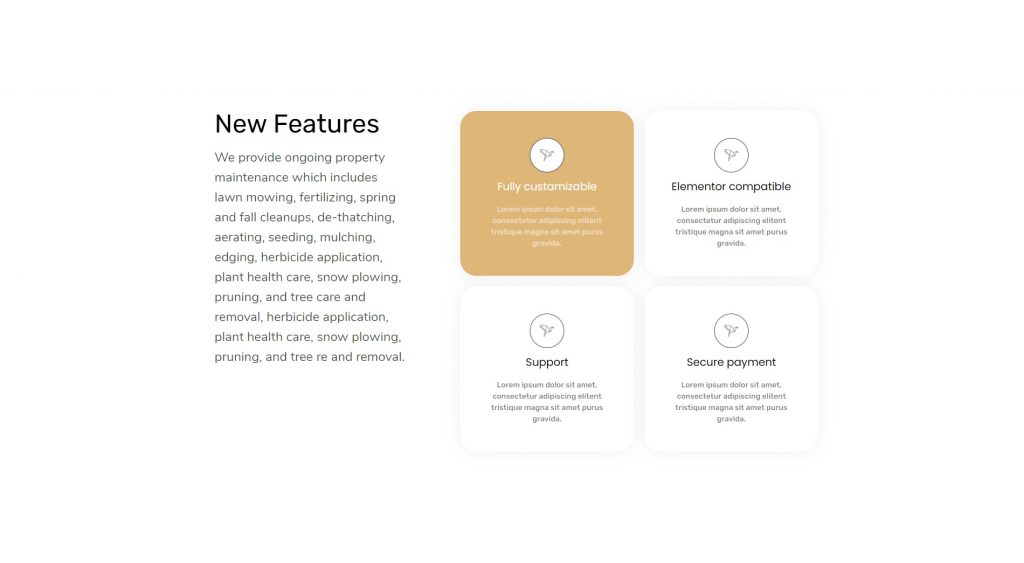
Pro Tip: One thing new designers forget to pay attention to is creating a consistent landing page. Be it typography, font styling, colors, or icons, you need to make them look similar or even on the entire page. If you are following a specific color pallet on the hero section, keep the rest of the page in the same contrast for a professional-looking design.
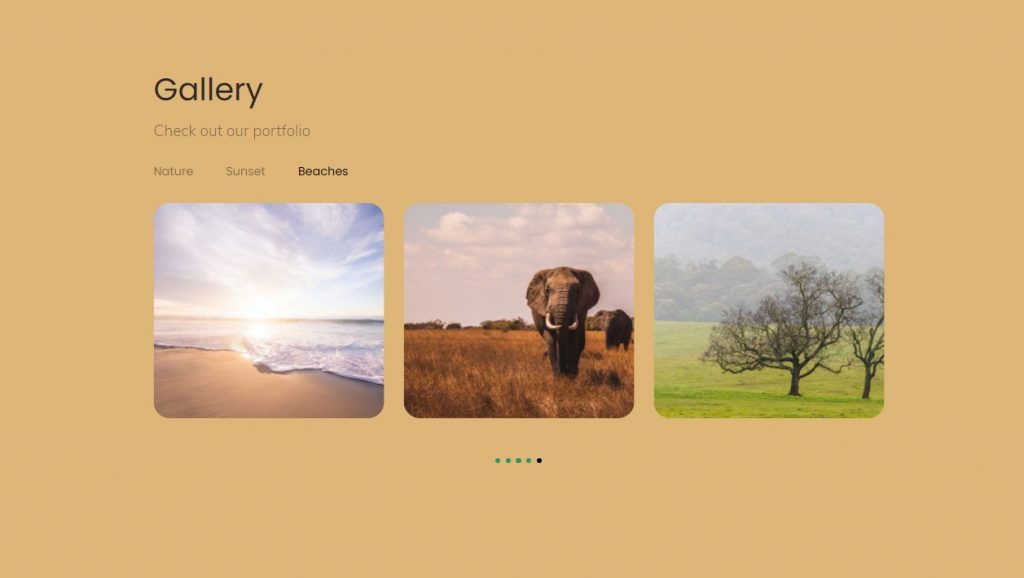
Step 2.3: Image Gallery Section
Now this section is an option for some landing pages. But if you are creating a page to showcase your work, which can be displayed in a better format using images or videos, you can add the Gallery section.
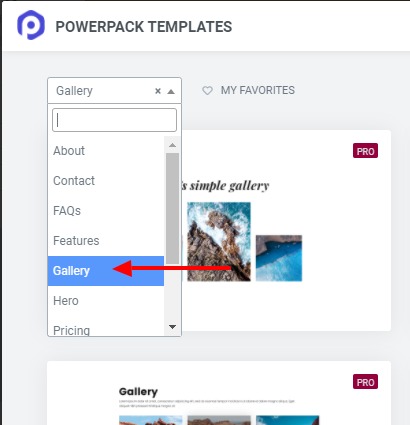
Again for this too, we will be using the PowerPack’s templates. This time select the category as Gallery. And drag and drop the one you like.
I am going with this section:
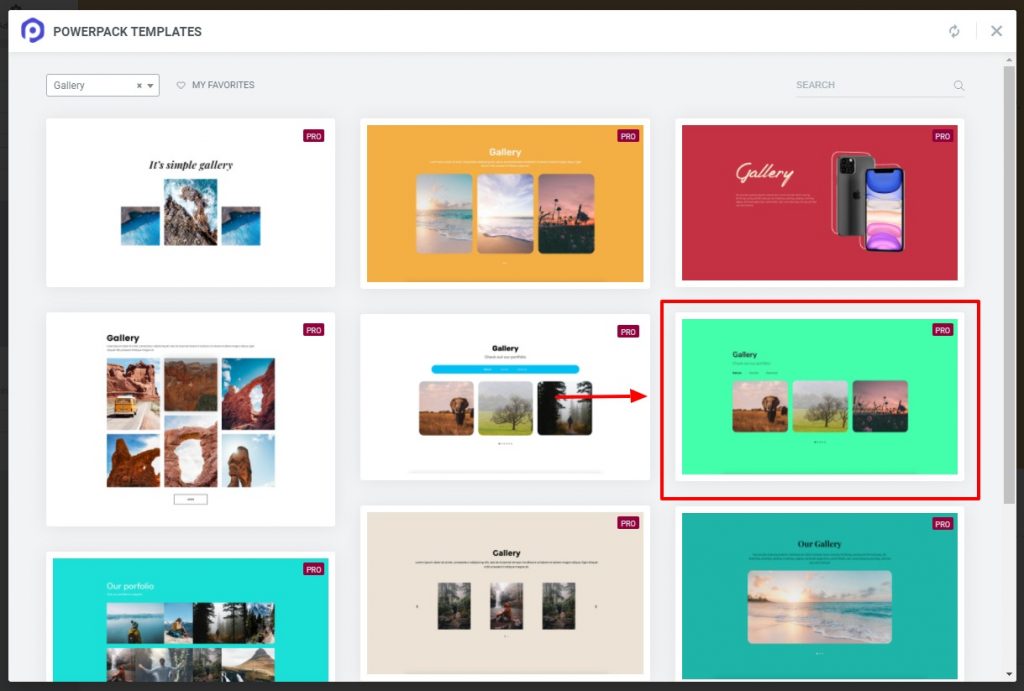
Once you have the section in place, add the images and customize the text. You can even add a link to your portfolio page.
Pro Tip: While it is okay to add links to other pages like portfolio, you need to keep in mind that all of your page focuses the user’s attention on your CTA. If you redirect your viewer to the portfolio page, make sure your landing page’s CTA is available at the end of the portfolio page as well to funnel in the viewers. Otherwise, you are diverting your viewer’s attention from the campaign goal, which is probably the CTA at the end of the website.
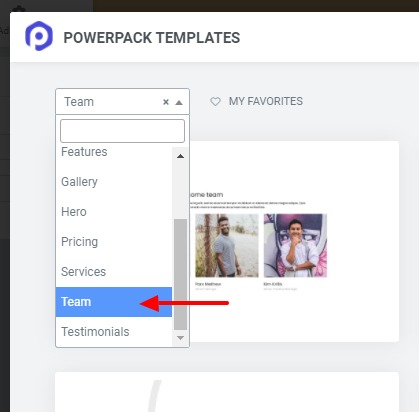
Step 2.4: Teams Section
Now for my landing page, I want to add the team’s section. For this, too, I will be selecting one of the predesigned templates of PowerPack’s templates library.
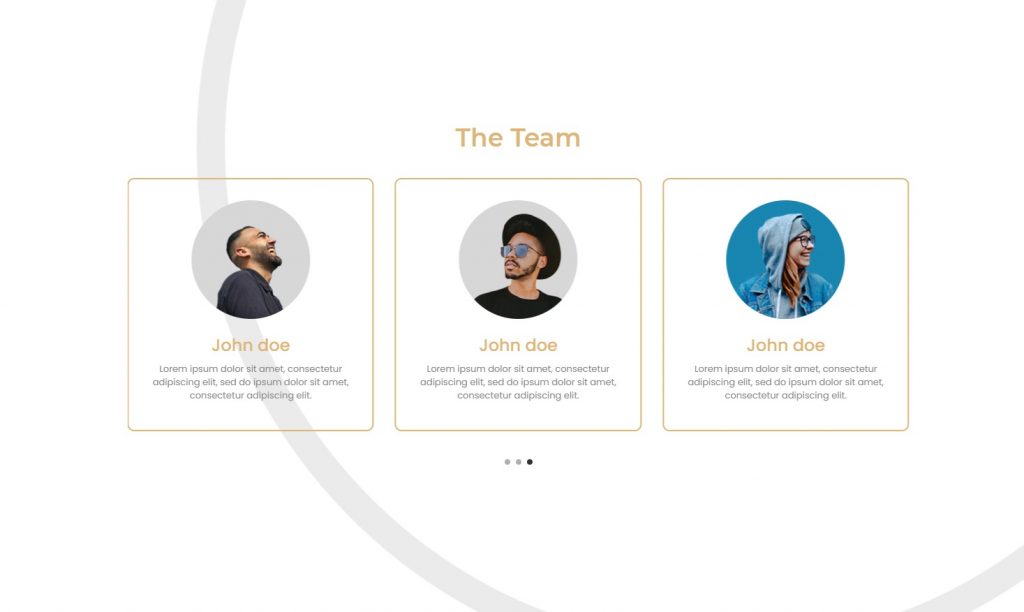
Select the category Team to display all the team sections. Select the one you like and click on the insert button.
Go ahead and update the team members’ information in this section and follow the same font styling and colors in this section.
Pro Tip: Adding this section is entirely optional. If you have a team of well-known professionals, this section will help, but if your team is still small and learning, you can replace it with the testimonials section. The testimonials section works way better in building confidence in the reader’s mind and, in turn, boosts conversions to your landing page. If you want to add the testimonials section, check out the testimonials category in PowerPack templates.
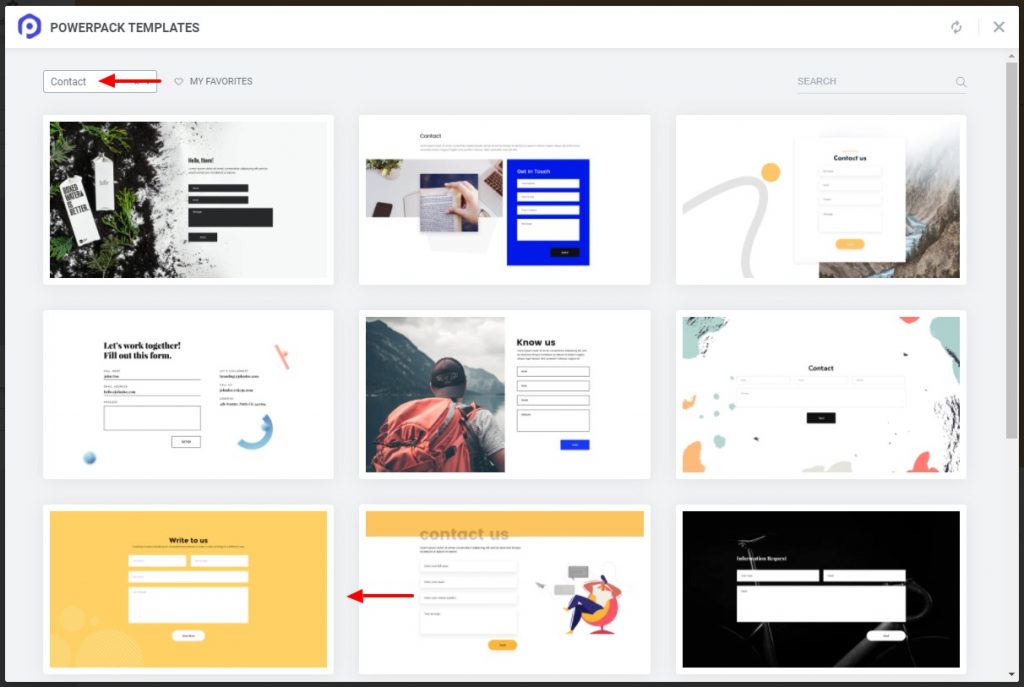
Step 2.5: The Final CTA Section
Now comes the end of the page, and we will be adding the final CTA section for our landing page. We have conveyed every message and piece of information we want to give our visitors, and now it is time to convert them into leads or customers.
For this tutorial, I will be adding the Contact Us section. Go to PowerPack templates and select the category “Contact.” Now choose the one you’d like and add it to the page.
Now comes the customization part. Here too, alter the content, typography, colors, styling, and spacing so it matches the overall design on the landing page.
You can add your social media pages as well. This will also help your users reach out to your social media accounts.
Pro Tip: Stats have it, and I am sure even you have experienced that the more fields in your form, the fewer people are inclined towards filling it. If you want the visitor to subscribe to your newsletter, ask for only the name field and the email address. There is no need to add other areas. Another thing to keep in mind is that your CTA must be clearly visible. Use a color and font scheme that makes the button look more appealing and welcoming. For this, avoid using striking colors like Red. This can drive off the viewers.
Finishing Your Elementor Landing page
To finish your landing page, ensure all the sections are working properly and look well when put together. Now you need to do one more thing before we can publish the page.
Make Your Landing Page Responsive!
A good landing page performs seamlessly on all devices, and you would also want the same from your landing page. With elementor, you, too, can make your landing page responsive.
Select the preview option for tablet or mobile, and your page will load up in that device format. Then you can make changes to the landing page easily.
Once you are done making changes to your landing page, go ahead and publish your landing page by clicking on the Publish button in the lower-left corner.
If you want the page to load up on your website’s home screen, you need to assign it. For that, go to the WordPress Admin Dashboard > Settings > Reading.
Now, set the homepage display to “A static page” and select the page you have just designed from the dropdown list. Once you do that, click on the save changes button.
Show us your Elementor Landing Page!
At this point, I am sure you’ll be able to create a custom landing page on your website without any problem.
The best part about building with PowerPack Elements addon is that you can add and improve your website’s design using the creative PowerPack Widgets with epic functionality and controls.
Want to be featured?
Share a page design you made with Elementor, and I would love to showcase the same on our website and social media platforms. Nothing makes us happier than seeing people building great stuff with PowerPack and Elementor.
If you found this tutorial useful, do share the love!
Create a Landing Page Using Elementor: FAQs
Elementor is a powerful drag-and-drop page builder plugin for WordPress. It allows users to create stunning and functional landing pages without coding knowledge. Its intuitive interface, rich template library, and extensive customization options make it an excellent choice for beginners and experienced web developers.
Absolutely! Elementor is designed to be fully responsive, ensuring your landing pages look great on all devices, including desktops, tablets, and smartphones. Its mobile-friendly features, like breakpoint controls and device visibility settings, enable you to customize the layout and appearance for different screen sizes.
Yes, Elementor offers a vast collection of professionally designed landing page templates. These templates cover various industries and purposes, making it starting project with a solid foundation. So, easily choose a template that suits your needs, customize it with your content and branding, and your landing page will be ready in no time
Absolutely! Elementor allows seamless integration with popular third-party plugins and services. You can easily integrate forms, email marketing platforms, analytics tools, social media widgets, and more to enhance your landing page’s functionality and capture leads effectively.
