PowerPack Custom Cursor Extension allows you to change the default mouse cursor and display, Text, Icon, or Image Cursor styles on your WordPress sites using Elementor page builder.
In a simple few steps, you can change the style of the default cursor of your web pages.

To change the cursor style:
Step 1: First, open the page using Elementor editor and Add New Section by clicking on the "+" icon.

Step 2: Now SELECT YOUR STRUCTURE and click on the Edit Section icon.

Step 3: On the left side of your page, you'll see three tabs: Content, Style, and Advanced.
Go to the Advanced Tab and click on the PowerPack option.
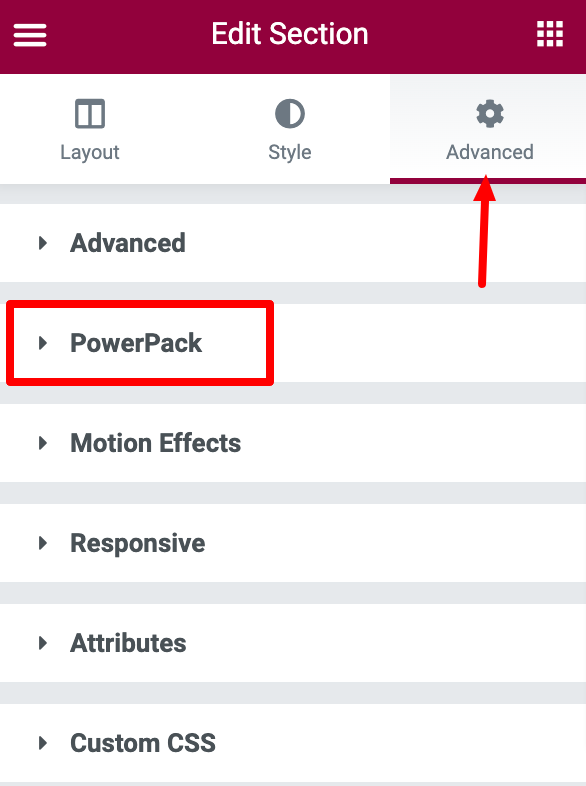
Step 4: This will open the PowerPack Extensions list. Toggle on the Custom Cursor feature.
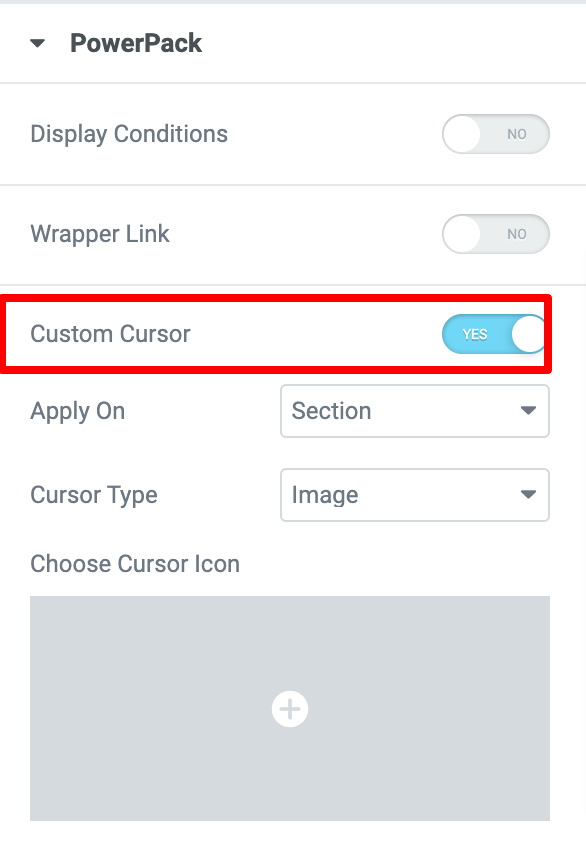
You'll be displayed with options to customize the default cursor:
- Apply On - You can choose to apply custom cursor on Section or define Element/Class ID.
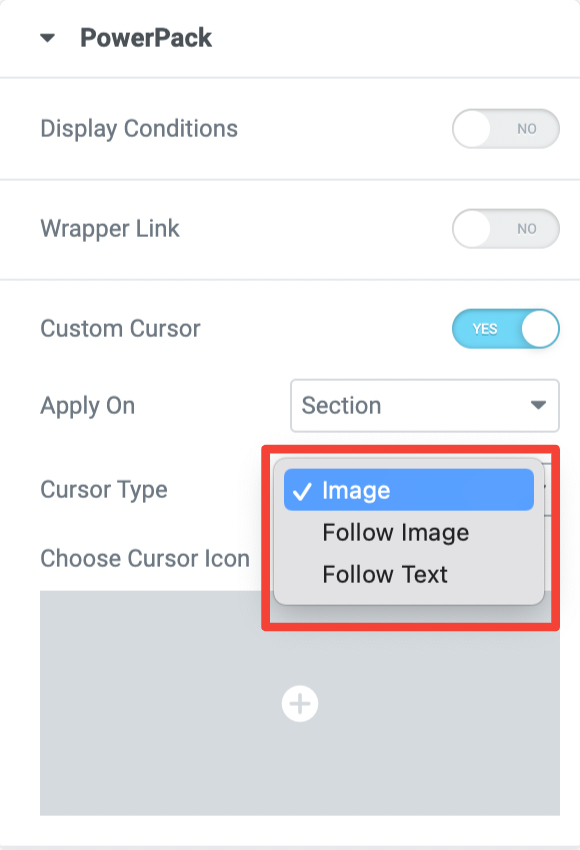
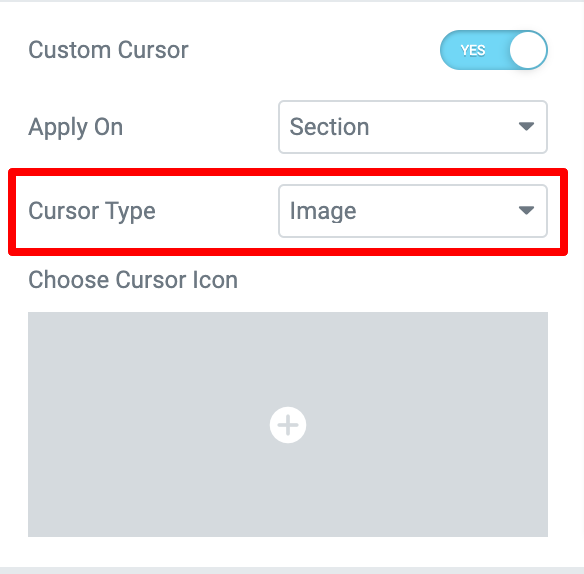
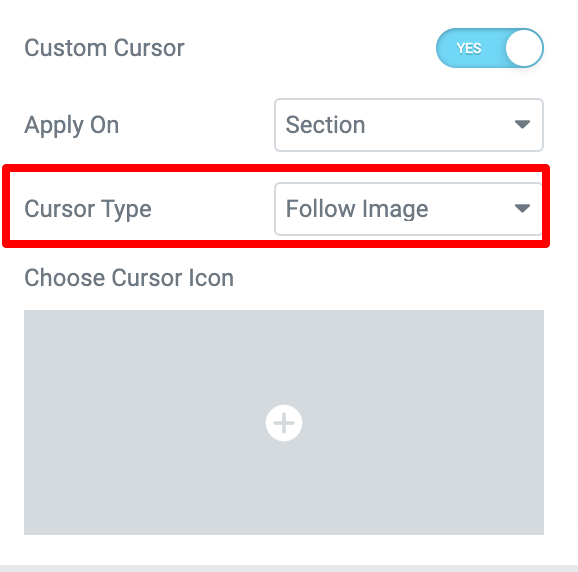
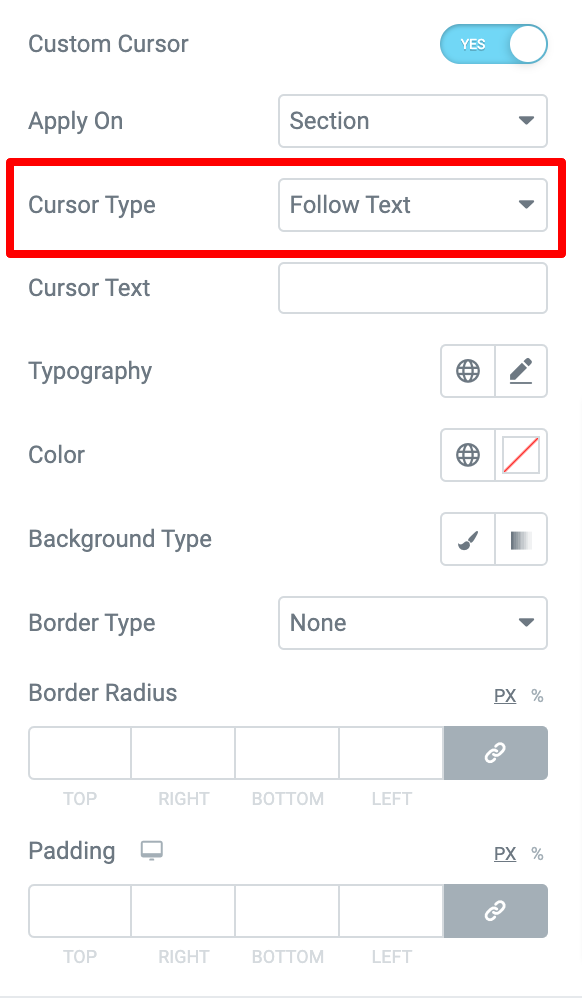
- Cursor Type - Choose your custom cursor type to Image, Follow Image or Follow text.
If you select Image as a cursor style, you can choose a cursor icon from the media library.
Selecting the Follow Image option as a cursor gives you the flexibility to add a custom image followed by the default mouse cursor.
Lastly, you can choose the Follow Text as a cursor style. Here you get multiple styling options to customize the text content.
You can add custom text, change typography, set color and padding, add background color, and many more.
This is how you can change the default mouse icon using the PowerPack Custom Cursor feature and Elementor. The exact process you can follow to change the default mouse cursor on widget.
Hope this helps!