
Are you looking for an easy way to display a comparison table on your Elementor websites?
Comparison tables allow site visitors to compare different products/pricing packages and help them make better decisions.
In this article, we’ll show you how to create comparison tables with Elementor – without adding any code!
How Do I Create a Comparison Table in Elementor
Though Elementor provides the ultimate list of advanced features, creating a comparison table with Elementor is challenging. You can easily display a comparison table on your websites using the PowerPack Addon, and it consists of 80+ creative widgets and 100+ ready-made templates.

Speaking of a comparison table, it’s the best tool to display your product’s services/pricing/features compared to versions of your product. It allows users to make more informed decisions.
There are many instances where people use comparison tables on their websites, but we have seen the common use of comparison tables on the pricing page. Site owners display comparison pricing tables so that their prospective customers compare their product pricing before purchasing.
So, in this post, we’ll cover the step-by-step process of creating a comparison pricing table with Elementor and PowerPack.
How to Create a Comparison Table with Elementor
We’ll complete the whole process in two sections. First, we’ll create pricing tables using the Pricing Table widget, and in the second section, we’ll display a comparison pricing table using the Content Toggle widget.
Create a Pricing Table with Elementor
Let’s get started with creating pricing tables with Elementor first.
Step 1: Add the Pricing Table Widget
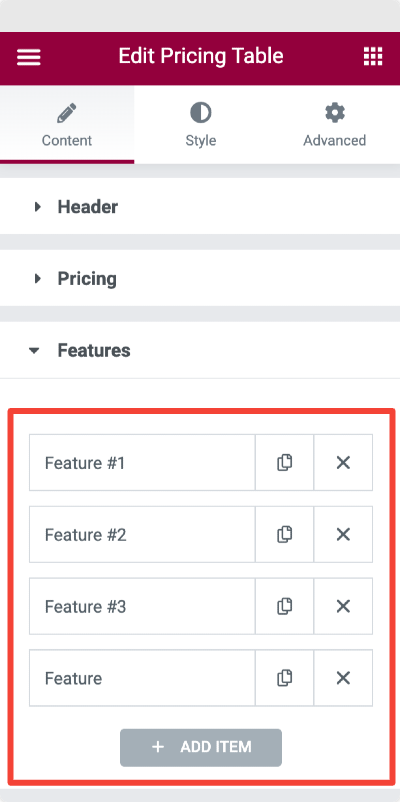
Here, I am creating a three-section pricing table.
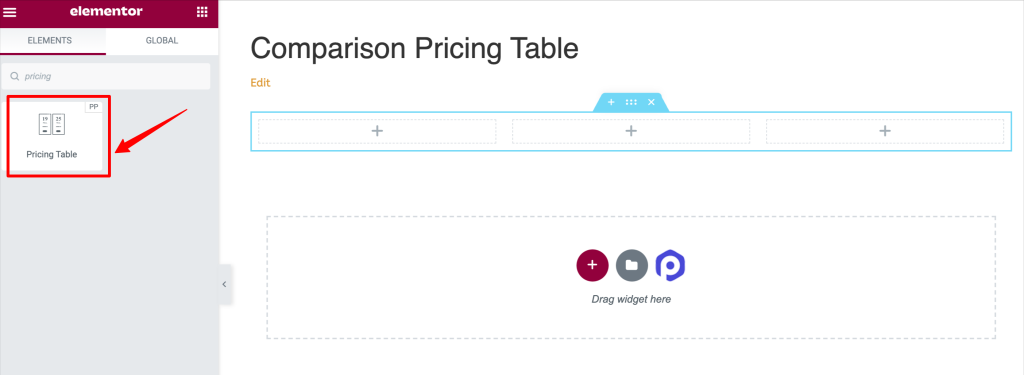
This is how your page will look after adding the Pricing Table widget.
Step 2: Customize the Content Tab of Pricing Table Widget
The Pricing Table widget allows you to create fully customized pricing tables as per your liking. From altering content to styling elements, you can do everything.
Let’s see all the content customization options you’ll get in the PowerPack Pricing Table widget.
- Header: This is the first section of the content tab; from here, you can select the icon type, title and add subtitles for the pricing table.
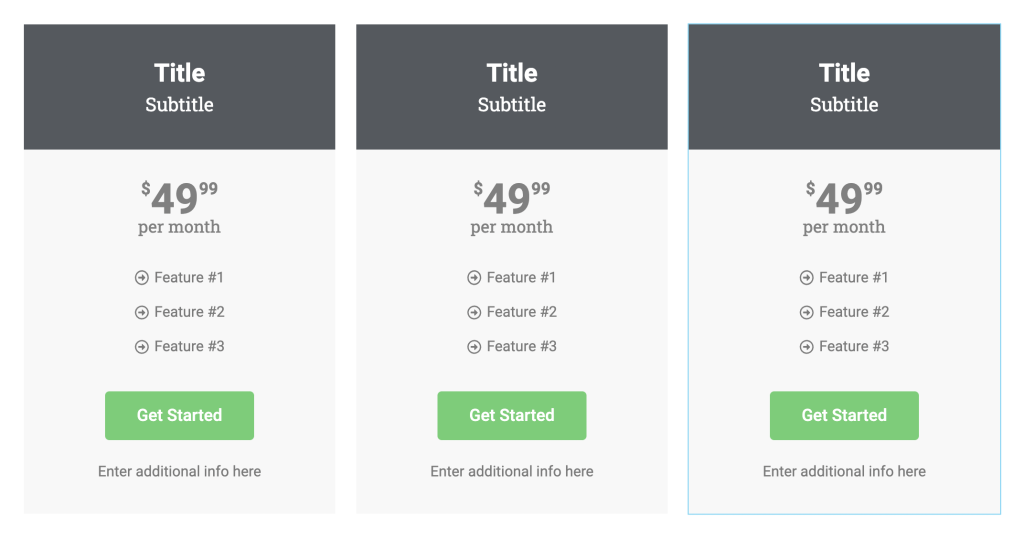
- Pricing: Next is the pricing section. Here you’ll get options to set the displayed price, currency symbol, currency format, and time duration for the pricing table. Also, if you want to show discount prices, you can do that by enabling the “discount” option.
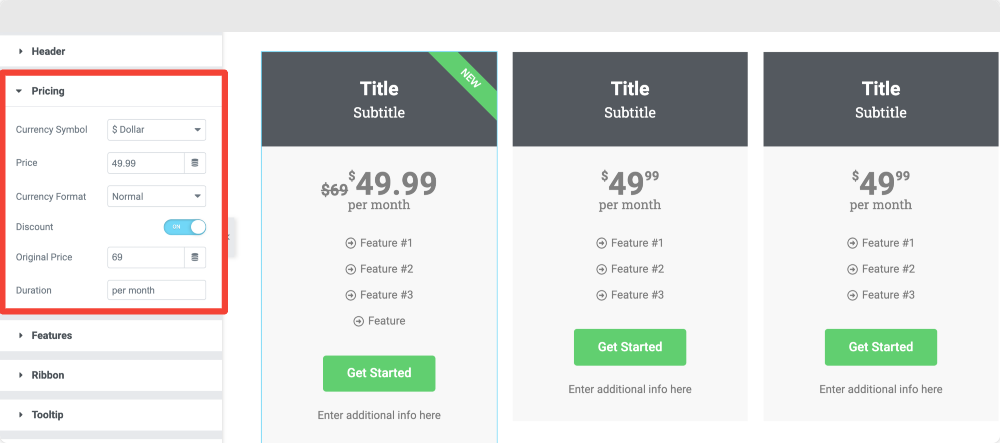
- Features: This is the section where you can add different features of your offered pricing packages.
You can add and modify the feature list of the pricing table.
Plus, you get the flexibility to customize each feature of the table. From the subsections, you can change the list item, list icon & icon color. Also, you can change the text color & background color of the list item.
Apart from this, you can use the “exclude” toggle to exclude any active feature of the table.
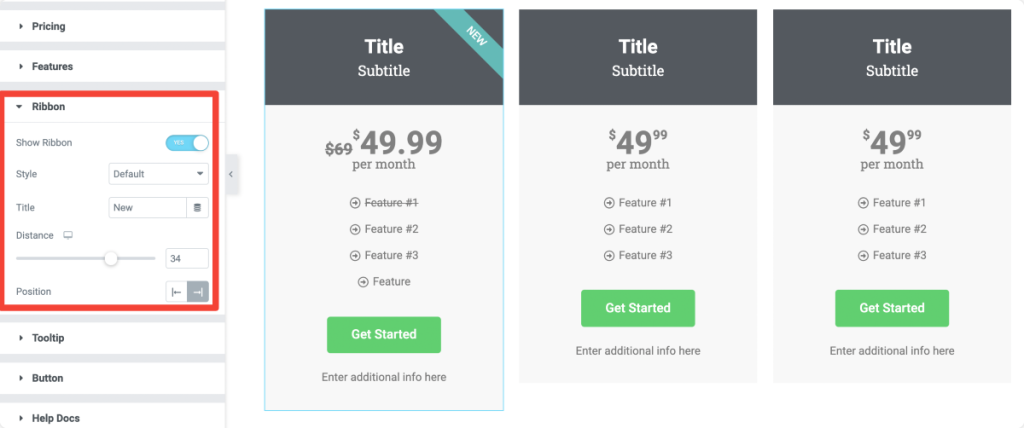
- Ribbon: Ribbon is a slant highlighted text that makes your pricing table pop up and helps display discounts and offers related to that plan.
You can display a ribbon on your pricing table by toggling on the “show ribbon” button. As soon as you enable the ribbon feature, you’ll be displayed with more options.
You get options to choose your ribbon style, add text and set the distance and alignment of the ribbon.
- Tooltip: Next is the tooltip section. Enable the tooltip option to display informative text relating to the pricing package.
You get the flexibility to trigger tooltips over click and hover. Define the size and position of the tooltip.
- Button: Lastly, you get options to customize the call-to-action button. You can modify button text, button links and add additional info.
Once you define the pricing table’s content, move to the Style Tab of the Pricing Table widget.
Step 3: Customize the Style Tab of Pricing Table Widget
The Pricing Table widget for Elementor comes with many exciting features by which you can style every aspect of the pricing table.
Header Section: From the Header section, you can add background color, border type, and many more styling features. In this section, you can style the icon, title & subtitle of the pricing table.
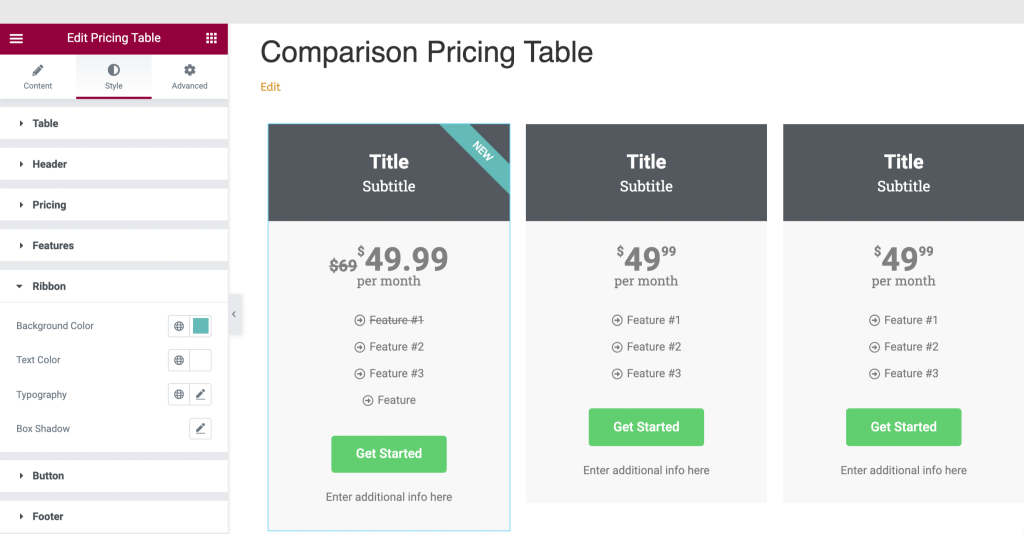
Similarly, you can style pricing, features, ribbon & tooltip section by changing color, typography & other aspects of the pricing table as per your needs.
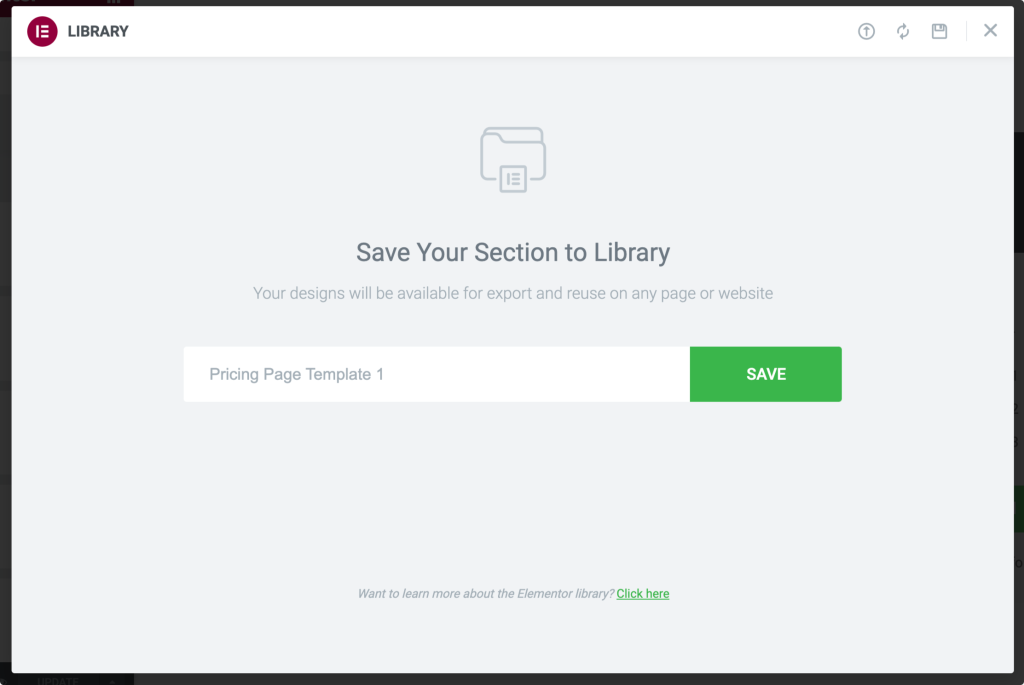
Step 4: Save Pricing Table Section as a Template
Once you are done creating and styling the pricing table, we need to save the pricing table section as a template to use the saved pricing table template later with the Content Toggle widget.
- Right-click on the “Edit Section” and select the “Save Template” option.
- After clicking the section, a menu appears with a few options; choose the Save as Template option. Give your template a proper name and save it.
After saving your template, create another pricing table with the required information and again save it as a template.
Display Comparison Pricing Table Using the Content Toggle Widget
The Content Toggle widget helps you create stylish toggle buttons or switch buttons to display two compared versions of content quickly.
Now let’s see how you can use the Content Toggle widget to display the comparison pricing table.
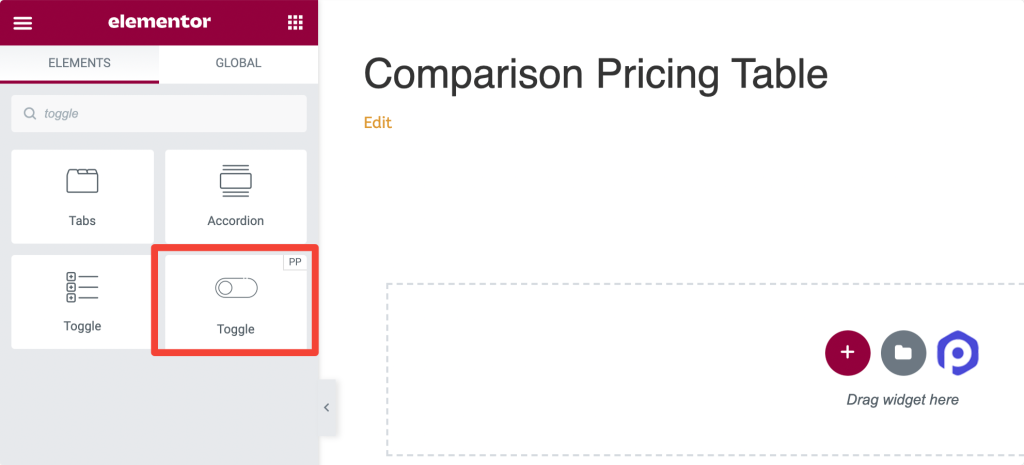
Step 1: Add the Content Toggle Widget
First, open the page where you want to display comparison pricing tables. Search for the Toggle widget in the search bar and drag and drop the Content Toggle widget on the page. Make sure to check the “PP” sign on the top-right of the widget.
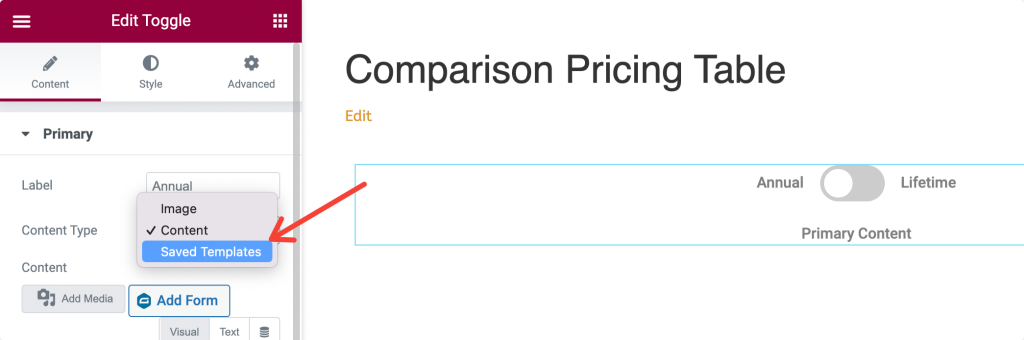
Step 2 : Add Label and Choose Content Type
We need to add a label and choose the content type for our toggle button. Here we are creating a comparison pricing table so add the label name accordingly.
Click on the “Primary” subsection, add a label anime and choose content type. Select the “Saved Templates” option as a content type and add a template name that you have saved previously.
Do the same for the second option under toggle settings and select the “Secondary” sub-section and change the label name.
Step 3: Change Setting Option
Once you add both templates, you can alter more advanced settings such as default display, toggle switch style, and toggle position from the Settings sub-section.
Step 4: Style Toggle Button
Next, jump to the Style tab of the Content Toggle widget. You’ll get multiple styling options in this tab to customize the toggle switch.
You get options to:
- adjust the alignment of the toggle switch
- change labels spacing and background color
- set labels position, text color, and active text color
- and more.
Once you change styling settings, you can publish the page.
And this is how your comparison pricing table will look like on the live page!

Get PowerPack and Content Toggle Widget For Elementor
I hope you find this article helpful. Using the PowerPack Content Toggle Widget, you can display comparison pricing tables easily!
PowerPack offers more than 80 creatively designed widgets and powerful extensions that you can use to create beautiful websites. Click here to get the Comparison Table Widget for Elementor with PowerPack!
If you liked this article, share your thoughts in the comments below. For more PowerPack tutorials, please subscribe to our YouTube Channel.
You can also join us on Twitter and Facebook.
More From the blog:
