Looking for a way to build ultimate Elementor websites? If you’re an agency owner or a web designer, I am sure you have encountered several instances where building a website wasn’t easy. You might have missed some initial tweaks or the final fine-tuning element. WordPress and Elementor have made building simple and complex websites very easy. But, having a defined workflow is very important.
An essential part of any process is a clear understanding of the requirements and tools. If you use Elementor for your website, you should know how it works and how you can get the most out of it. Elementor is one of WordPress’s most powerful page builder plugins, with extensive features but it also lacks a few functionalities. So, to build a functional website, you should be aware of the limitations, too.
We have built Elementor addons, Elementor Templates, and hundreds of client websites. We have come across the challenges of project management, client feedback, design process, and much more.
In this guide, we have shared our learnings of setting up an excellent process to build Elementor websites. Just a reminder, we won’t be focusing on the project management, design aspects, or something else but only Elementor. Our goal is to help you improve your workflow while using Elementor.
1. Start with an Elementor Page Builder Friendly Theme
A theme is an essential part of every WordPress website. It acts as a canvas for your website’s layout and design. So, picking up a good theme that works with Elementor is important. There are several free and premium WordPress themes; with the growing popularity of Elementor, theme developers are making sure that their theme works well. Some of the most popular themes for Elementor are:
1.1 Elementor Hello Theme
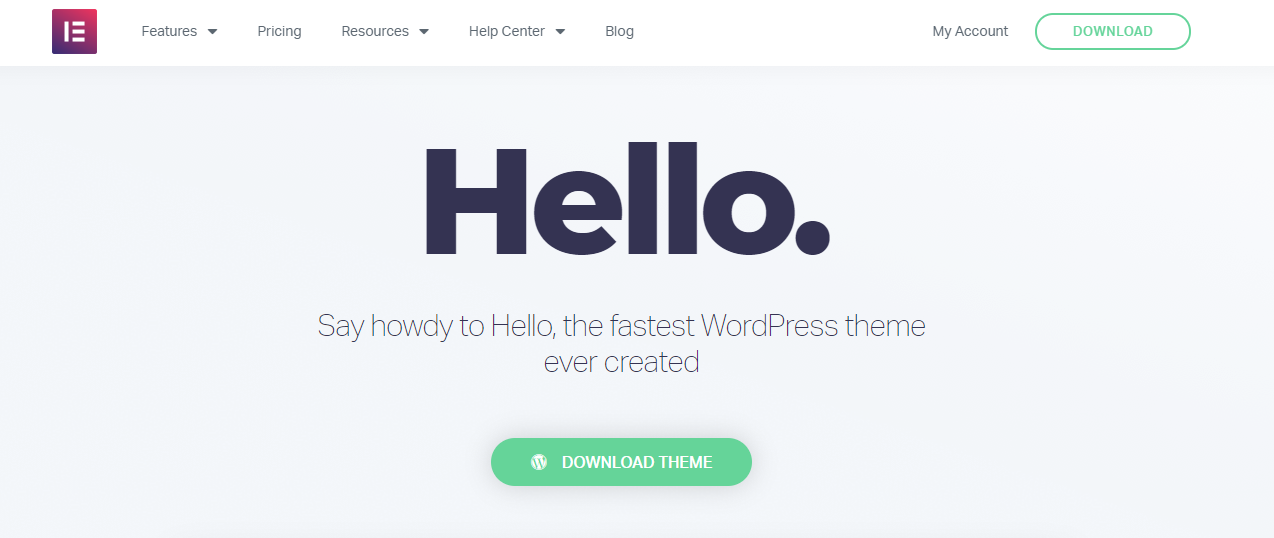
Built by the fine folks at Elementor, Hello Theme is the bare-bones for your Elementor website. It comes with minimal code and options. It’s ultra-lightweight and super-fast. The theme pairs perfectly with Elementor and is an excellent fit if you use Elementor Pro.
Elementor’s free version is limited to providing creative design and content widgets, but Elementor Pro allows you to do much more, like building a custom header, footer, theme templates, etc. Hence, a blank, minimal theme like Hello will be the right choice for Elementor Pro users.
Also Read: Elementor Free vs. Elementor Pro
1.2 Page Builder Framework
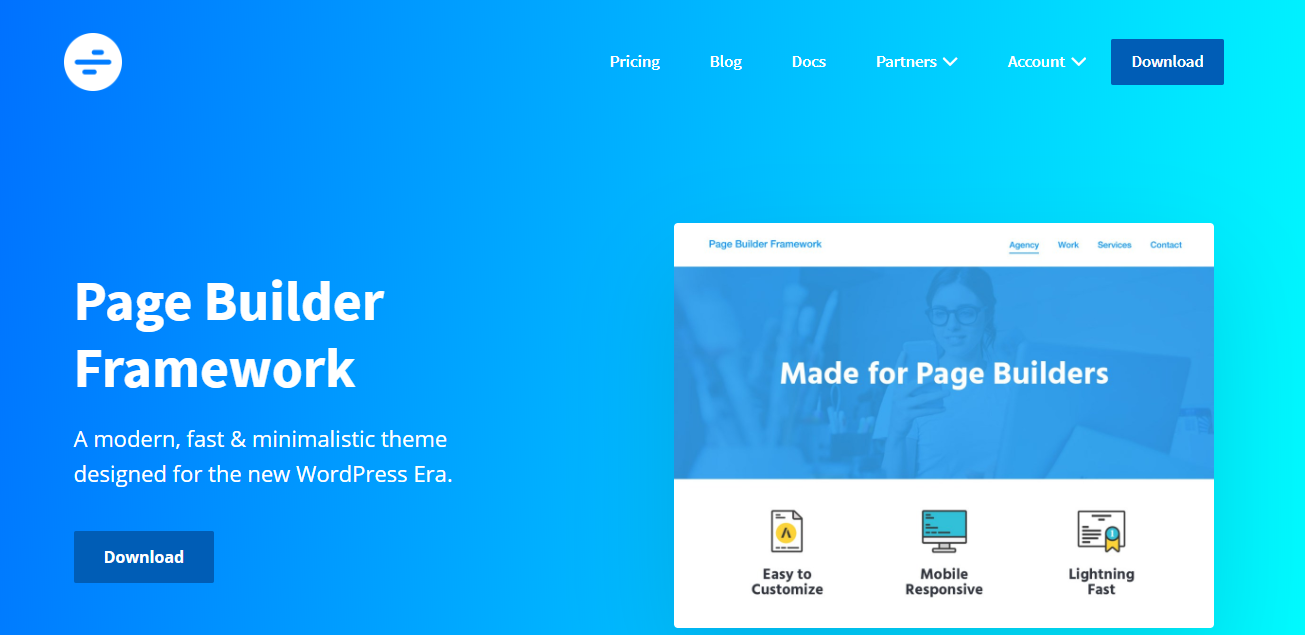
As the name suggests, Page Builder Framework is a modern theme built for Page Builders. It may sound like a developer’s tool because the name contains the term “Framework,” but that’s not the case. It’s easy to use for both Elementor users and developers.
It acts as the base/framework for your Page Builder website. If you are looking for a theme that provides header, footer styling options, blog layouts, WooCommerce integration, and a few more shiny but useful features, Page Builder Framework is worth trying.
Page Builder Framework is free and has a Premium add-on plugin to extend the functionality further. You can use the Page Builder Framework with both Elementor Free and Pro versions. If you are building simple websites, you might not need Elementor Pro since the theme provides extensive design controls for Header, Footer, Blog, and WooCommerce.
1.3 GeneratePress
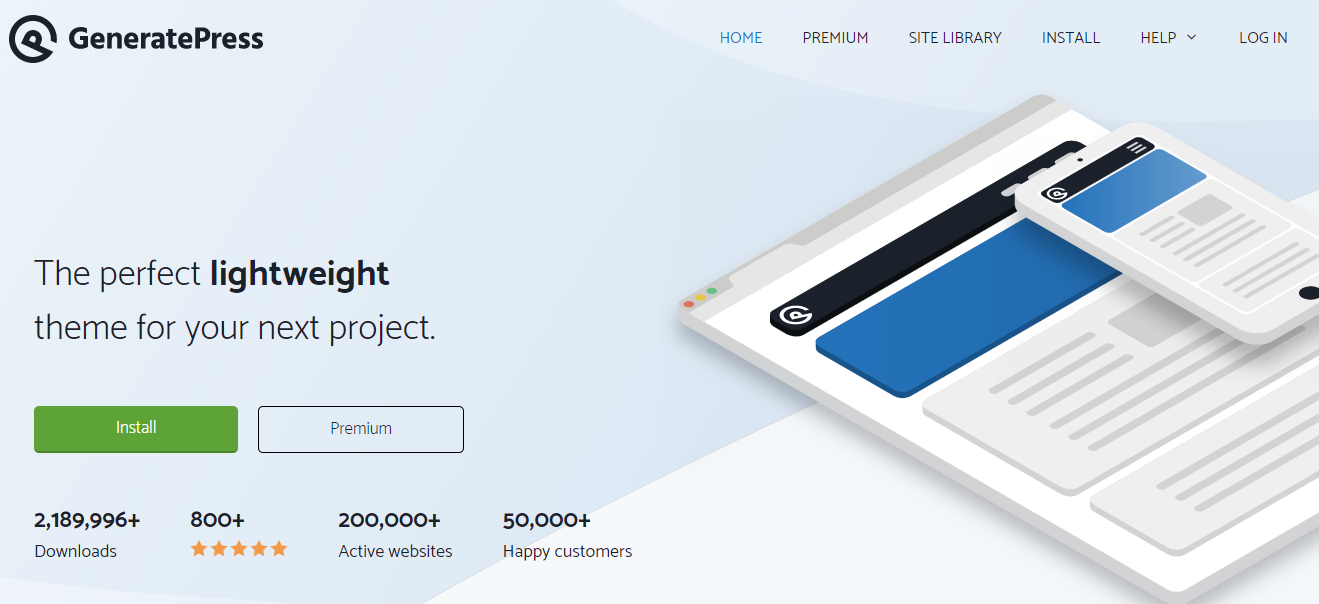
GeneratePress is one of the most popular free themes, with over 2 million downloads, and has been around for more than five years. GeneratePress is a well-coded, highly modular, and reputed theme. It has been around much before Elementor came into existence.
Tom Usborne, the maker of GeneratePress, has maintained and built it well over the years. Keeping up with the latest coding techniques, design functionality, and performance features, GeneratePress is a ground-breaking theme and favorite for many Elementor users.
GeneratePress is a free WordPress theme along with a Premium addon at a very reasonable price of $49.95 for unlimited websites for a year with a 40% renewal discount. That’s a steal deal! It also offers pre-built websites with its site library.
1.4 Astra

Astra is the newest, modern, and one of the best themes for Elementor. It has over 1+ million active installs with 3000+ reviews from happy users. The team behind Astra never fails to innovate and improve its offerings. The free version of Astra is loaded with highly useful features along with Astra Sites. Astra Sites is a library of free and premium page builder templates.
Astra also offers a Premium addon, which will take your website-building experience to the next level. It integrates well with WooCommerce, along with plugins like LearnDash and LifterLMS.
1.5 OceanWP
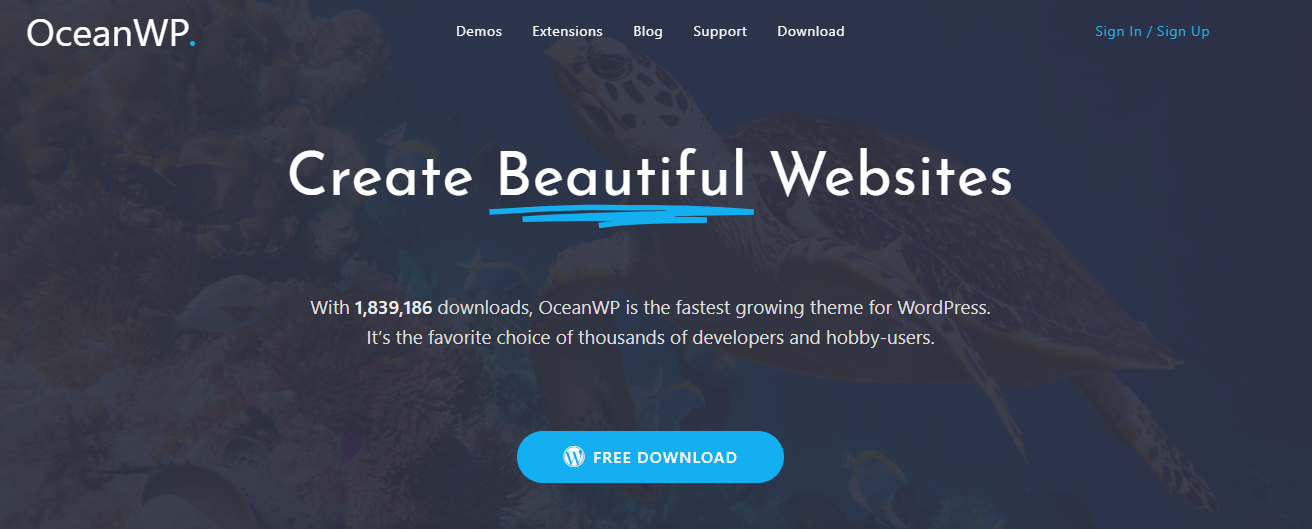
OceanWP is another feature-packed theme with over 600,000+ installations and 2500+ reviews. It has a compelling WooCommerce integration with creative features like a floating add-to-cart button, off-canvas filters, and a quick view option for product details. Pre-built blog layouts, extensive design options, and several extensions can help you do more with OceanWP in less time.
Like other themes, OceanWP also has a library of pre-built templates. Import any existing templates, update images and content, and you are done!
2. Configure Elementor before you Get Started
You must be wondering if I said something wrong. Why do we need to configure Elementor? Isn’t it supposed to work out of the box with a simple activation? Well, it does.
But did you know Elementor provides certain features you can configure before building a website? These simple tweaks will save you several clicks and back-and-forth as you work on your website. You can thank me later for these clever tips and tricks. 🙂
2.1 Activate Elementor Pro License
If you are using Elementor Pro, activate the license key on your website. Elementor has a very easy-to-use license activation method. Once the license key is active, you will be able to receive updates for the latest releases.
2.2 Set Default Fonts & Colors
Elementor allows disabling the default font and colors from the page builder. If these options are disabled, the page builder will use styling provided by the theme. If you don’t want to go with the theme’s styling options, you can set default fonts and colors per your requirements in Elementor settings.
2.3 Set a Color Palette
Every website uses a defined color palette, and Elementor understands this requirement. So, you can set a default color palette for your website. This set of colors will show up in every color picker in the page builder. There is no need to worry about keeping track of hex codes for your website. Set it for once, and you are done.
2.4 Set Content Width, Spacing, & Breakpoints
By default, Elementor uses a 1200px container and 20px spacing between columns and standard breakpoints for Tablet and Mobile devices at 1024px and 768px. These settings work for most of the websites. But in case you need to make some adjustments to these options as per the design, you can do it from Elementor settings. It’s good to configure these options before you start working on building page layouts.
2.5 Hide Page Title
Elementor wants you to take complete control of the page layout. So, it helps you hide the default page title. All you need to do is add the CSS Selector (based on your theme’s CSS) to the settings, and the title won’t be visible on the front end. So, you will be able to build layouts with complete freedom.
3. Setting up Elementor Addons
Elementor Free offers a lot of functionality, while Elementor Pro extends it further. You might be wondering why we need Elementor addons. Well, the short answer is to save time. Elementor addons provide even more Elementor widgets, which will simplify your workflow and help you save time.
Want to create a clickable block with icons, text, buttons, etc.? Yes, you can do this with Elementor, but you will need multiple widgets to be put inside a column. With Elementor addons, you can use a widget like Info Box. What if you want to create a list of items with icons, headings, and descriptions? Again, you can use a widget like Info List.
Not only this, but do you want to build a full-screen overlay menu? You can do this with Elementor add-ons. Want to add an off-canvas menu? You can do that as well.
Elementor addons provide new features and functionality that can be a huge time saver. The goal for creating Elementor addons is to help you do more in less time and clicks.
Get PowerPack Elementor Addons.
4. Setup the Theme Settings, Header, and Footer
Every WordPress theme provides its configuration options. So, when you start building your Elementor website, it’s important to configure these settings for a consistent design experience.
5.1 Setup Header Layout
Check if your theme provides an option to upload a logo and favicon. If yes, use these options and set up a Logo and Favicon for your website. After this, move on to the other elements like navigation links, styling, etc. If you use Elementor Pro, you can build a custom header layout with Elementor.
5.2 Setup Footer Layout
Footer layout also remains consistent throughout the site so it’s good to set it up before you start working on individual pages. Don’t forget to update the copyright message and date.
In most cases, the footer layout options provided by themes work well. But if you want to create a custom footer layout, you can do that with Elementor Pro.
5. Start Designing Layouts
Now that we have all the essentials, it’s time to create layouts and pages with Elementor. While building your pages, build one section and complete the desktop layout first. Do not forget to create all the important.
After completing the desktop layout, use Elementor’s responsive editing mode to fine-tune your layout for tablet and mobile devices. You can hide/show some content for mobile devices using Elementor’s visibility options.
Creating an easy-to-scroll-through content layout for tablets and mobile devices is important. If you have any animations or effects for the desktop version, it will be good to disable them for the responsive design.
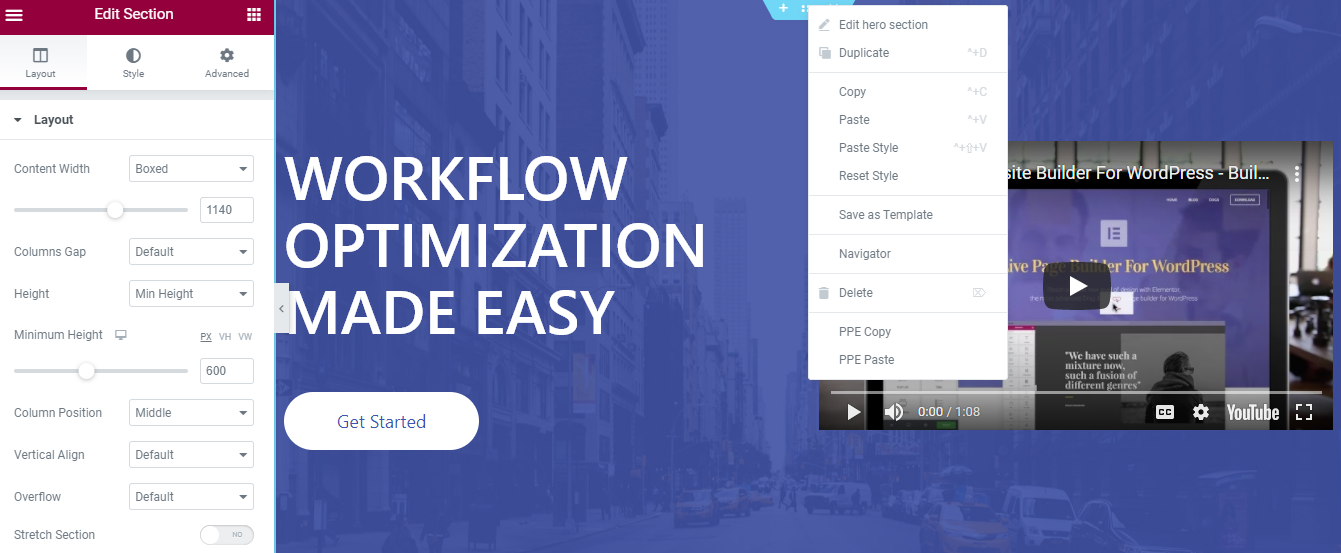
6. Use Elementor Navigator
It’s easy to get lost when creating long pages with extensive content and sections. It’s also annoying at times to keep scrolling through various sections. So, to save time, you can enable Elementor Navigator. You can use the CMD/CTRL + I keyboard shortcut to enable/disable the Navigator.
With the Navigator, Elementor adds a floating/fixed panel that lists all the sections on your page. If you have used design tools like Photoshop or Illustrator, think of the “Layers” panel. You can add a custom label for each section in the Navigator.
Navigator is a perfect fit for long pages or pages with complex multi-layered designs and elements combining Z-Index, negative margin, absolute position, etc. It allows you to access element handles positioned behind other elements. You can also drag and drop elements in the Navigator to quickly re-position them on the page.
Click here to learn more about Navigator
7. Copy, Paste, Reset Styles
Have you got stuck with replicating an existing style from one page to another? It can be frustrating to re-create the same elements on a new page. To solve this problem, you can use Elementor’s “Copy Style” option.
Copy-paste functionality is a huge time saver in Elementor. It allows you to copy style and content from one part of the page to another or even a different page.
Elementor allows you to copy a style from a widget, column, or entire section and paste it on any other widget/column/section on the same page or even a different page.
You can also use the copy-and-paste functionality to duplicate a section, column, or widget. Right-click on the element you want to copy and paste it anywhere on the page. It’s that simple.
Want to start from scratch and remove all the existing styles on a section or widget? Use the Reset Style option to set everything back to default for the selected element.
8. Define and Use Global Widgets/Sections
Almost every website has a standard call-to-action section used on multiple pages. Even a simple button or heading can be used repeatedly across the website.
When building a website, it’s good to prepare a list of elements that are going to be re-used. Based on the list, you can create a Global Section or Widget. The benefit of using these global elements is that if you want to edit the content or styling, you can do it once, and it will be updated in all the places.
Imagine using a Testimonial Widget in multiple places on your website. You want to add more content/testimonials and tweak the styling. Editing every instance will be time-consuming, and there are chances that you might miss out on something. So, using a Global Testimonial Widget will solve the problem. You can update the content and style once; it will get updated everywhere else.
While Elementor currently doesn’t provide built-in functionality for Global Sections, alternative methods are available. You can check out this excellent tutorial for creating global sections.
Global Sections can be a huge time saver for instances like creating a section with a Pricing Table and other details. You can create a global section and use it in multiple places.
9. Review and Publish
You can simply review and publish your web pages after creating and making all the required changes. I hope these tips and tricks will help you improve your workflow and let you create stunning Elementor websites.
Let me know in the comment section below which tip you find the most helpful. Also, share this post with others if you find it useful! 🙂
To learn more about Elementor, you can check out this Ultimate List of Best Free Elementor Learning Resources.
