PowerPack Timeline widget for Elementor lets you add interactive timelines to your WordPress website. With this widget, you can create both horizontal and vertical timelines.
In this guide, we'll walk you through the steps to create a vertical timeline!
What Is Vertical Timeline?#
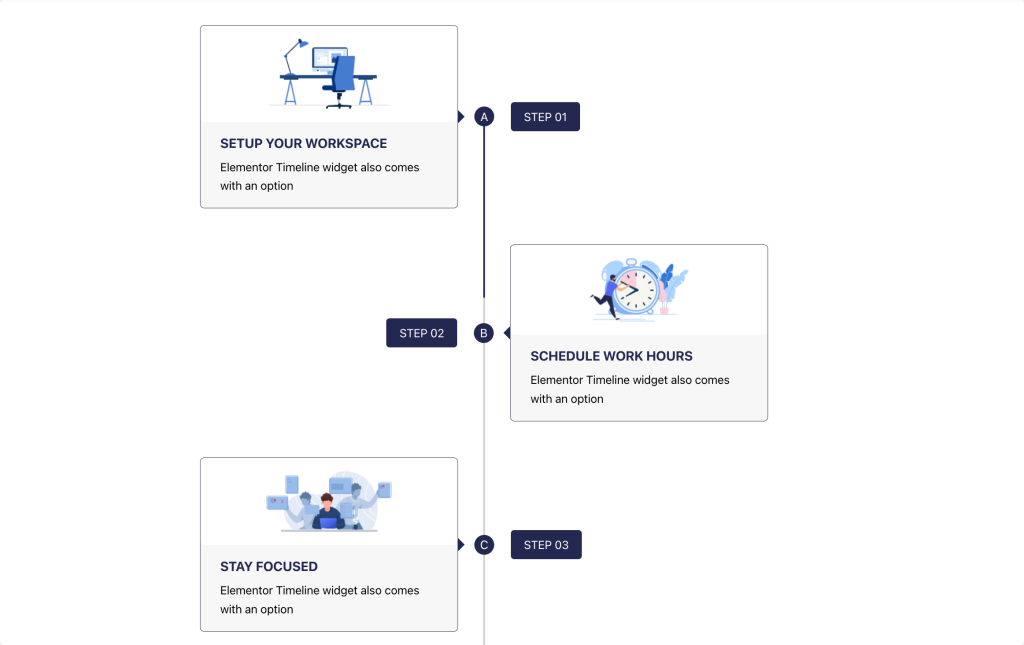
Vertical Timeline is a design element used to showcase events or milestones in chronological order visually. In a vertical timeline, the events are stacked one below the other, following a top-to-bottom layout. Each event is represented by a card, marker, or image, often including details like a title, date, description, or media such as icons and images.
How To Create Vertical Timeline Using Elementor and PowerPack Addons#
Steps to Create a Vertical Timeline:#
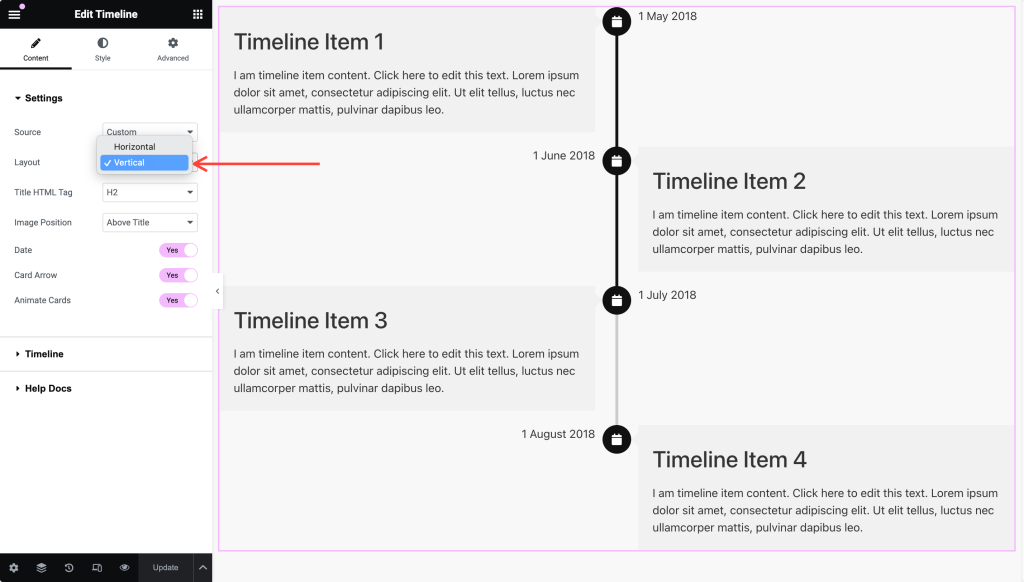
- First, drag and drop the PowerPack Timeline widget onto your Elementor page.
- In the Content tab, under Settings, select Vertical from the Layout dropdown to create a vertical timeline.
- Choose the desired HTML tag for your timeline titles under the Title HTML Tag option.
- In the Image Position field, decide whether the image should appear Above Title or Below Title.
- Toggle the Date option to display dates on your timeline cards.
- Enable the Card Arrow toggle to display arrows on the timeline cards.
- Enable the Animate Cards toggle to animate your timeline cards when the page loads.
Styling Options:#
PowerPack's Timeline widget also offers extensive styling options to customize the look and feel of your vertical Timeline. You can adjust colors, fonts, spacing, and more to match your site's design.
For a detailed overview of all the features, check out our Timeline Widget Overview documentation.