
Do you want to build an interactive Team Page using Elementor?
In today’s world, the people behind the company hold equal importance as the company.
People want to learn about the team behind the product, and for this, they usually go to the Team Page, a little corner of the website where you talk about the company and your team.
Often companies forget the importance of the team pages and end up building mediocre or unwelcoming team pages. You need to have an engaging team page to present the person behind the product or services in the most suitable manner.
One of the ways to bring interactivity is with Popups. They bring extra engagement and better interactivity for the users who want to know more about the team.
Today, we will see how you can build a team page with Elementor Page Builder.
Create a Team Page with Elementor Popups
To build the Team Section with a Popup for each team member, we will need the following:
- Elementor Pro as it offers the Popup Builder functionality.
- We will also use the Free version of the PowerPack Elementor Addon to simplify our process.
Install and activate both plugins on your website. So, without any further ado, let’s start with it!
Step 1: Desing the Team Page Section using the Team Carousel widget for Elementor
We will start by creating a team page. For this, create a new page by clicking on the “Add new page” option, giving it a suitable name, and clicking on the “Edit with Elementor” button.
Once the page loads, we will select a pre-designed template from the list. Since we will be building our team display, we will remove the pre-designed Team member section as we design our template.
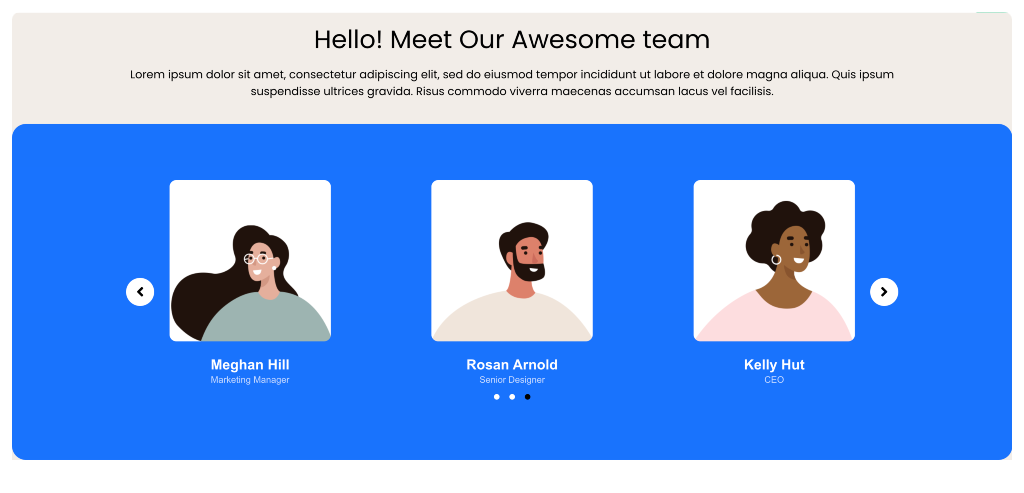
Go ahead and add the Team Carousel widget on the page by dragging and dropping it on the page. This PowerPack widget allows you to create a team carousel in Elementor effortlessly.
Once you add the Team Carousel widget, you can add images and details of individual team members in the team member carousel.
If you do not wish to add a carousel, you can add individual team member cards using the Team Member widget. Add multiple columns, add individual team widgets, and update the content there.
Once completed, your team page section should look something like this.
Step 2: Create Elementor Popups
Now we will move to the next part, where we will be creating the popups. We will be using the Popups feature of Elementor for this.
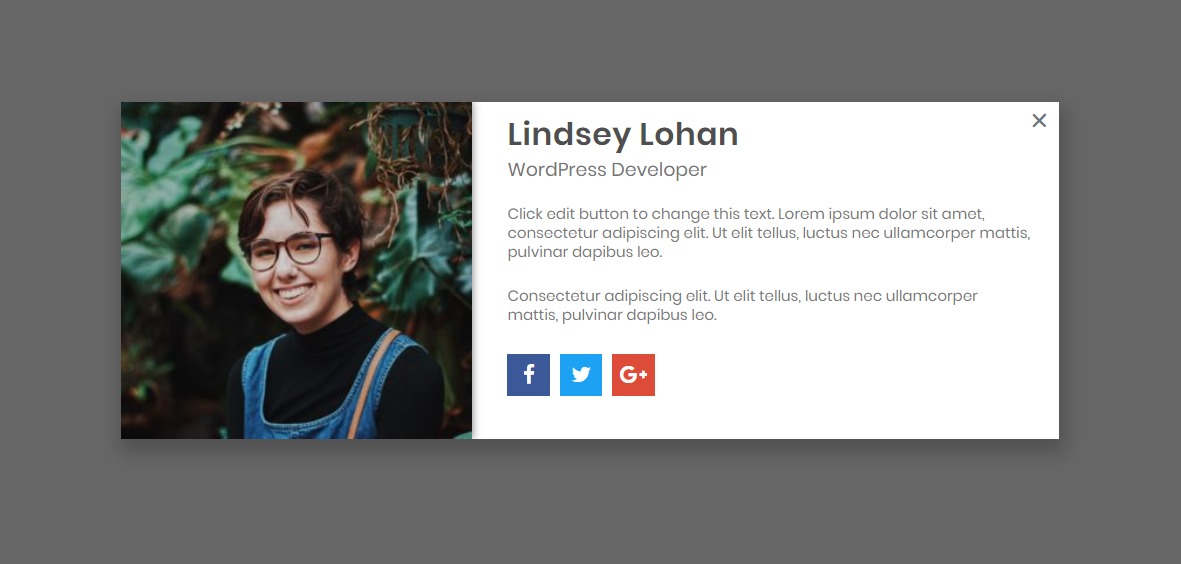
Before we start making popups, we will create the team details popup template, which will display all the team member’s details, such as name, picture, designation, description, and social sharing icons.
Creating a template will make it easier for us as we only have to import and change the details for each team member. Once it is made, it will look something like this.
Let’s see how you can create a template like this, step-by-step.
Creating and Saving the Template in Elementor
Add a new popup template. Go to WP Admin >Elementor Templates > Popups. Click on the “Add New” button and then give your popup a proper name. Once you do that, click on the Create Template button.
Also read: Elementor Popup Builder: The Ultimate WordPress Popup Builder
Designing the Popup
Once you get into the editor, you will be presented with a window to choose a template. Close the window, as we will be designing our Team Member Popup from scratch.
Now add a two-column layout to the popup by clicking the “+” button.
Adding the Image
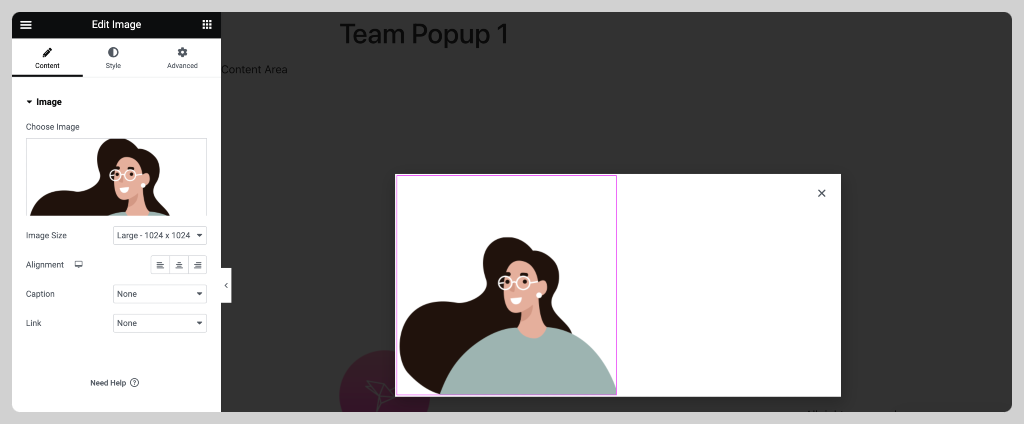
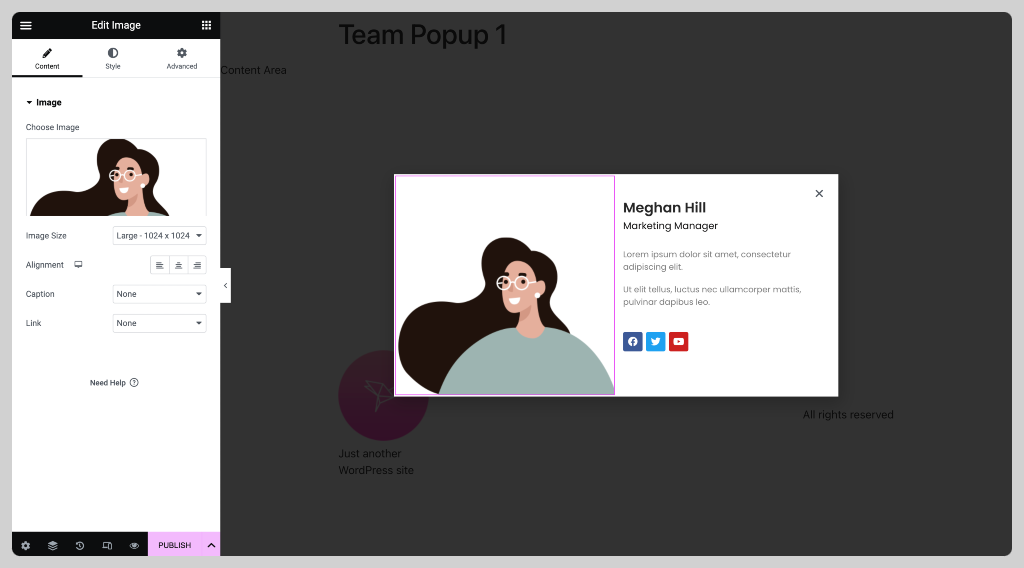
Now, we will add the team member’s image in the left column. Drag and drop the Image widget on the left column.
Select the respective image from the media library, add it there, and make the changes required to make the image look more aesthetically beautiful.
Here is what the image looks like after the image is added to the popup.
Adding the Title and Text Fields
Now we will be making changes to the right column of the popup. Drag and drop the Title widget and the Text Editor widget on the page and customize it the way you want.
You can add other widgets of your liking as well. Here, I will be adding the Social Sharing Icons as well. For that, drag and drop the widget below the text editor and add the respective links to the social icons.
You can go ahead and adjust the close button design and setting from the style tab. Here is what the popup will look like once all the changes have been made.
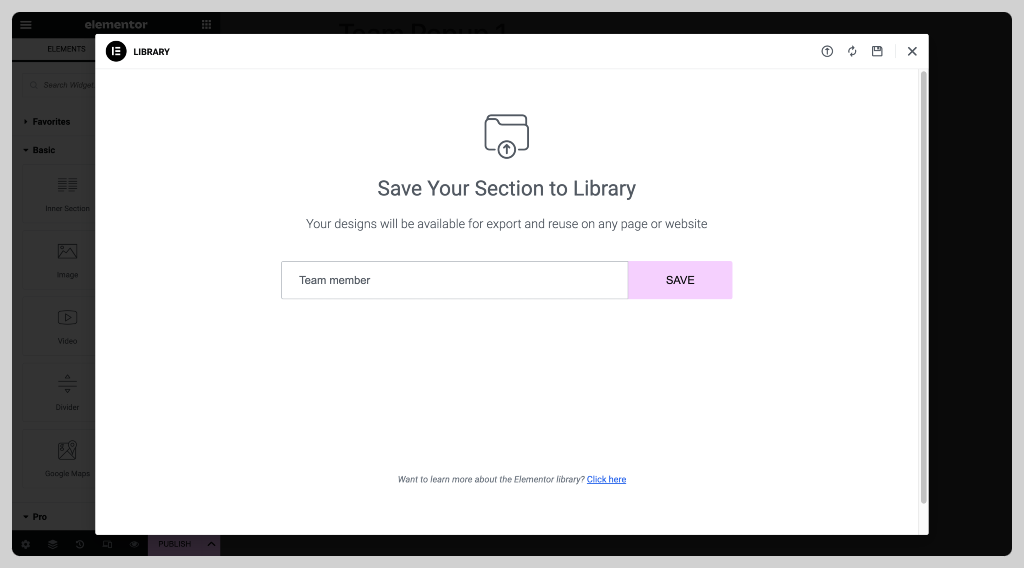
Once you have designed the popup’s content and what you need to display there, we can go ahead and save the template. For this, right-click on the section and select the “Save as Template” button.

On the next screen, give your template a proper name and save it.
Creating Team Member Popups
Now that we have the template, we will start with creating individual popups for each team member.
Add a new popup just like before by going to Elementor Templates > Popups and clicking “Add New”. Now, give it a proper name and click on the create template button. Once you do that, import the template we have saved for the popup.
Now make changes to the template and add the new team member details. Here is an example of the same.
Just like these changes, you can make other changes, such as adding the description and social links. Once you are done, go ahead and click on the publish button.
Now you have to define the triggers, conditions, and advanced rules. If you do not know what those are, here is a quick guide. Since we do not have any restrictions on displaying the popup, we will leave the conditions and rules as it is. Click on the “Save and Close” button.
Repeating the process!
We will do the same for other team members’ popups just like we created a new popup and made the content changes. Create new popups, add the respective team details, and publish them.
Step 3: Linking the Popups with Team Members’ Carousel
Now the only thing left to do is link the team member’s popups with their respective photos. Here is how you can do that.
Go to your existing team page and click on the “Edit with Elementor” button.
Click on the Team Carousel, and under the Content Tab settings, Select a Team member. From the drop-down, select the link type as Image.
You will see a link field below, and on the top right corner of the field, you will see “Dynamic”. Click on that. Now from the actions, select Popups.
Now look for the “little wrench icon” and click on it, search for the respective popup, and save it.
Do this for all the team members and once you are done, go ahead and publish the page.
Okay! All is done. This is what your team page would look like.

Winding it up!
You can do a lot more with the Elementor Popups. Know more about the Elementor Popups. If you are not an Elementor Pro member, you can get the pro version here.
Also Read: Elementor Popup Builder Review: The New “Best” WordPress Popup Plugin?
What do you think of the popup elementor team display design? Are you going to use this one for your website as well? Let us know in the comment box below!
More From The Blog:

3 thoughts on “How to Create a Team Section with Elementor Popups?”
Hello! I used the team member widget instead of the team member carousel. How do I link my popup to the “member image”? Thank you.
Brilliant work Yash, just what I was looking for.
can you provide me template of this,, thanks in advance