
 [Extended] BFCM Sale! Get up to
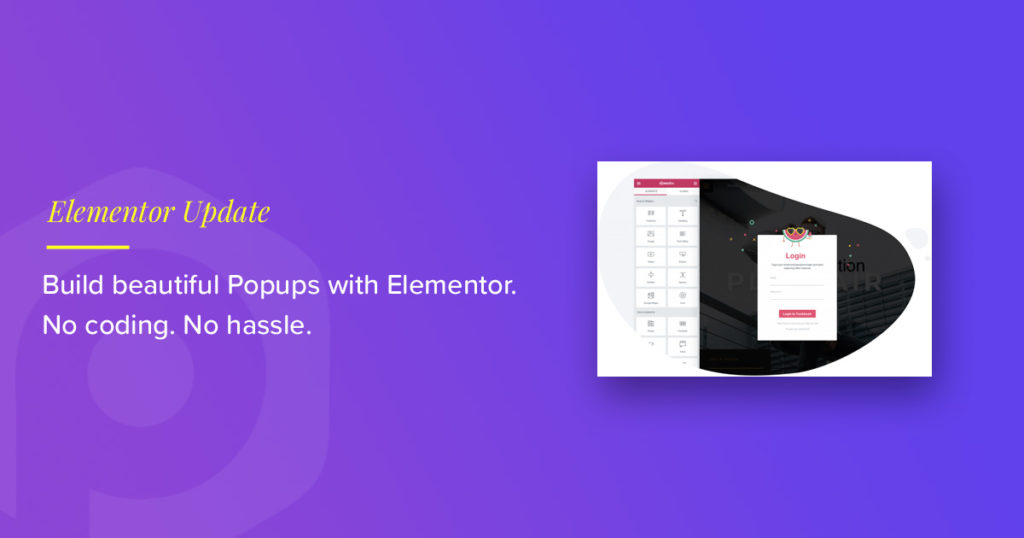
Elementor team has just dropped a massive feature rich bomb in their most recent update!
Now you can do a lot more with Elementor as now you get a powerful Popup Builder with the pro plan to make impressive popups on your website.
Say Hello to Popup Builder!
Have you ever tried your hand at creating and implementing popups? If yes, then I am sure you know then how messy it can be to design and manage these popups with separate plugins.
But! Not anymore.
With the powerful Popup Builder of Elementor, you will be able to create popups using the elementor editor and when it comes to managing them, you can easily do from a single place that is your popups window. On top of all this, unlike any other popup service plugin, you do not need a separate plugin to get it to work. This is an upgrade to the already existing Elementor Pro plugin so if you already have the pro plugin installed, just hit the update now button and voila!
Since this fantastic update has so much to offer to the users, we will have a look at every feature one by one here.
Let’s see what the popup builder has to offer!
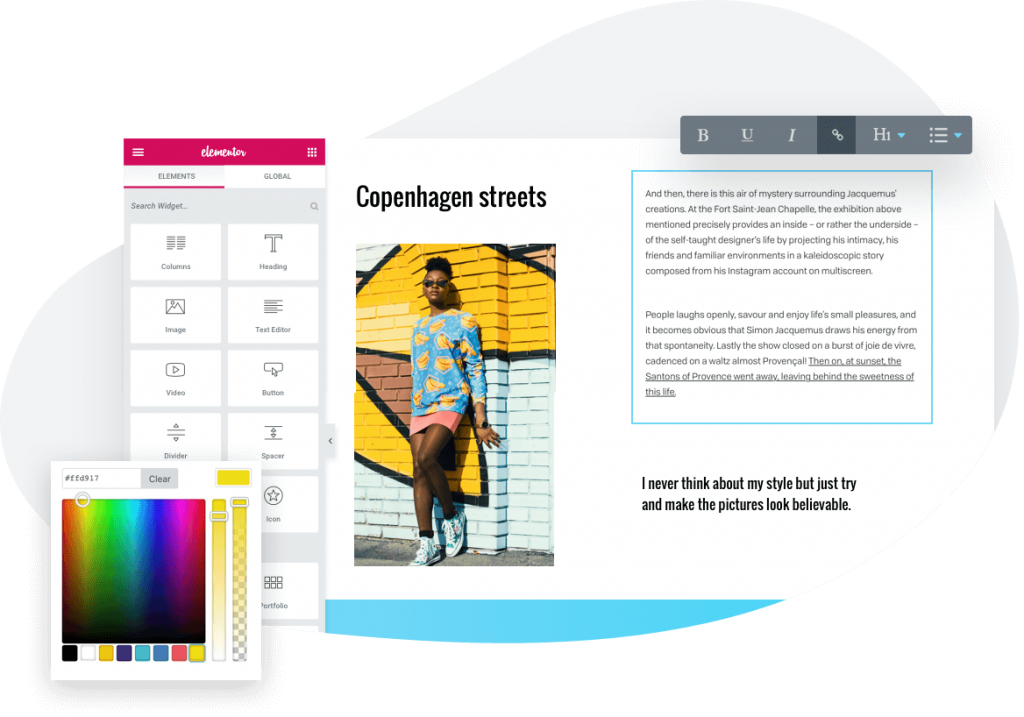
Superior Design, with the Power of Elementor and all its features and widgets
Since the popup builder works on the elementor editor, you will be able to utilize all the existing features and editing options of the editor. Imagine having all the editing power of elementor and the widgets to build your popups. You can literally design the popups as you wish without touching a single line of code.
Let’s say, if you want to add a countdown timer widget for a flash sale popup, you can do easily by adding it and customizing it just like any other plugin.

One Interface
As I have said before, it can be pretty difficult to manage the popups with separate plugins. But with the popup builder, you will be able to manage all your popups from a single window, i.e., Templates > Popups.
Either it is about designing or managing the popups, you will be able to do it from a single interface i.e. elementor editor. You can even use the elementor finder to jump between popups and templates without the need to go out of the editor at all. This way you can be in the same editor and make the changes you need.

Zero Learning Curve Required
Since this powerful popup builder works on Elementor editor, you do not have to learn something totally new or totally different. It is as simple as ABC!
Also Read: 10+ Reasons to use Elementor Page Builder
The elementor interface makes it super easy to set up a popup with the editor. Even when it comes to publishing, it is really easy to set up the parameters regarding where, when, how often and to whom you want to display the popups. You can also define what triggers the popups with the help of trigger rules and how it should be displayed from the advanced rules in publish settings.

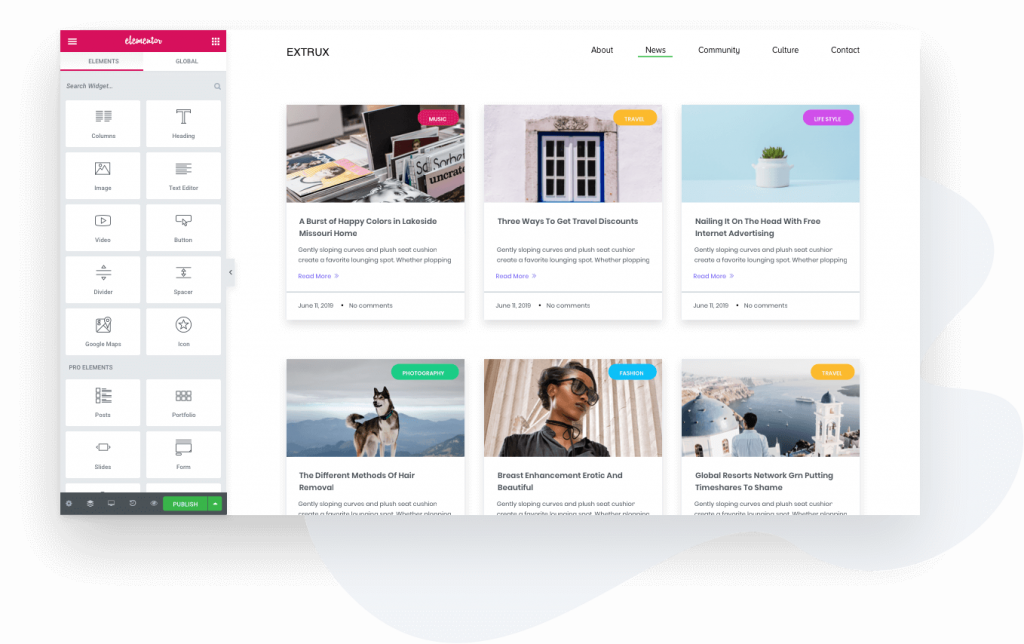
All the Content from Elementor, WordPress, WooCommerce and your site is built in
Counting in all the integrations of elementor, it becomes really easy to add whatever element we want on the popups. Even if you want to display dynamic content on your popups, you can do that too by just dragging and dropping the widget on the popup layout.
For example – Let’s say you want to display a promotional offer for the product the viewer is currently watching when the user moves the cursor out the screen.
For this popup, you can add the WooCommerce product title, product image, and the product price and set them all to Dynamic. This will make the popup pick up custom data and show it for every product page on the website when the user or the visitor moves the cursor out of the screen. To make the popup trigger on the exit intent, you can just toggle the switch for the On Page Exit Intent trigger and publish it. This will make the popup to display only when the user moves the cursor out of the window. Pretty amazing, right?
No Additional Setup is Required
The best part about the popup builder is that you do not have to download or set up a separate plugin to get the popup builder working. All you have to do is update the plugin (if you haven’t done it already) and that is it!
You can begin with the popup builder and start adding popups to your website right away. This makes the popup builder much better as now you will not be slowing down your website with multiple popup plugins and integrations. You will be creating popups and all this from the same Elementor Pro plugin.
No limits of Pageviews, Popups or Websites
If you have tried any of the Popup plugins or services earlier, they often have plans and pricing which is often restricted by a limited number of popups, pageviews or websites depending on the pricing.
This is not a problem with Elementor Popup builder. You can create as many popups on your website, and the number of pageviews does not even come into the equation here. This gives you complete freedom to try out new popups or even do A/B/ testing on your website without any restrictions and without any additional cost.

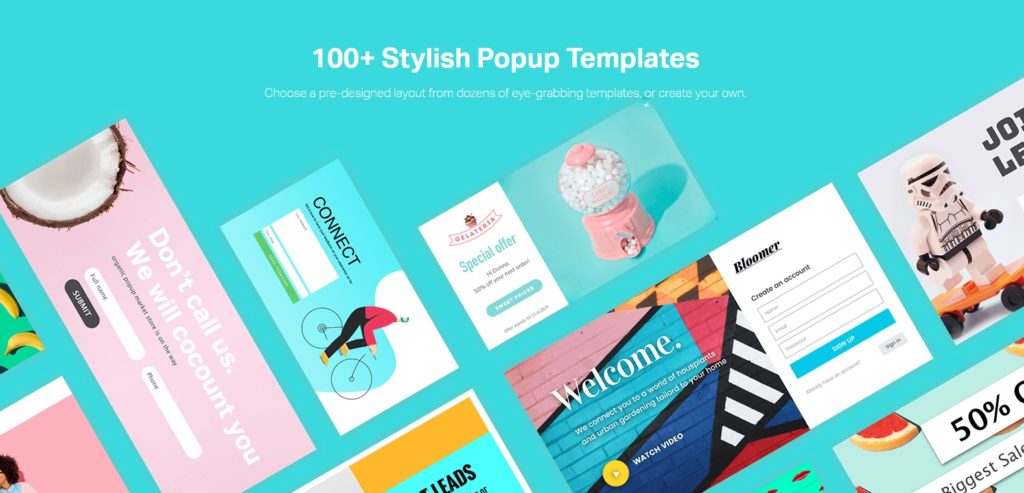
Many Beautiful Templates Already Inside
Sometimes you do not want to create a popup from scratch. This can be for cases such as cookie consent forms or sale popups. In this case, the massive popup template library will come in handy.
Also Read: How to Sky Rocket your Web Design Business with Elementor
You get templates for sidebar popups, flash sale popups, hello bars, cookie consent popups, member login popups and what not.
Currently, there are 100+ templates which can be loaded directly into your editor on a click of a button. Also, just like a block or page template, you can further customize your popup template and add or remove whichever element you want.
An Easy way to create Advanced Targeting and Triggering
This is by far the best feature of the Popup Builder. While publishing your popup, you can take total control over how your popup performs and behaves on your website. The combination of conditions, triggers, and advanced rules make it super easy for the user to define how the popups perform.
You can filter out who and when and how often sees the popup. Let’s see what all you can do with these options:
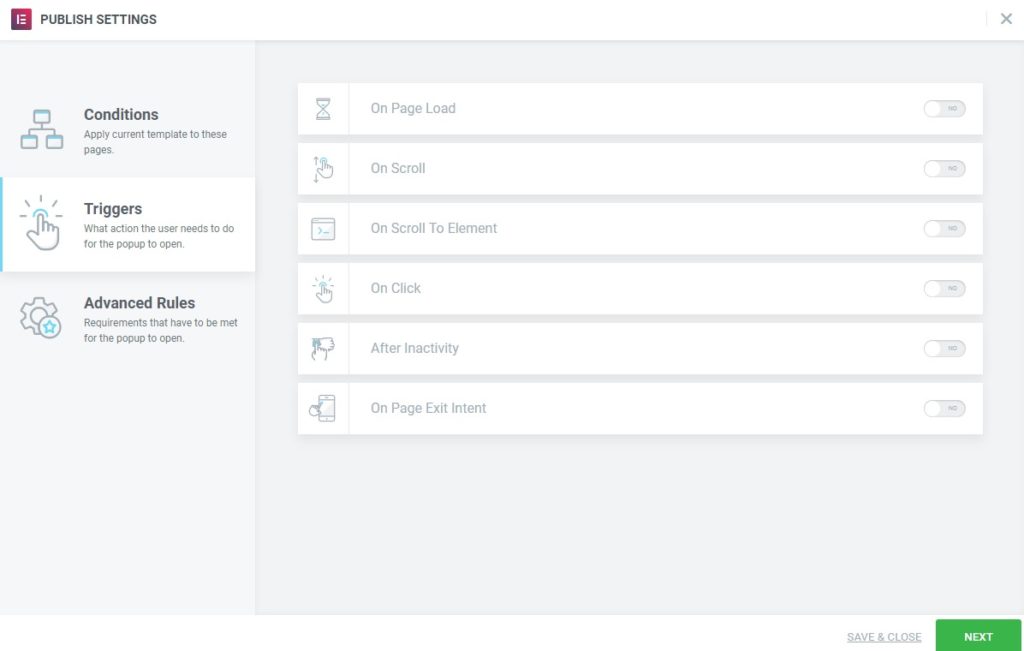
Trigger Options
- On page load – With this option, you can set after how many seconds the pop will show up on the page.
- On Scroll – You can set after what direction of the downward or the upward scroll triggers the popup. Just selecting down or up from the list and adding a percent will do the job.
- On scroll to Element – This allows you to set the trigger with the help of selector which can be a class or ID that triggers the popup.
- On Clicks – With this setting, you can make the popup to work when the user clicks on the screen for a predefined number of times. The pop up will show up only when the user has made the required number of clicks.
- After Inactivity – This setting you to make the popup show up if the user has been idle for some time.
- On Page Exit Intent – This simply makes the popup to show up when the user moves the cursor out of the screen
On the other hand, when it comes to targeting the right audience, you can make use of the advanced rules. Here are the options that you get here:
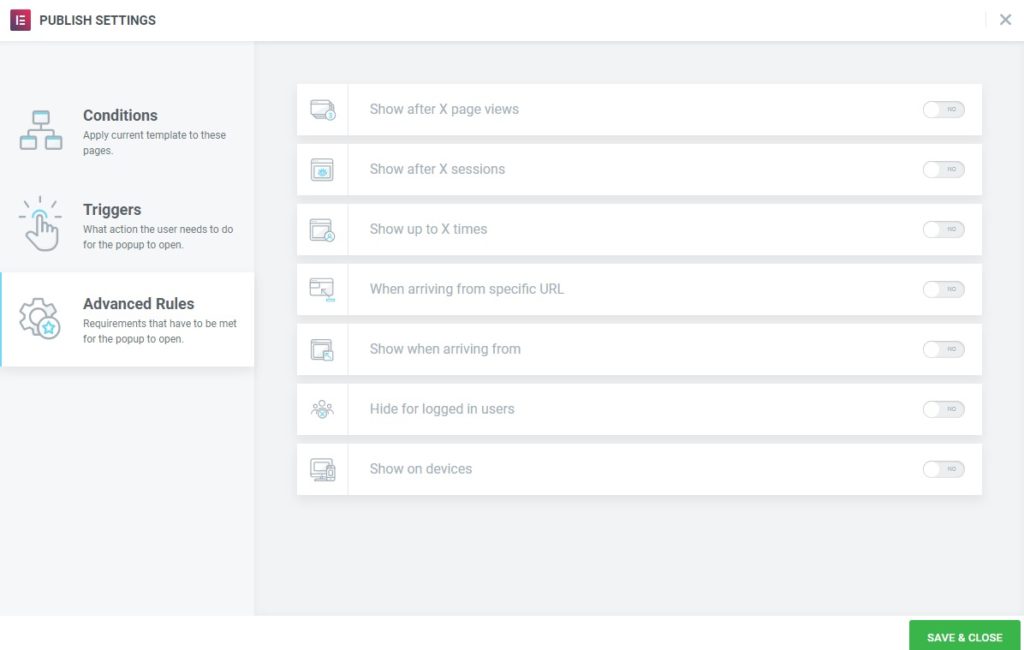
Advanced Rules Options
- Show after X page views – Allows you to display popups after a specified number of page views for a user.
- Show after X sessions – This allows you to display the popup after a predefined number of sessions or times a user comes back to your website.
- When arriving to specific URL – This will be for targeting the users from a specific URL. For example, you can display a different custom popup that will be displayed to all the users coming from Facebook or any other page.
- Show up after X times – This will define the frequency for the popup to show on the website or how often the popup will be displayed on the website.
- Show when arriving from – You can also target to display your popups to the traffic coming from search engines, external links or internal links.
- Hide for logged in users – With this setting, you can hide the popup from all or a group of users on your website. This comes really handy when you don’t want to show the membership popup to your existing members.
- Show on devices – This setting allows you to choose the device your popup is going to be displayed. You can go with desktop, mobile, or tablet version.
Seamless Integration to Email Marketing Tools
If you have already been working with an email marketing service, you do not need to worry about changing it. Elementor Popup has a vast and evergrowing list of integrated tools that you can use with your popups without any problem.
You need to enter your API key just once in the elementor settings, and you are good to go. All your signups and opt-ins through the forms will be directly sent to your email marketing tool, and further you can make use of those emails to send follow-ups to your customers.

If you are currently using a form builder like WPforms, Contact Form 7, or gravity forms, you can use them in your popup as well with our Forms styler widget. This way you can get full control over how your forms are displayed and where the data is stored.
Most Importantly – Fastest Workflow to Create & Manage Multiple Popups
Once you get a hold on the Popup Builder, you will see how easy it is to create and manage multiple popups for your website. With the use of conditions and advanced rules, you can filter out who, when and how often they see the popup and if you are creating multiple popups for different occasions, you can make them work without counterfeiting as well with the advanced settings of the popups.
Also Read: 10 Tips to Speed Up Your Elementor Workflow
In case you have multiple popups and do not want a situation where the user is bombarded with popups, you can enable the Avoid multiple popups option which will not display any other popup if the user has already been presented with a popup.
Also, since you have all the popups in one place, i.e. Templates > Popup, you can enable disable any popup you want from a single place.

Summing It Up!
All these features are what makes the popup builder for Elementor so epic. If you want to learn more about the popup builder, check here. This feature is part of the Elementor Pro and if you do not have the pro version of Elementor, you can get it here.
What do you think of the Popup builder? Do you see yourself using this on your websites? Let us know by commenting it down!
If you found this article useful, do share it with others and make them aware about the powerful popup builder!

2 thoughts on “Elementor Popup Builder: The Ultimate WordPress Popup Builder”
Elementor popups are really powerful. Though not as feature rich as like any other dedicated tool but as a beginner it’s an awesome tool
Hello I would like to know if there is a way to assign a separate link to each popup. Right now, when a popup is opened, if you reload the page, only the page containing the popup will appear. I want to have a link for the popup itself which once you paste the link in the browser, the popup would appear.