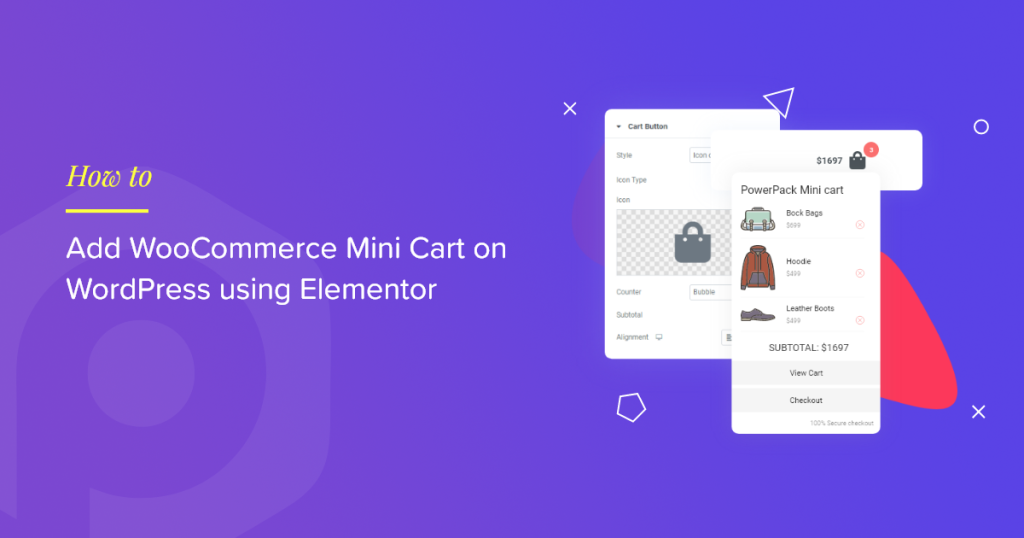
Do you want to add a WooCommerce Mini Cart to your WordPress website using Elementor?
Normally, displaying a mini cart requires inserting a shortcode inside a template or widget. But with Elementor, you can place a mini cart on any WooCommerce or regular page without writing a single line of code.
In this guide, we will walk you through the process of adding a Mini Cart to your website using Elementor and the PowerPack Addons plugin.
Let’s get started!
WooCommerce Mini Cart: Overview
A Mini Cart in WooCommerce provides customers with a quick snapshot of the products they have added to their cart without interrupting their browsing experience.
As the name suggests, the Mini Cart is compact and usually placed in key areas of a website, such as the header, sidebar, or an off-canvas panel. It provides a summary of the cart and helps shoppers stay informed while they continue exploring the store.
The main purpose of adding a Mini Cart is convenience. Customers can instantly check what is in their cart, view the subtotal, and go to the cart or checkout page with a single click.
Typically, a WooCommerce Mini Cart displays:
- Number of items added
- Subtotal amount
- Quick link to view the full cart (and in some cases, checkout)
Benefits of Adding WooCommerce Mini Cart
Adding a WooCommerce Mini Cart to your website can greatly improve the shopping experience and support better conversion rates and sales.
Key advantages include:
- Enhanced User Experience: A Mini Cart lets customers quickly review the items they have added without leaving the current page.
- Increased Conversions: Instant access to cart details encourages customers to proceed to checkout. By minimizing friction and reducing the number of steps required, the Mini Cart helps lower cart abandonment rates and improve conversions.
- Upselling Opportunities: You can configure the Mini Cart to show product recommendations or related items based on what the customer has added to their cart.
- Better Cart Visibility: Sometimes, customers forget they have already added items to their cart. A Mini Cart keeps cart contents visible and easily accessible at all times, especially when placed in the header or as a floating panel.
- Improved Mobile Shopping Experience: Mobile shoppers prefer quick actions and fast navigation. A Mini Cart provides an easy way to access and manage cart items on smaller screens without having to navigate back and forth between pages.
- Faster Checkout Process: With direct links to the cart or checkout page inside the Mini Cart, customers can complete purchases with fewer clicks.
How To Add WooCommerce Mini Cart on a WordPress Website Using Elementor
Now that we have discussed the benefits of displaying a Mini Cart, let’s look at how to add a WooCommerce Mini Cart to your WordPress website using Elementor.
In most cases, adding and customizing a Mini Cart requires HTML or custom code. PowerPack Addons for Elementor removes that complexity and lets you add a Mini Cart with complete design control, no coding required.
PowerPack Addons is one of the best addons for the Elementor page builder. It includes 80+ creative widgets, 10+ extensions, and several dedicated WooCommerce widgets, making it easy to build complete eCommerce websites with Elementor.
With the PowerPack Mini Cart widget, you can fully customize the look and functionality of the Mini Cart to match your website’s design and create a seamless shopping experience for your customers.
You can also place the Mini Cart anywhere on your website, depending on your layout needs. For example, display it in the header, footer, sidebar, or any other section you prefer.
Next, let’s explore the features and customization options of the PowerPack Woo – Mini Cart widget for Elementor.
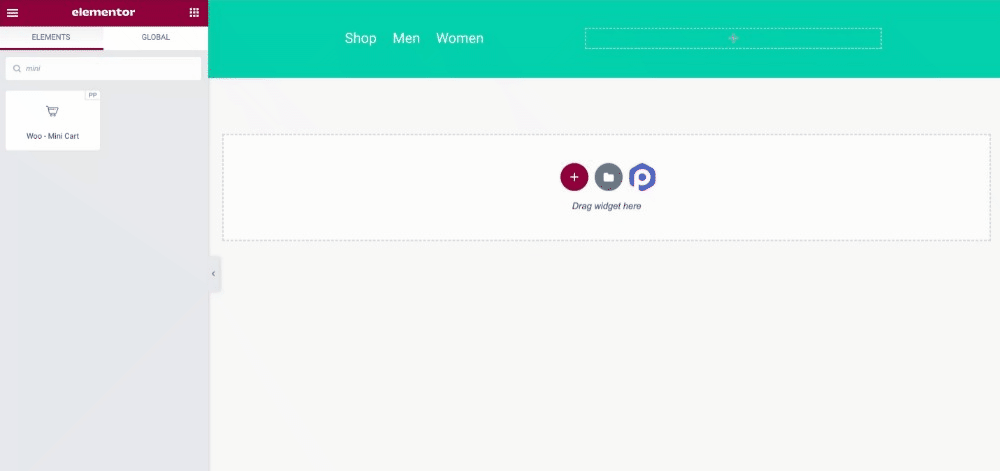
Drag-and-Drop the PowerPack Woo – Mini Cart Widget
First, open the page in the Elementor editor and drag and drop the PowerPack Woo – Mini Cart widget onto the page.
Make sure you are selecting the right widget by checking the “PP” icon in the top-right corner of the widget thumbnail.
If you want the Mini Cart to appear across the entire website, you can also add the Woo – Mini Cart widget inside the header template. This way, the Mini Cart will remain visible on every page of your site.
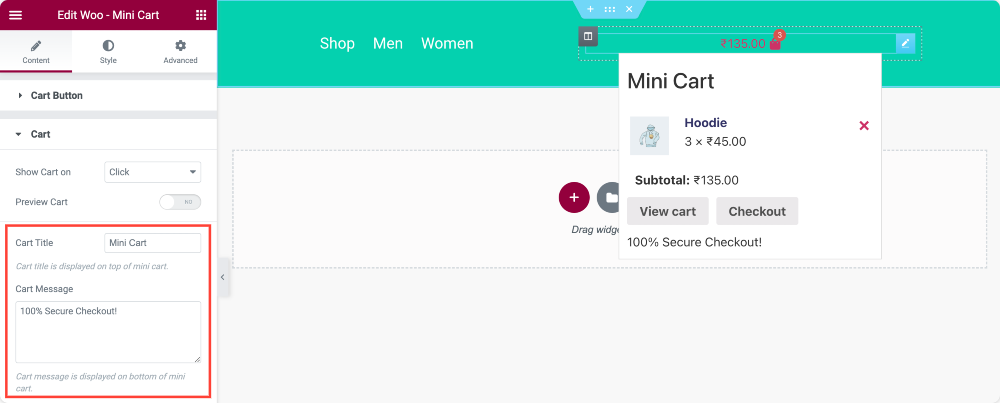
Customization Options in the Content Tab of the Mini Cart Widget
PowerPack Woo – Mini Cart widget includes the customization options in the Content and Style tab.
Let’s first explore the Content Tab of the Woo – Mini Cart widget.
The Content Tab includes two sections:
- Cart Button
- Cart
Cart Button
In the Cart Button section, you’ll get the following content customization options:
- Style: This option lets you choose the type for your mini cart. You can display Icon Only, Icon + Text, or Text Only.

You can add your own custom Text and upload an Icon per your preferences.
- Counter: From this option, you can display the Counter as a Bubble style or After Button.
- Alignment: As the name suggests, this option lets you set the mini cart’s alignment to Left, Centre, or Right.
Cart
Next, you can customize the Cart Title and Cart Message.
These are the customization options for the Woo – Mini Cart widget in PowerPack. Now let’s check out the styling options.
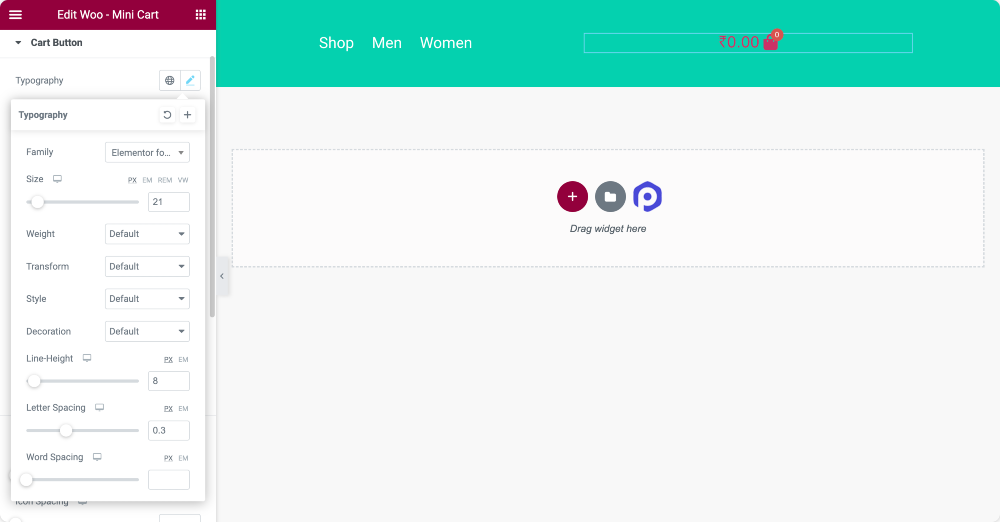
Styling Options of the Mini Cart Widget
The Style Tab of the Mini Cart widget includes four sections:
- Cart Button
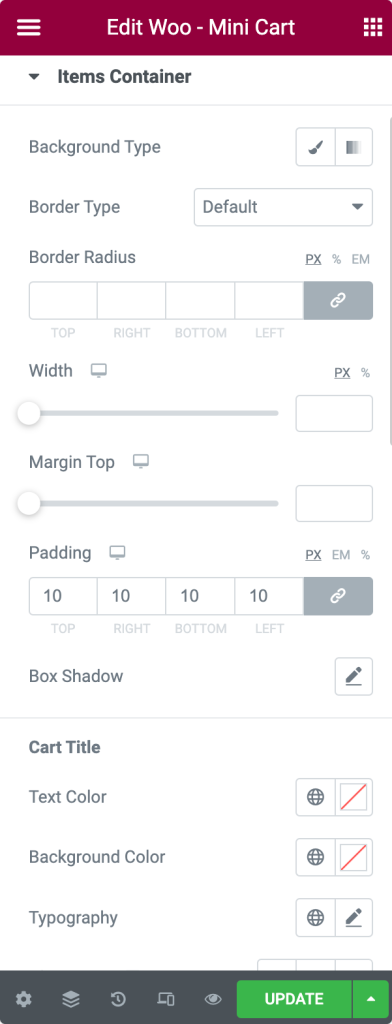
- Items Container
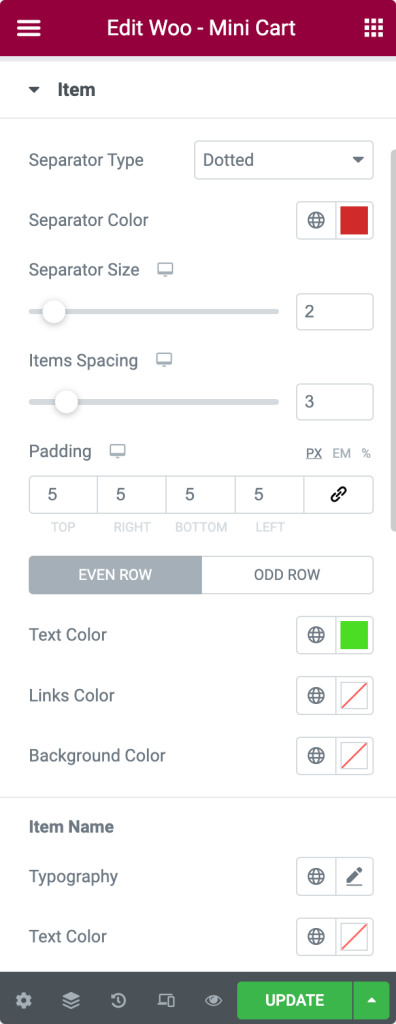
- Item
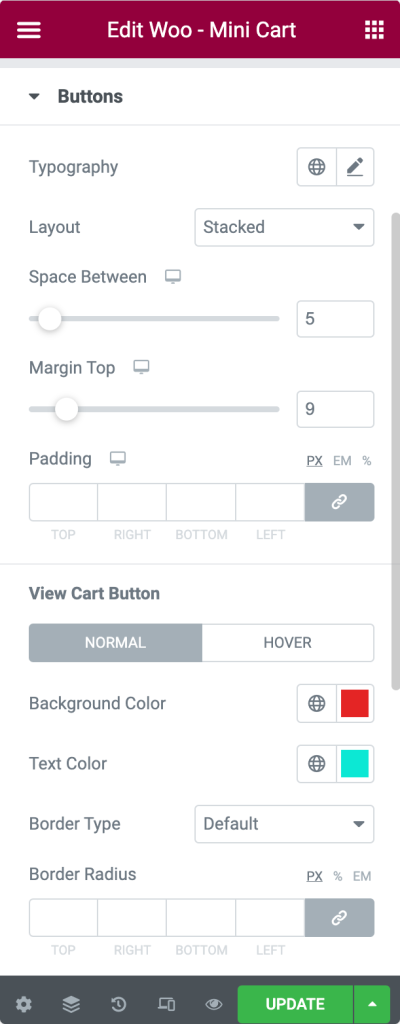
- Button
Cart Button
The mini cart widget’s styling options are self-explanatory and easy to customize.
In the Cart Button section, you can:
- alter the overall typography of the contents.
- change the cart button color and set the background color.
- define Border Radius.
- add Margin and Padding.
For the Button Icon, you get the following styling options:
- set button Icon Size and adjust Spacing.
- choose the Button Icon color.
Next, you can style the Mini Cart’s Counter.
- set the distance between the Counter and Mini Cart Icon.
- choose a Counter color
- add a Background color.
And just like the above, you get granular styling options to customize the Item Container, Item, and Buttons.
Check the screenshots below to get an overview of all the styling options.
Wrapping Up!
And that’s it! This is how you can easily style and add the Woocommerce Mini Cart using Elementor and PowerPack.
Including the Woo – Mini Cart, PowerPack Elementor Addons include plenty of Woo Widgets that help you customize your WooCommerce using Elementor without hassle.
More from the blog:
- How To Customize WooCommerce Checkout Page With Elementor & PowerPack
- How to Create a WooCommerce Product Carousel Using Elementor
- How to Customize the WooCommerce My Account Page using Elementor
Share your thoughts in the comments section if you found this helpful guide!
