Are you looking for a way to create a WooCommerce Product Carousel using Elementor? Then, you’ve landed on the right page! This detailed guide will show you how to create an interactive WooCommerce product carousel slide on your WordPress site.
Before starting our tutorial, let’s first look at some benefits of showcasing online products in carousel sliders.
What Is a Product Carousel?
Product carousel is a great way to showcase your products in an interactive manner.
By displaying your products in a carousel format, you can provide a smooth shopping experience to your prospective buyers. In addition to viewing all the items in one place, they can select multiple products simultaneously.
Product carousels are particularly useful for eCommerce sites where you have multiple items of different categories to choose from. For example, suppose you’re selling clothes or furniture in your online store. In that case, you can use carousel sliders as an effective marketing tool by highlighting different options with different prices and allowing customers to slide products left or right according to their preferences.
A product carousel will also give users a visual overview of each product so that the visitors can quickly decide which interests them most. This helps them make informed decisions about what products they want when purchasing online at your website.
Now that you have learned the perks of displaying products in a carousel format let’s proceed to our tutorial.
How To Create a WooCommerce Product Carousel Using Elementor
Despite Elementor Pro’s extensive functionality and options, it can sometimes be challenging to build and customize WooCommerce websites with Elementor.
To extend Elementor further, you can use Elementor addons that offer dedicated widgets for WooCommerce.
PowerPack Addons’ WooCommerce widgets for Elementor can save you time and effort. These widgets are specially designed to make customization of your WooCommerce page effortless and more manageable.
All PowerPack Woo widgets offer plenty of styling options that simplify the process of building a WooCommerce website and allow you to make advanced customization without adding any HTML code or CSS.
PowerPack Woo – Products Widget for Elementor
PowerPack Woo – Products widget allows you to create impressive product displays on your product pages.
Woo Product Grid Widget supports both Carousel and Grid modes, so switching between the layouts is easy. Along with the customized layouts, you get Add-to-Cart and Quick View features, which help you offer your site visitors an impeccable shopping experience from your e-store.
Also, you get a Query feature to fetch & filter Woo products based on multiple parameters.
Furthermore, you get a feature to display customized Product Badges. Displaying sales badges helps capture customers’ attention and immediately increase sales.
So, let’s see how you can customize your WooCommerce product page and display your products in carousels using Elementor and PowerPack Woo – Products Widget.
Step 1: Install & Activate Elementor, WooCommerce, and PowerPack Addons
To get started, you need to install and activate:
Step 2: Drag and drop the Woo – Products Widget
Once you have installed and activated all the plugins, create a new page or open an existing one using the Elementor editor.
Now in the editor, search for “Woo – Products” and drag and drop the widget onto the page.
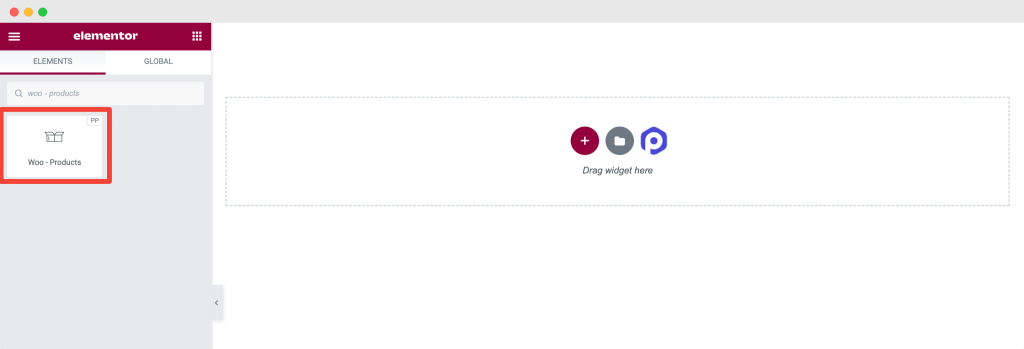
As soon as you drop the Woo – Product widget, the products appear immediately. On the left, you’ll see three tabs: Content, Style, and Advanced. Our primary focus will be on the Content and Style tab options.
Step 3: Customizations in the Content Tab
The Content tab offers options for adding and customizing content. Let’s take a look at each option individually.
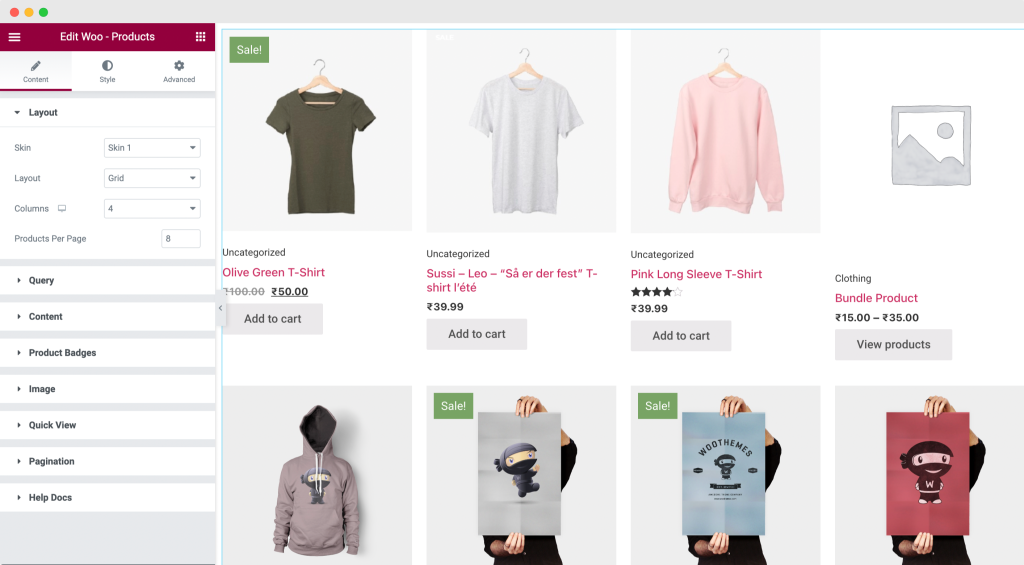
1. Layout
In the Layout section, you get options to customize and set the layout of the products’ display.
- Skin: In the Layout >> Skin, you’ll find 5 different stylish pre-built skin options for your product display. You can choose any skin option that fits your existing store look and brand preference.
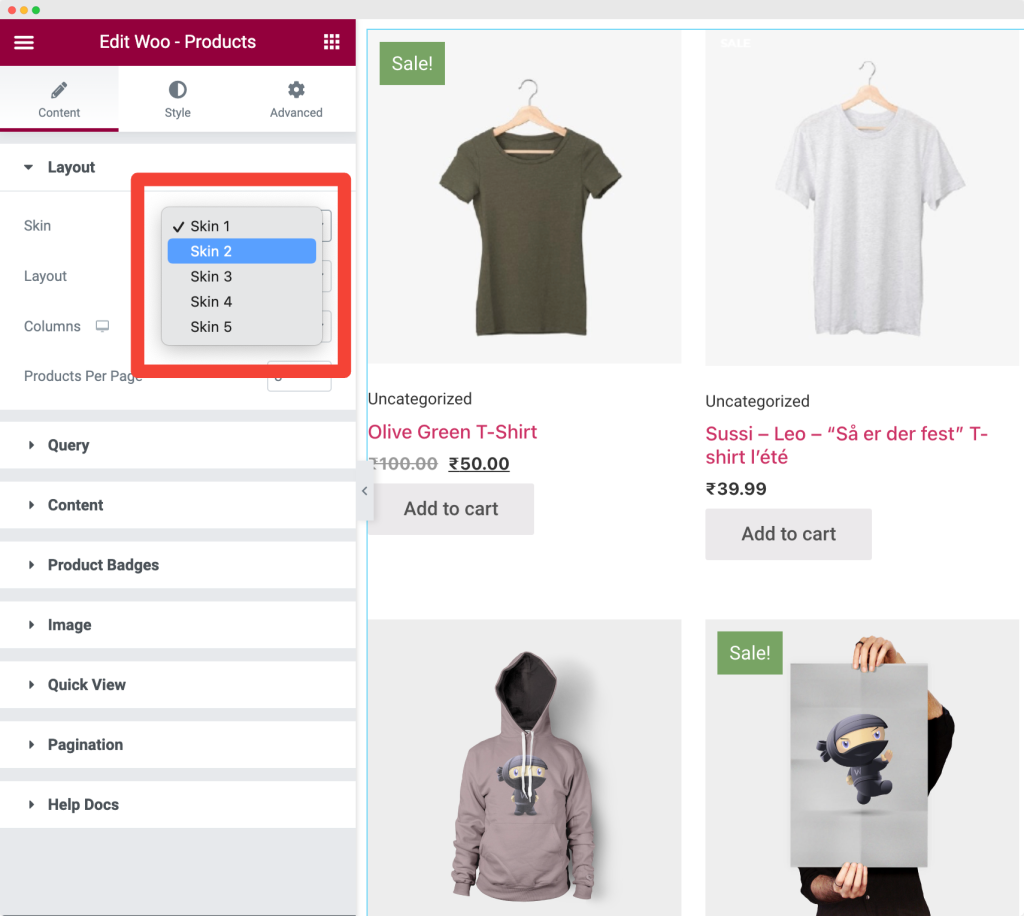
Each Skin Type offers a different style and features to enhance the display of WooCommerce products.
- Layout: Next, you need to choose the Carousel layout.
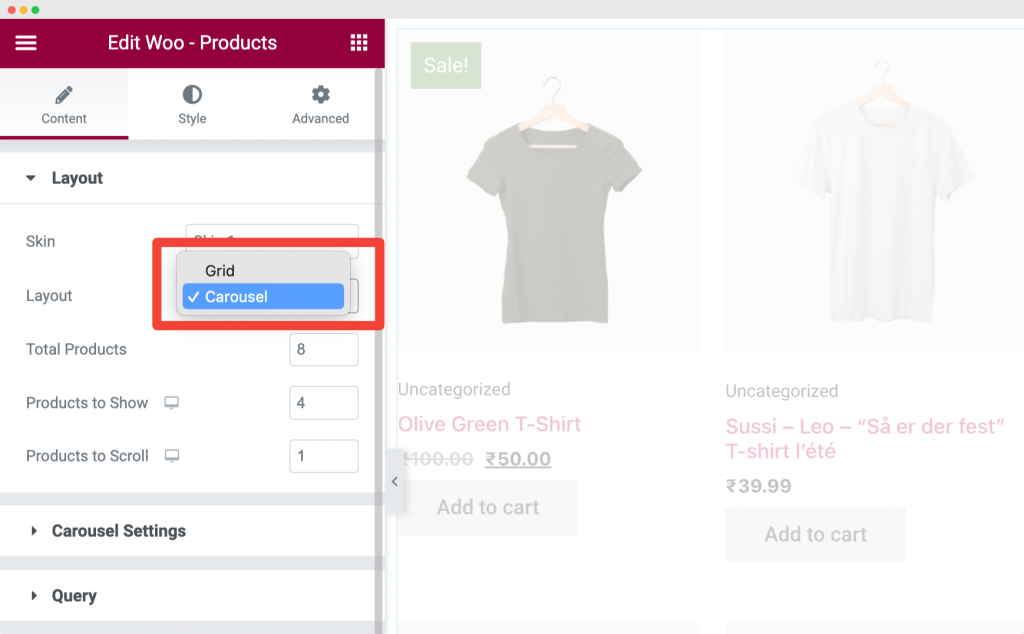
As you can see in the above image, the Woo—Product widget has two layout options: Grid and Carousel. Since we’re creating a WooCommerce Product Carousel, we’ll choose the Carousel layout.
When you select the layout, your products will be displayed in a carousel slider. You’ll also get the following options to customize the layout:
- Total Products: You can choose the total number of products that you want to display on your page.
- Products to Show: This option allows you to select the number of products you want to display on an active screen.
- Products to Scroll: Here, you can define how many products should be scrolled with a single click.

2. Carousel Settings
Next, you get advanced settings for your carousel sliders. These options give you complete control over the carousel’s navigation behavior.
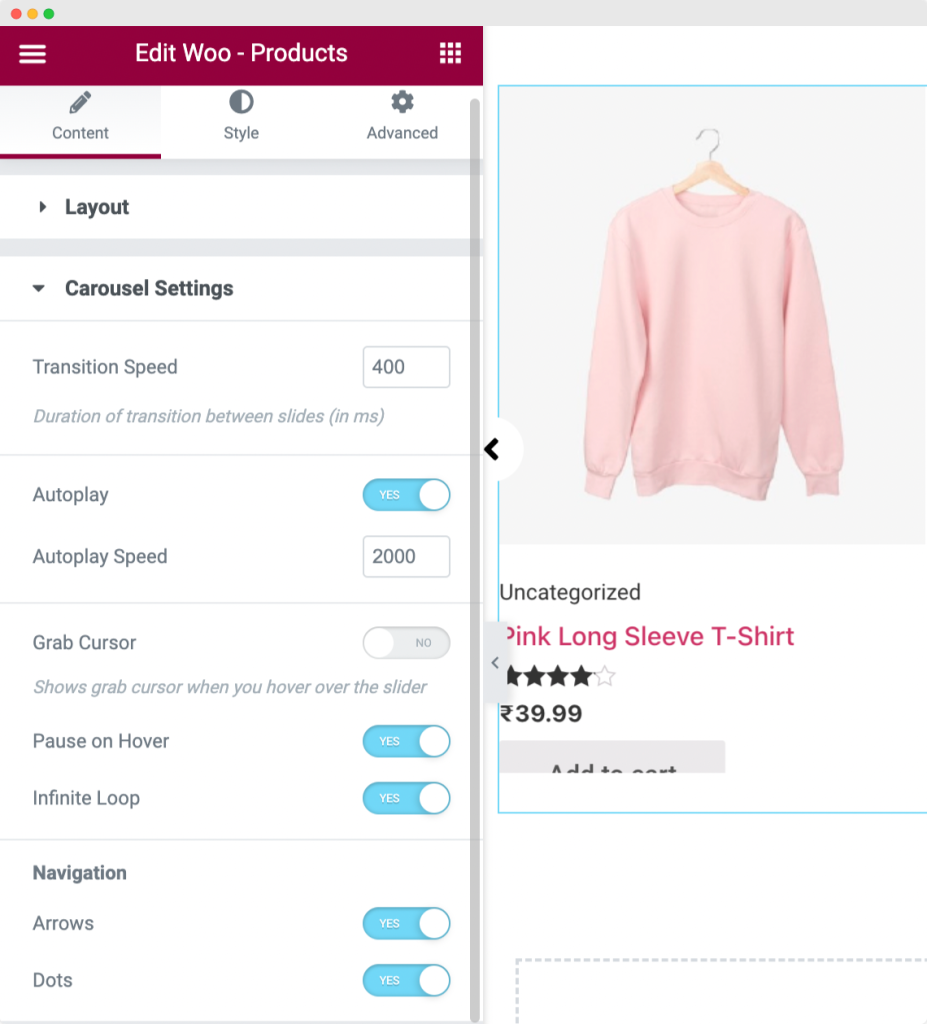
The options are:
- Transition Speed: This allows you to set the transition duration between slides (in ms).
- Autoplay: If you enable the Autoplay option, your product carousel will automatically start sliding as soon as the page loads.
- Autoplay Speed: Further, you get the option to set the autoplay speed of the carousel.
- Grab Cursor: Enabling this option will display a grab cursor when you hover over the slider
- Pause on Hover: Enable this option if you want to stop the carousel while hovering.
- Infinite Loop: This will scroll the carousel products in a never-ending loop.
- Navigation: Arrows and Dots
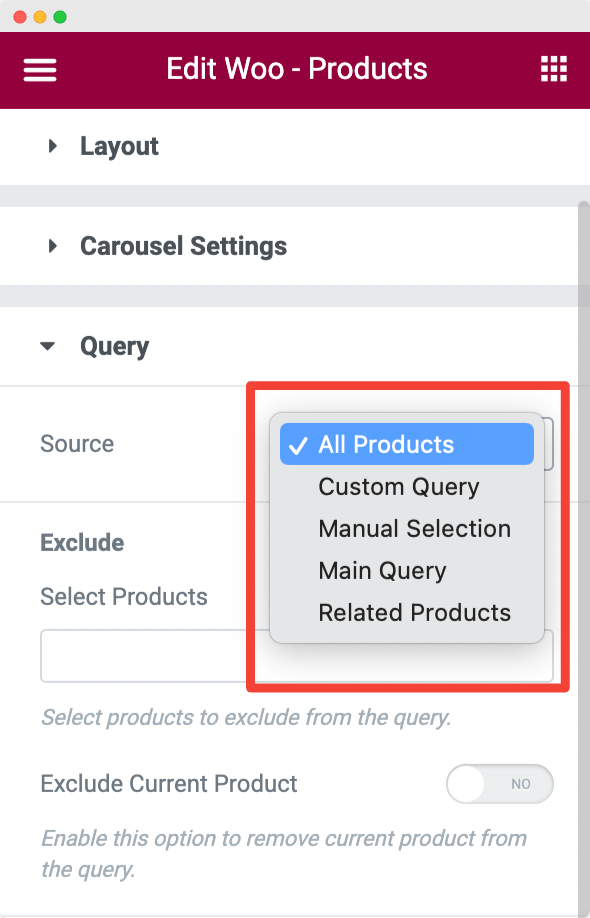
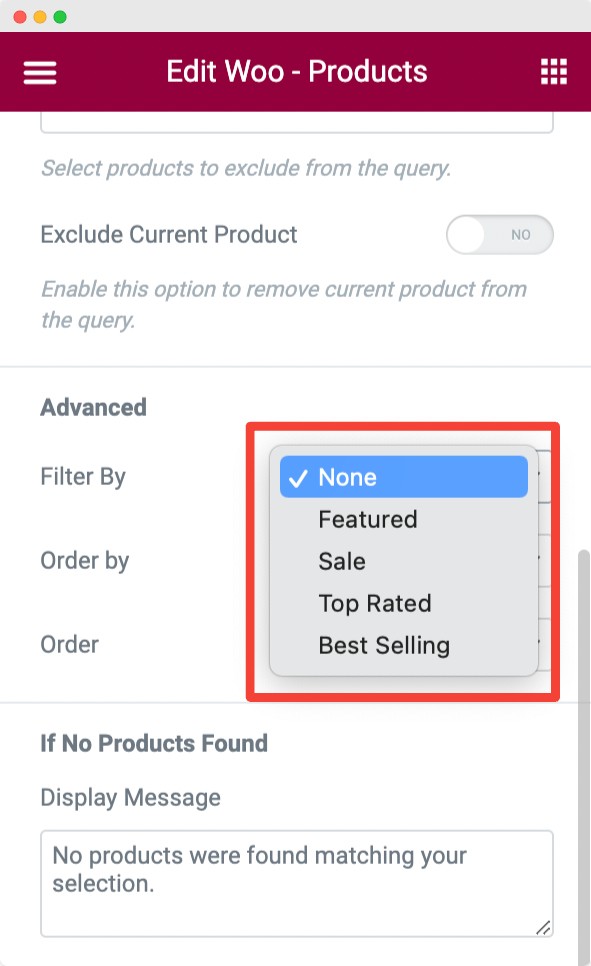
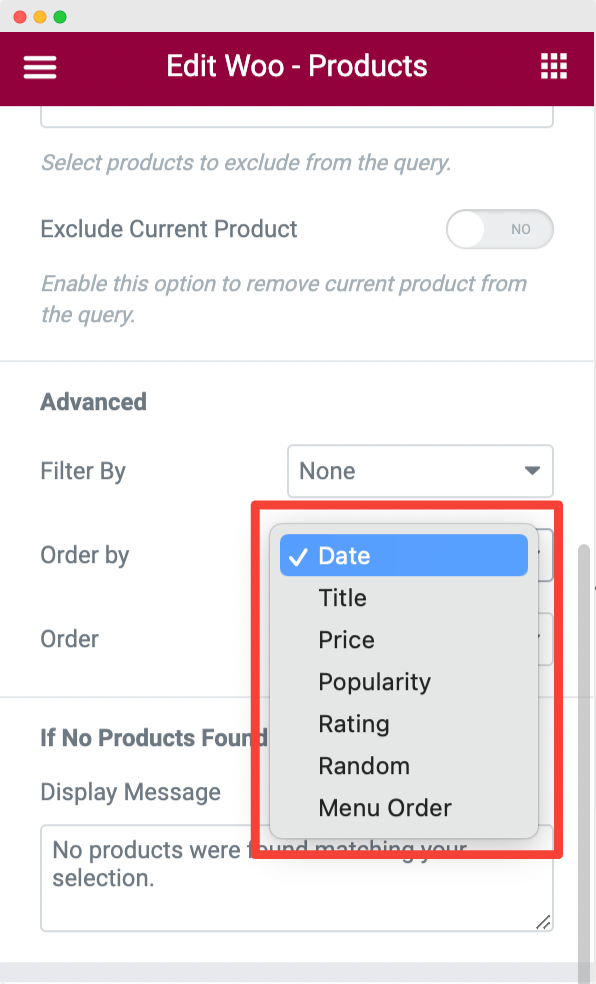
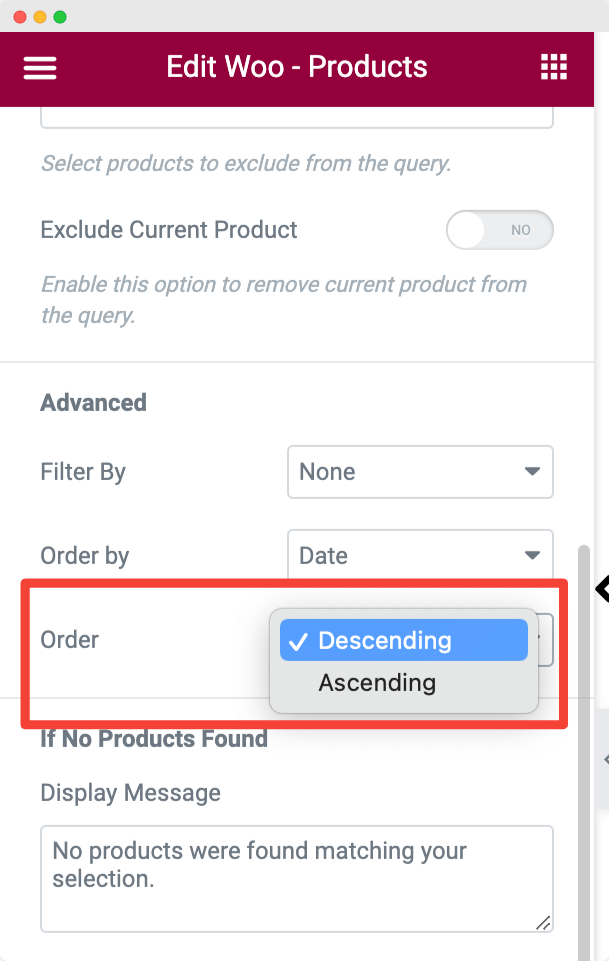
3. Query
PowerPack Woo – Products widget includes an inbuilt Query Builder. This feature allows you to display all products, filter them by applying Custom Query, or even give the flexibility to select each product Manually.
Further, you have advanced options to filter and set the display order for your products. Check the images below to explore all options.
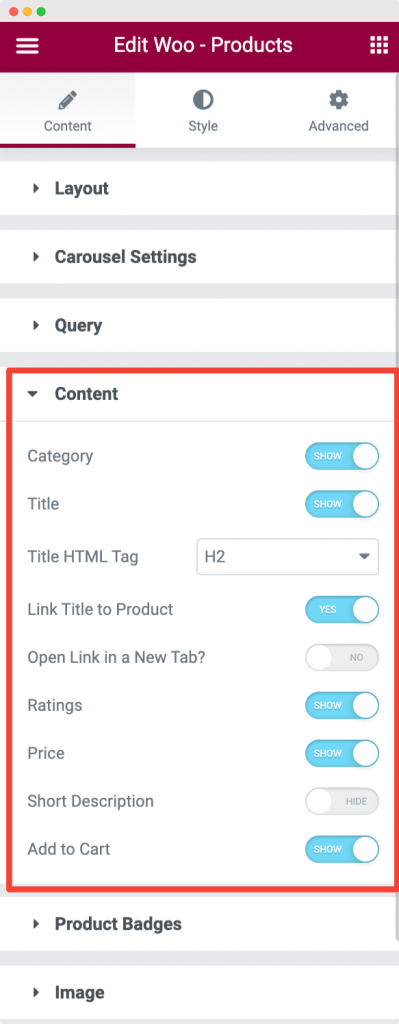
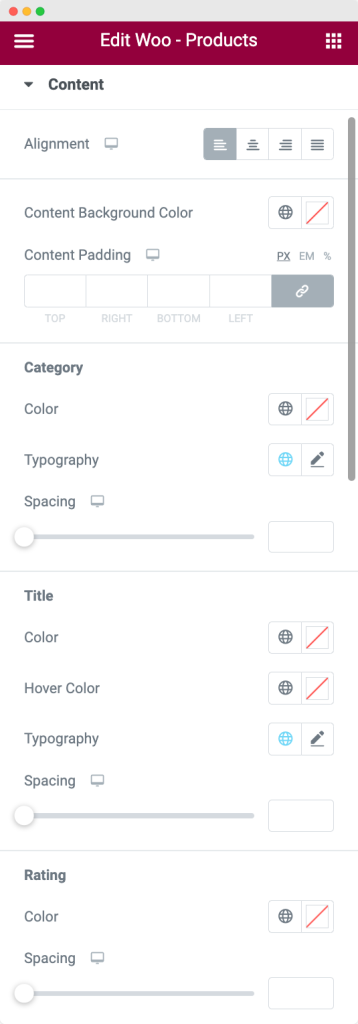
4. Content
Using the section options, you can customize the display of product content. For example, you can choose to display the Product Category, Title, Link Title to Product, Ratings, Price, Short Description, or Add-to-Cart Button.
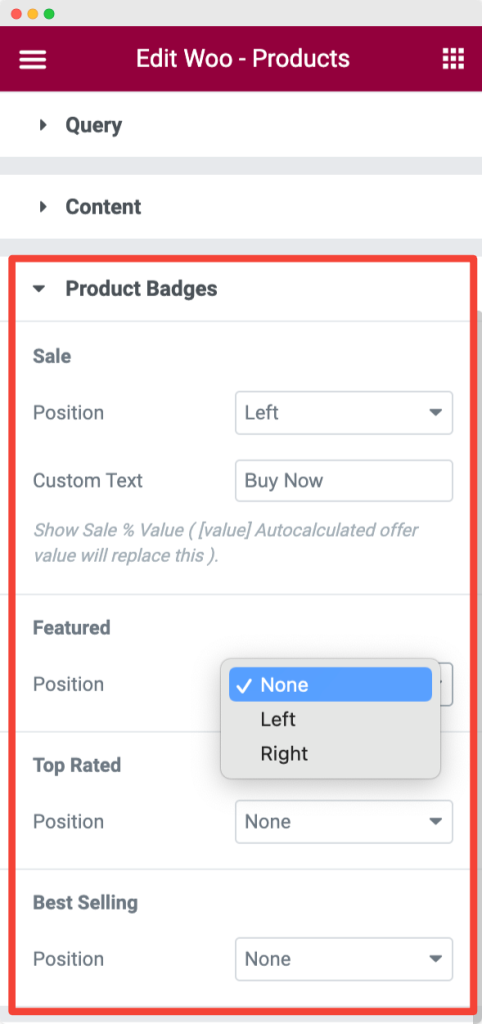
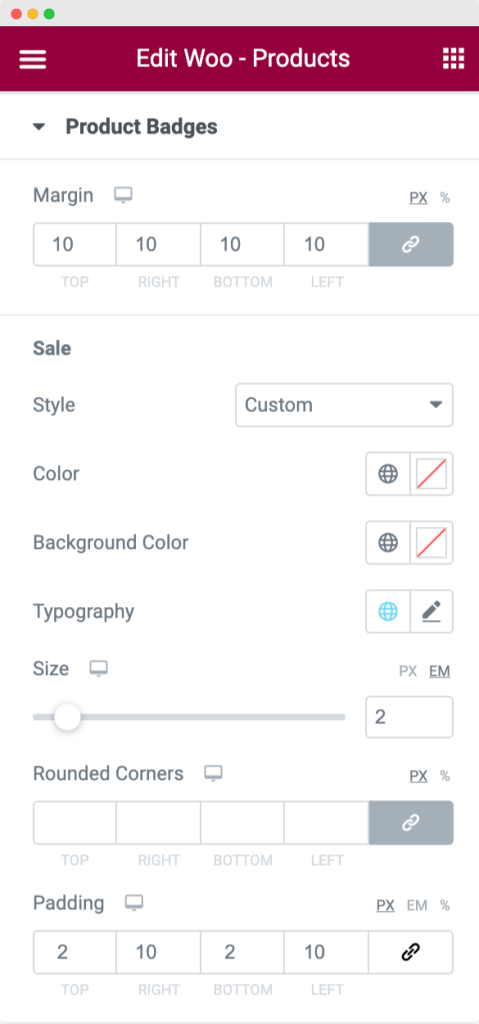
5. Product Badges
You can showcase customized Product Badges to grab your visitors’ attention instantly. Additionally, you get options to set the badges’ position and define a custom text per your preference.
6. Image
In the Image section, you’ll find default WooCommerce image size options. In addition, you can also adjust the Image Hover Effect to suit your preferences.

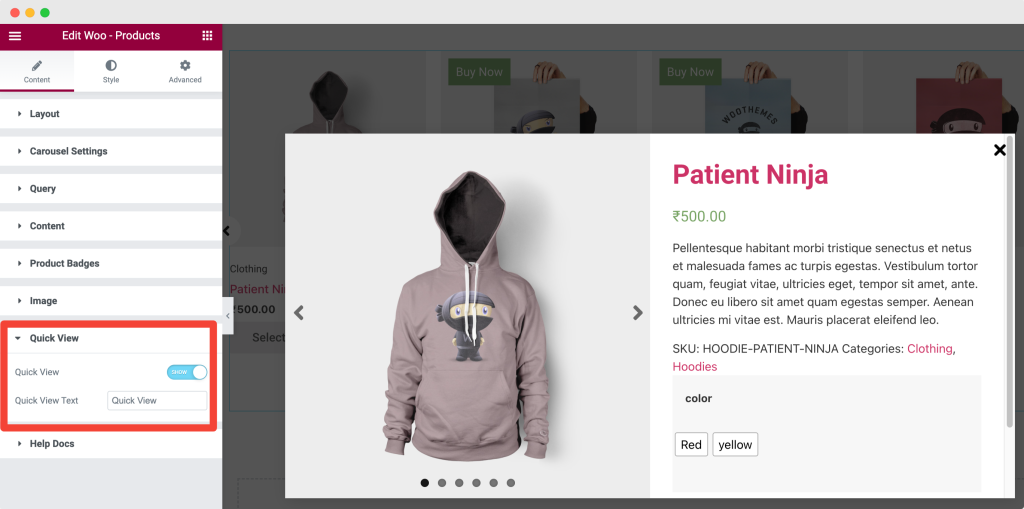
7. Quick View
With the Quick View feature, you can enable a quick view feature for your product carousel. In this functionality, you can display a quick view button over each product, and when a visitor clicks on it, a lightbox will open with all the product’s details.
By using this feature, prospective customers can view single product details directly on the product page.
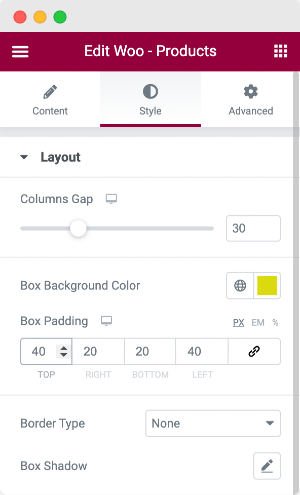
Step 4: Customizations in the Style tab
Once you make customizations in the Content tab, head over to the Style tab.
In the Style tab, you’ll find styling options to change the look and feel of your product carousel. These include color customization options, typography alteration features, margin padding options, and more.
The options you’ll find in the Style tab are:
- Layout
- Content
- Product Badges
- Quick View
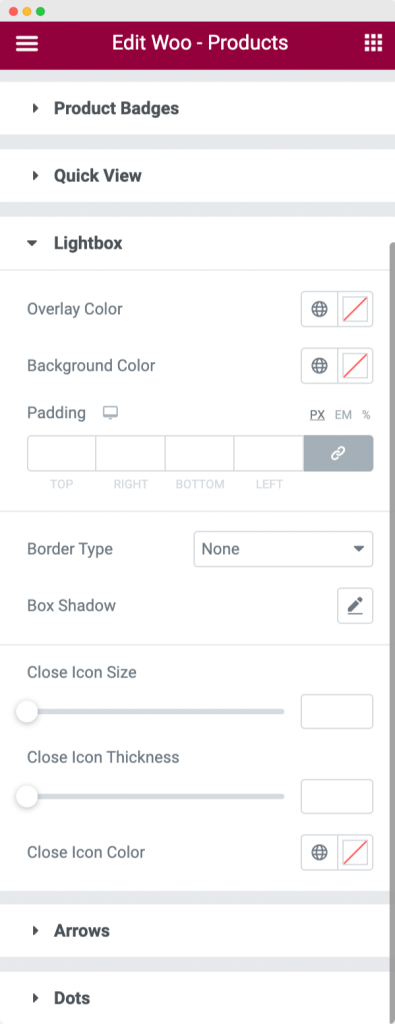
- Lightbox
- Arrows
- Dots
All the options in the Style tab are self-explanatory. Explore all the styling options and create a fully customized WooCommerce product carousel slider using Elementor now!
Preview of WooCommerce Product Carousel Widget
So, if you are looking for an easy way to make your e-store more appealing, the WooCommerce Product Carousel is just what you need.
Here’s a final preview of your WooCommerce products carousel built using the PowerPack Woo – Product widget and Elementor page builder.
Product carousels help you create a better user experience by displaying products in a beautiful carousel format on any device. So, don’t wait any longer! Get PowerPack Addons for Elementor and start customizing your WooCommerce today!
Next Read: Customize the WooCommerce My Account Page Using Elementor
We hope this tutorial gives a complete overview of the PowerPack Woo – Products widget and helps you easily create a WooCommerce Product Carousel using Elementor.
If you’re looking for a simple way to style the default My Account Page of your WooCommerce site, check out our step-by-step tutorial on how to customize the WooCommerce My Account Page using Elementor.
We’ve also published a detailed guide on setting up a WooCommerce store using Elementor.
Woo – Products widget is included in the Pro packages of PowerPack Addons, so what are you waiting for? Click here to get the PowerPack Products Widget for Elementor and WordPress now!
