
Looking for a way to display Google reviews on WordPress websites using Elementor?
Showcasing Google reviews related to your website/product/services helps you build trust and credibility with your potential customers.
In this article, we’ll show you how you can easily embed Google reviews on your WordPress sites using the Elementor page builder without worrying about any code.
How Do I Add Reviews to Elementor?
Asking yourself, “how to add google reviews to WordPress using Elementor?”
Elementor is undoubtedly one of the most popular and user-friendly WordPress page builders. However, in order to display Google business reviews using Elementor, you need to use the specific WordPress review plugin or other 3rd party Elementor add-ons that come with a review widget.
Speaking of the Elementor addons, PowerPack is the best tool that you can use to embed Google and Yelp reviews into your WordPress websites using Elementor.
PowerPack for Elementor addons has a Business Reviews widget that helps you showcase your business reviews on your WordPress site effortlessly. You can create a fully dedicated review section and customize it how you want.
Now let’s see the features of the PowerPack Business Reviews widget and how you can use it to add Google business reviews on WordPress.
How to add Google Reviews on WordPress Websites Using Elementor
Before starting, ensure you’ve installed and activated Elementor and PowerPack Addons on your site.
In order to fetch and display fetch business reviews from Google, you need a unique Google Places API key. So before we proceed to our tutorial, first see how you can get the Google Places API key to display Google Reviews.
How to get the Google Places API key to display Google Reviews?
A Google API key is a code that allows users to connect Google Services, such as Google Maps and Google Reviews, to their websites.
Create Google Places API Key
- To get your Google Places API key, go to the Google Developer Console and click on the CREATE PROJECT or select a project from the Select the Project dropdown.
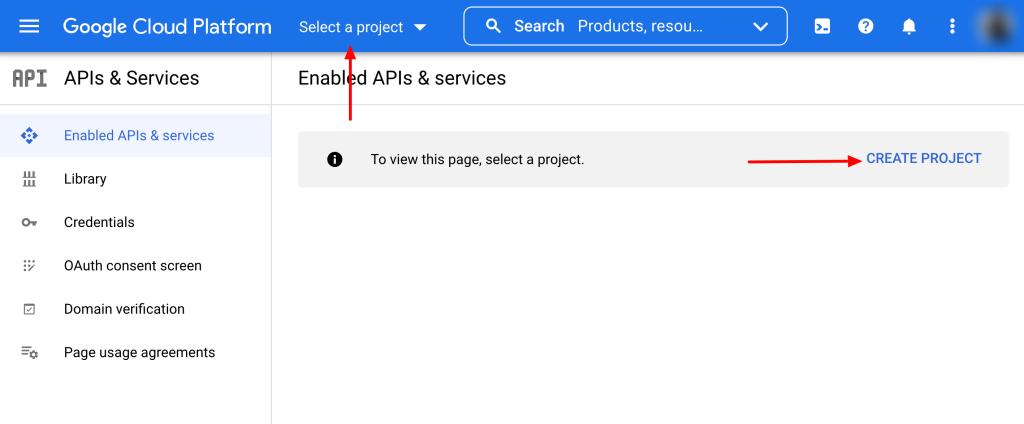
- On the project page, click Enable APIS AND SERVICES.
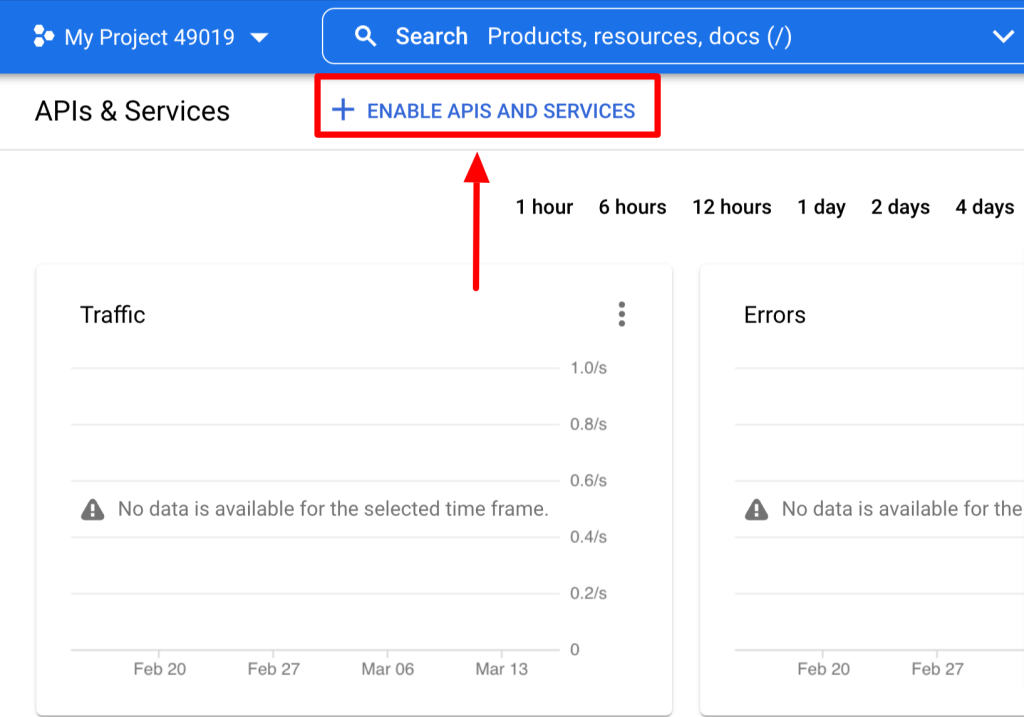
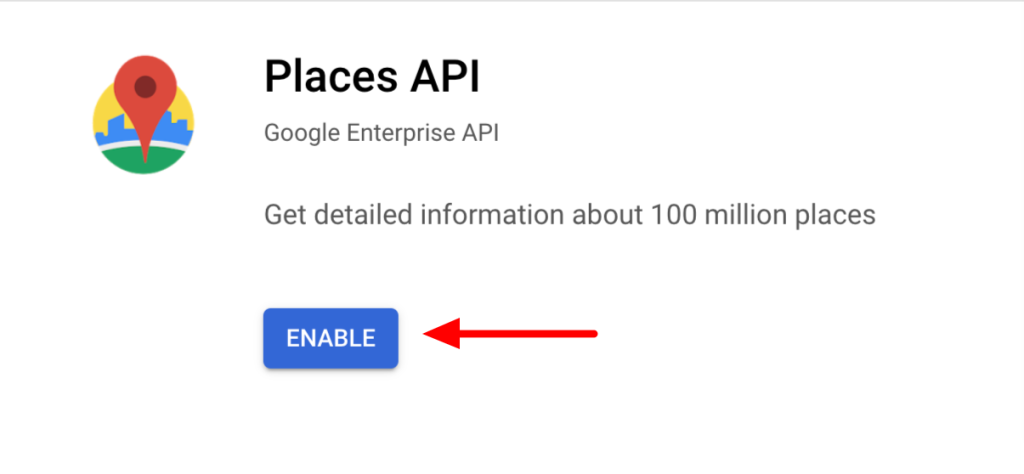
- By clicking this, you will open the Google API library. Select the Places API from the search bar, and click the ENABLE button.
- After enabling the API, go back to your Google Console dashboard and click on the Credentials tab.
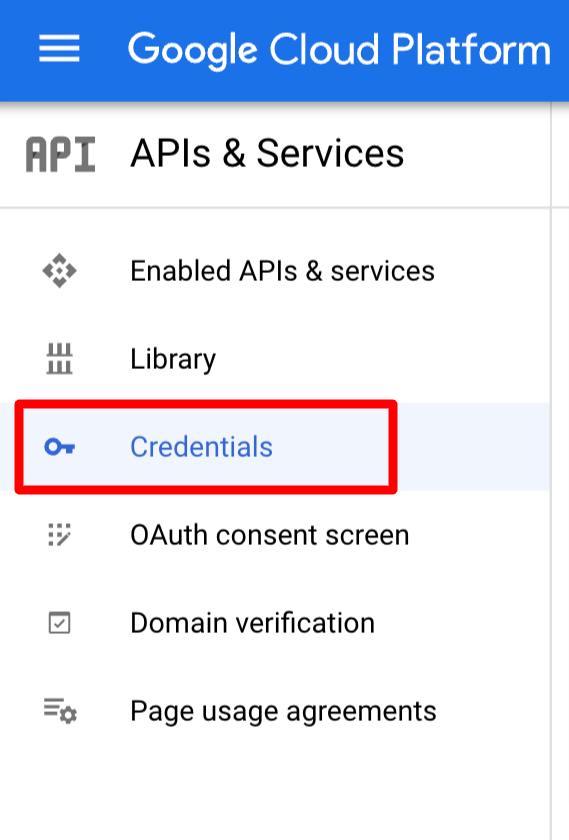
- Click on + CREATE CREDENTIALS on the next page and select API Key.
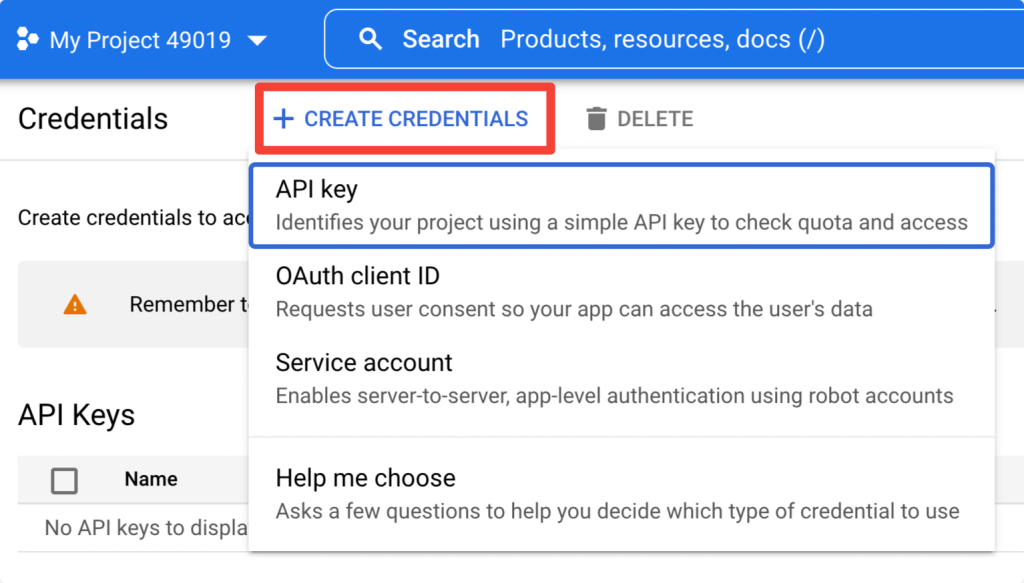
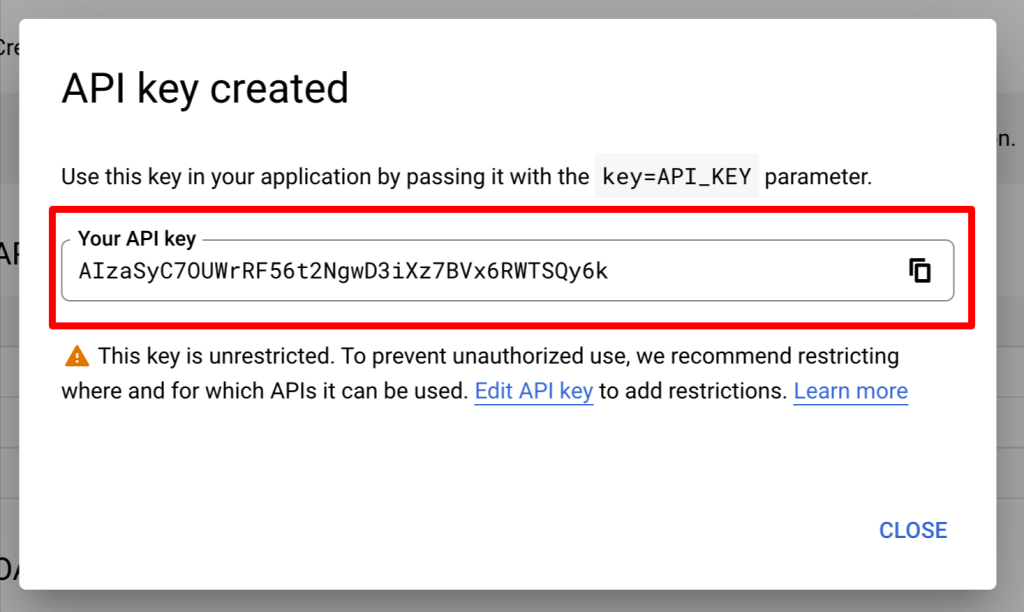
- The newly created API key will appear in a pop-up box. Copy your key and open your WordPress site.
Add API Key to PowerPack Settings
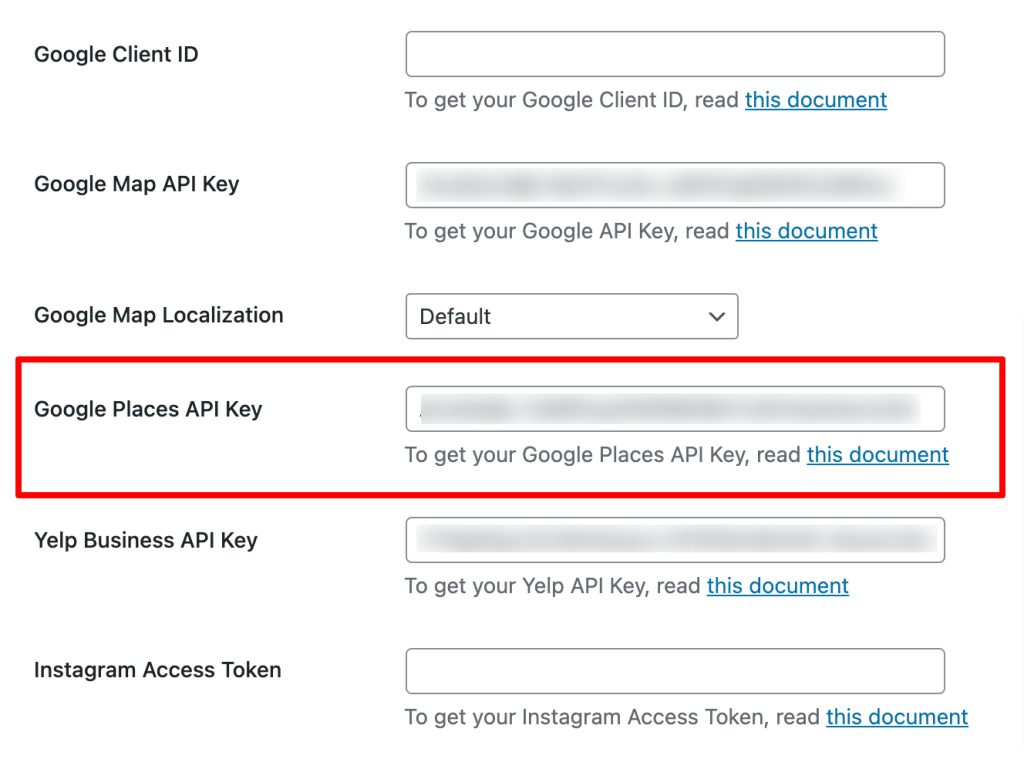
After enabling the Places API key, add the key to the PowerPack settings.
To add your key, go to WP Admin > Elementor > PowerPack > Integration, paste the API key in the Google Places API key field, and click on the Save Changes button.
Drag and Drop the PowerPack Business Reviews Widget
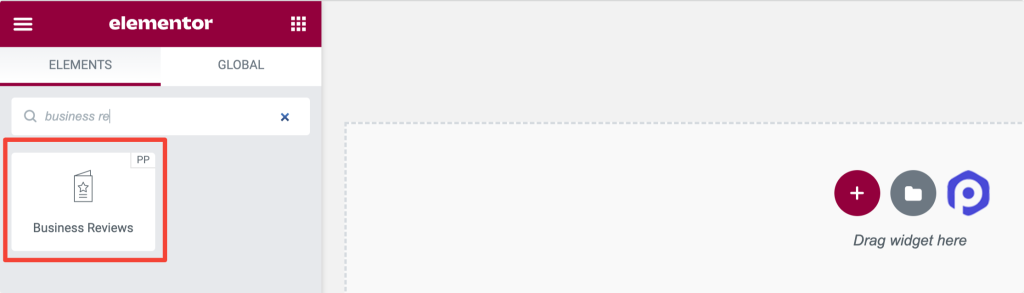
Once you activate both the plugins, open your site page using the Elementor editor and drag & drop the business reviews widget on your page.
Make sure to check the PowerPack ‘PP’ sign on the top-right corner of the widget.
Customize the Content Tab of the PowerPack Business Review Widget
You’ll find all the content customization options in the Content Tab of the Business Reviews widget.
This tab has a total of five sections:
- Business Reviews
- Layout
- Carousel Settings (Only available when the layout is set to the carousel.)
- Filters
- Review Details
Business Reviews

Let’s see what functionalities this section offers:
- Skin: This feature will provide skin options for your business review section, such as classic and card.
- Reviews Source: Choose a source to display reviews directly to your business review section. Options given here are Google Places, Yelp, and Google + Yelp.
- Google Place ID: You can drop your Google Place ID here.
- Language Code: Enter a language code in which you want to display your content.
- Refresh Reviews after: Select the time duration for refreshing the reviews on the review section, such as hour, day, week, month, and year.
Layout
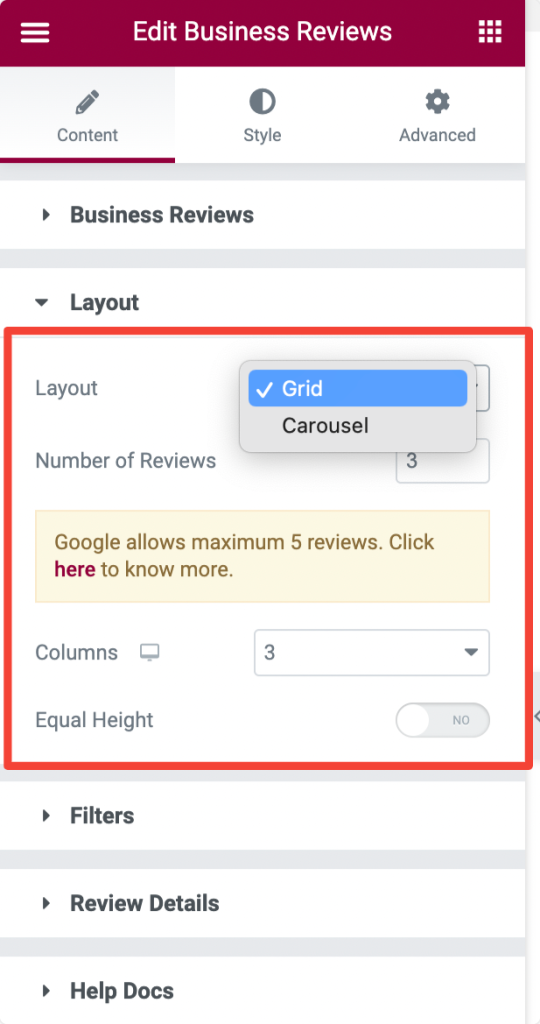
Let’s see what functionalities this section offers:
- Layout: You can choose a layout for your business review section from the given options, such as grid and carousel.
- Number of Reviews: Set the number of reviews you want to display.
- Columns: Choose a number of columns for the business reviews section.
- Equal Height: Enable this option to apply similar heights for all reviews.
Carousel Settings

Let’s look at the options available in this section:
- Transition Duration: Set the transition duration for the carousel you’ve applied.
- Autoplay: Toggle this feature to set autoplay for the carousel effect.
- Autoplay Speed: You can set its speed here to enable the autoplay for the business reviews section.
- Pause on Hover: Toggle on this option if your carousel transition is paused on hover mode.
- Pause on Interaction: Toggle on this option to pause the carousel transition during user interaction.
- Infinite Loop: Toggle on this option to enable an infinite loop for the carousel transition.
Navigation
- Arrows: Enable this option to display arrows on either side of the business reviews section.
- Pagination: Enable this option to display arrows at the bottom of the business reviews section.
- Pagination Type: Choose among dots or fractions as the pagination type.
- Direction: Choose a direction for the carousel transition animation.
Filters
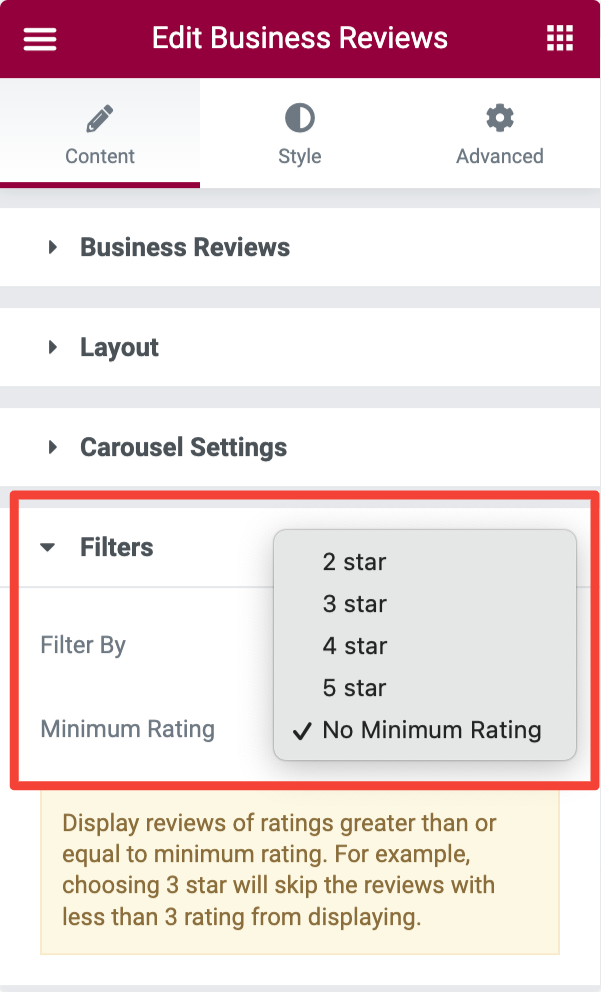
Let’s see the options that this section offers:
- Filter By: Choose “minimum rating” or “review date” as the filter to display reviews according to the date or rating.
- Minimum Rating: You can set the minimum rating for the reviews here.
Review Details

Let’s look at the options that this section offers:
Reviewer Image
- Show Image: Toggle on this option to show the reviewer image in the business review section.
- Image Position: Choose a position for an image from the given options such as ‘above name,’ ‘left of the name,’ and ‘left of all content.’
Reviewer Name
- Show Name: Toggle on this option to show the reviewer’s name in the business review section.
- Link Name: Enable this feature to link the reviewer name.
Star Rating
- Show Star Rating: If you want to display a star rating, you can enable this option.
Review Source Icon
- Show Review Source Icon: Enable this option to show the review source icon on your business review section.
Review Date
- Show Review Date: Enable this option to show the review date.
- Select type: Choose a review date type from the given options among ‘numeric’ or ‘relative.’
Review Text
- Show Review Text: Toggle on this option to show the review text in your business review section.
- Text Length: Choose a review text length using this option.
- Read More Text: Label the read more text to let viewers explore the entire review length.
Customize the Style Tab of the Business Review Widget
Once you’ve customized the Content Tab of the Business Reviews widget, jump into yet another section to apply some styling features to your business review section.
The style tab of the business review widget has a total of nine sections:
- Layout
- Box
- Image
- Name
- Review Date
- Rating
- Review Text
- Arrows (Only available when the layout is set to “carousel.”)
- Pagination (Only available when the layout is set to “carousel.”)
Layout
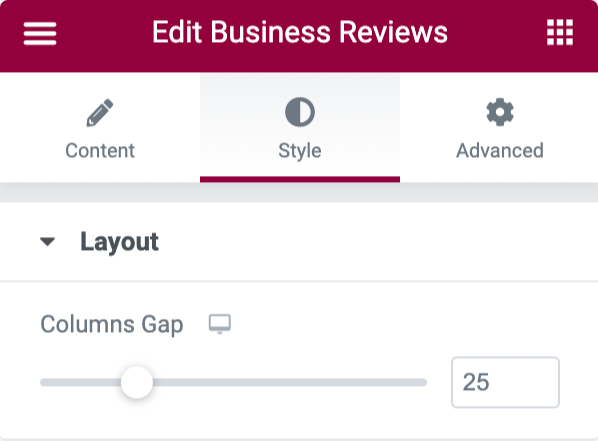
This section allows you to adjust the column gap between the review tabs in the business review section.
Box
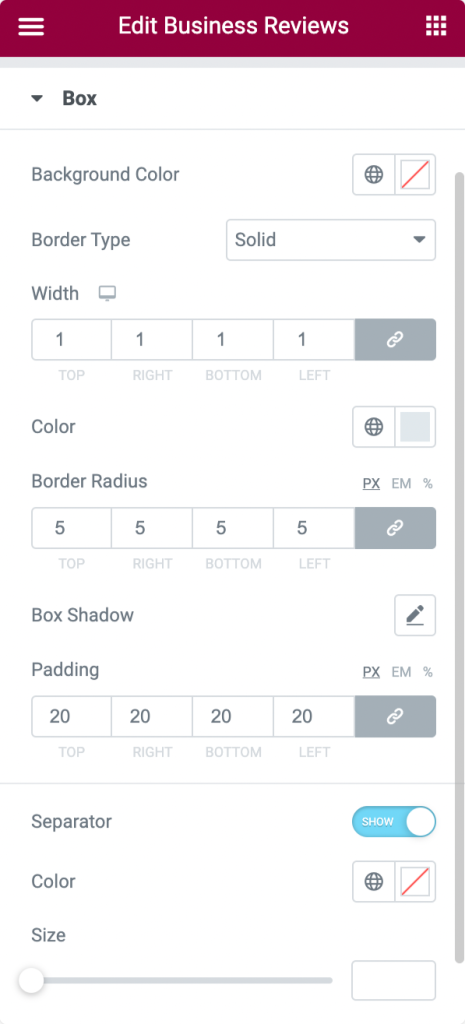
- Background Color: Select the box color that displays each review in the business review section.
- Border Type: Choose the border type for the box using this option.
- Width: You can set the border width here.
- Color: This option allows you to set a border color for the box.
- Border Radius: Set the border radius to display soft edges to the box using this option.
- Box Shadow: Customize a shadow effect for the box with this option.
- Padding: Adjust the border padding here. This will maintain space between the border and the text part.
- Separator: This option can display a separator between the review text and the remaining part.
- Color: You can choose a separator color here.
- Size: The size of the separator can be adjusted here.
Image
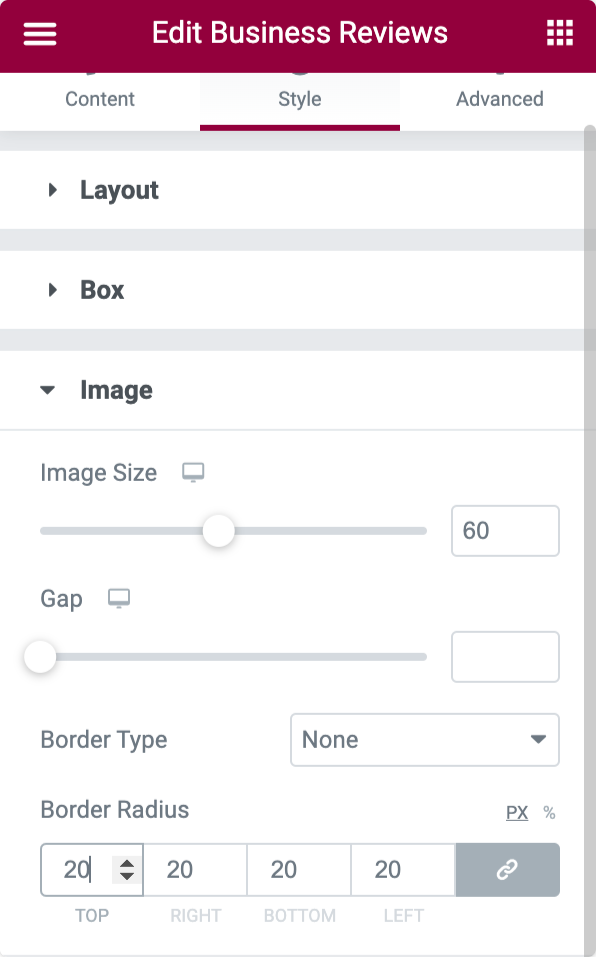
- Image Size: Reviewer image size can be adjusted with this option.
- Gap: Using this option, you can allow space between the image and the text displayed.
- Border Type: Choose a border type for the reviewer image.
- Border Radius: You can set its radius here if you’ve applied a border to the image.
Name
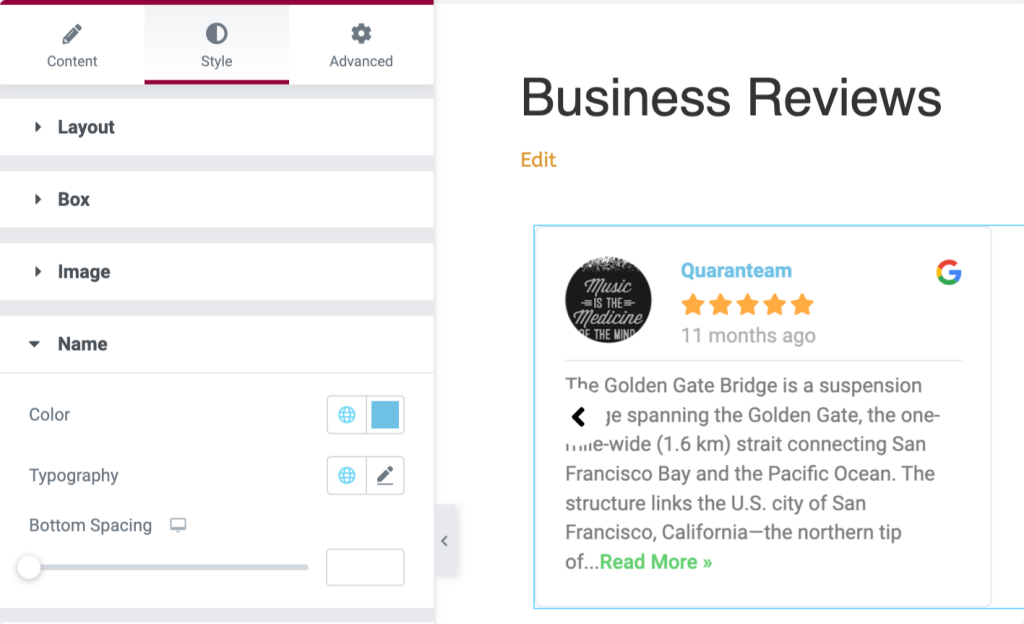
- This section lets you change the color, typography, and bottom spacing for the name text in the business review section.
Review Date
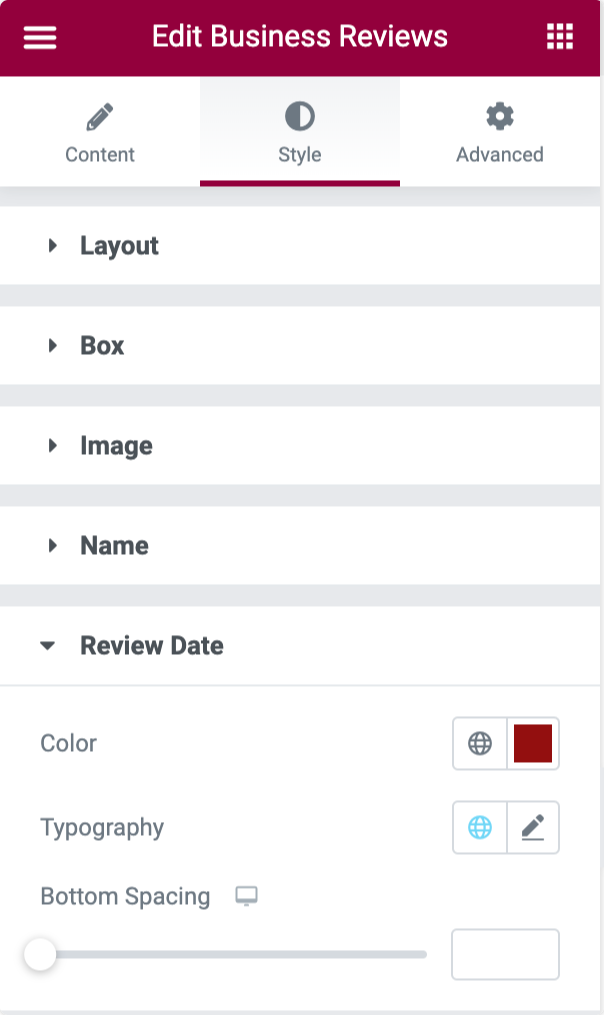
- This section lets you change the color, typography, and bottom spacing for the name text in the business review section.
Rating
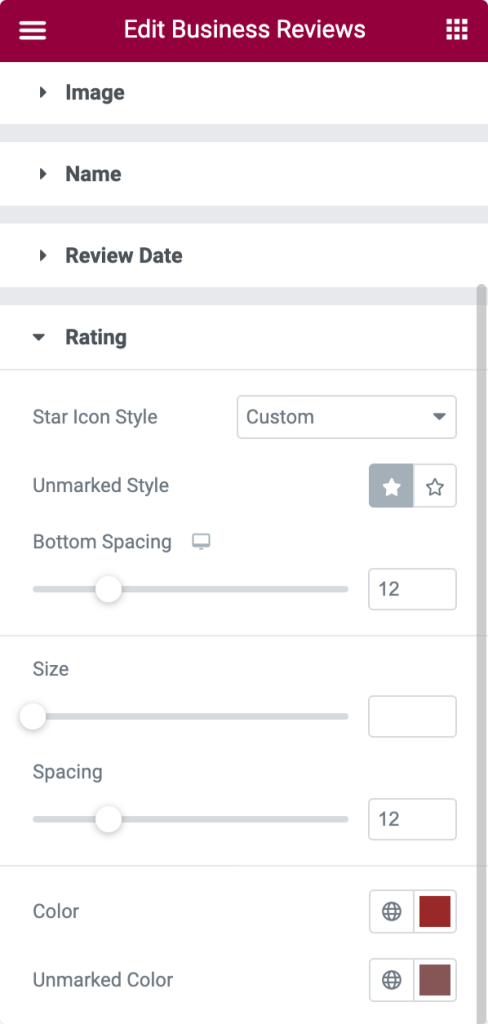
- Star Icon Style: Choose a star icon style between custom and default.
- Unmarked Style: You can choose an unmarked rating style here.
- Bottom Spacing: Use this option to allow spacing below the rating part.
- Size: With this option, you can set a rating star size.
- Spacing: Customize the spacing between each rating using this option.
- Color: Choose a color for rating using this option.
- Unmarked Color: With this option, you can set a color for an unmarked rating.
Review Text
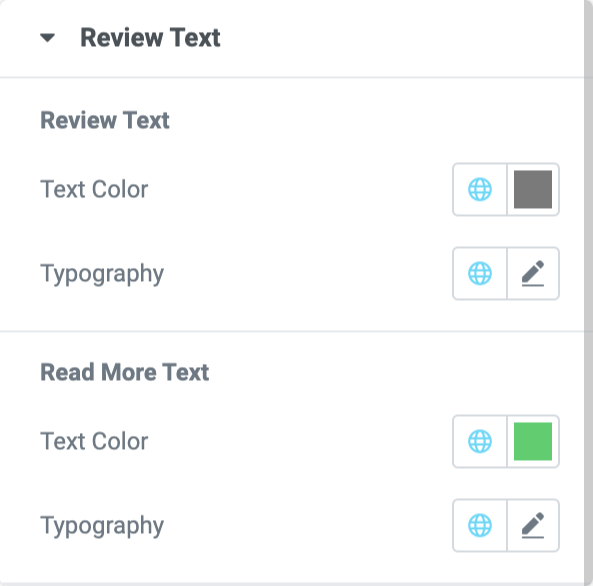
Options in this section offer you to customize the text color and the typography for the “review text,” and the “read more text.”
Arrows
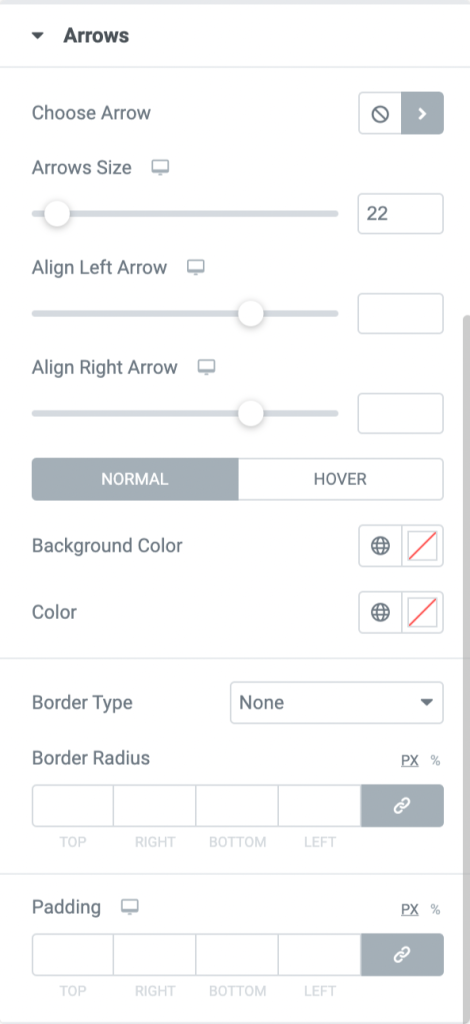
- Choose Arrow: Use this option to choose an arrow from the icon library.
- Arrows Size: Set the arrow size using this option.
- Align Left Arrow: You can align the left arrow by dragging it left or right.
- Align Right Arrow: You can align the right arrow by dragging it left or right.
- Background Color: Set a background color for both arrows using this option.
- Color: Customize the color of the arrows with this option.
- Border Type: Choose a border type for arrows using this option.
- Border Radius: You can customize it here if you’ve applied a border to the arrows.
- Padding: Adjust the padding of the border you’ve applied to the arrows.
Pagination: Dots
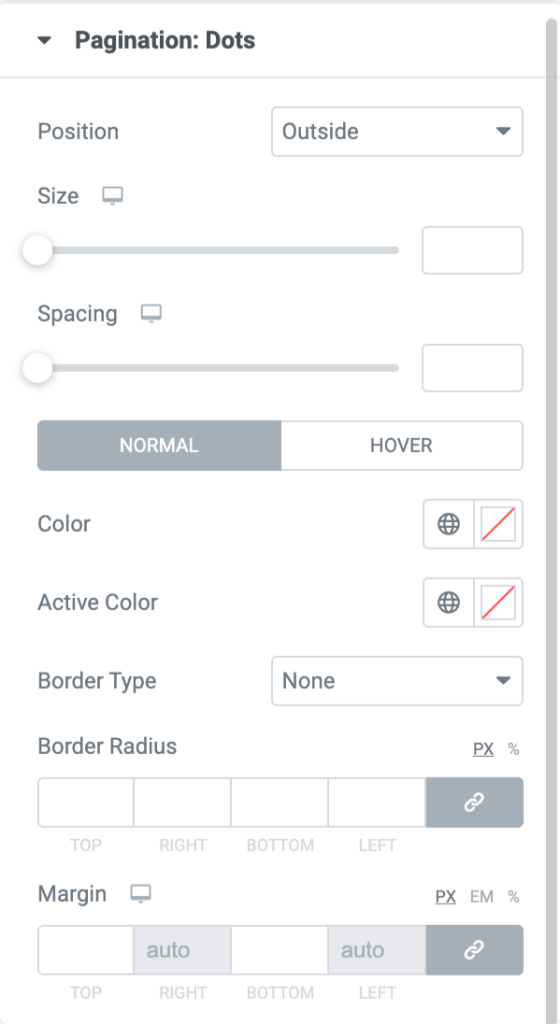
- Position: Choose a position ‘outside’ or ‘inside’ position in the business review box.
- Size: Set the size of the pagination: dots using this option.
- Spacing: You can customize the spacing between the dots with this option.
- Color: Set the color for the pagination dots with this option.
- Active Color: Set the active color for the pagination dots using this option.
- Border Type: Choose a border type for the pagination dots.
- Border Radius: This option allows you to set the border radius of the pagination dots.
- Margin: Adjust the margin of the pagination dots using this option.
Pagination: Fraction
- In the pagination: fraction section, you’ll get options to customize the text color and typography of the pagination fraction text.
Showcase Google Reviews on WordPress websites Effortlessly with Elementor
We hope this tutorial blog helped you showcase Google reviews on WordPress websites using the Elementor Google Review widget by PowerPack addons.
You might also be interested in checking out our tutorial on how to display a review section on the WordPress site using Elementor.
Click here to get the PowerPack Business Review widget for Elementor.
Please feel free to drop your comments here; we’d love your replies.
More From the Blog:
