Looking for a simple to show multiple locations on Google Maps or want to display multiple addresses on Google Maps? You’ve landed on the right page!
Displaying Google Maps on your website is essential to building an excellent user experience as it helps users find your location and thus improves your organization’s credibility.
Many businesses have multiple addresses they want to show on Google Maps. With Elementor’s Maps widget, achieving this was not possible. However, with the help of PowerPack’s Google Maps Elementor widget, one can now easily display as many locations as desired.
In this article, I will explain how you can display Google Maps with Multiple Locations using the PowerPack Google Maps widget for Elementor.
Display a Google Map With Multiple Locations Using Elementor
To display a Google Map, we will have to add the Google Map widget to any page on the site.
Before we proceed, make sure you’ve installed and activated Elementor and the PowerPack Pro plugin on the site.
If you are new to WordPress and just started using the Elementor page builder, our detailed guide on how to use Elementor will explain every detail and help you understand Elementor basics.
Now let’s start our tutorial.
Step 1: Launch Elementor Editor
Once you have installed and activated Elementor and PowerPack Addons on the site, head over to your WordPress Dashboard >> Pages.
Now, select the page on which you wish to add the Google Maps widget and click on the Edit with Elementor button.
Next, drag and drop the Google Maps widget in the Elementor editor. Ensure that you check the PP icon located on the right side of the widget.
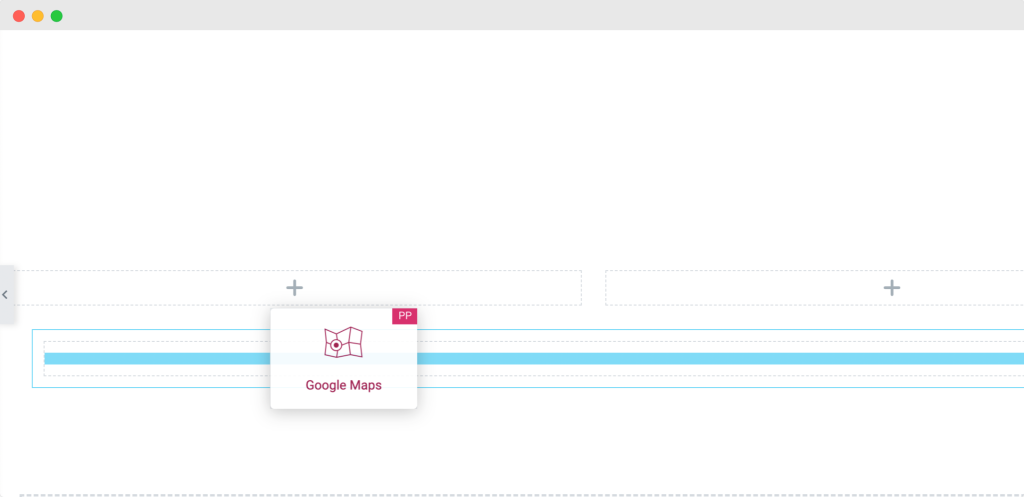
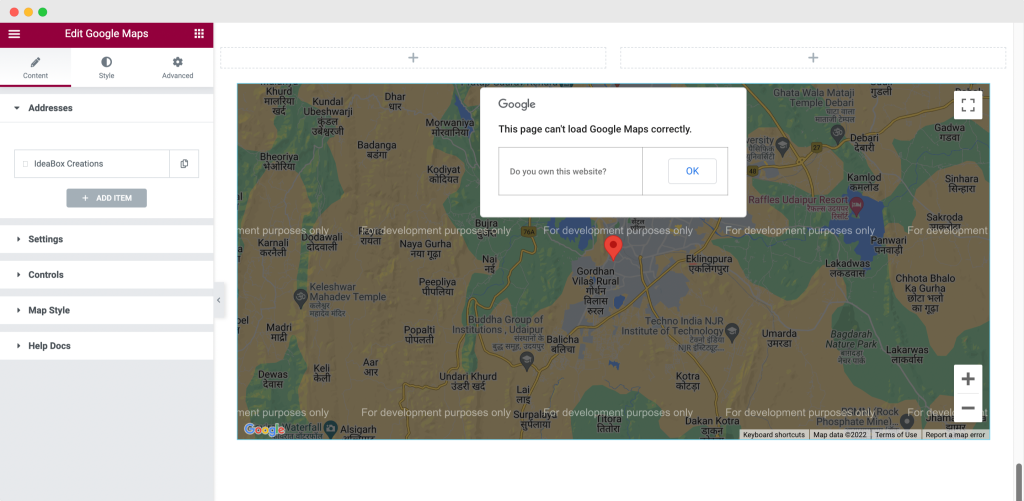
As soon as you add the Google Maps widget, the map will appear with its default settings.
The screenshot below shows what your page would look like after adding the Google Maps widget.
To integrate Google Cloud services and tools, such as Google reCAPTCHA, Google Analytics, and Google Maps, among others, we need to generate API key(s) and place them in our WordPress.
To display Google Maps on our WordPress website, we also need to obtain an API key.
Generate the Google Maps API key for the PowerPack Google Maps widget
So, let’s see how you can generate the Google Maps API key for the PowerPack Google Maps widget.
Step 1: To begin with, go to the Google Maps Platform and click the blue Get Started button.
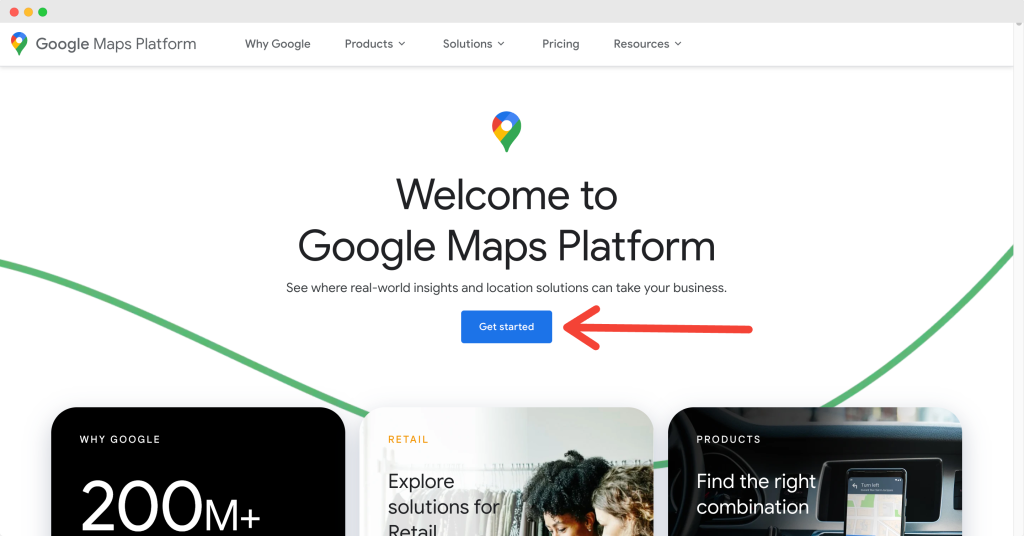
Note: Google Maps is a paid service. To generate your Google Maps API keys, you need to create a billing account and add your card details.
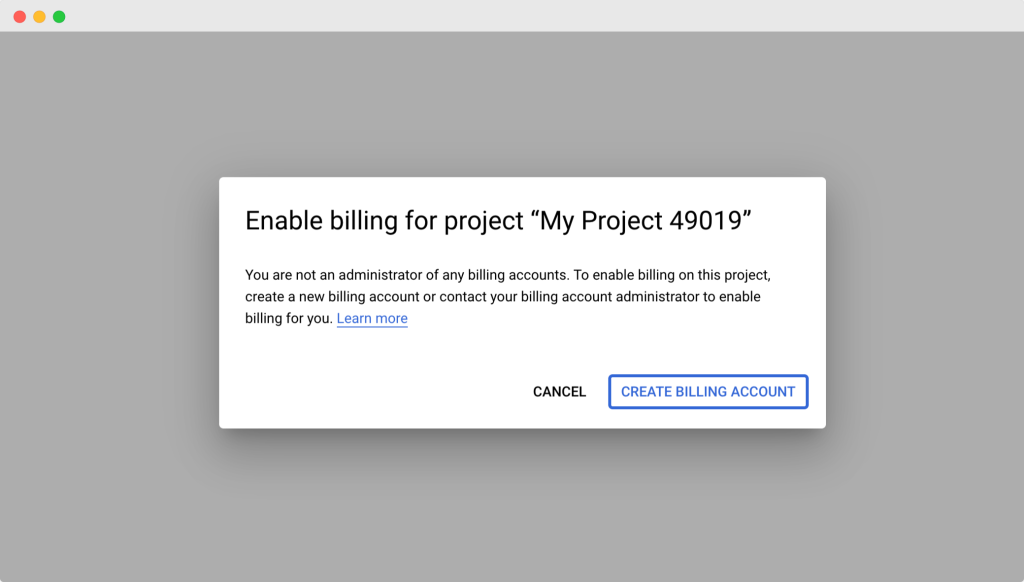
Step 2: Next, you’ll be redirected to your Google Cloud dashboard. A pop-up box will appear; click on the CREATE BILLING ACCOUNT option.
Step 3: Next, complete your account information and set up your billing profile.
Select the Country, choose the Account Type, add the Tax information, add your Name and address, Contact Information, and choose your Payment method.
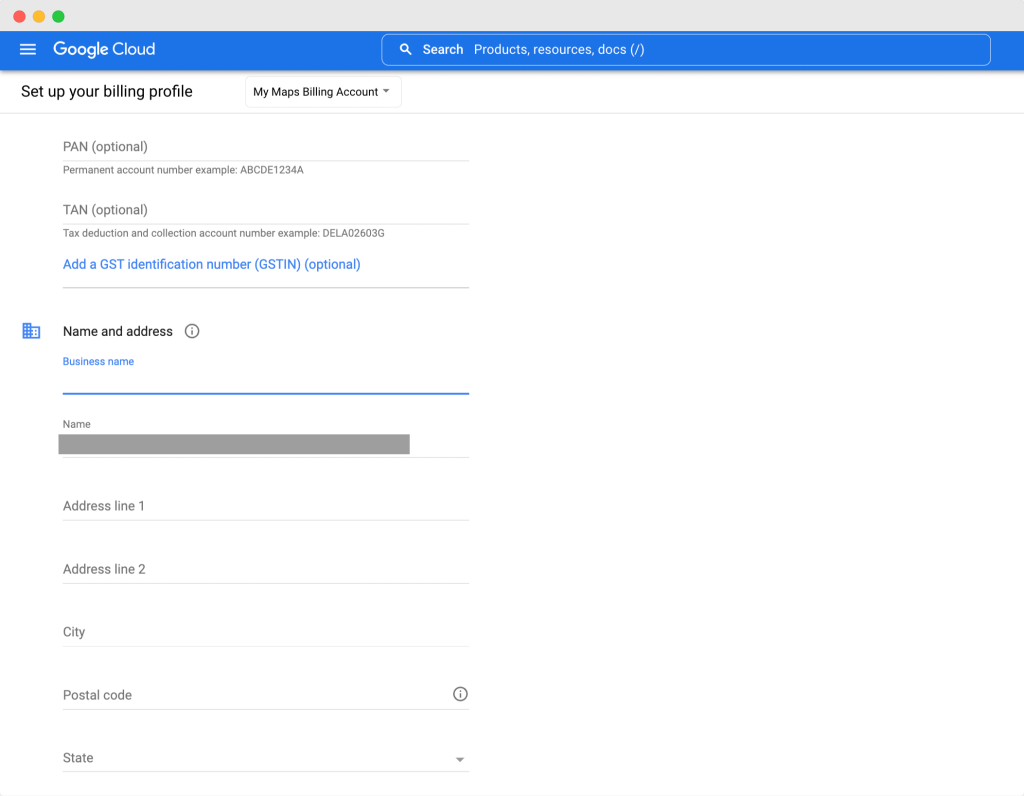
When done, click the SUBMIT AND ENABLE BILLING button.
Step 4: On the next account opening page, select the website.
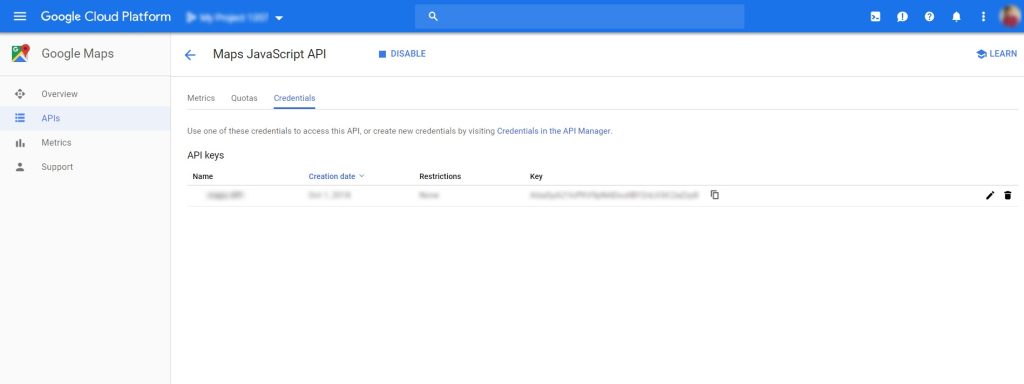
Step 5: Go to the Maps API, select the Maps JavaScript API, enable maps on your website, then go to API Credentials and click Create Credentials. Choose the API key.
Step 6: The API Key will be generated. Copy the API key and head back to your WordPress website.
Now we need to add the Google Maps API to PowerPack Settings.
Add Google Maps API Key to PowerPack
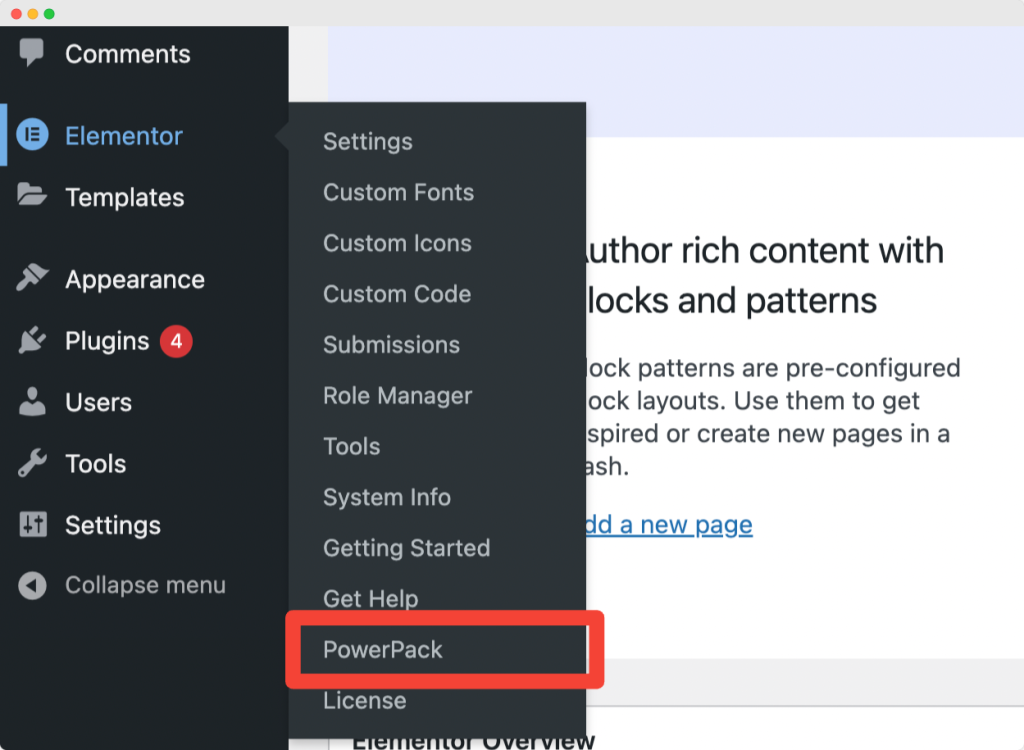
Step 1: In your WordPress dashboard, click Elementor >> PowerPack.
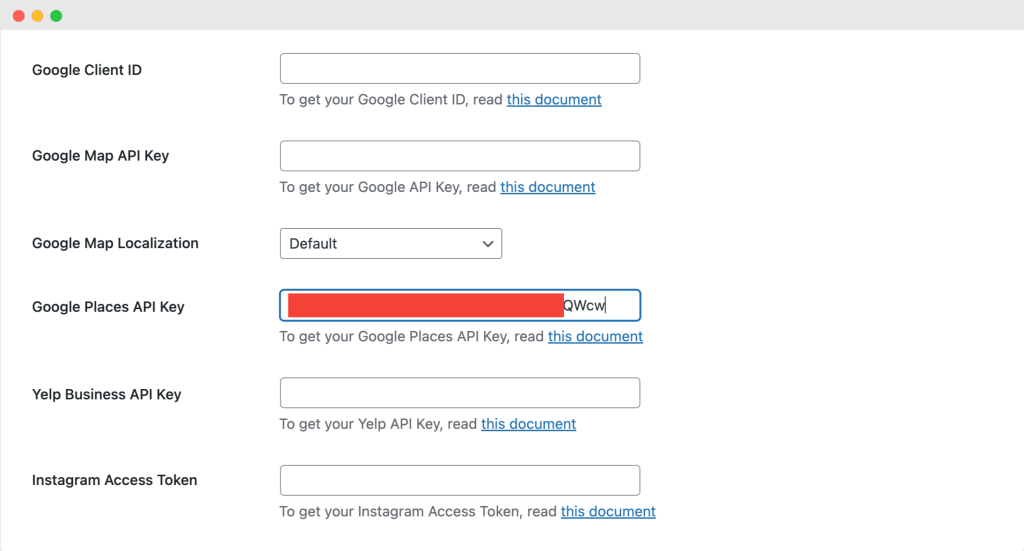
Step 2: On the next page, under the Integration tabs, you will see a field for the Google Map API key.
Paste the API you have copied and click the “Save Changes” button.
PowerPack Google Maps Customization in Content Tab
Addresses: This is the first section of the Google Maps widget. Here, you will see options to add multiple addresses, set the address title and description, and select the map marker icon.
You can add as many locations as you want to display in Google Maps. For our example, I have added four locations/addresses, each with a custom Map marker icon, as shown in the screenshot below.
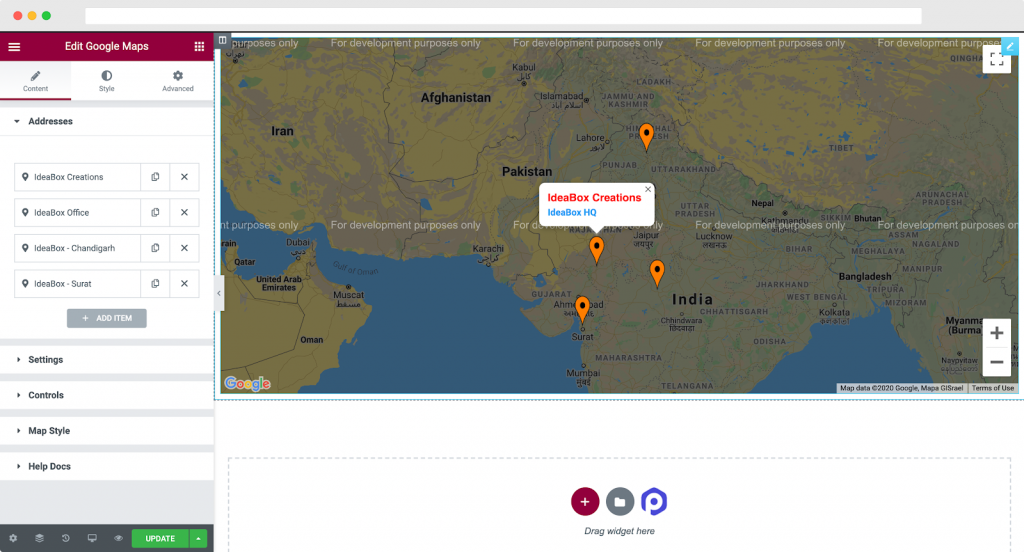
To add a location, navigate to the Addresses tab in Google Maps >> Content and click “Add Item.”
Once you click on Add Item, you’ll see options to add the Latitude and Longitude of the Address along with the Address Title and Description.
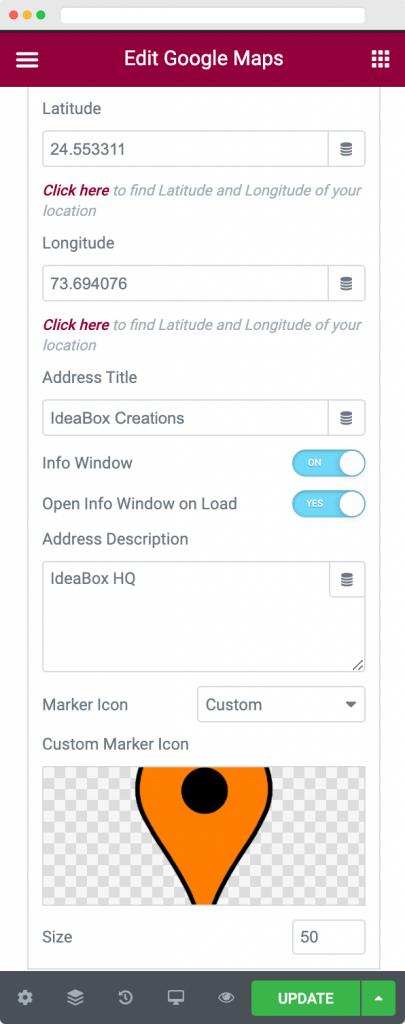
You will also have the option to choose whether to display the Info Window on page load or not. The Info Window contains the Address, Title, and Description.
Finally, you can upload a Custom Marker Icon that displays the location on Google Maps. You can also define the size of the Marker Icon as per your requirement.
Settings: This section allows you to select the settings for Google Maps. You can choose between Zoom Type settings of Auto or Custom, depending on your preference.
If you choose Custom, you can decide the Zoom level for your location. Besides Zoom Type, you can select different Map Types and Marker Animation for your Google Maps.
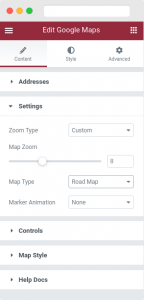
Different types of Maps are available, including road maps, Satellite Maps, Hybrid Maps, and Terrain Maps. Further, you can choose how you want to animate the Map Markers. You can either go with Drop or Bounce animations, or simply stay away from animations.
Our Google Maps Elementor widget offers numerous customization options to help you create a stunning map. For this tutorial, I am choosing the Custom Zoom Type, where the Map Zoom is set to 8, the Map Type is Road Map, and the Marker Animation is set to None.
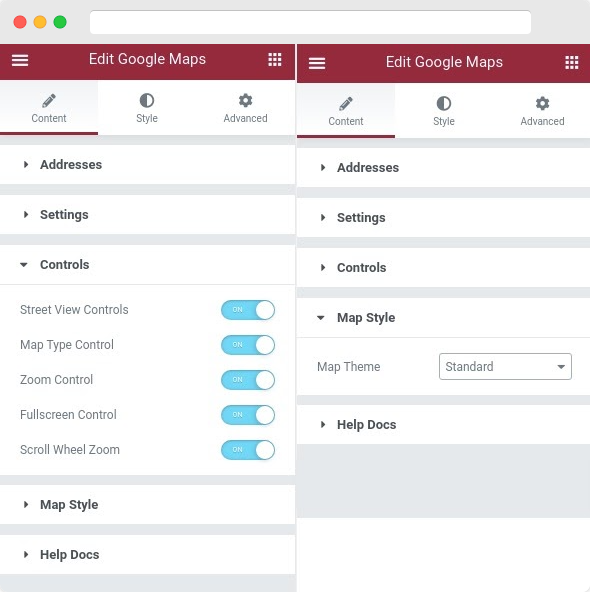
Controls & Map Style: In the Controls section, you can choose to enable or disable several types of map controls like Street View Controls, Map Type Controls, Zoom Controls, Fullscreen Controls, and Scroll Wheel Zoom.
Similarly, PowerPack’s Google Maps widget comes with different types of Map Styles that you can use to make your maps look amazing. The widget features five modes: Silver, Retro, Dark, Night, and Aubergine, which you can use.
The widget also offers an option to add JSON-style code from Snazzy Maps or Maps Style and set up a Custom Design for your Google Maps.
Also Read: How to Style Google Maps with Snazzy Maps Skin
For our example, we have enabled all the controls mentioned above and used Standard Map Theme, as shown in the screenshot below.
PowerPack Google Maps Customization in Style Tab
Map: Here, you can choose the alignment of the Description that appears in the Info Window. Further, you can also choose the width and height of Google Maps.
For this tutorial, I have chosen the alignment as ‘Left’, the width of the Google Map as 100%, and the height of the Google Map as 500px.
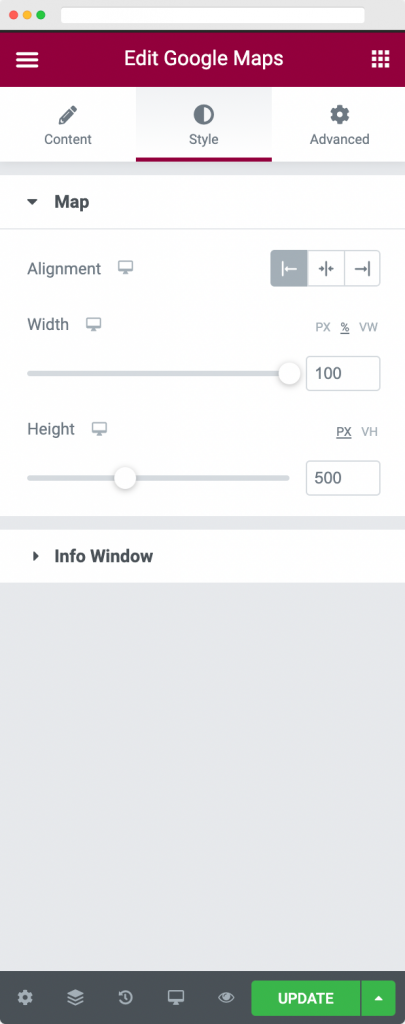
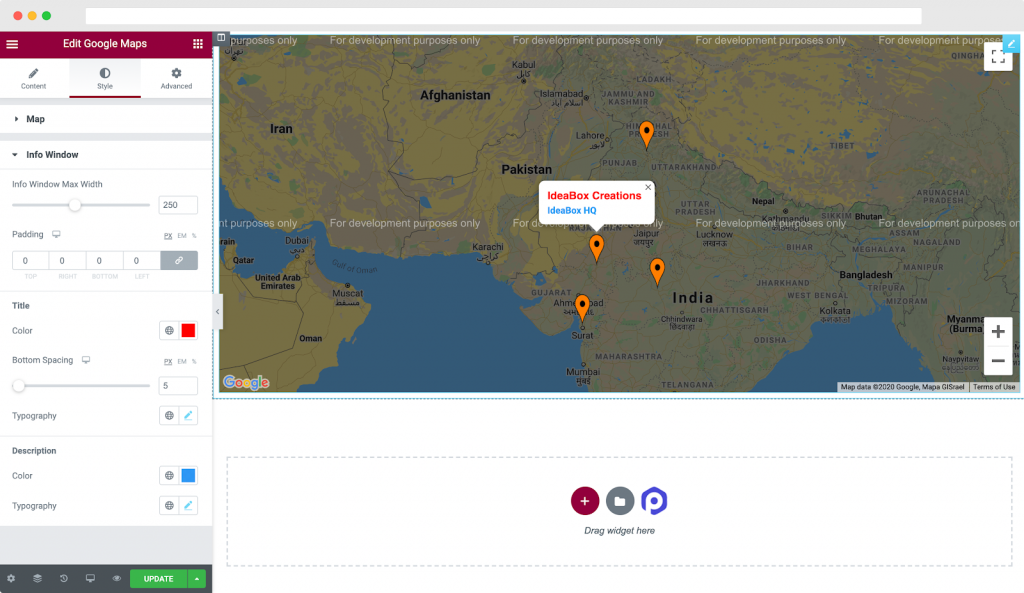
Info Window: Here, we can set the width of the Info Window and the padding inside it. Further, we can customize the Color and Typography of the Title and Description in the Info Window.
For this tutorial, I have chosen the Title color of Location as Red and the Description color of Location as Blue.
We have also set different fonts and font sizes for this purpose, which is what our Google Maps widget currently looks like.
Wrapping Up: How to Display Multiple Locations on Google Maps
As you can see, displaying Google Maps with multiple locations with the PowerPack Google Maps widget was pretty quick and easy.
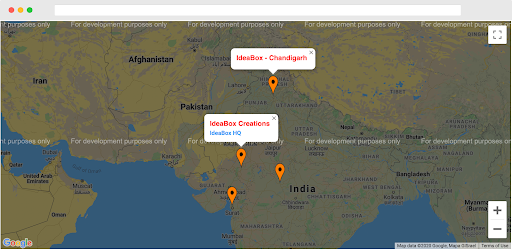
PowerPack Google Maps widget enables you to create stunning and visually appealing maps for your website. You can also check out the Google Maps widget demo to get an insight into what you can do with the widget.
Get the Google Maps widget for Elementor with PowerPack, the best Elementor addon. PowerPack offers more than 70 creatively designed widgets that you can use to take your WordPress design to the next level.
Read Next: How to Build a High-converting Contact Page with Elementor

5 thoughts on “How to Display Google Maps with Multiple Locations using Elementor? [Step-by-Step]”
Hi! This is a really useful article, can I use this feature in the free version of powerpack?
Thanks for sharing.
Hi there! Thanks for the great post
Thanks for sharing this blog
Hi! How many locations can I add at most?
Hello,
There’s no limit. You can add as many locations as you want.