
Looking for a simple way to create image hotspots using Elementor?
How you display content on your websites matters a lot. With the advancement in web designing, it has become necessary to work out of the box and create unmatchable design elements on your websites.
In this article, we’ll see how you can use PowerPack Image Hotspot Widget to create an interactive virtual tour on Elementor websites.
Elementor provides multiple widgets that you can use to create engaging content on your websites. However, it isn’t very flexible if you want to create image hotspots.
Fortunately, we have PowerPack Image Hotspot Widget. It is the best tool that you can use to create responsive and beautiful image hotspots without adding any code and custom CSS.
Why Image Hotspot Widget?
Using the Image hotspot widget, you can create an interactive image map to display information about the elements present in the image.
Using the PowerPack image hotspot widget, you can create a virtual tour of your websites for your visitors. Check out the below example.
How to Create Beautiful Image Hotspots With Elementor
Before proceeding, ensure you have installed and activated Elementor and PowerPack Addon on your website.
Adding the Image Hotspot Widget
You can add an Image Hotspot Widget anywhere on your website, on any page, and even within the posts.
Now go to your WordPress dashboard and click Pages. Now select the page where you want to add the image hotspot widget and edit the page with Elementor.
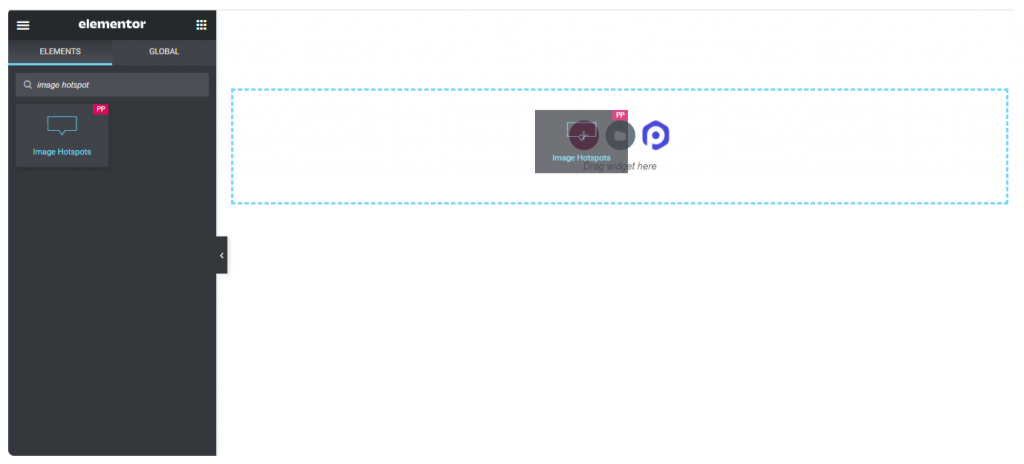
Once you are in the editor, drag and drop the image hotspot widget; check the PP icon on the upper right corner of the widget.
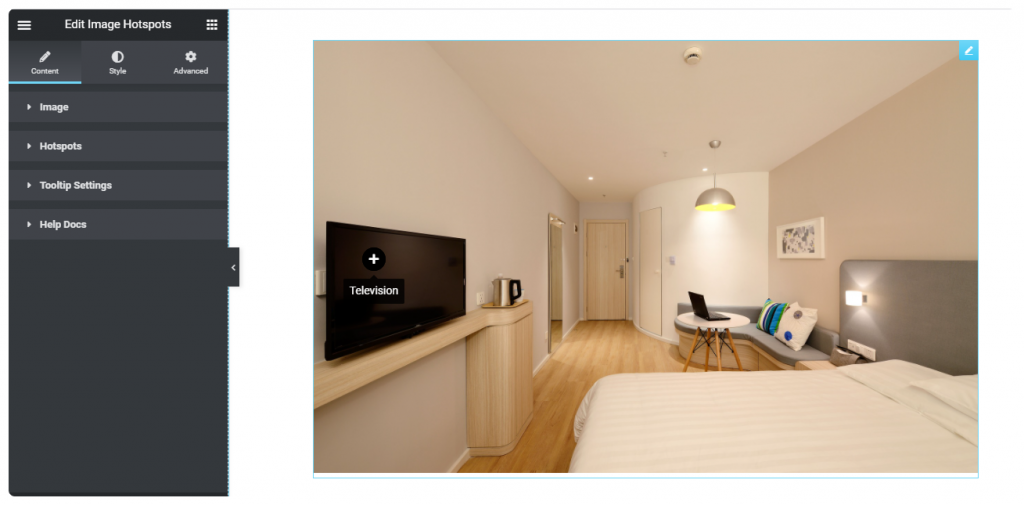
Customizations in Content Tab of Image Hotspots Widget
Content tab of the image widget includes three customization options: Image, Hotspots, and Tooltip Settings.
From the Image subsection, you can upload the image of your choice. In the Hotspots sub-selection, you can set your hotspot card, and in the Tooltip subsection, you get additional options such as Trigger, Global Position, Distance, etc.
After uploading your preferable image, you need to set up hotspot cards. Click on the first hotspot card to view more options.
Hotspots
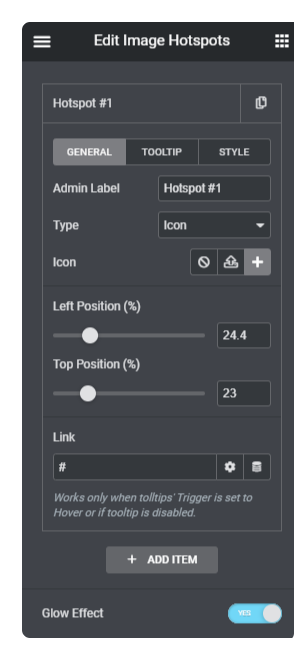
A hotspot card contains three options: General, Tooltip, and Style.
General Tab includes multiple options. From here, you can set the icon type for hotspots. Choose Text, upload an SVG or select Icon from the icon library.
Now the essential option, Position. In the general tab, you can set the position of hotspots, set the bar, or adjust the number to place hotspots at the desired location on the image.
From Tooltip Tab, you can set the content for tooltips. Enable the tooltip toggle, set the tooltip position, and add a name for your tooltip.
With Style Tab, you can set Color, Background Color, and Border Colour for individual tooltips.
You can add multiple hotspots to your image.
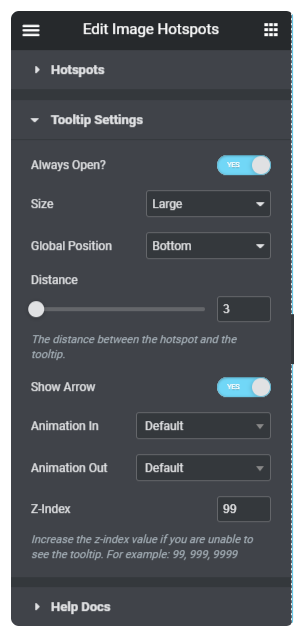
Tooltips Settings
In the tooltips subsection, get multiple options for tooltips; if you want, you can set your hotspot tooltips to always open. You can set how tooltips should be triggered, On hover or Click. Define the size and set the position of the tooltips.
Lastly, you get the option you can assign an animation to your Tooltips. With the PowerPack Image Hotspots widget, you get plenty of animation options you can choose from.
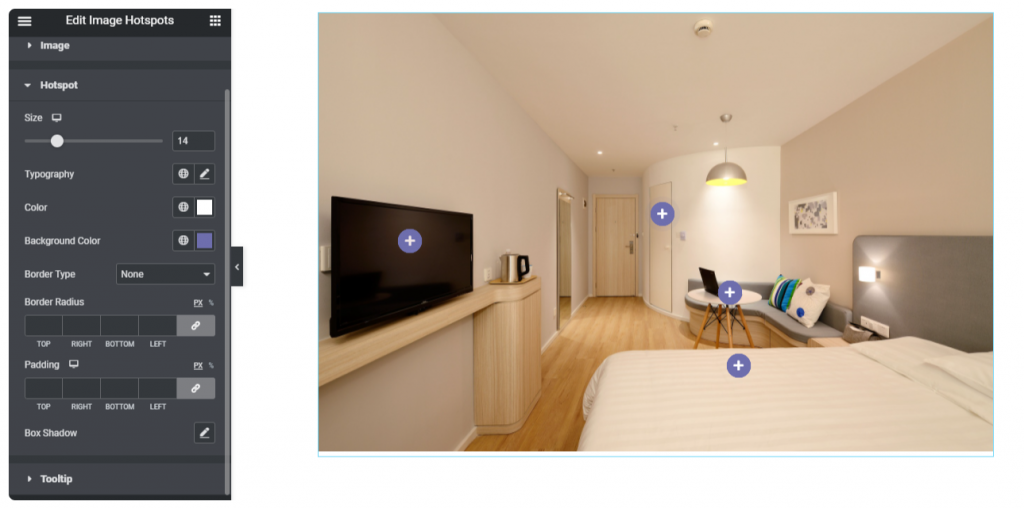
Customizations in Style Tab Image Hotspots Widget
In style, you get multiple advanced options to customize the hotspot widget per your requirement.
You can set image width, add border type, set border-radius, and even add a box shadow to the image.
Furthermore, you can alter typography, and color, set background color, and add border-radius and padding to the hotspots and tooltips.
Get Image Hotspot Widget for Elementor!
I hope this article will help you to create interactive image hotspots on your website. PowerPack offers more than 70 creatively designed widgets and powerful extensions. Click here to get PowerPack Addon now!
If you liked this article, share your thoughts in the comments below. For more PowerPack tutorials, please subscribe to our YouTube Channel.
