
Looking for a simple way to create Elementor Gallery? Look no further because PowerPack has got you covered!
Galleries are an essential part of several websites. You can use an image gallery to showcase the latest photos, event updates, company culture, portfolio, etc. The gallery has endless use cases.
In some places, you can also display a gallery of your Instagram pictures to share the latest buzz from your social life. While WordPress provides an easy way to create a gallery, styling and functionality are limited. So, we have the PowerPack Image Gallery widget for Elementor, which makes setting up beautiful galleries a breeze.
Image Gallery Widget in Elementor: Is it Good Enough?
Elementor is gaining popularity among web designers and developers. It helps them take their Web Design business to the next level without having to worry about writing code.
Elementor makes it easy for users to create custom page layouts, headers, and footers and change almost every aspect of their site. The Elementor Image Gallery widget (Basic Gallery widget) included in the Free and Pro versions of Elementor does the job but isn’t very impressive.
Image Gallery widget in Elementor uses a standard approach with a limited set of styling and functionality. For example, you can create a standard, simple-looking gallery but not a Masonry Gallery layout or a Filterable Gallery. The styling options are also limited.

To get more features and improve your workflow, you can try Elementor Addons to take Elementor to the next level.
The Image Gallery widget from the PowerPack Elementor addon offers various layout and functionality options for creating an image Gallery with Elementor. Multiple layout options, load more buttons, filters, caption styling, grid item stylings, and more!
Let’s take a look at how we can create a beautiful gallery in Elementor with PowerPack.
How To Create Masonry, Filterable, & Grid Layout Gallery in Elementor
We use Elementor at our WordPress design & development agency to build client websites, and it has helped us cut down the time and effort greatly. With all the extensive features, options, and functionality in Elementor, it becomes super easy to build even complex design layouts.
PowerPack’s Image Gallery widget is a versatile widget built to solve creative problems. The most notable features of this widget are listed below:
- Grid Layout
- Filterable Gallery
- Masonry Gallery Layout
- Gallery with Load More button
- Styling and Customization options
Masonry Gallery Layout Using Elementor
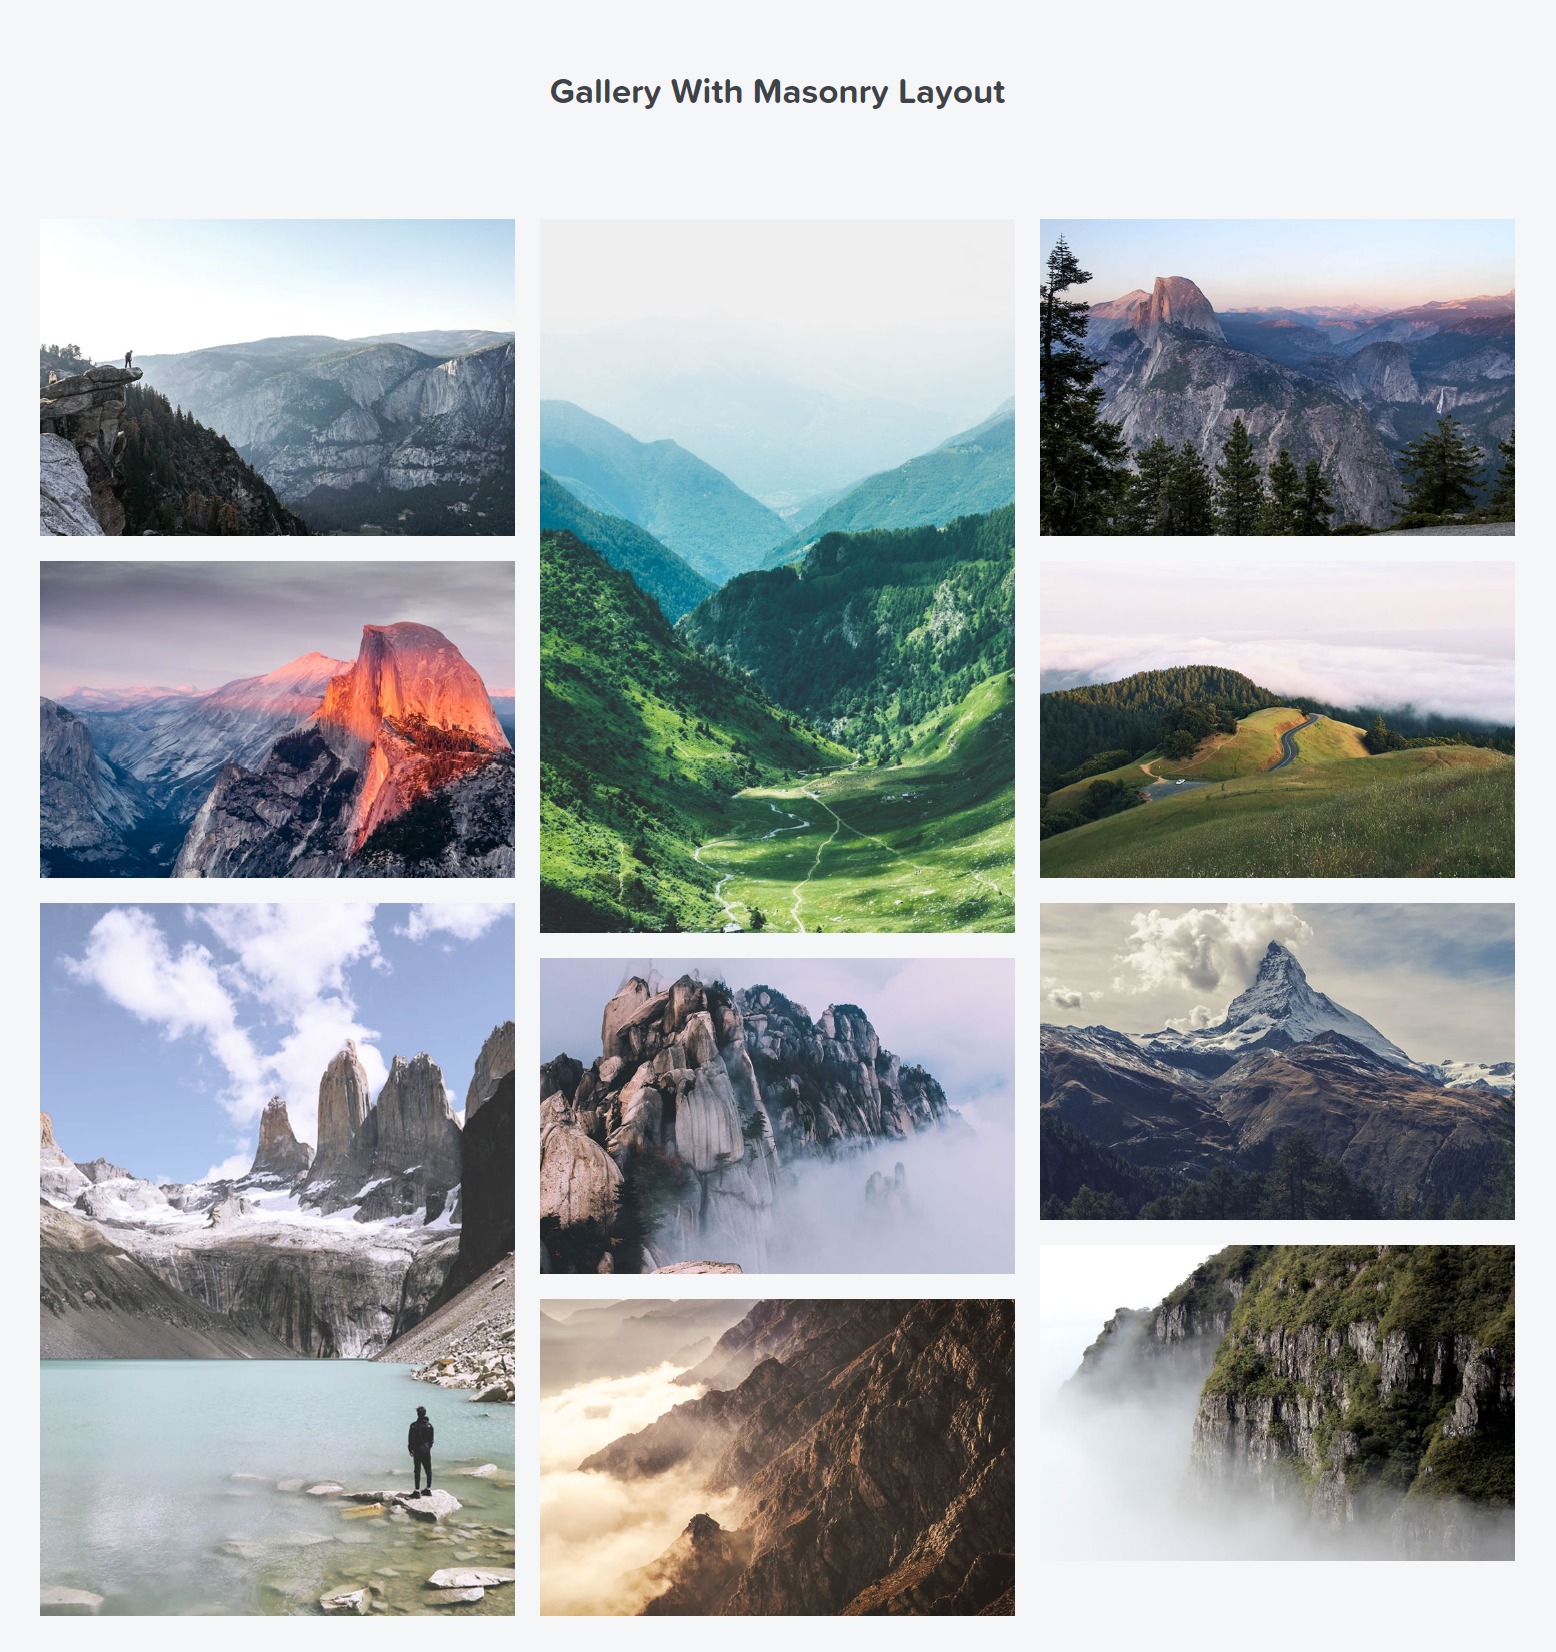
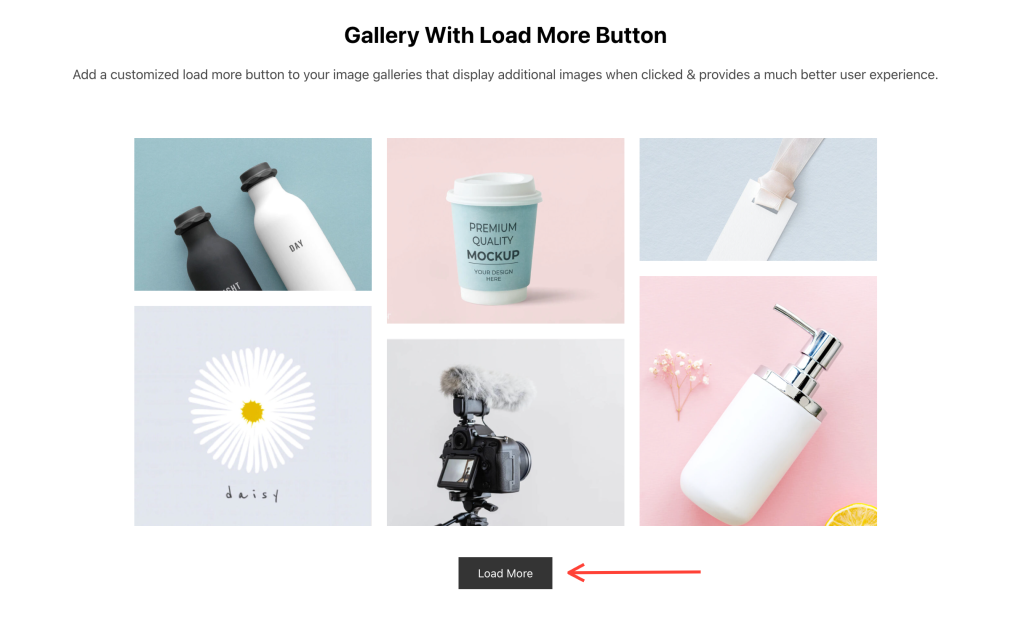
Image Gallery With “Load More” Button in Elementor
Using Elementor is easy to use, but you can get even better results when all the hidden features of Elementor, along with add-ons like PowerPack.
So, let’s see how you can create beautiful and captivating image galleries in your WordPress websites using Elementor and PowerPack Addons.
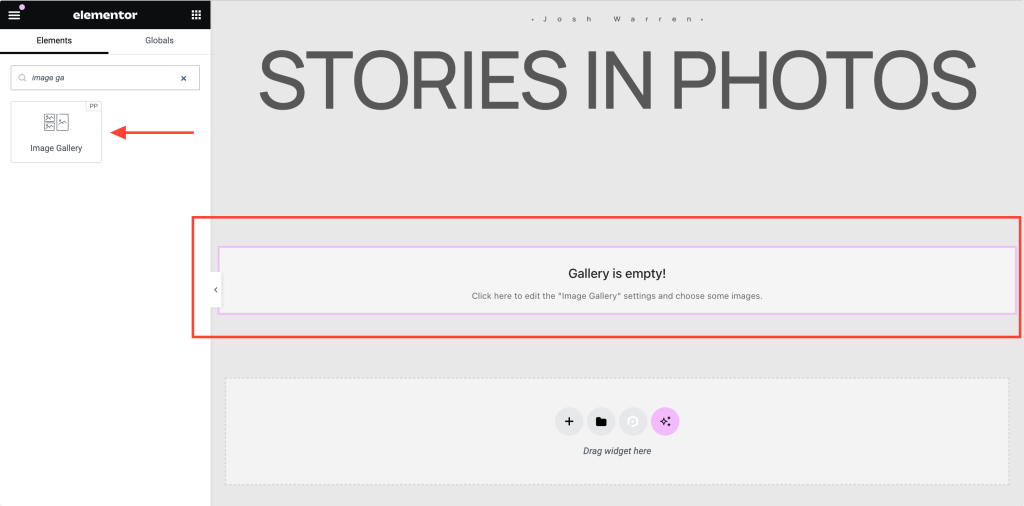
Add Image Gallery Widget to the Page
To create a gallery, first open the page with the Elementor Editor. Then, navigate to the PowerPack Addons widget list or search for the Image Gallery widget. Once the widget appear, drag it to the part of the page where you would like to add the gallery.
Make sure to check the “PP” icon on top-right corner of the widget .
Here’s a screenshot of what it looks like:
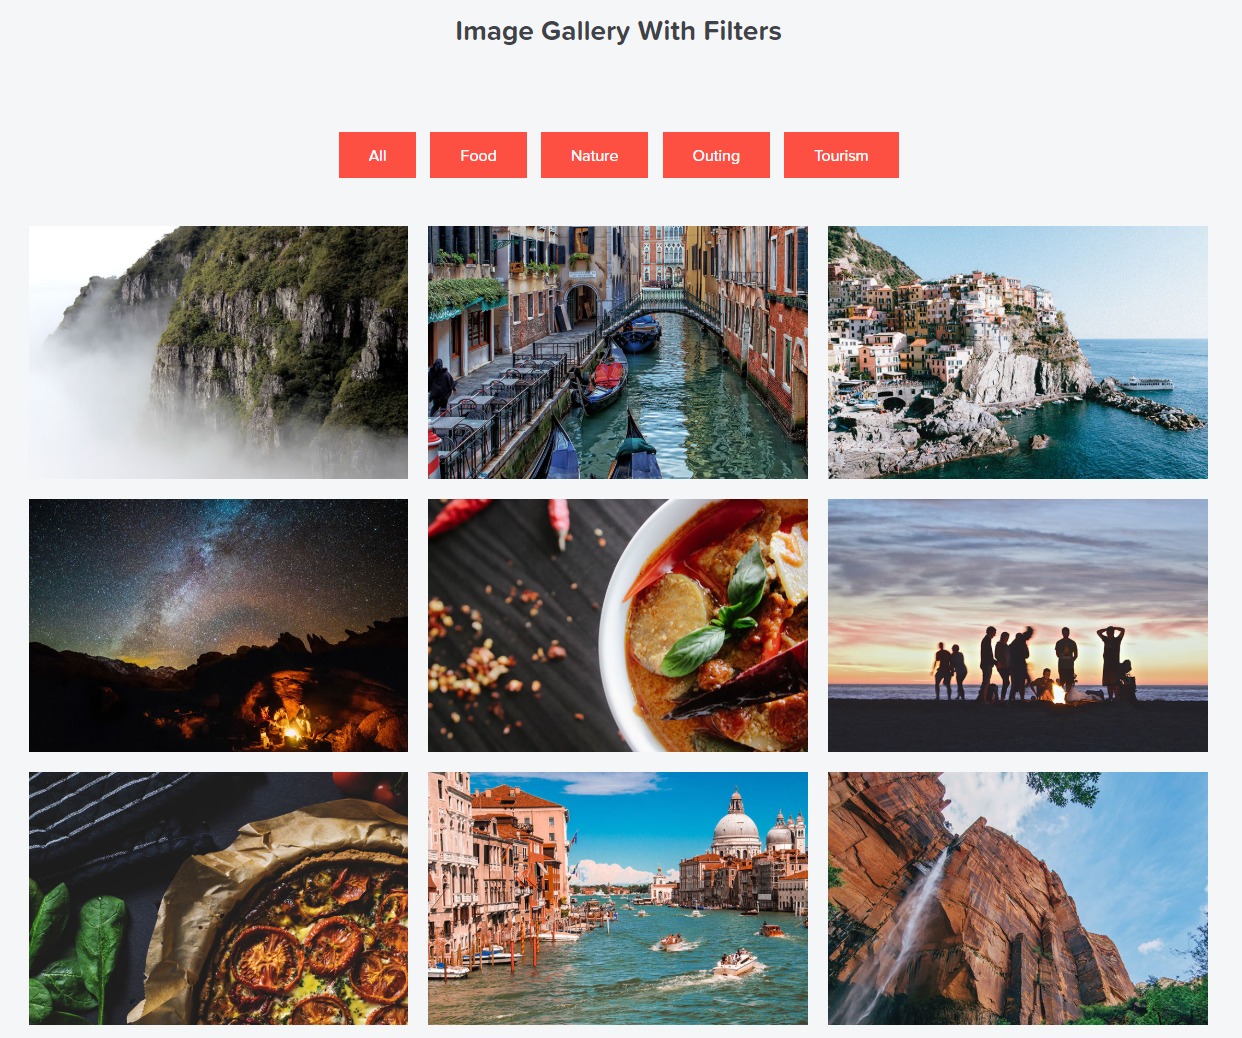
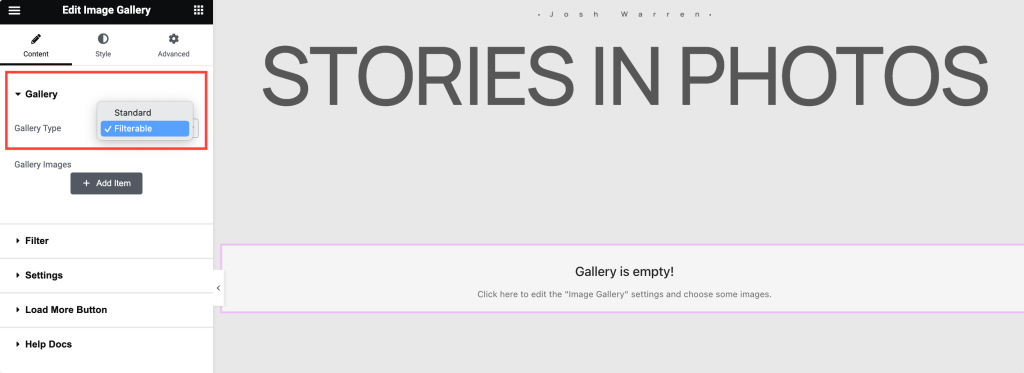
Set Gallery Type: Standard Gallery or Filterable Gallery in Elementor
The first thing we need to do is define whether we are creating a Filterable Gallery or a Standard Gallery. Standard Gallery is a simple presentation of images which is the most commonly used format. Filterable Gallery in Elementor allows you to group images in different categories and create tabbed filters.
For example, a photographer can create groups for different photos, such as Landscape, Portrait, Products, etc. Using filters, it becomes easy for website visitors to browse the photos.
Add Images to the Gallery Widget
Once you have set the Gallery type, the next step is to add images. If you use a standard gallery, you can upload the images directly.
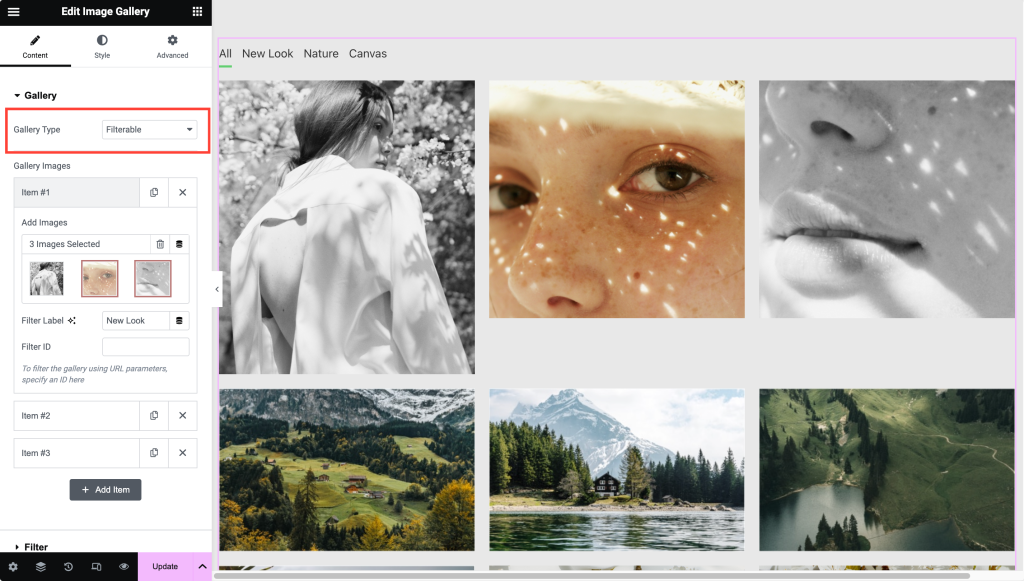
If you are creating a Filterable Gallery then you will need to upload the images in different groups. You can add a Label/Name to each image group, which will work as a “Filter” for the Gallery.

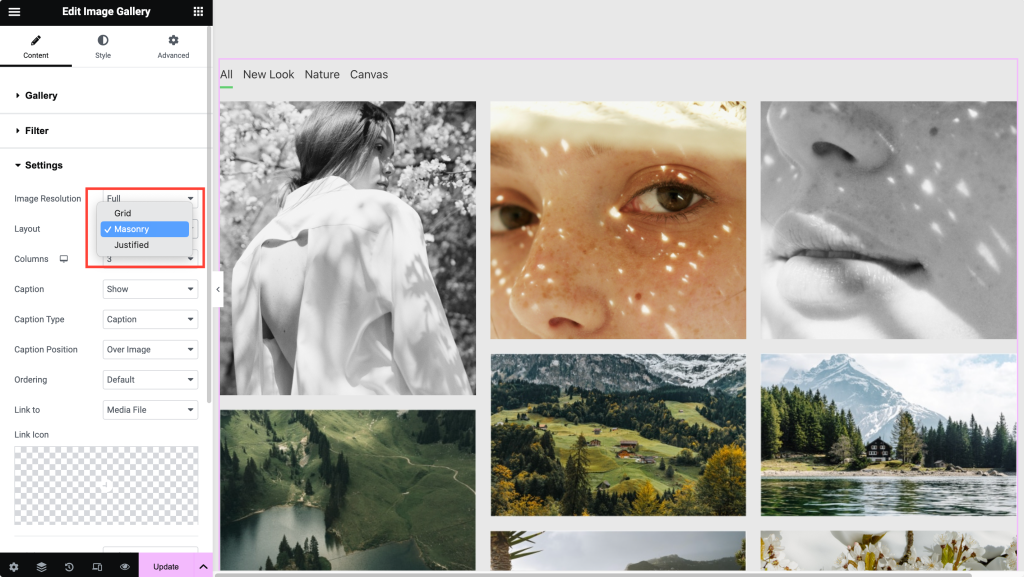
Setting Up Grid or Masonry Gallery Layout in Elementor
After adding the images, you can set a layout for the gallery in Elementor. With these options, you can create a Grid Layout or a Masonry Gallery in Elementor.
The layout settings also provide options for changing the number of columns, ordering sequence, displaying caption, linking the image to an external URL or the original file, enabling/disabling Lightbox, etc.
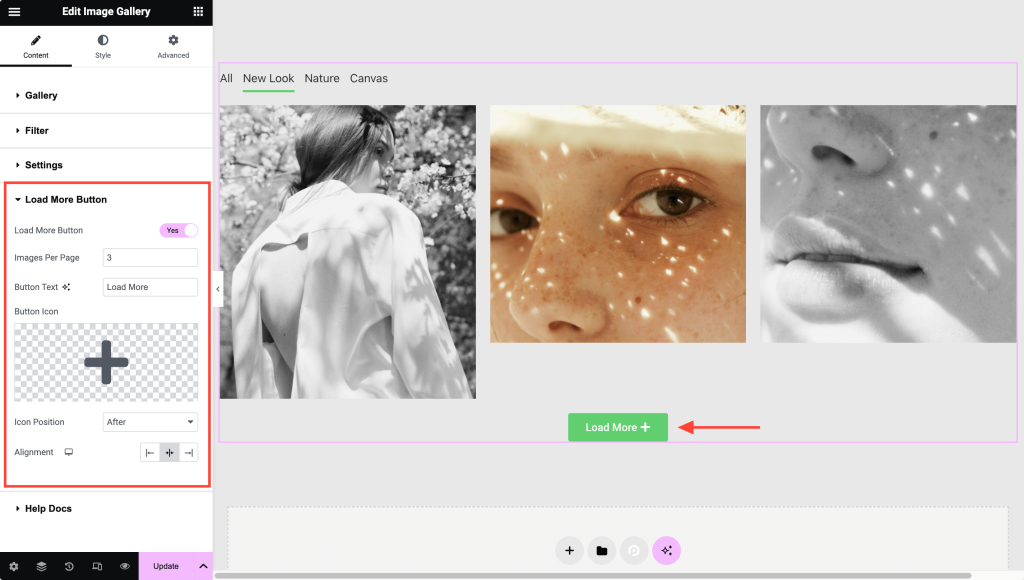
Create a Gallery With a “Load More” Button
Another great feature of the Image Gallery widget is to enable a “Load More” button. You can use the load more button to display the images dynamically and improve the page speed time.
If you want to display many images, it’s best to use the “Load More” option.
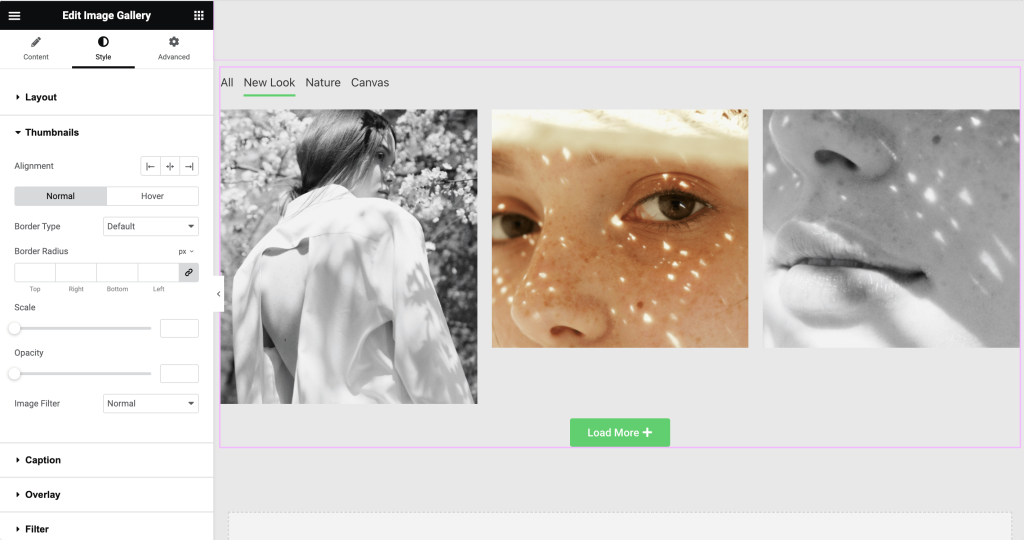
Styling the Gallery Items
After setting up the layout, we can use the styling options to improve the look and feel. Image Gallery widget for Elementor provides extensive styling options to stylize every aspect of the Elementor Gallery widget. You can adjust the spacing, overlay color, caption styling, link icon styling, etc.
Get the Image Gallery widget for Elementor!
PowerPack is one of the best Elementor add-ons, with 80+ Creative and highly useful Elementor Widgets, like the above-mentioned Image Gallery widget. It is also built by a team of WordPress experts and receives regular updates, top-notch support, and extensive documentation.
Get PowerPack for Elementor and take Elementor to the next level!
Next Read: How to Create a Elementor Filterable Gallery
If you’re looking for an easy way to create a filterable gallery in Elementor, look no further! Check out our detailed instructions on creating a filterable gallery in Elementor with the Image Gallery widget of PowerPack Elementor addons.
