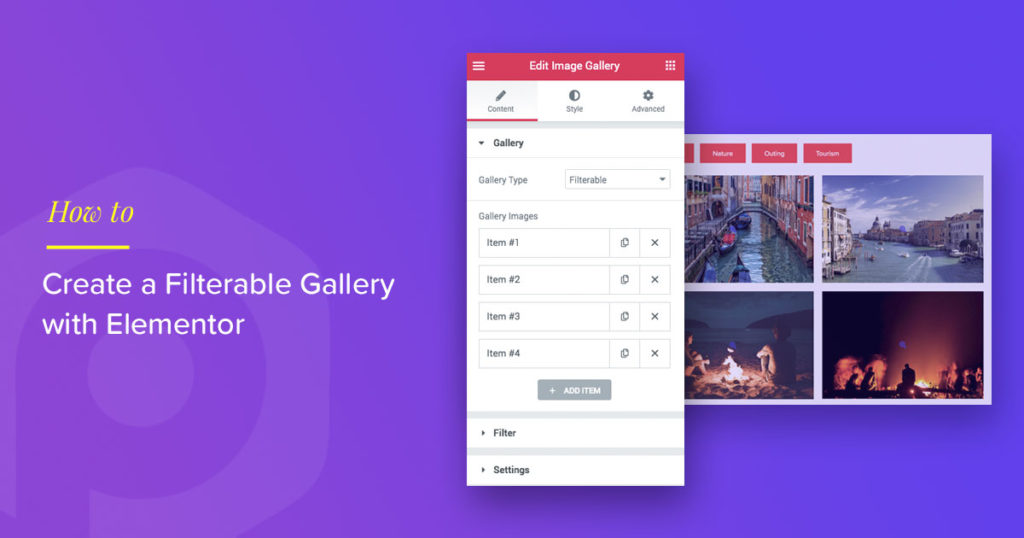
Do you have a lot of photos that you would like to display in an organized manner? If so, Filterable Gallery is the solution you are looking for. Filterable Gallery functionality allows you to group your photos into categories. Once the photos are grouped in categories, you can use them as clickable filters on the front end. This exciting image gallery widget comes with a lot of styling options and features, which makes it so easy to build powerful galleries on your Elementor website.
In this tutorial, we will look at how you can create a filterable gallery in Elementor with the Image Gallery widget of PowerPack Elementor addons. Before we begin, make sure that you have the Elementor and PowerPack add-on installed and activated on your website. Once done, we can start with our process!
Why Add a Filterable Gallery?
Filterable galleries are ideal for websites that need to display a large number of images in an organized way. Whether you’re showcasing a portfolio, e-commerce products, or event photos, filterable galleries let users find what they’re looking for quickly and easily.
Here are some real-world use cases:
- Portfolio Websites: Showcase your projects categorized by type, such as web design, graphic design, or photography.
- E-Commerce Sites: Organize products into categories like clothing, accessories, or seasonal items.
- Event Galleries: Display photos grouped by events, such as weddings, parties, or corporate events.
Now, let’s create a filterable gallery in Elementor using PowerPack Addons.
How To Create a Filterable Gallery in Elementor?
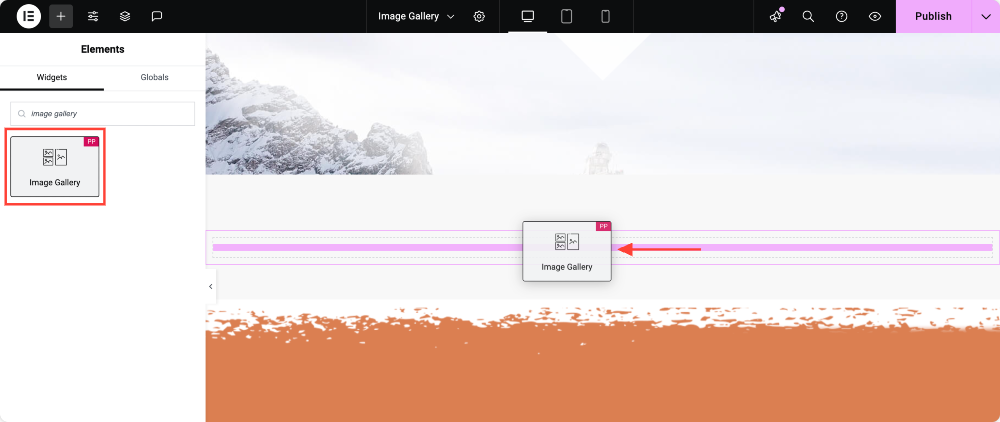
Step 1: Adding the PowerPack Image Gallery widget
Open the page where you want to add the Gallery in the Elementor editor. To do this, go to the WP admin dashboard >> Pages and click on Edit with Elementor for the respective page.
Once you are in the editor, drag and drop the PowerPack Image Gallery on the page.
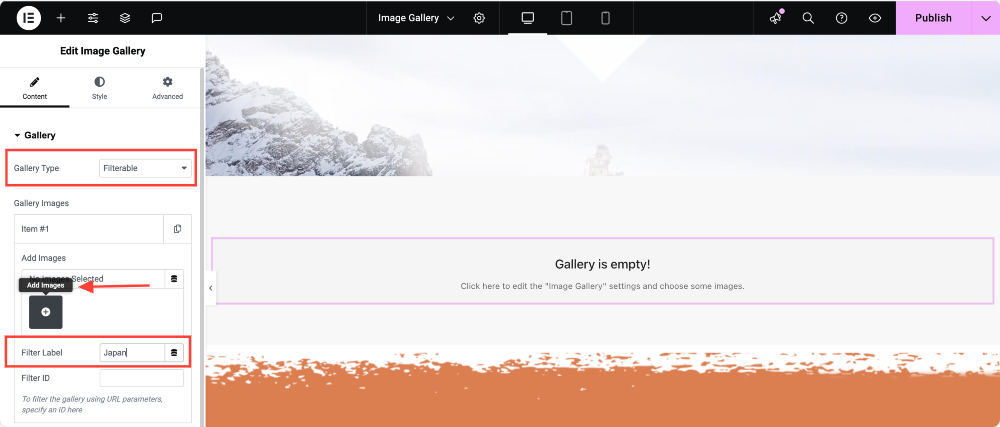
Step 2: Adding Images in the Gallery
Now, we will be adding the images to the gallery in groups. These groups of images will help us bifurcate the pictures.
To do this, first click on the Add Item button and give your filter a proper name. Do keep in mind that this name will be displayed on the filter button over the gallery.
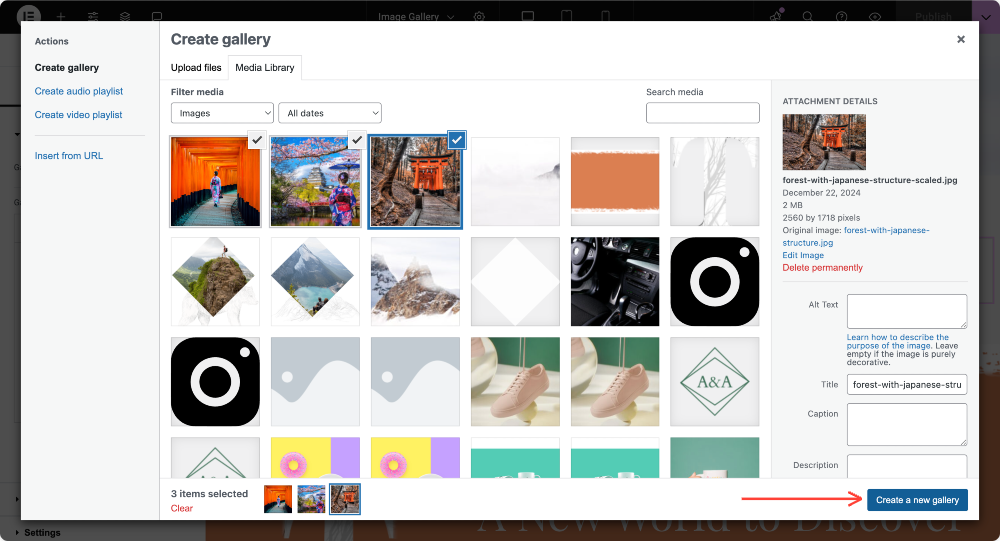
Now, add the desired images by selecting them from the media library and clicking on the Create a new gallery button.
Repeat the process and add more individual galleries by clicking on the “Add Item” button.
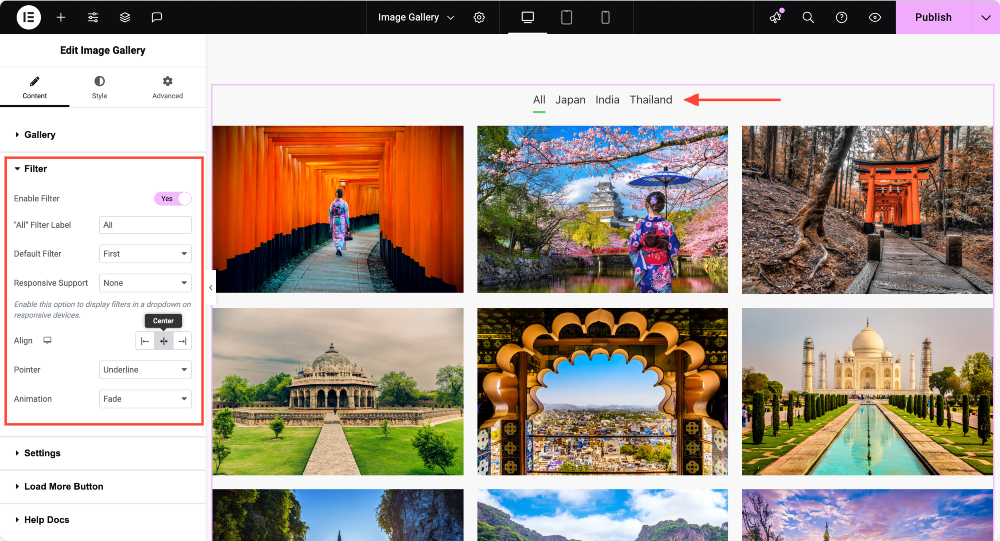
Step 3: Adding Filters to the Gallery
To enable the filtering option, click on the toggle switch under the filter subsection. You can change the alignment of the filter buttons over the image and change the “All” Filter Label.
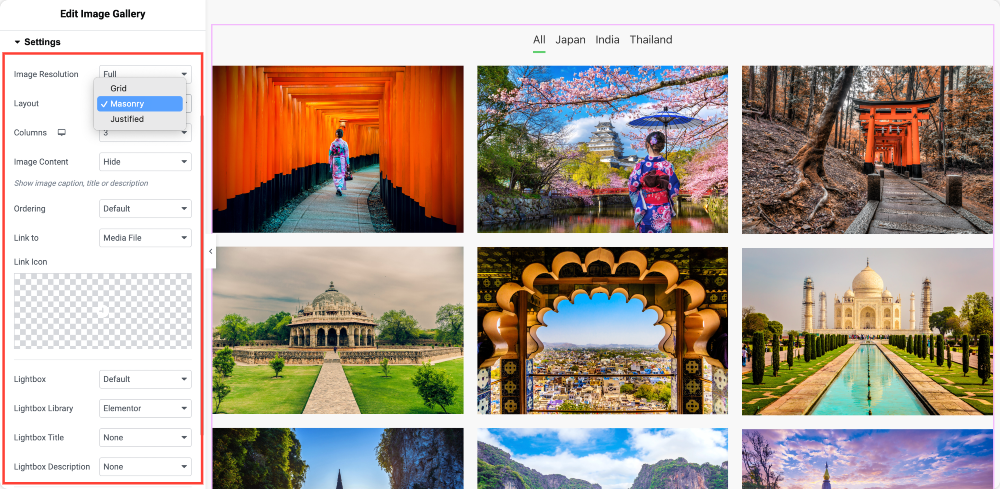
Step 4: Customizing the Gallery
Now, go to the settings subsection, and here you can make further changes to your gallery, as shown in the image below. You can change the Image Size to your desired one. You can choose the image gallery layout from Grid, Masonry, or Justified.
If you wish, you can even enter the number of columns you want on your website. You can change the ordering and enable and customize the captions as well.
If you wish to link your gallery, you can do that too by selecting the “Link to” option.
Further, you can use the “Load More” feature of the image gallery as well. This will help you maintain the speed of your website by only loading some images at a time. You can do this by merely enabling the Load More button.
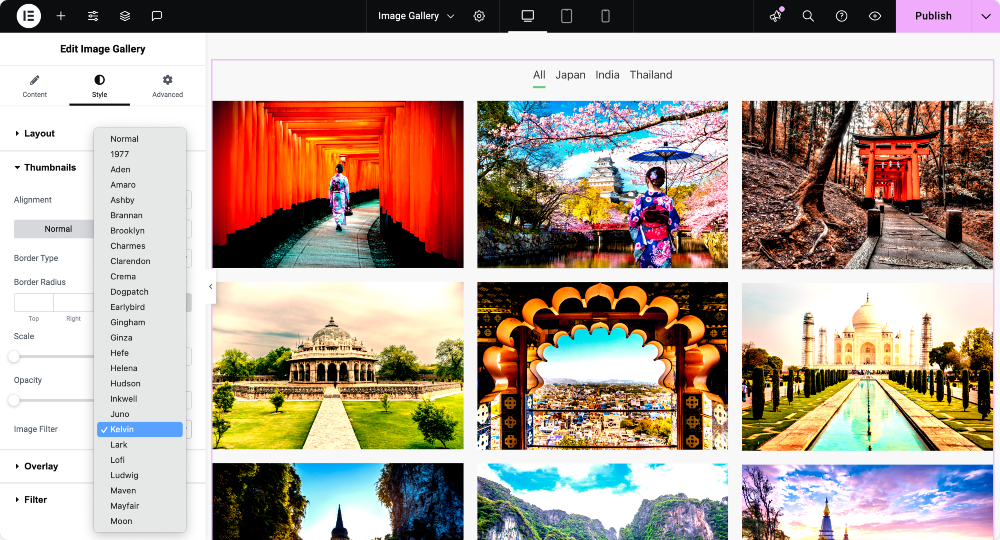
Step 5: Styling Filterable Gallery Layout and Thumbnails
For the layout of the gallery, you can change the columns and row gaps using the slides or by entering a number.
For the thumbnails, you can scale the images and change the opacity of the images or thumbnails.
If you wish to add color filters to the images, you can easily do that with the image filter option. You can add an overlay on the images as well.
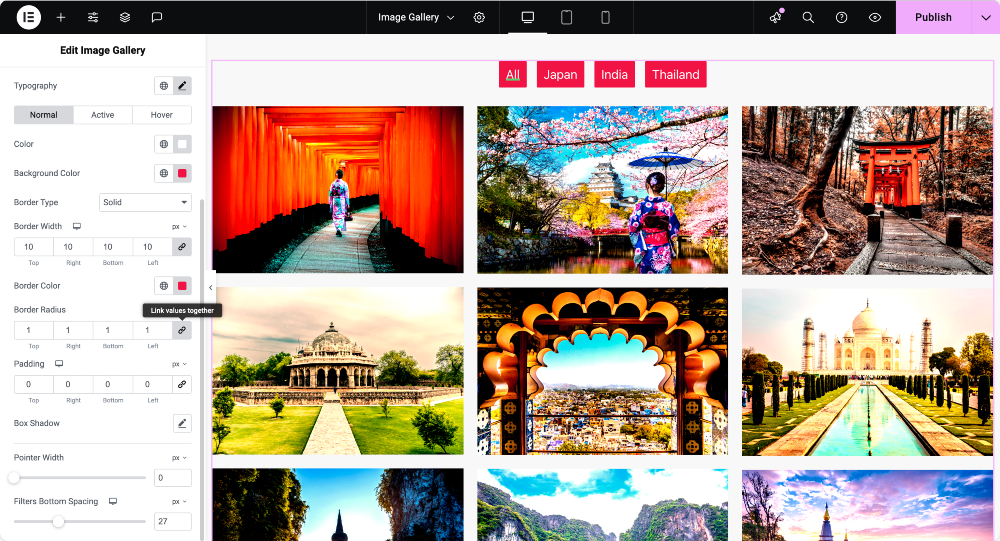
Step 7: Styling Filters
If you have added filters on the top of the image, you can customize them as well. You can change the typography, color, spacing, borders, and padding for the filters using the options given under the filter subsection.
Filterable Gallery Is All Set!
Once you publish the page, this is what your image gallery will look like:
Best Practices for Designing Filterable Galleries
- Use Intuitive Filters: Ensure your categories are clear and descriptive.
- Optimize Images: Use compressed images to reduce load times.
- Limit Filters: Avoid overwhelming users with too many filter options.
- Consistent Design: Match gallery and button styles with your website’s theme.
FAQs: Filterable Gallery in Elementor
You can enable filters using the PowerPack Gallery widget by toggling the filter option in the widget settings and assigning filter names to your images.
A masonry layout arranges images in a staggered grid, ensuring a visually appealing and compact display without cropping.
Yes! A filterable gallery is perfect for showcasing products in categories, creating an engaging shopping experience.
Try It Out Today!
You can make many amazing designs and layouts with the filterable gallery widget. For more inspiration, you can look at our landing page.
If you want to give the images gallery widget a try, you can get it along with 80+ other creative widgets that will make your design process more comfortable and fun! Get the PowerPack Elementor addons now!
Share this article if you find it useful, and let me know what you think about this widget in the comments below!
