
Looking for a simple way to add testimonials to WordPress websites using Elementor?
Testimonials play a crucial role in establishing trust and credibility for your website. They showcase real customer experiences, adding social proof to help convert potential visitors into loyal customers.
If you’re using Elementor, adding testimonials to your site is incredibly easy, especially with the help of PowerPack Addons.
In this tutorial, we’ll walk you through the step-by-step process of adding testimonials to your WordPress website using Elementor.
So let’s get started!
How to Add Testimonials to WordPress Websites Using Elementor & PowerPack Addons
Install and Activate Elementor and PowerPack Addons
Before you begin, ensure Elementor & PowerPack Addons are installed and activated on your WordPress website.
Open the Page
To add testimonials, you need to open the page where you want them displayed.
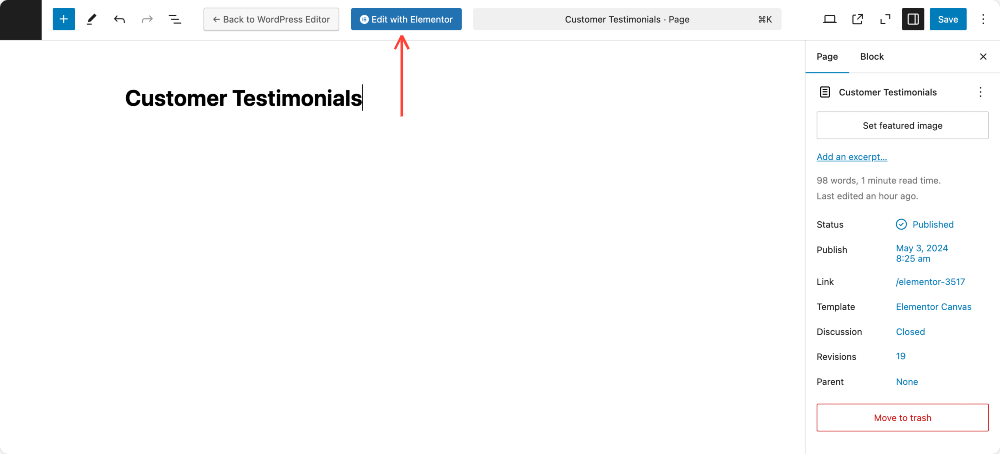
From the WordPress dashboard, navigate to Pages >> All Pages and select the page where you want to add testimonials. If you want to create a new page, click Add New.
Once you have selected or created your page, click the Edit with Elementor button at the top.
Add the Testimonial Widget to Your Page
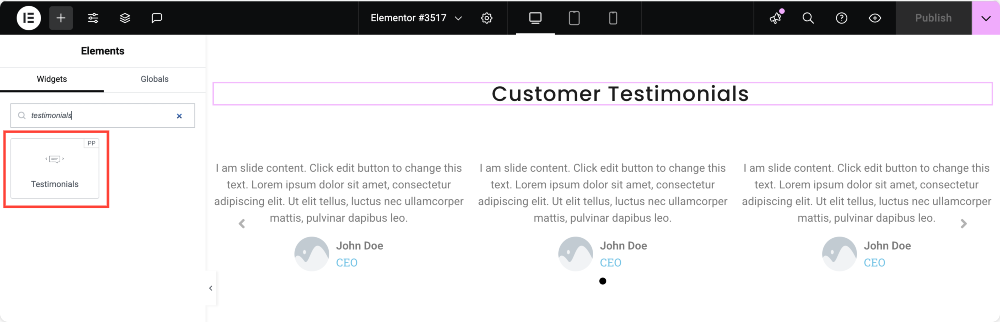
Inside the Elementor editor, type “testimonials” in the search bar.
Look for the Testimonial Widget that has the “PP” icon, which indicates that it is a PowerPack Addons widget.
If you do not see this widget, double-check that all the PowerPack widgets are enabled in the backend. Refer to this guide to know more: How to Enable/Disable PowerPack Elements?
To showcase testimonials, simply drag the Testimonial Widget from the left panel and drop it onto the section of the page where you want the testimonials to appear.
Customization Options in the Content Tab
Define Testimonial Content
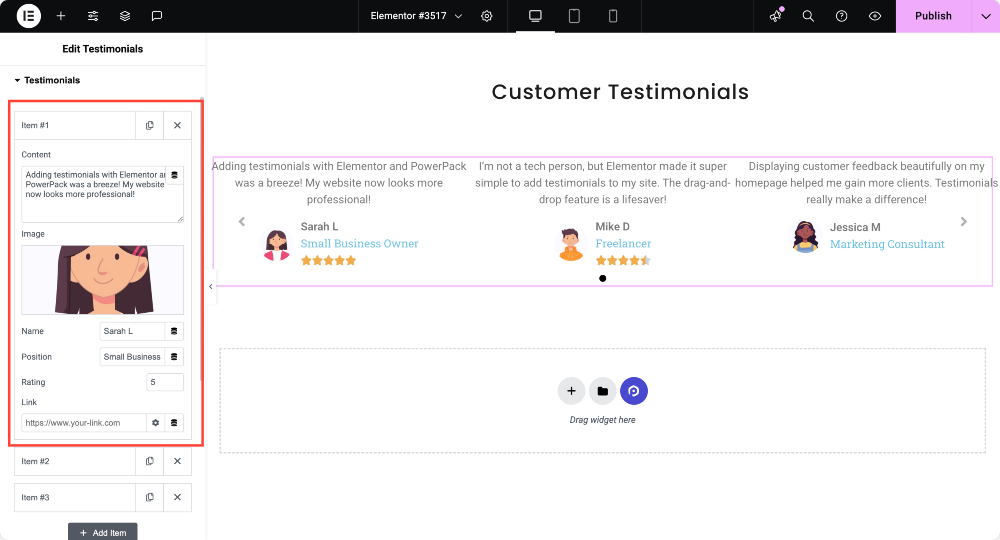
Click on the testimonial widget to open the Content tab. Here, you can add multiple testimonials by clicking the Add Item button. By default, three demo testimonials are provided, but you can remove, edit, or add new ones as needed.
For each testimonial, you can enter the review text, which is the actual customer feedback. You can also upload an image, such as a customer photo or avatar, to make the testimonial more authentic.
Additionally, you can enter the name of the person providing the testimonial and their position (such as CEO, Manager, or Designer), and assign a rating using a star-based system.
There is also an option to include a link to the customer’s website or profile.
Choose a Layout
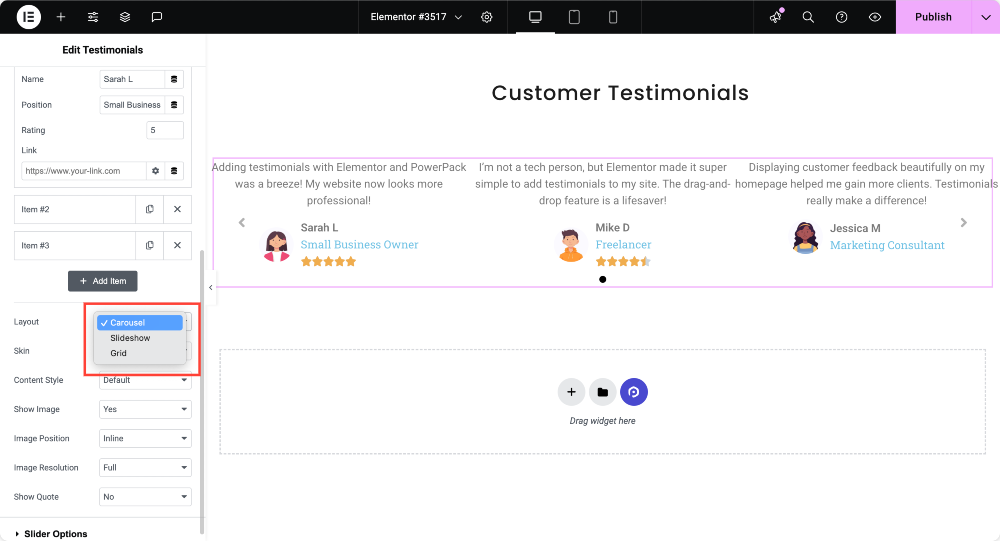
PowerPack Testimonials widget provides multiple layout options to define how testimonials appear on your site.
You can choose Carousel, which is ideal for displaying multiple testimonials in a rotating format.
If you prefer more control over the navigation, the Slider option allows users to manually move between testimonials.
On the other hand, the Grid layout displays testimonials in a static format, showing multiple testimonials at once without any movement.
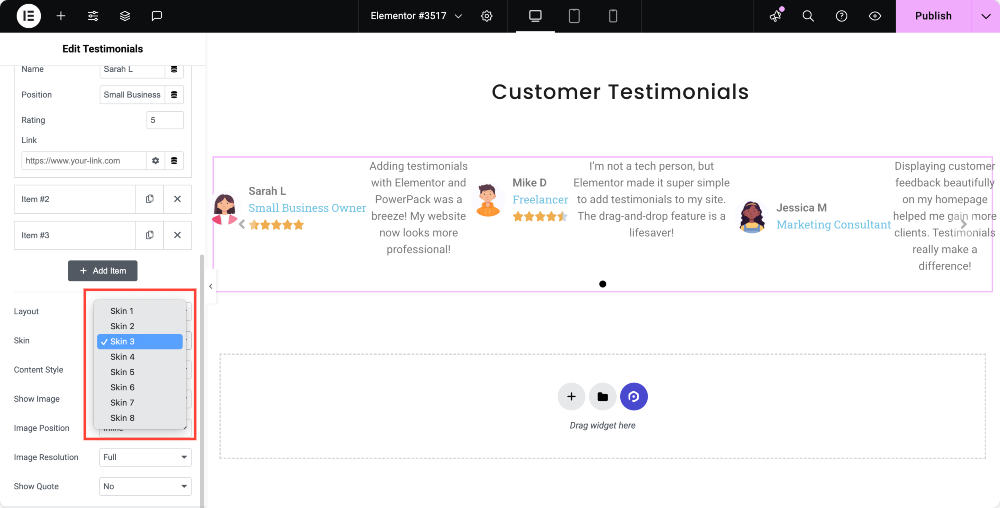
Select a Skin Style
Also, you get eight different skin styles that alter the appearance of your testimonials. You can experiment with these options to find the one that best suits your website’s design and theme.
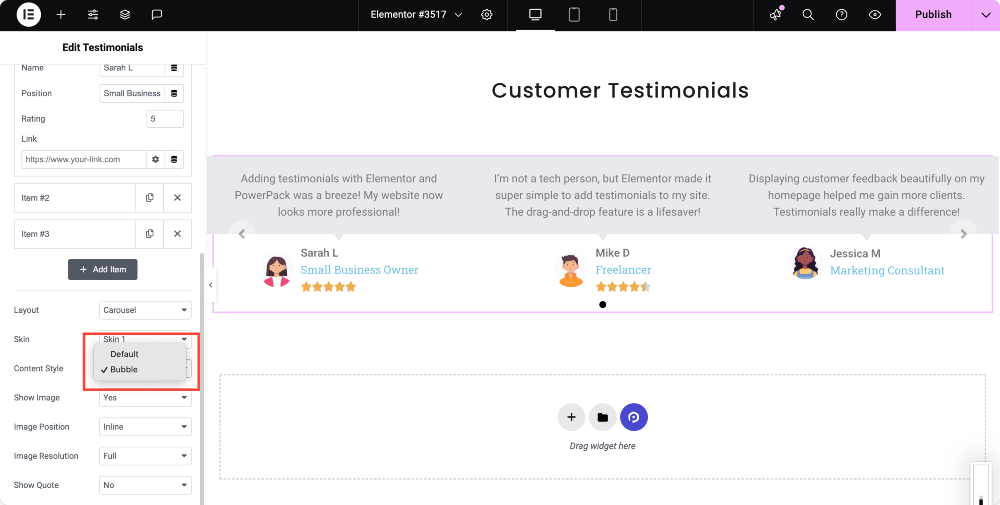
Pick a Content Style
There are two content styles available: Default and Bubble!
The Default style presents testimonials in a standard format, while the Bubble style gives them a modern, chat-like appearance.
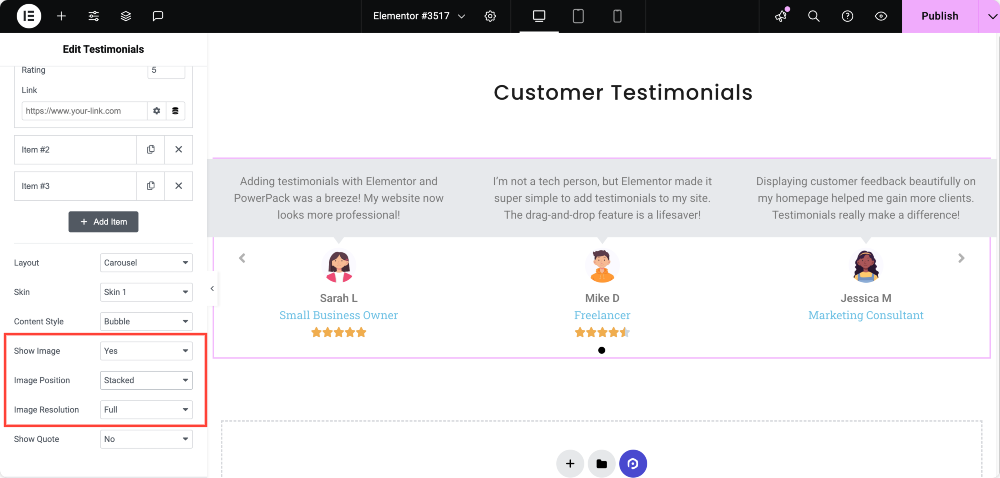
Display Image Options
If you want to display customer images, enable the Show Image option. You can then choose the Image Position as either Inline (next to the text) or Stacked (above).
Additionally, you can adjust the Image Resolution to match your website’s aesthetic and loading requirements.
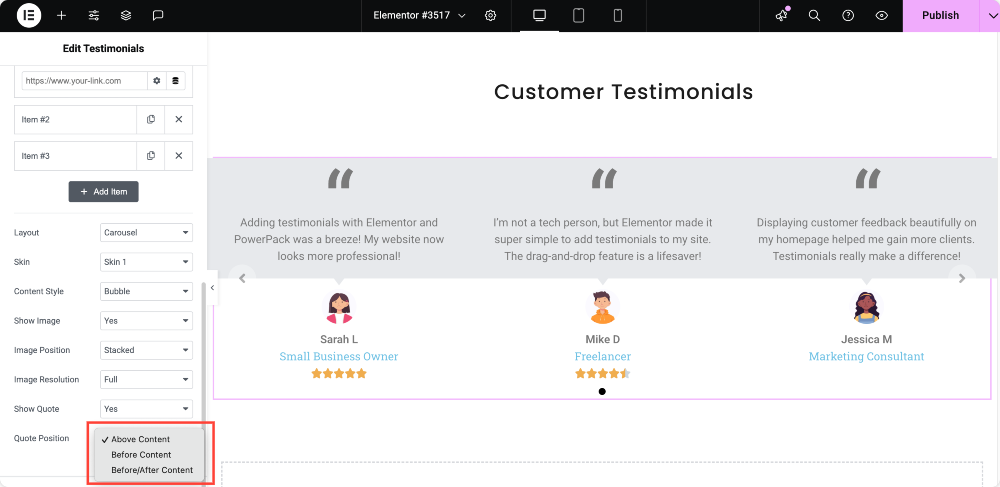
Show Quote Option
You can choose to enable or disable quotation marks around the testimonial text as you prefer.
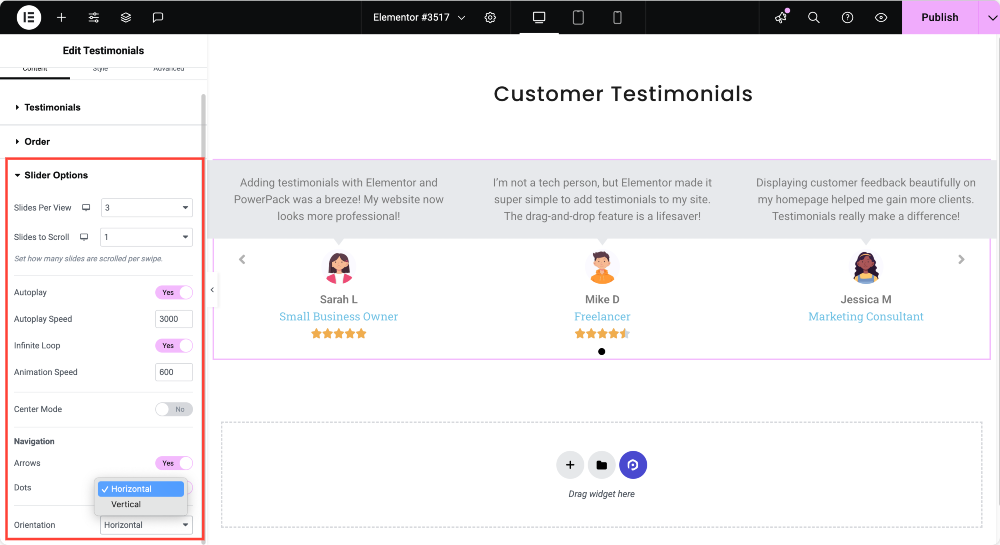
Customize the Carousel or Slider
If you have chosen the Carousel or Slider layout, more customization options become available. You can define how many testimonials are visible at once using Slides Per View and how many testimonials scroll at a time using Slides to Scroll.
You can also enable Autoplay to make testimonials scroll automatically and set the Autoplay Speed to control the timing between slides.
The Infinite Loop option allows continuous scrolling, while Animation Speed controls the transition speed between slides.
Also, you can enable Navigation Arrows or Dots for users to interact with the slider, and choose whether the movement is Horizontal or Vertical.
Customization Options in the Style Tab
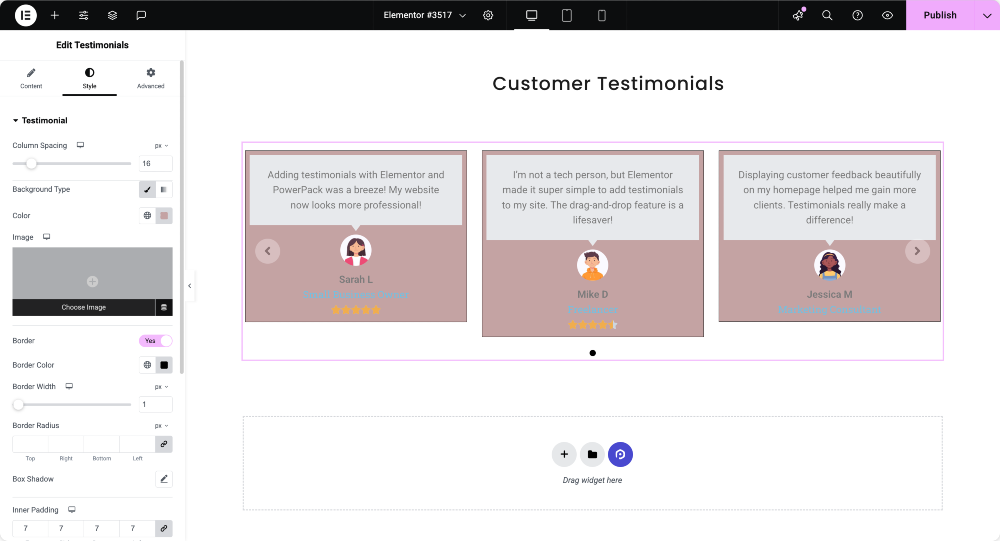
Style the Testimonial Section
You can adjust the Column Spacing to refine the layout and choose a Background Type, whether solid color, gradient, or image.
Border & Border Radius settings allow you to create smooth, rounded edges. You can also apply Box Shadow to add depth and adjust Padding for better spacing.
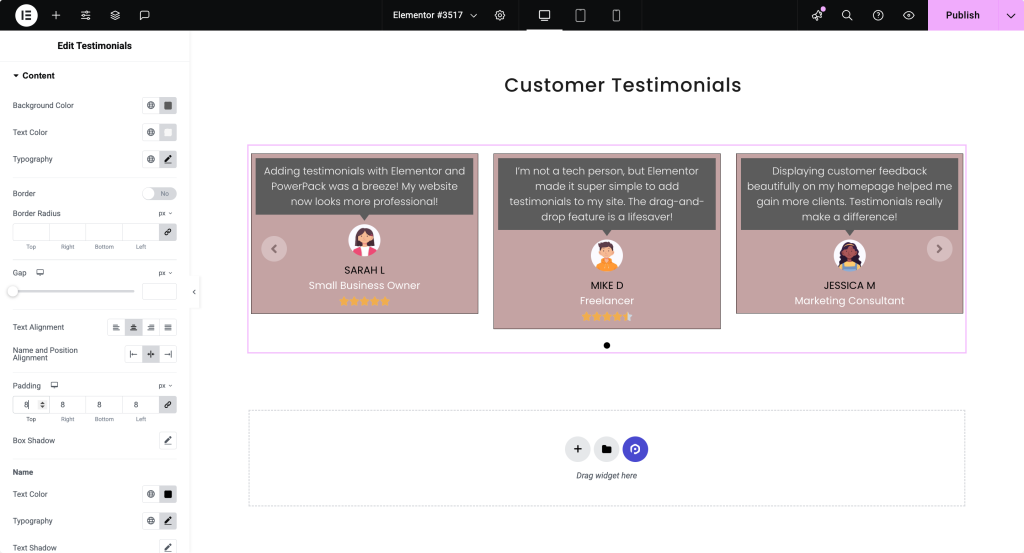
Customize Content Appearance
Background Color & Text Color can be changed to match your website’s branding. You can modify Typography, such as font style and size, and adjust Text Alignment and Name & Position Alignment for better readability.
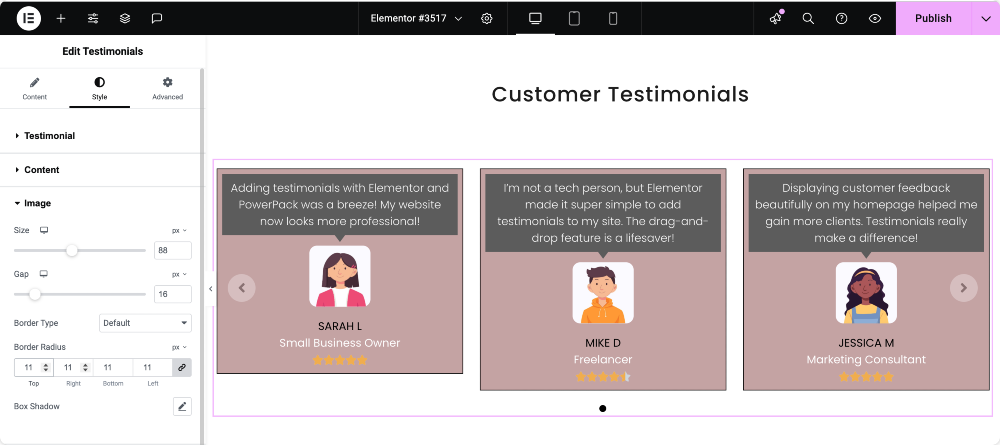
Customize Image Styling
Size & Gap settings let you adjust the image placement. You can also customize the Border Type & Border Radius to create different shapes, and apply Box Shadow for added depth.
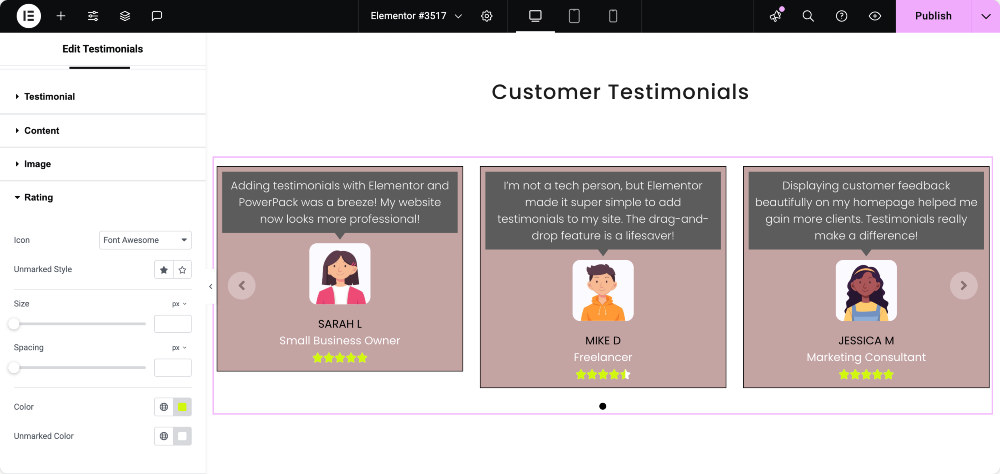
Style the Rating System
You can choose different Icons & Unmarked Styles, adjust Size & Spacing, and change Color & Unmarked Color to differentiate rated and unrated stars.
Customize Navigation Arrows
You can select different Arrow Styles and adjust their Size. Options are available to change the Alignment & Color, as well as define Border & Background styling.

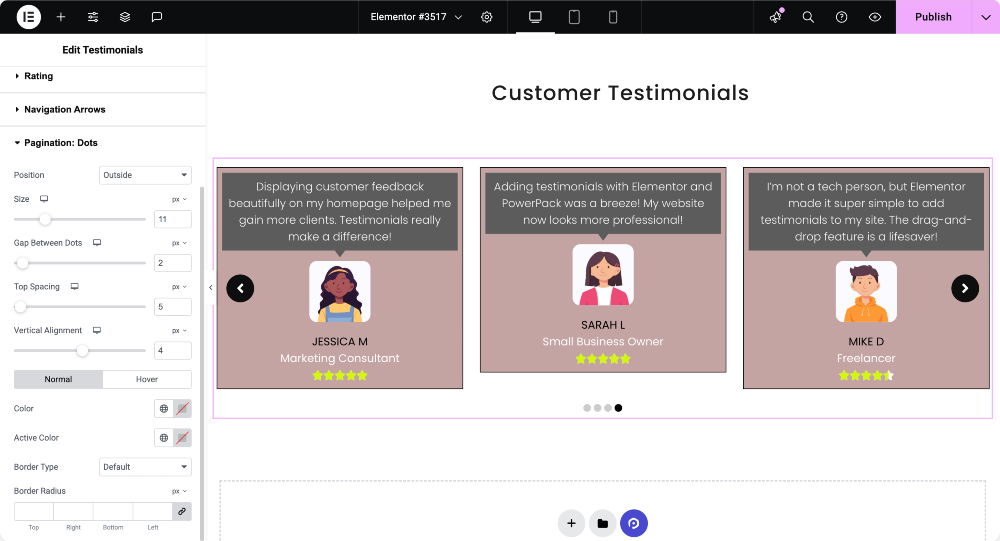
Style Pagination Dots
For pagination, you can change the Position & Size of dots, adjust the Gap Between Dots & Top Spacing, and modify their Color & Active Color to highlight active testimonials.
Finalizing and Publishing Your Testimonials
Once you have finished customizing your testimonials, use Elementor’s Preview Changes option to review the final look. If everything appears as expected, click Publish to make the testimonials live on your website.
Conclusion
Adding testimonials to WordPress using Elementor and PowerPack Addons is simple and effective. With numerous layouts and styling options, you can create visually engaging testimonials that build trust and drive conversions.
Do share if you found this helpful guide! Also, join us on Twitter, Facebook, and YouTube.
Got questions or need help? Drop a comment below!
