If you’re running a food blog or restaurant website and tend to publish delicious recipes over there, creating a recipe page with Google Structured Data is essential.
Properly formatted and structured recipe data help web crawlers understand your page content better and give your recipes a spotlight position in SERPs.
In this article, we’ll you how to create a recipe section with structured data using Elementor and PowerPack.
Tools You’ll Need to Add a Recipe Card to WordPress
One of the simplest ways by which you can add a recipe card in WordPress is by using:
Elementor is a popular page builder for WordPress. And using the Elementor, one can create dream websites in record time without touching a single line of code.
PowerPack Elements is the best addon for Elementor. It consists of 80+ creative and unique widgets, including the Recipe widget.
You can create a fully customized recipe section on your Elementor websites using the Recipe widget. Apart from the content and style customizations, the Recipe widget comes with a Schema Markup integration that automatically adds the structured data for your recipes.
So if you’re not experienced with code, the Recipe widget of PowerPack works wonders for your food blog.
Now let’s see how you can use Elementor and the Recipe widget to create a recipe section on WordPress.
Before we proceed, make sure you have installed and activated both Elementor and PowerPack Elements on your site.
How to Create a Recipe Section Using Elementor
If you prefer watching a video, we’ve also got you a video guide on creating a recipe section using Elementor.
Let’s start our step-by-step tutorial!
Drag and Drop the Recipe Widget to Page
First, open the page in Elementor editor and drag and drop the PowerPack Recipe widget. Make sure to check the “PP” sign on the upper-right corner of the widget.
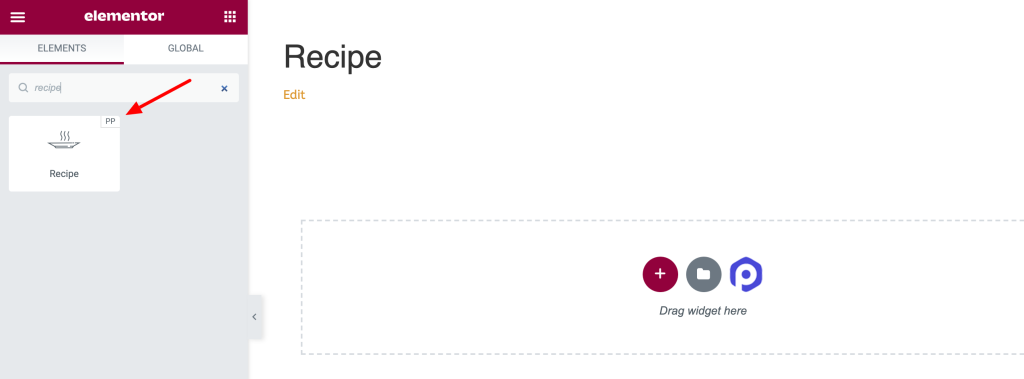
As soon as you add the widget, you will be displayed with the demo content and widget settings.
Let’s see the customization options you’ll get in the content and style tab of the Recipe widget.
Customize Content Tab of the Recipe Widget
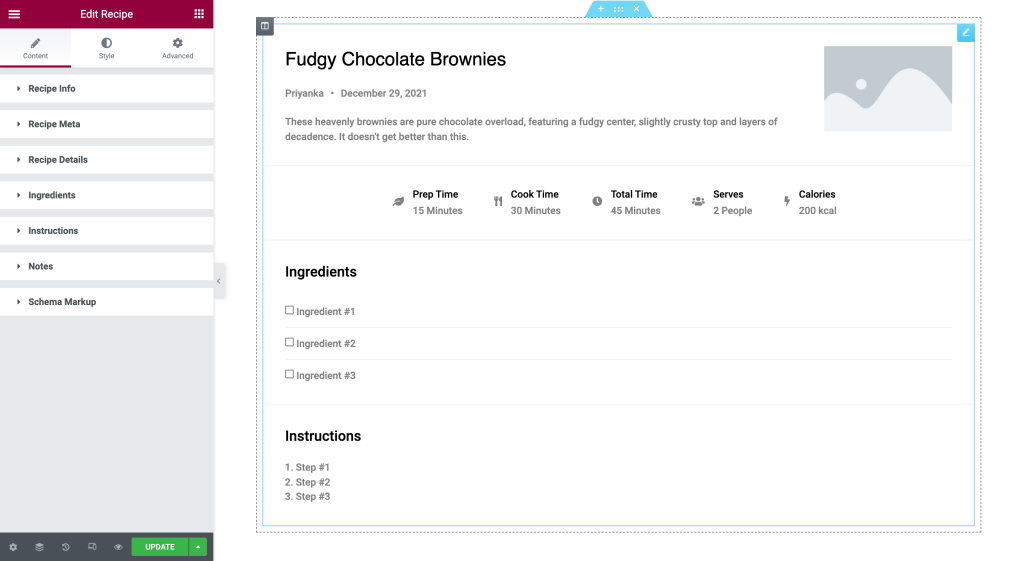
The content tab includes 7 subsections: Recipe Info, Recipe Meta, Recipe Details, Ingredients, Instructions, Notes, and Schema Markup.
Let’s see the options you’ll get in each subsection:
Recipe Info
In the Recipe Info, you’ll get these options:
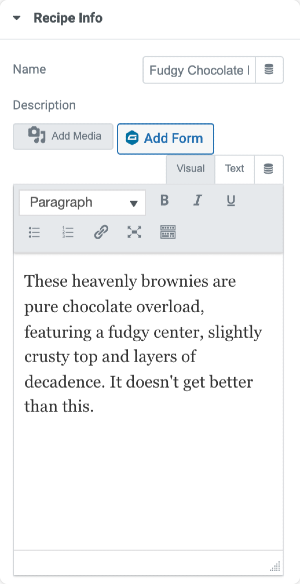
- Name: As the name says, this option allows you to add the name of your recipe.
- Description: This option can add a complete detailed description of your recipe.
- Image: From this option, you can add an attractive image of your recipe.
- Image Size: Once you add the image, you can set the image size per your page design.
- Title Separator: Toggling on this option will add a separator underneath your recipe title, making your recipe section design more clean and interactive.
Recipe Meta
In the Recipe Meta subsection, you’ll see these options:
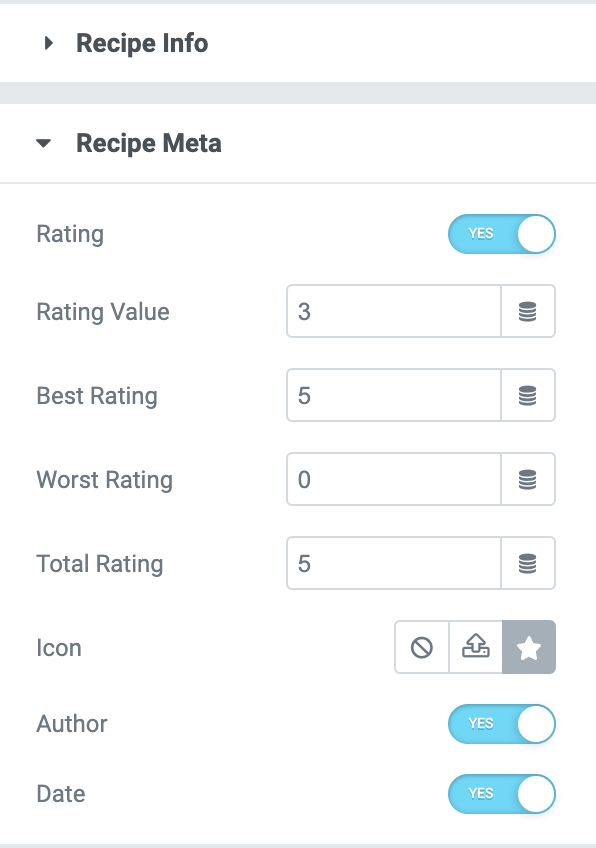
- Rating: You can add custom ratings to your recipe by enabling this option.
- Author: If you don’t want to display the author’s name, you can do that by simply toggling off the author option.
- Date: Just like the author option, you can show/hide the date display on your recipe section.
Recipe Details
In this subsection, you’ll get Prep Time, Cook Time, Servings, and Calories options.
All these options are completely customizable, and you customize and alter content for each option as per your needs.
Ingredients
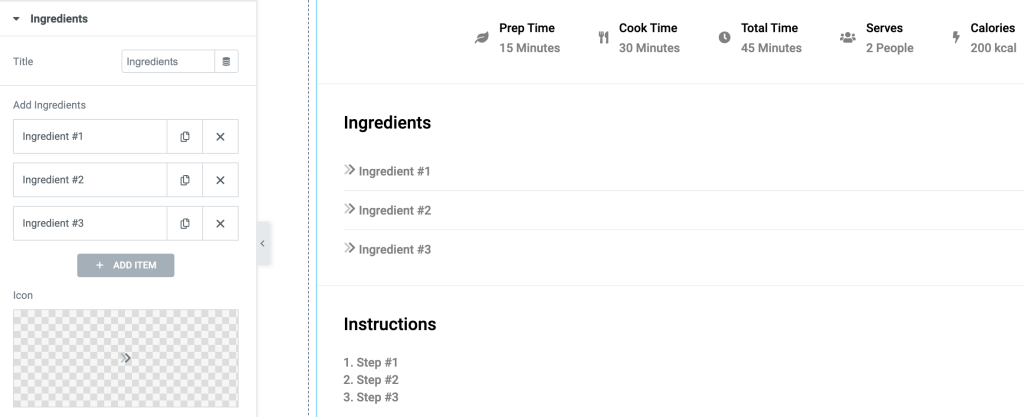
Next, you’ll get an option to display your recipe ingredients. You can add as many ingredients as you want.
The Recipe widget displays your recipe ingredients in a list format, and if you want, you can add an icon to make your list more eye-catchy.
Instructions
This subsection allows you to add detailed step-by-step instructions to your recipe.
Notes
Notes subsection helps you add any important recipe notes for your viewers.
Schema Markup
Lastly, you get an option to enable disable the scheme markup feature. Let’s say you added a recipe section but don’t want to add the Recipe” Page schema as per Google’s Structured Data guideline, so you can simply toggle off the Schema Markup feature in the content tab of Recipe Widget.
Customize the Style Tab of Recipe Widget
Once you customize the content tab, you can move to the style tab for more styling options.
In the style tab of the Recipe widget, you get styling options to customize every element of the recipe section.
From altering typography to changing color to adding a border, you get extensive styling options.
All options in the style tab are self-explanatory; you can play around with these options and style your recipe section.
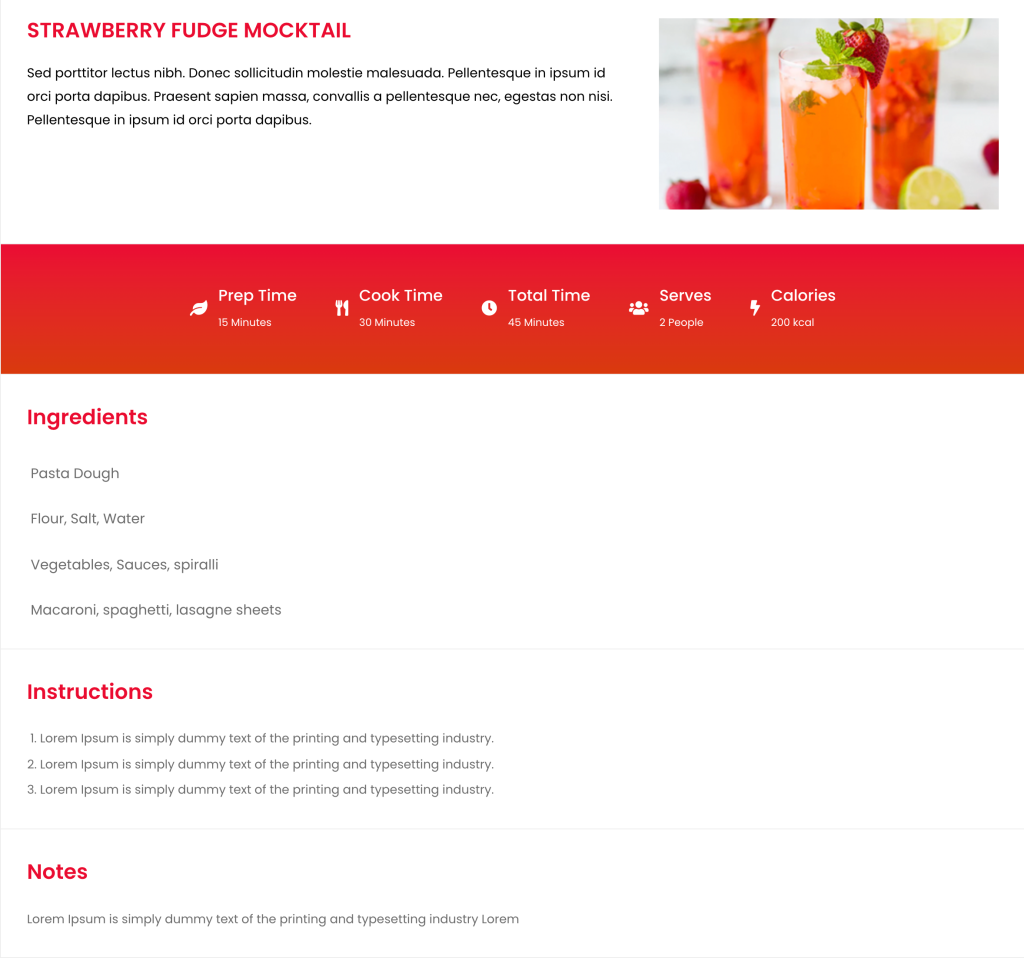
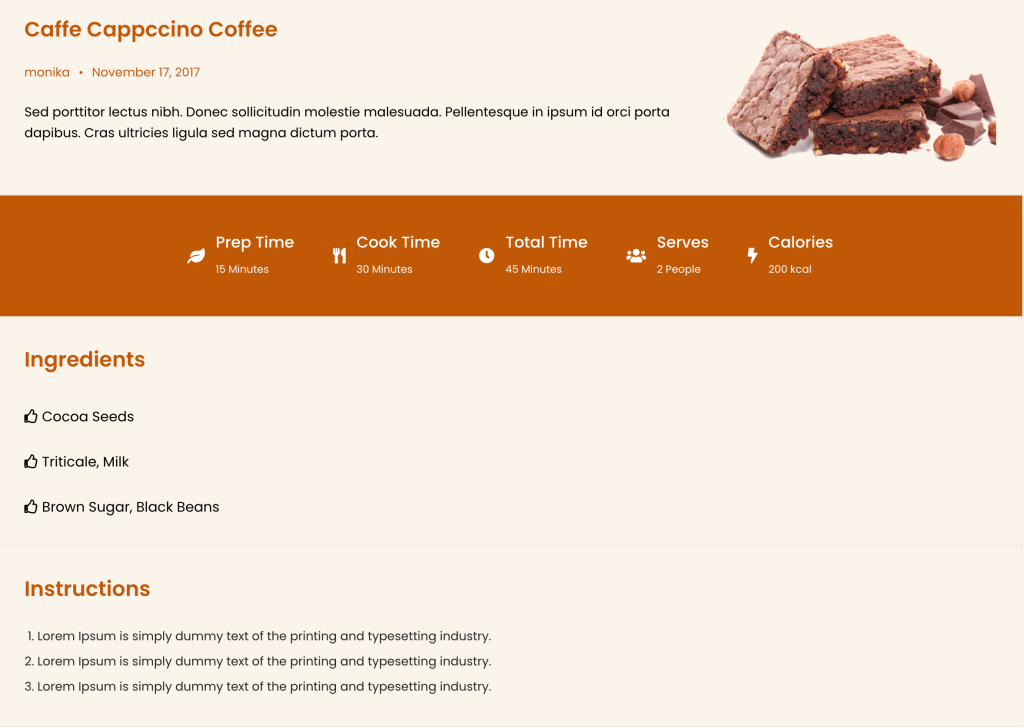
And after making all those changes, here is what the final Recipe Section looks like:
Get PowerPack and Recipe Widget for Elementor
We hope you find this article helpful. This is how easy it is to create a recipe section on your Elementor site using the Recipe Widget of PowerPack.
PowerPack offers more than 80 creatively designed widgets and powerful extensions that you can use to create beautiful websites. Click here to get the Recipe Widget for Elementor with PowerPack.
If you liked this article, share your thoughts in the comments below. For more PowerPack tutorials, please subscribe to our YouTube Channel.
Read More From the Blog:
