
Looking for a simple way to add reCAPTCHA in your website’s login form using Elementor?
Enabling reCAPTCHA in your website login form helps you stop spam and protect your site from hackers/spammers.
WordPress comes with a built-in login form feature that only offers basic login functionality and is not integrated correctly with proper security features. In this article, we’ll learn how to create a custom WordPress login form with reCAPTCHA functionality.
So let’s get started!
What is reCAPTCHA?
reCAPTCHA is a type of security measure you often encounter when you’re using websites or apps. It’s designed to tell the difference between humans and robots. When you come across a reCAPTCHA, you might see a box with distorted text or images, and you’re usually asked to type what you see.
This helps the website confirm that you’re a real person and not a computer program trying to cause trouble, like spamming or hacking.
In simple words, reCAPTCHA is like a little test to ensure you’re not a robot before you can do certain things online.
How to Add reCAPTCHA in Login Form Using Elementor
For this tutorial, we’re going to use Elementor and PowerPack Login Form widget.
PowerPack is one of the best addons for Elementor. It includes 70+ creative widgets and powerful extensions, helping you enhance the website-building experience using WordPress and Elementor page builder.
Using the Login Form widget, you can create a customized login form with reCAPTCHA functionality and replace the default WordPress login form. Learn here how to create a custom WordPress Login Page using Elementor.
Generally, to integrate reCAPTCHA in WordPress, you need to add HTML codes to your page scripts. However, this is time-consuming and not a very user-friendly process.
PowerPack Login Form has a built-in reCAPTCHA functionality that allows you to add Google reCAPTCHA without hustling with any code.
Step 1: Open the Page in Elementor Editor
First, create a new page or open an existing page using the Elementor editor.
Step 2: Drag and drop the Login Form widget
Next, drag and drop the Login Form widget on your page section. Make sure to check the PP icon on the top left corner of the widget.
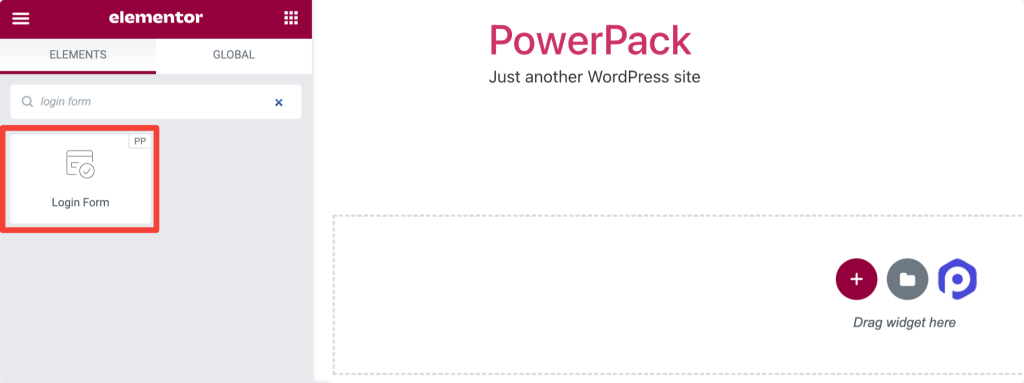
As soon as you add the widget, you’ll be displayed with a custom login page.
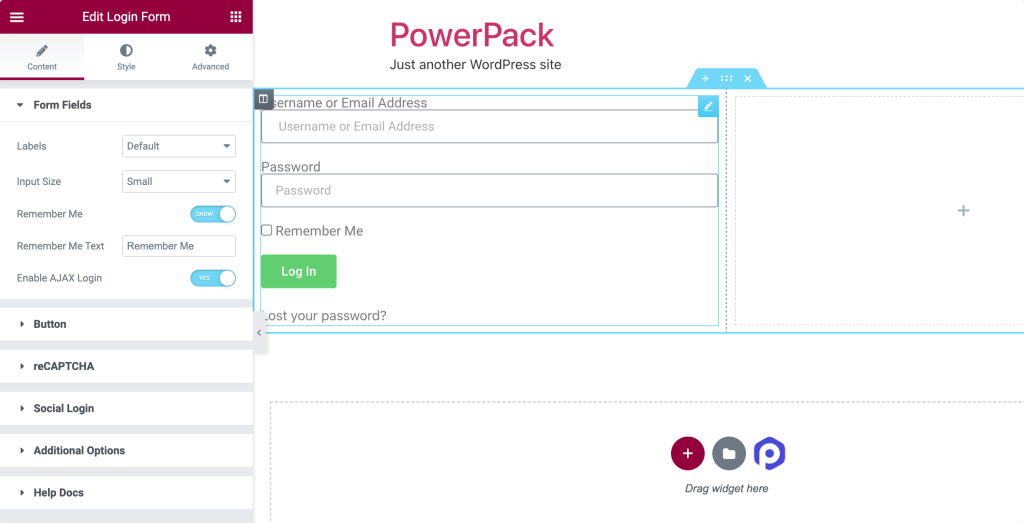
Step 3: Enable Login Form’s reCAPTCHA Feature
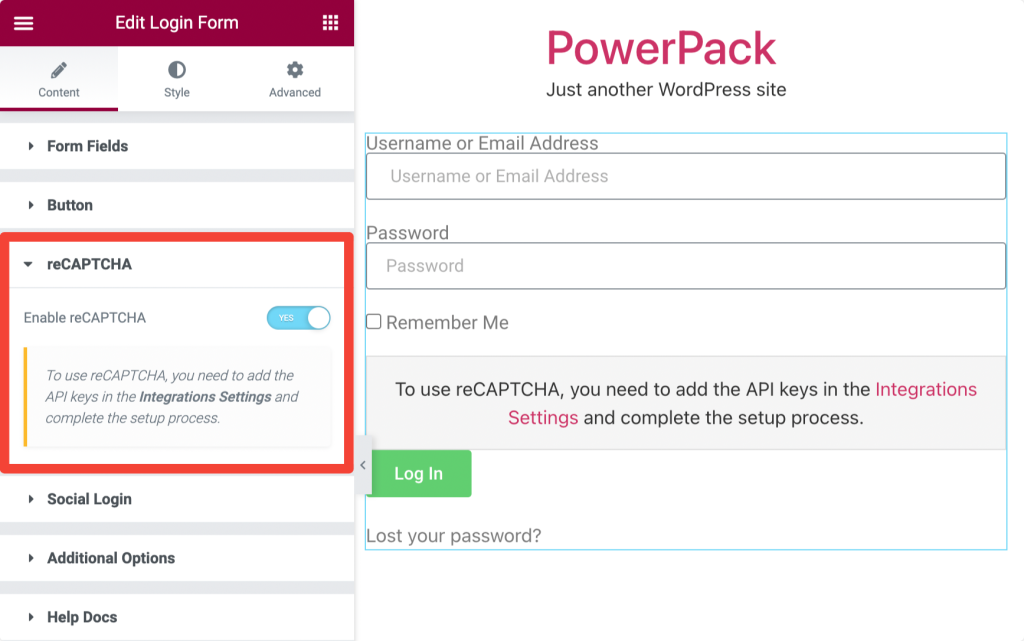
Next, move to the Content Tab of the widget, open the reCAPTCHA sub-section, and toggle on the Enable reCAPTCHA button.
Step 4: Generate Google reCAPTCHA keys
To enable the reCAPTCHA functionality in online forms, we need to generate reCAPTCHA keys and integrate them into our sites.
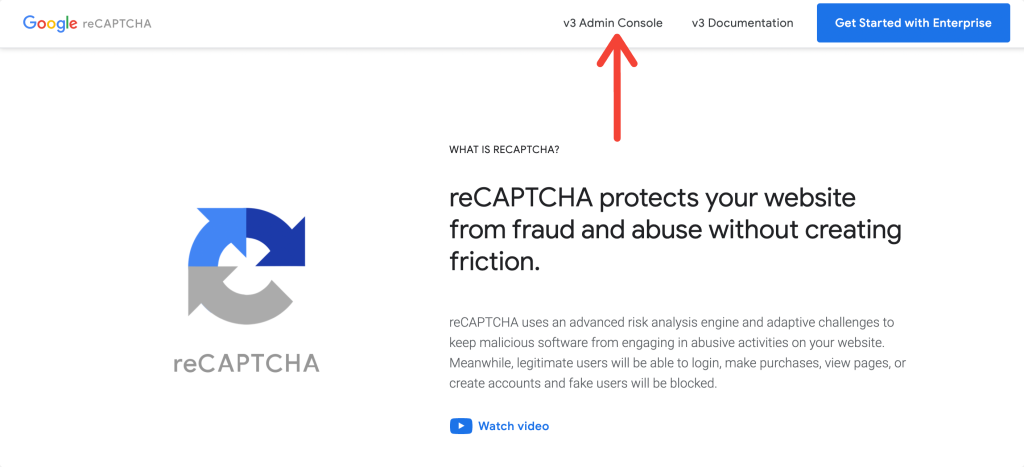
To generate the keys, open the Google Developers Console page in a new tab.
Click the v3 Admin Console tab and log into your Google account.
Once you’ve done that, you’ll be taken to a new page to create your own site. You should integrate the CAPTCHAs on this site.
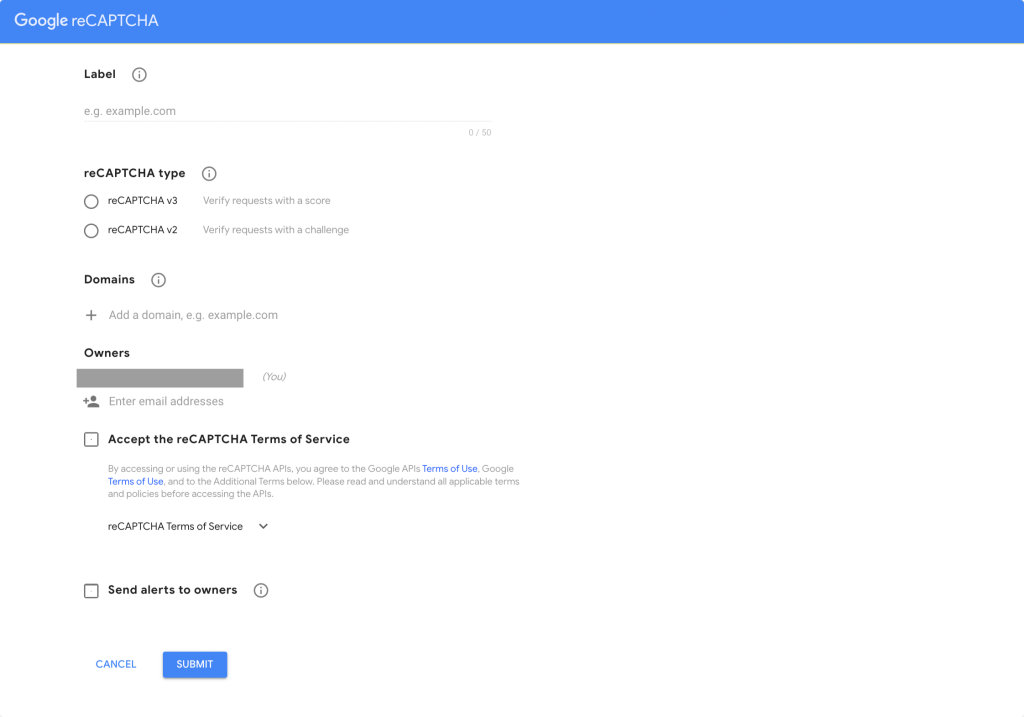
Add your website’s name in the Label section, choose the reCAPTCHA type between v2 and v3, and your Site Domain.
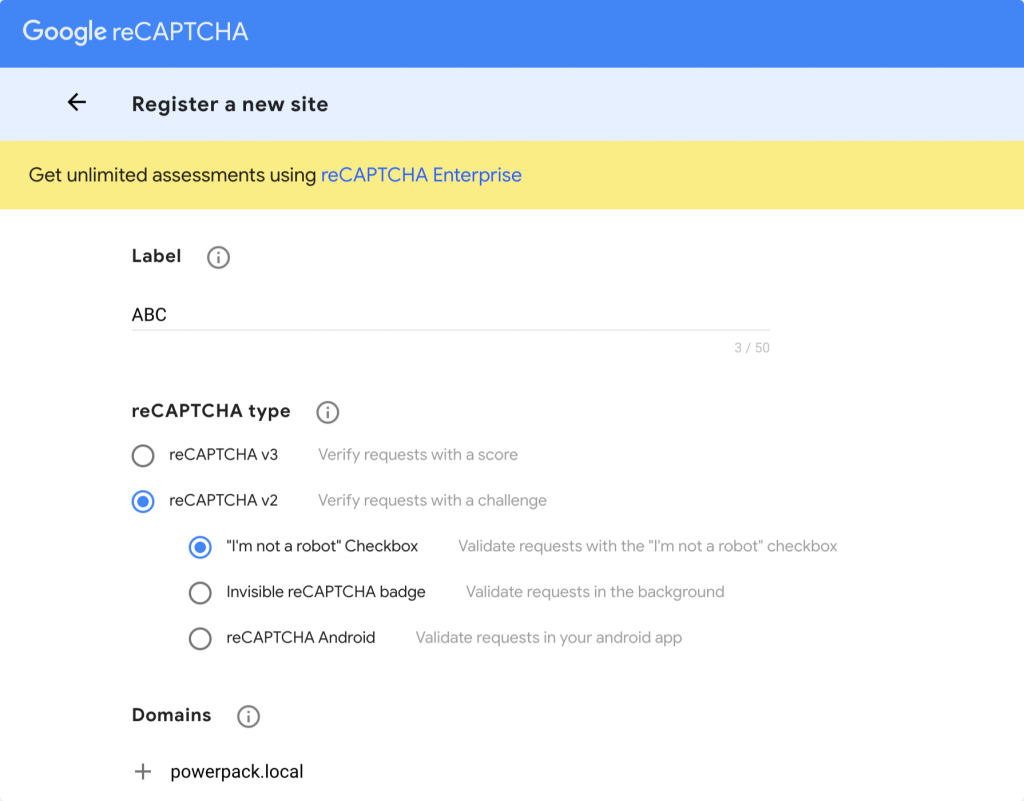
The v2 reCAPTCHA type comes with three more options:
- “I’m not a robot” Checkbox
- Invisible reCAPTCHA badge
- reCAPTCHA Android
We are adding the “I’m not a robot” Checkbox to our login form.
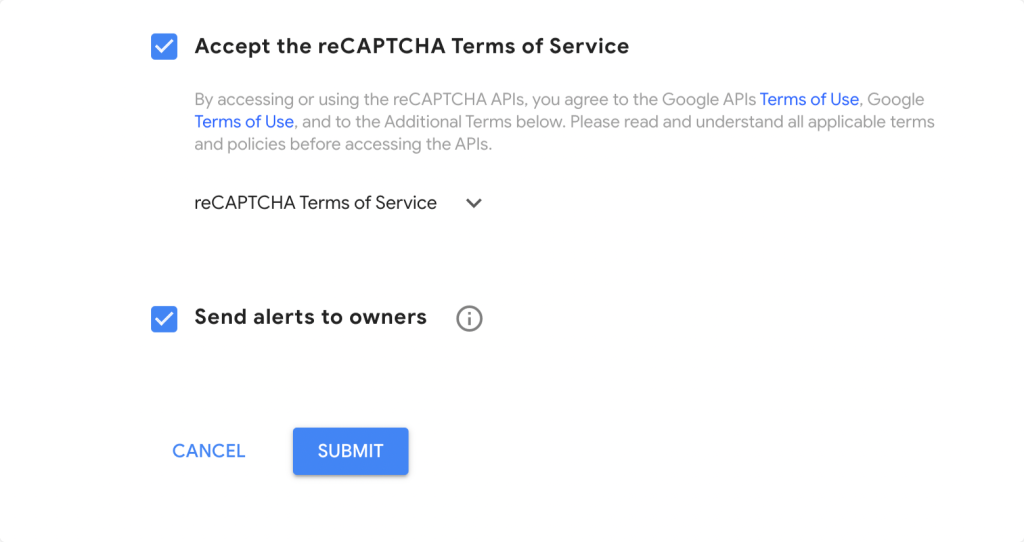
Choose the type of reCAPTCHA you want, add your domain, accept the reCAPTCHA Terms of Service, and click Submit.
After clicking, you’ll be redirected to a new page where you’ll find your Site and Secret keys.
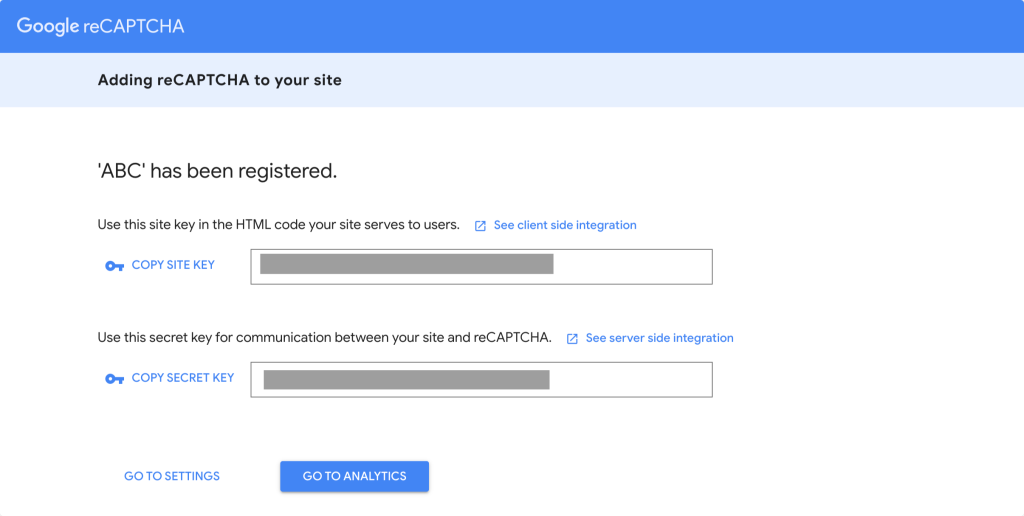
Copy your keys and get back to your Elementor Login Form page.
Step 5: Add reCAPTCHA keys to PowerPack Settings
Now your keys are ready, we just need to add them to PowerPack settings.
Under the Enable reCAPTCHA section, you’ll see a notification. Click on the Integrations Settings.

This will automatically redirect you to the Integration Settings page of PowerPack.
Scroll down the page, and under the reCAPTCHA V2 tab, add your Site and Secret key.
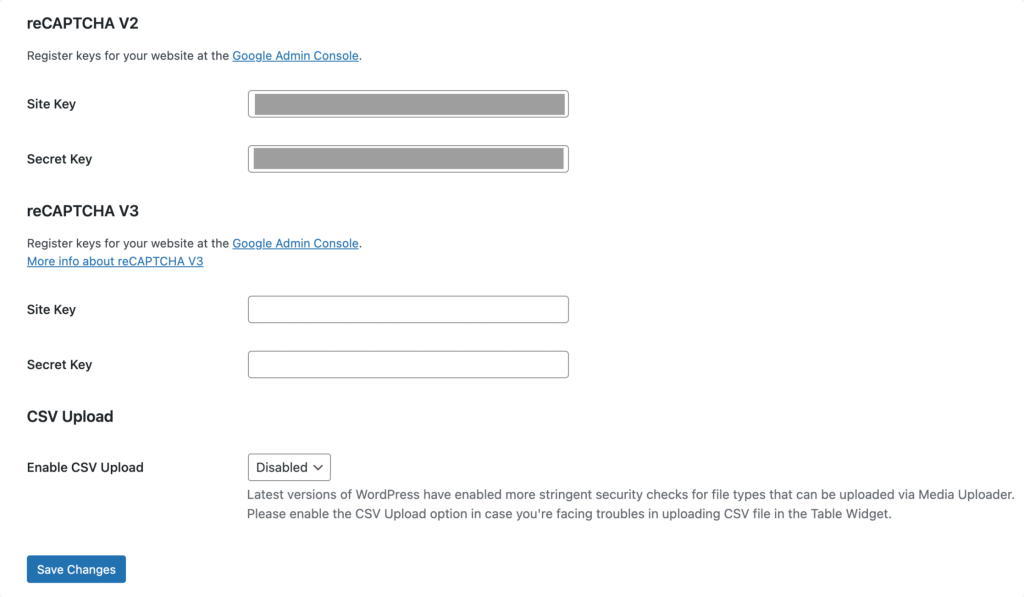
Once done, click Save Changes.
Step 6: Display the reCAPTCHA Checkbox in the Login Form
Now, get back to your Login Form page.
Save and refresh the page. You’ll see a reCAPTCHA Checkbox in your login form.
And that’s it! This is how you can easily add reCAPTCHA in your login form using Elementor.
I hope this tutorial helps you add Google reCAPTCHA to your login form. Click here to get the PowerPack Login Form Widget for the Elementor page builder.
