
Looking for a simple way to create HowTo pages with Schema Markup functionality using Elementor? You’re in luck! In this tutorial, we’ll learn how to create HowTo pages with Elementor and the PowerPack How To widget without writing a single line code.
What is HowTo Schema Type?
HowTo Schema Markup is a type of Schema Markup specifically designed to help search engines understand step-by-step instructions or guides on a web page. It’s like giving directions in a language search engines can easily understand.
With HowTo Schema Markup, you can mark up different parts of your how-to guides, such as the title, steps, tools needed, duration, and more. This helps search engines display your how-to content, especially in search results, making it more visible and attractive to users who are looking for instructions on how to do something.
For example, if you have a recipe website and you mark up your recipe instructions with HowTo Schema Markup, search engines might display your recipe in a special format with a summary of the steps right in the search results, making it more likely that people will click on your recipe to learn how to make it.
Typically, to create HowTo pages with schema markup, people need to embed an HTML code into the source code of their website. But PowerPack makes the process super easy. With its How To widget, you can create and display HowTo guides, tutorials, and walk-throughs with the goodness of Google Structured Data (Schema Markup).
Create HowTo pages for Elementor Using PowerPack How To Widget
To create a HowTo page on your website, you need to install and activate Elementor and PowerPack Elementor Addons.
If you prefer watching a video tutorial, click the video below.
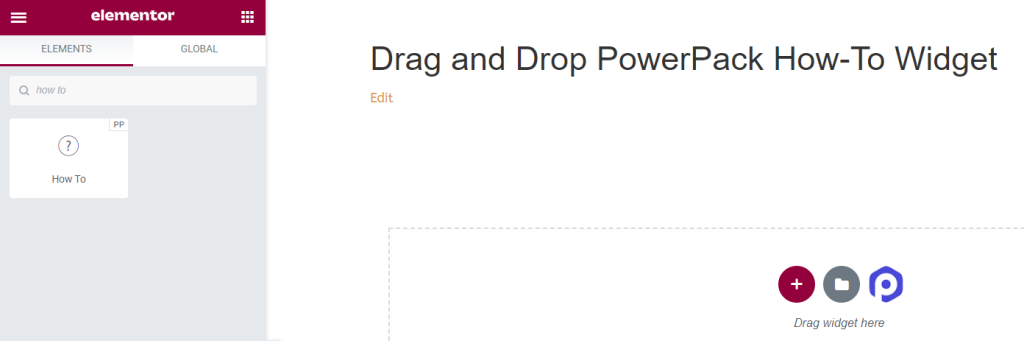
1. Drag and Drop PowerPack How To Widget
First, open the page in the Elementor editor, then type “how to” in the search bar and drag & drop the widget on the page.
Make sure to check for the PowerPack ‘PP’ sign on the top-right corner of the widget.
Let’s look at the options available with the How To Schema Markup Widget.
2. Content Tab of PowerPack How To Widget
In the Content Tab of the How To widget, you’ll find four sections:
- Schema Markup
- How To
- Advanced Options
- Steps
Let’s see all the available features in this Tab:
Schema Markup
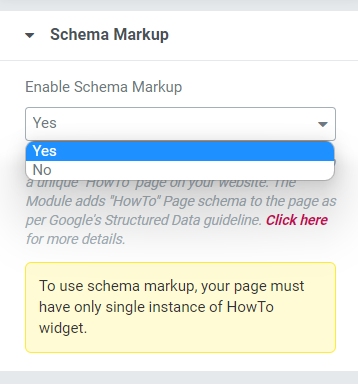
In this section, you’ll get an option to enable or disable the Schema Markup for your page. Select “Yes” if you want to create a “How To” page with properly structured data for your website.
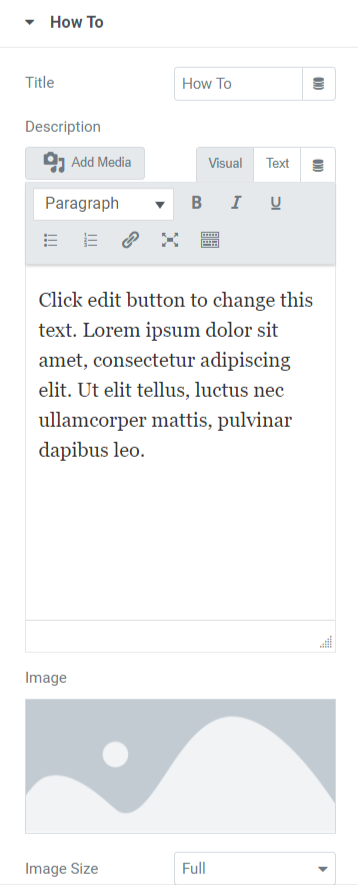
How To
In this section, you can customize the content and image part of your HowTo page.
Let’s see all the available options in this section:
- Title: Here, you can add the HowTo page title.
- Description: You can add a description of the content you want to display on your HowTo page. Also, text customization features are available here, such as HTML tags, bold, italic, underline, lists, etc.
- Image: This option allows you to add a beautiful picture to display in the header part of your HowTo page.
- Image Size: Here, you’ll get many image size options. Choose among them to customize your image displayed on the HowTo page.
- Show Advanced Options: Enable this feature to allow advanced features for your HowTo page. You can customize these options in a separate section.
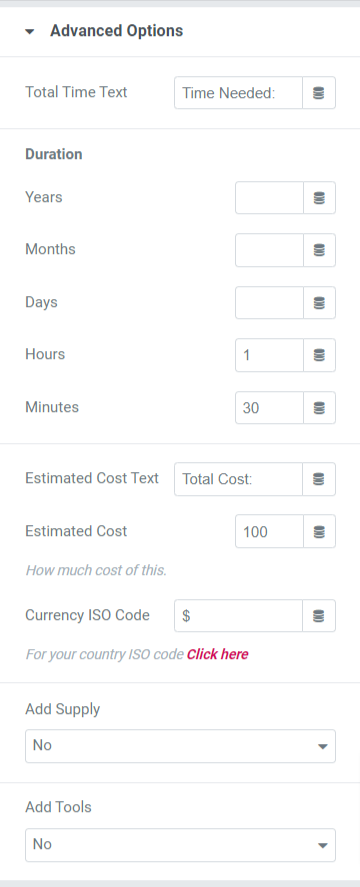
Advanced Options
This section will provide all advanced features to customize the HowTo page.
Let’s see each of these options in detail.
- Total Time Text: Add the total time text to display on the HowTo page.
- Duration: You can add duration details in this option in a detailed form, such as years, months, days, hours, and minutes.
- Estimated Cost Text: Add estimated cost text in this option to display on the HowTo page.
- Estimated Cost: Select the estimated cost here.
- Currency ISO Code: Select the currency type in this option.
- Add Supply: Select “yes” if you want to add supply on the HowTo page.
- Add Tools: Select yes/no on whether you want to add tools.
Note: This section will only be available when you select “yes” in the Show Advanced Options dialog of the HowTo section in the Content tab.
Steps
In this section, you’ll get options to define the steps of your HowTo page.
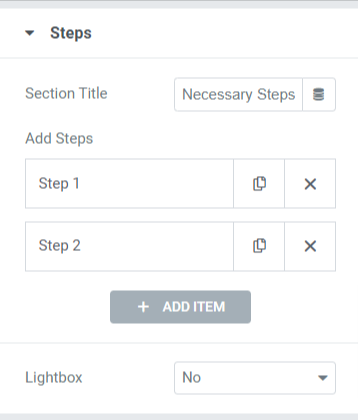
Options available in this section are:
- Section Title: Define the section title for the steps section.
- Add Steps: Define the steps for the HowTo page. On tapping over each step, you’ll get options to add a custom title, description, image, and link. You can create a HowTo page with as many steps as you want.
- Lightbox: Choose “Yes” if you want to display steps images in the lightbox.
Style Tab of the PowerPack How To Widget
In the Style Tab of the PowerPack How To widget, you’ll get all styling options to customize your HowTo page. This tab includes six sections:
- Box
- Title
- Description
- Image
- Advanced Options (This option will be available Only if you select the option “yes” in the show advanced options in the HowTo section of the content tab.)
- Steps
Let’s have a quick look at all the options available in each section:
Box
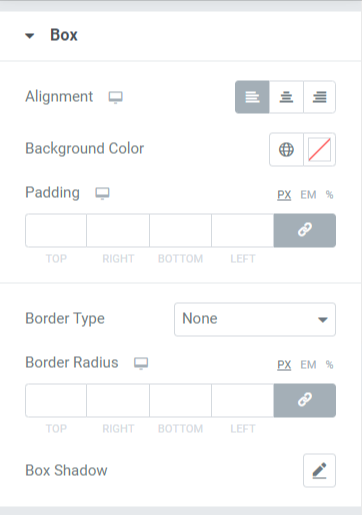
This section includes various options to style your HowTo page. Let’s look at each of them:
- Alignment: Set the alignment of the content displayed on the HowTo page to the left, right, or center.
- Background Color: If you want to add a background color to the content part displayed on the HowTo page, you can add it here.
- Padding: This allows space between the box and the content. Adjust this option to display smoothly organized content on the HowTo page.
- Border type: If you want to apply a border, you can select any Border type from the options available such as solid, double, dotted, dashed, or groove.
- Border Radius: You can adjust the radius from here if you’ve applied the border. Using a border-radius will give soft edges to the content displayed on the HowTo page.
- Box Shadow: You can use this feature to apply a shadow effect to the box for the HowTo page.
Title
This section will get some styling features to customize your HowTo title.
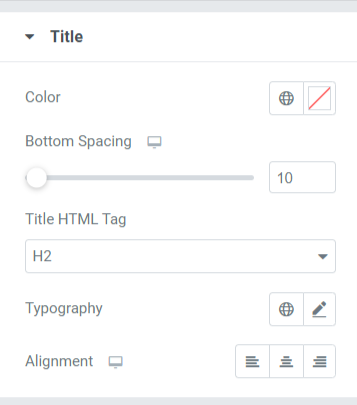
Let’s see the options available in this section:
- Color: You can change the title color in this option.
- Bottom Spacing: Add bottom spacing for the title of your HowTo section.
- Title HTML Tag: You can choose the HTML title tag here.
- Typography: Customize the typography for the HowTo section title.
- Alignment: Set the title alignment to the left, right, or center.
Description
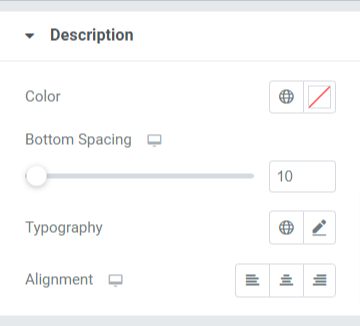
Let’s see all the available options to customize the description of the HowTo section/page:
- Color: You can change the color of the HowTo description.
- Bottom Spacing: Adjust the bottom spacing for a HowTo description.
- Typography: Customize the HowTo description typography here.
- Alignment: Select the alignment for the description to the left, right, or center.
Image
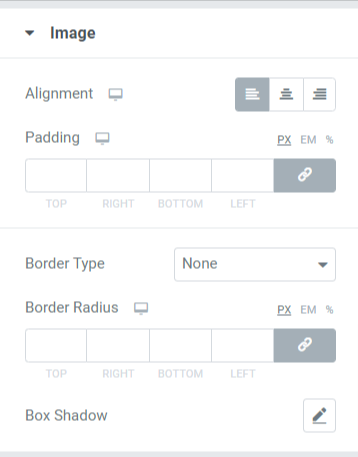
Let’s see the options available in this section:
- Alignment: Set the alignment for the image to the left, right, or center.
- Padding: This allows space between the box and the image. Adjust this option to display smoothly organized content on the HowTo page.
- Border Type: If you want to apply a border to the image, you can select any Border type from the options available, such as solid, double, dotted, dashed, or groove.
- Border Radius: You can adjust the radius from here if you’ve applied the border. Using a border radius will give soft edges to the image displayed on the HowTo page.
- Box Shadow: You can use this feature to apply a shadow effect to the image for the HowTo page.
Advanced Options
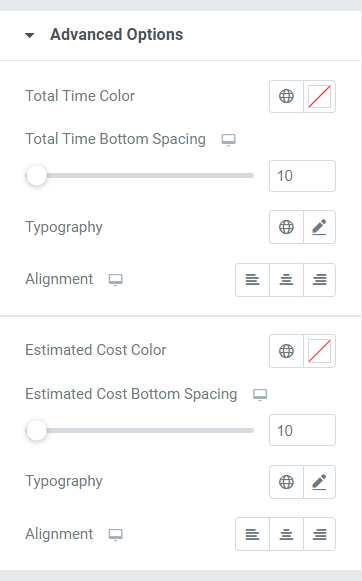
Let’s see the options available in this section:
- Total Time Color: Choose the total time text color.
- Total Time Bottom Spacing: Allow bottom spacing for the total time text of the HowTo section.
- Typography: You can customize the typography for the total time displayed in the HowTo section from the typography options available here.
- Alignment: Set the alignment for the total time text to the left, right, or center.
- Estimated Cost Color: Select the estimated cost text color in this option.
- Estimated Cost Bottom Spacing: Allow bottom spacing for the estimated cost text of the HowTo section.
- Typography: You can customize the typography for the estimated cost displayed in the HowTo section from the typography options available here.
- Alignment: Set the alignment for the estimated cost text to the left, right, or center.
Steps
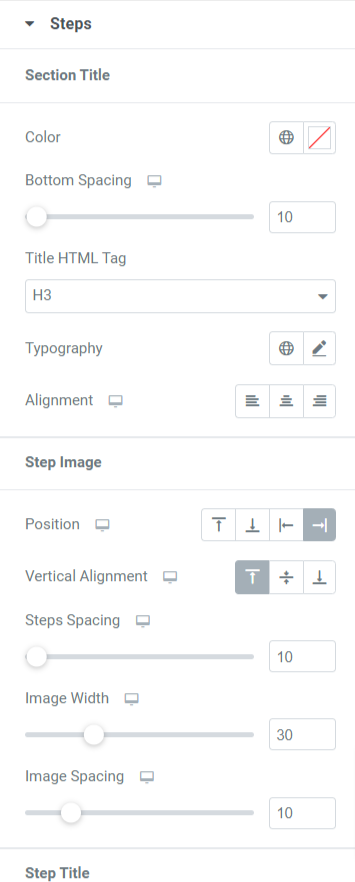
In this section, you’ll get many options to customize the steps of your HowTo page. Let’s see all these features in detail:
- Section Title: You can customize the steps’ section title in all aspects.
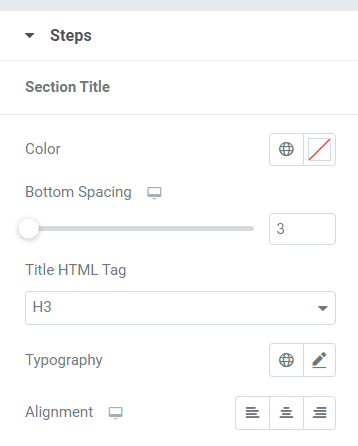
Options available in this subsection are:
- Color: Select the steps’ section title color in this option.
- Bottom Spacing: Allow bottom spacing for the steps’ section title in this option.
- Title HTML Tag: You can select the HTML tag for the section title.
- Typography: Customize the typography of the section title with this option.
- Alignment: Select the alignment of the section title to the left, right, or center.
- Step Image: In this section, you can customize the step image of the HowTo page.
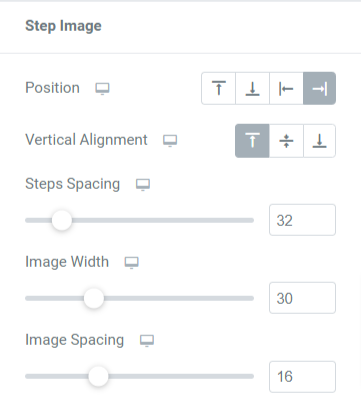
- Position: Select the step image position from the given options, such as left, right, top, or bottom.
- Vertical Alignment: Select the vertical alignment of the section image to the top, middle, or bottom.
- Steps Spacing: Allow bottom spacing for the step image with this option.
- Image Width: You can select the step image width here.
- Image Spacing: Customize the spacing between the step text and the image using this option.
- Step Title: In this section, you can customize the step title of the HowTo page.
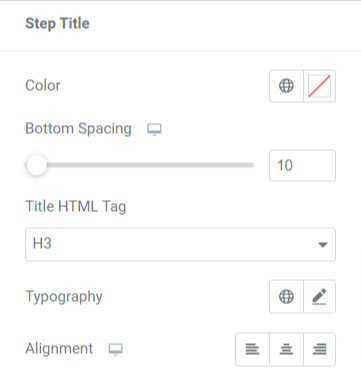
Options available in this subsection are:
- Color: Select the step title color in this option.
- Bottom Spacing: Allow bottom spacing for the step title in this option.
- Title HTML Tag: Here, you can select the HTML tag for the step title.
- Typography: Customize the typography of the step title with this option.
- Alignment: Select the alignment of the step title to the left, right, or center.
- Step Description: In this section, you can customize the step description of the HowTo page.

- Color: Select the step description color in this option.
- Typography: Customize the typography of the step description with this option.
- Alignment: Select the alignment of the step description to the left, right, or center.
Wrapping Up!
Creating HowTo pages & Schema markups on your website will benefiet you in the long run. This technique will help you markup your data and submit your pages to Google and other search engines for higher rankings.
We hope this tutorial helped you discover how to use this How To Widget to create a HowTo section with schema markup functionality for your WordPress website.
With PowerPack Elementor Addons, we try to keep the functionalities of our products user-friendly so that anyone can use them without even being bothered about coding. Click here to get a PowerPack How To Widget for Elementor.
Feel free to drop your comments here; we’d love to receive your replies.
