
Intro: In this post, we’ll see how you can easily create a fully customized WooCommerce Single Product Page with Elementor – without messing with any code!
Creating a custom single product page can enhance your website’s shopping experience. With Elementor and the WooCommerce Builder by PowerPack Addons, you can design a stunning, functional product page that matches your website’s style and design. This guide will walk you through the entire process, from setting up your single product page template to customizing every detail.
Let’s get started!
What is a Single Product Page in WooCommerce?
A Single Product Page is a dedicated page on your e-commerce website that displays a specific product in detail. This page is crucial in the buyer’s journey, as it provides all the information a customer needs to make a purchasing decision.
Here’s a breakdown of what a Single Product Page typically includes and why it’s important:
- Product Title: The product name is prominently displayed at the top of the page. It is the first thing a visitor notices and sets the stage for what the product is all about.
- Product Image: High-quality product images are showcased, often with the ability to zoom in or view from different angles. Visuals are key in online shopping, as customers cannot physically interact with the product.
- Product Price: The cost of the product is clearly indicated, including any discounts or sale prices. The price is typically displayed near the product title or image, making it easily visible.
- Product Description: This section provides detailed information about the product, such as features, specifications, and benefits. A well-written description can help convince the customer of the product’s value.
- Add to Cart Button: This is the call-to-action (CTA) that allows customers to add the product to their shopping cart. The button is usually placed near the price and product image to encourage immediate action.
- Product Variations: If the product comes in different sizes, colors, or styles, these options are displayed, allowing customers to select their preferred variation.
- Product Reviews and Ratings: Customer reviews and ratings provide social proof and help build trust. Buyers can read about others’ experiences with the product before making a decision.
- Related Products: Suggestions for similar or complementary products are often displayed to encourage additional purchases.
How To Create a WooCommerce Single Product Page With Elementor and PowerPack
If you prefer to watch a video tutorial, check the below link:
Step 1: Log in to Your WordPress Website
Log in to your WordPress website and go to the dashboard. This is your control center, where you’ll manage your site’s content and design.
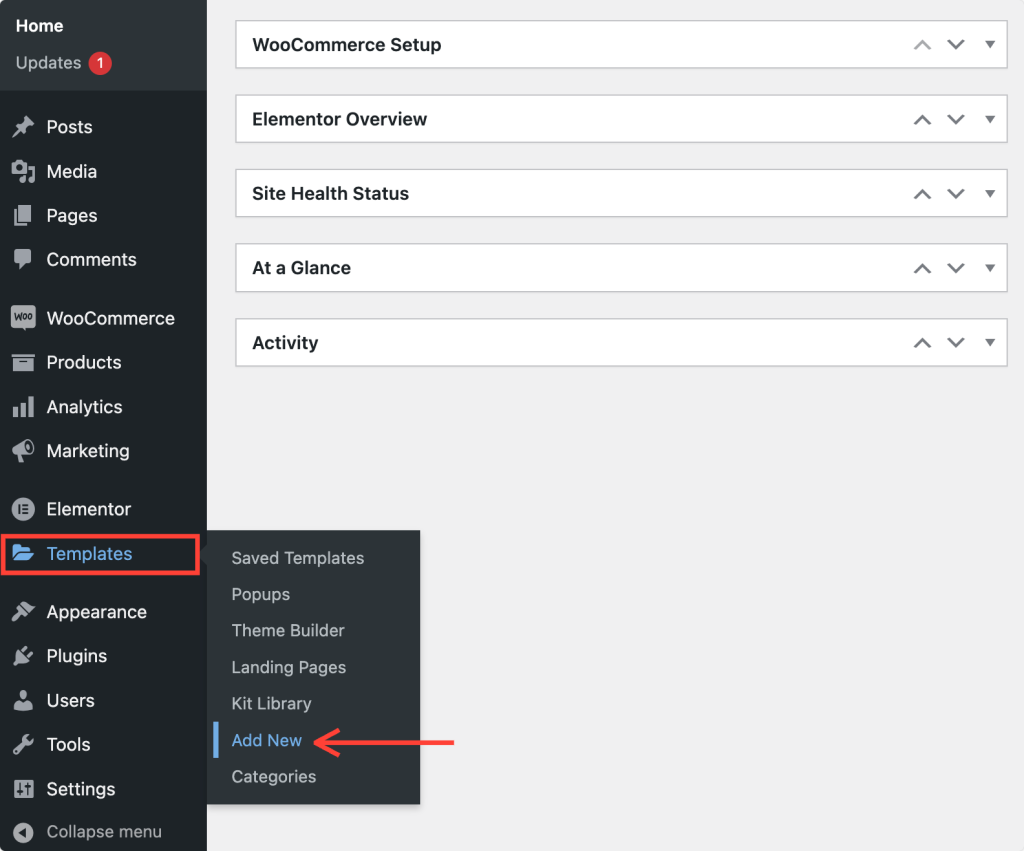
- Add a New Template: In your dashboard, click Template >> Add New. This opens a window where you’ll need to select the template type.
Step 2: Set Up a New Template
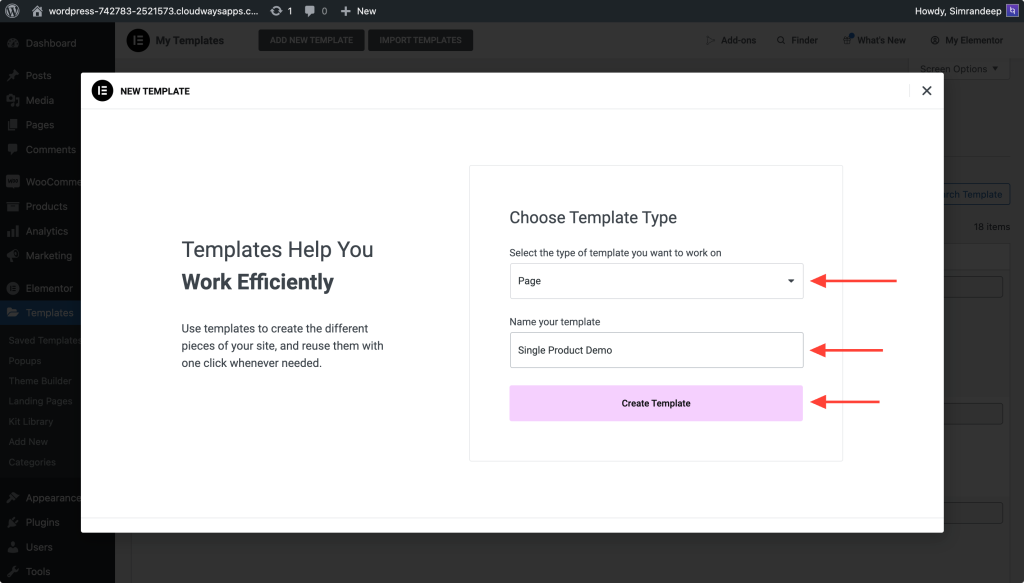
- Choose Template Type: In the new window, select the template type as “Page” from the dropdown menu.
- Name Your Template: Give your template a clear, descriptive name. This helps you identify it later, especially if you have multiple templates.
- Create the Template: Click on the Create Template button. This will take you to the Elementor editor, where you can start designing.
Step 3: Change the Page Layout
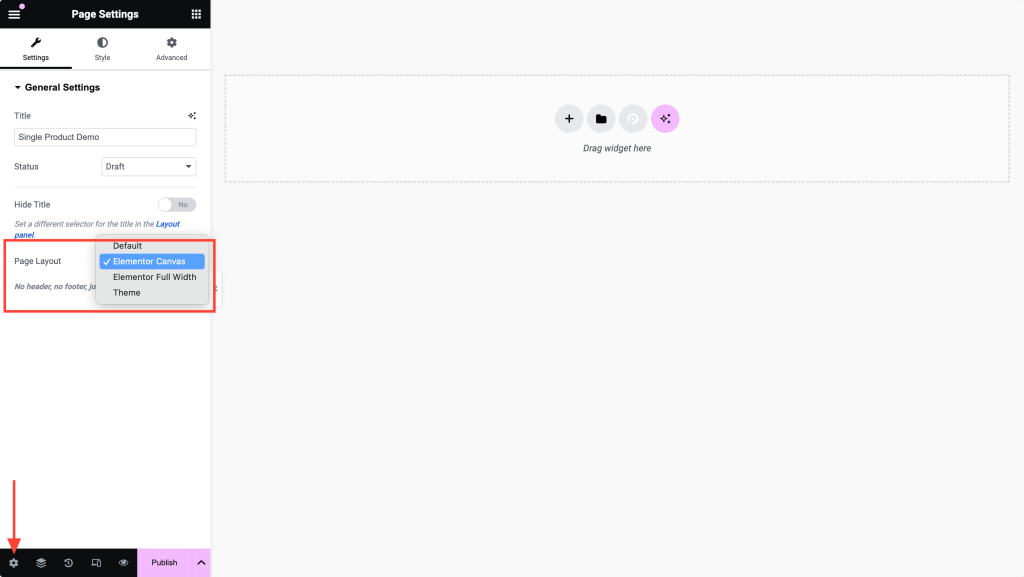
Once in the Elementor editor, you’ll see the default page layout. Here’s what to do next:
- Change the Layout (Optional): If you want to change the page layout, click on the settings icon at the bottom left of the panel. From there, you can choose a canvas layout or any other layout that suits your design needs.
If you’re satisfied with the current layout, you can start adding elements to your template.
Step 4: Publish the Template
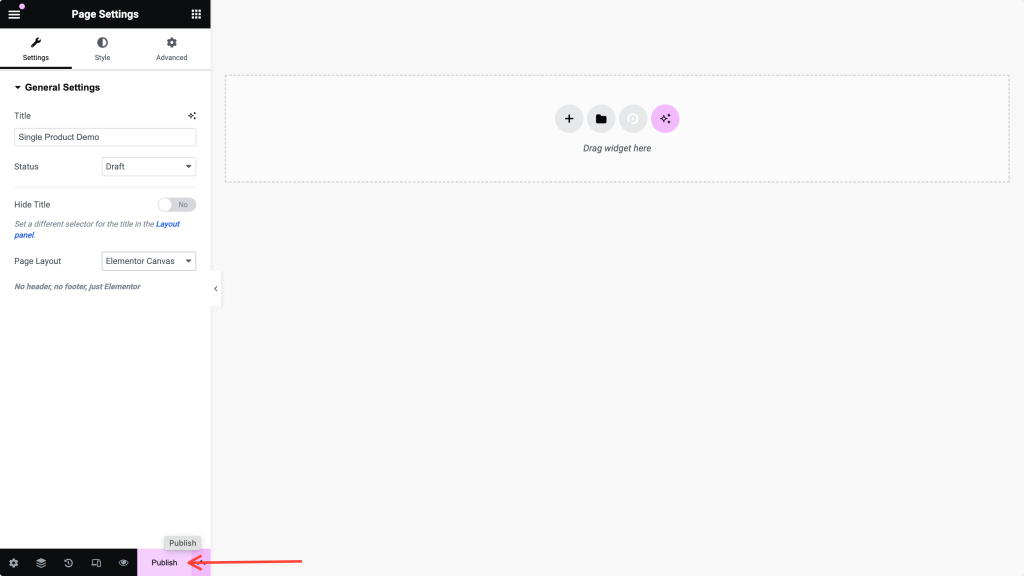
Before proceeding, publish your template by clicking the Publish button at the bottom of the Elementor panel. You’ll return to this template later for more customization, so don’t worry if it’s not perfect yet.
Step 5: Enable PowerPack WooCommerce Builder
Next, you need to enable the WooCommerce Builder feature provided by PowerPack Addons.
- Return to your WordPress dashboard and navigate to Elementor >> PowerPack.
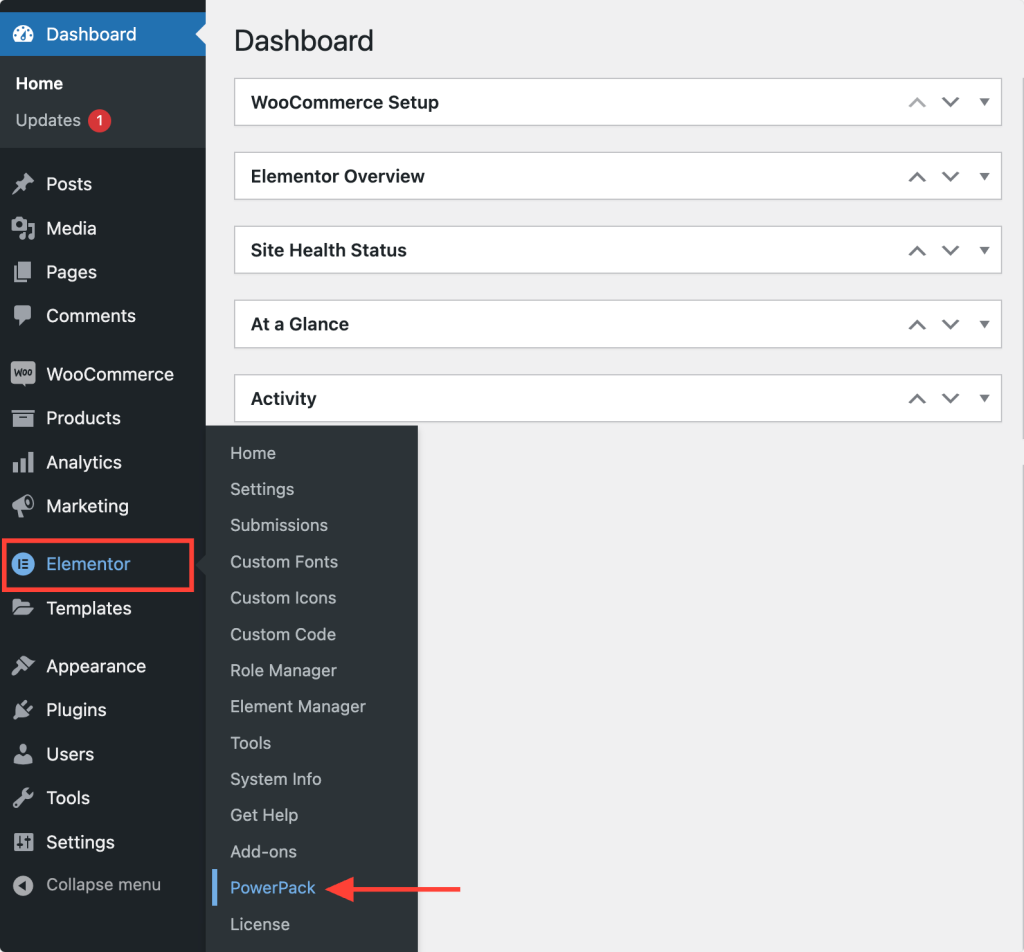
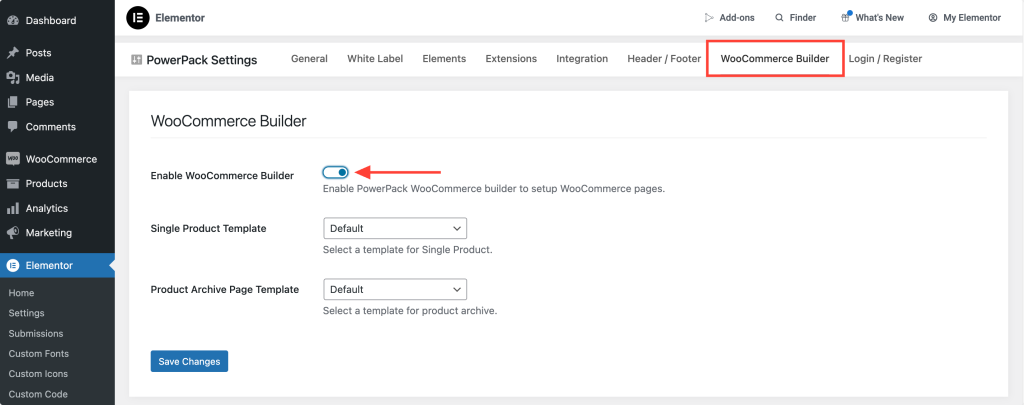
- Enable WooCommerce Builder: In the PowerPack settings, find the WooCommerce Builder tab and toggle the switch to enable it.
Step 6: Select the Single Product Template
Once the WooCommerce Builder is enabled, two new options will appear in the settings.
Since we are creating a single product page, select the template you just created from the dropdown menu under the Single Page Template option.
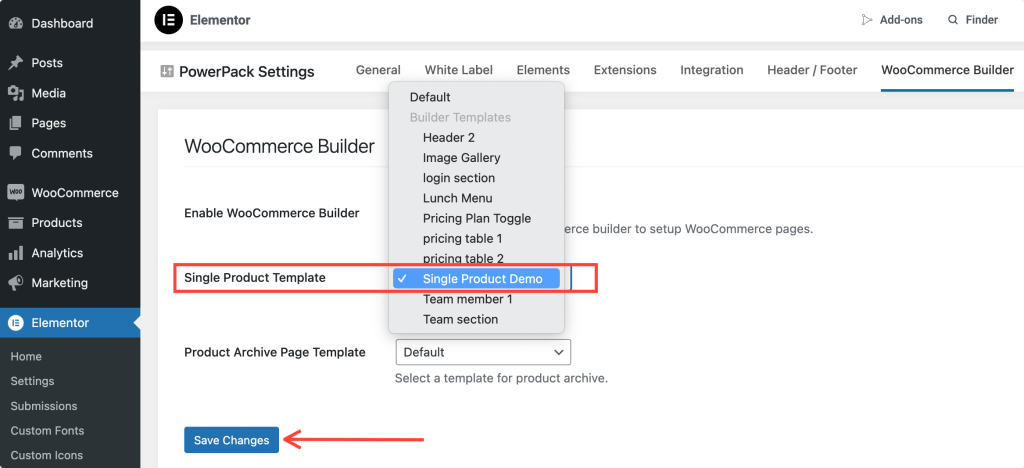
Don’t forget to click the Save Changes button to ensure your template is correctly linked.
Step 7: Edit the Single Product Template
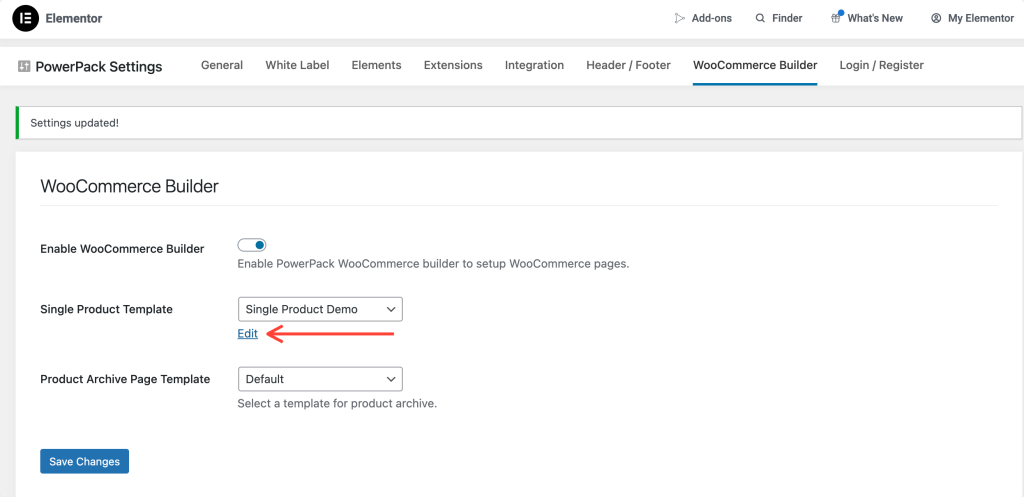
Now that your template is connected, it’s time to edit and design your Single Product Page.
Click the Edit button under the Single Page Template option. This will take you directly back to the Elementor editor, where you can begin customizing.
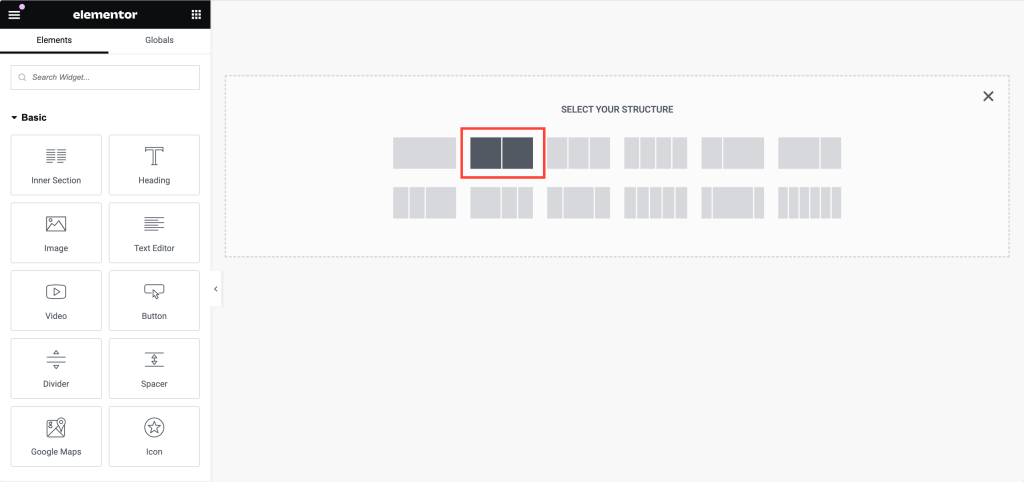
Step 8: Designing the Single Product Page Layout
We will start by adding a two-column structure. This layout is ideal for displaying product images on one side and product details on the other.
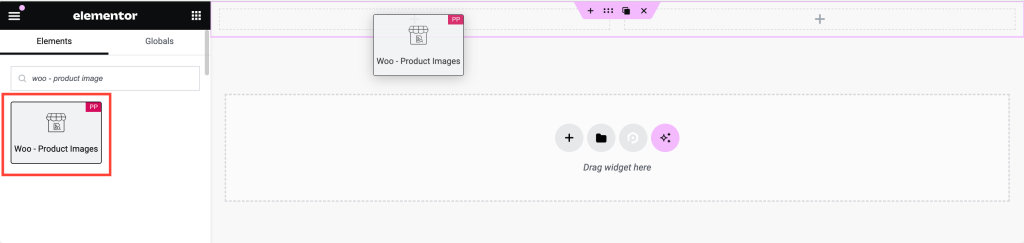
Step 9: Adding a Product Image
- Insert Woo – Product Image Widget: In the left column, search for the “woo – product image“. Ensure the widget has the “PP” icon in the corner, indicating it’s from PowerPack.
- Drag and Drop: Drag the widget to the left column. The widget will automatically display the product image.
- Customize the Image: In the Style tab, you can customize the image settings. Options include:
- Displaying a Sale Flash tag
- Setting margins and padding for the sale tag
- Adjusting the color, background color, typography, and spacing for the Sale tag
- Customizing the main and thumbnail images
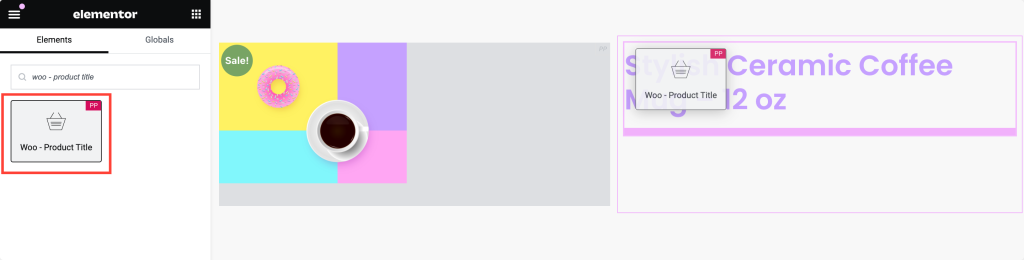
Step 10: Adding the Product Title
- Insert Woo – Product Title Widget: Move to the right column and search for “woo – product title“.
- Drag and Drop: Add the widget to the right column. This widget will automatically pull in the product title.
- Style the Title: You can customize the title with various options, including:
- Text Color
- Typography
- Text mode (e.g., uppercase, lowercase)
- Blend mode for creative text effects
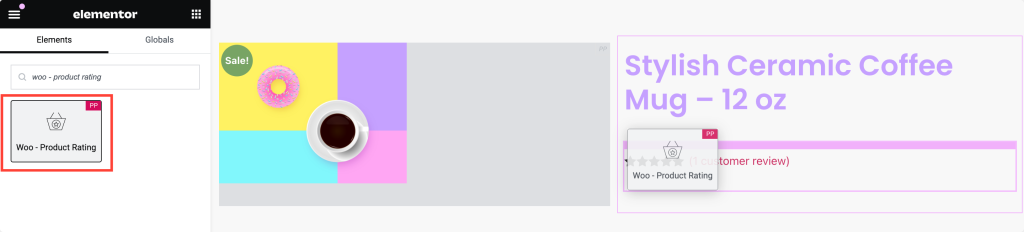
Step 11: Displaying Product Ratings
Social proof is crucial for any product page. Adding product ratings can help build trust with potential buyers.
- Insert Product Rating Widget: Search for the “woo – product rating” and drag the widget into your design.
- Customize the Ratings: This widget will automatically display the product’s ratings. You can adjust:
- Star color
- Empty star color
- Link Color
- Typography
- Star size and spacing
- Alignment to fit your design
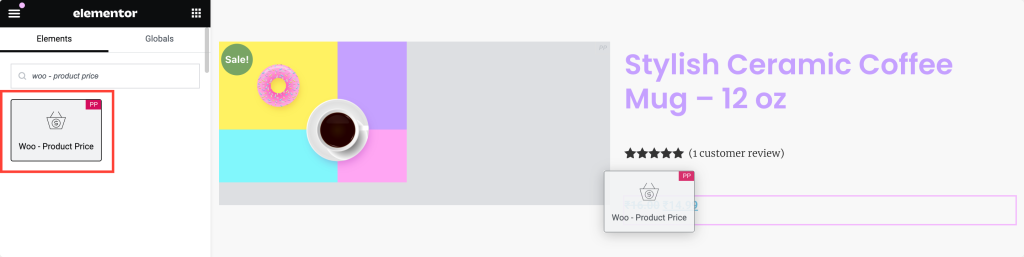
Step 12: Adding Product Price
The product price is one of the most important elements on your page.
- Insert Product Price Widget: Search for the “woo – product price” and add the widget to your design.
- Customize the Price: The widget will fetch the product price automatically. You can customize it by:
- Setting the alignment
- Changing the color and typography
- Customizing the sale price options, including color, typography, and spacing
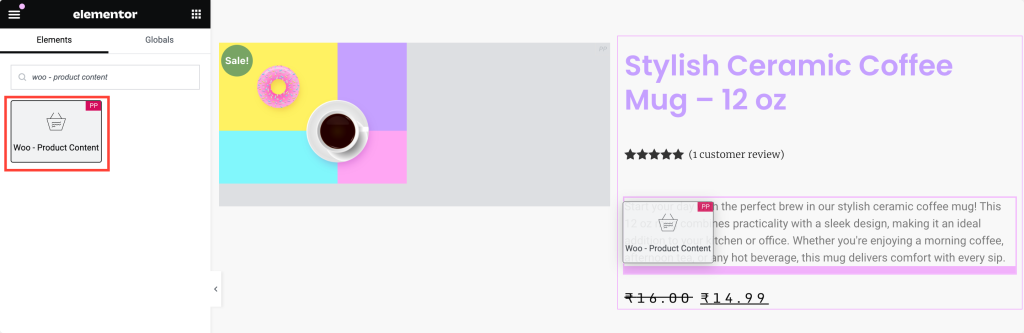
Step 13: Adding Product Content
Product content helps customers understand the details and benefits of the product.
- Insert Product Content Widget: Look for the “woo – product content” and add the widget to your page.
- Customize Content: In the Style tab, you can adjust:
- Alignment
- Text color
- Typography to match your site’s design
Step 14: Adding the Add to Cart Button
Add to Cart button is the most important element for converting visitors into customers.
- Insert Add to Cart Widget: Search for the “woo – add to cart” and drag the widget to your page.

- Enable Dynamic Product Option: Since this is a Single Product Page, make sure to enable the Dynamic Product option. This ensures the pricing updates based on the product the user is viewing.
- Style the Button: Customize the button’s appearance by adjusting:
- Typography
- Text color
- Background type (e.g., solid, gradient)
- Border radius for rounded corners

Step 15: Finalizing and Publishing Your Single Product Page
Go through your page and make sure everything is aligned and styled according to your brand. And once you’re satisfied with the design, click on the Update button in Elementor.
This how our single product page looks like:

If you’re still in doubt about whether PowerPack WooCommerce Builder is the right choice, we have curated a dedicated section below:
Why Choose PowerPack WooCommerce Builder?
PowerPack WooCommerce Builder for Elementor is the ultimate tool for creating a fully customized and visually stunning online store. Seamlessly integrated with WooCommerce and Elementor, PowerPack offers an extensive range of WooCommerce-specific widgets that empower you to design unique Single Product and Archive Page templates with ease.
Some of the key features of PowerPack WooCommere Builder are:
- Complete Customization: With PowerPack’s WooCommerce widgets, you can customize every aspect of your product and archive pages. From the layout and typography to colors and spacing, you have the freedom to design pages that are both functional and aesthetically pleasing.
- Drag-and-Drop Simplicity: Leveraging the intuitive drag-and-drop interface of Elementor, PowerPack makes it easy to build complex layouts without writing a single line of code. You can create professional-grade designs in a fraction of the time it would take with traditional methods.
- Enhanced User Experience: By showcasing dedicated and fully customized product pages that spotlight the features of your products, you can create an engaging and user-friendly shopping experience.
Wrapping Up!
There you have it! By following these detailed steps, you can design a fully customized single product page using Elementor and PowerPack WooCommerce Builder.
If you face any difficulty following the steps mentioned in this article, please get in touch with us or drop your queries in the comment section.
What are your thoughts on this tutorial? Do share if you found this helpful guide! Also, join us on Twitter, Facebook, and YouTube.
