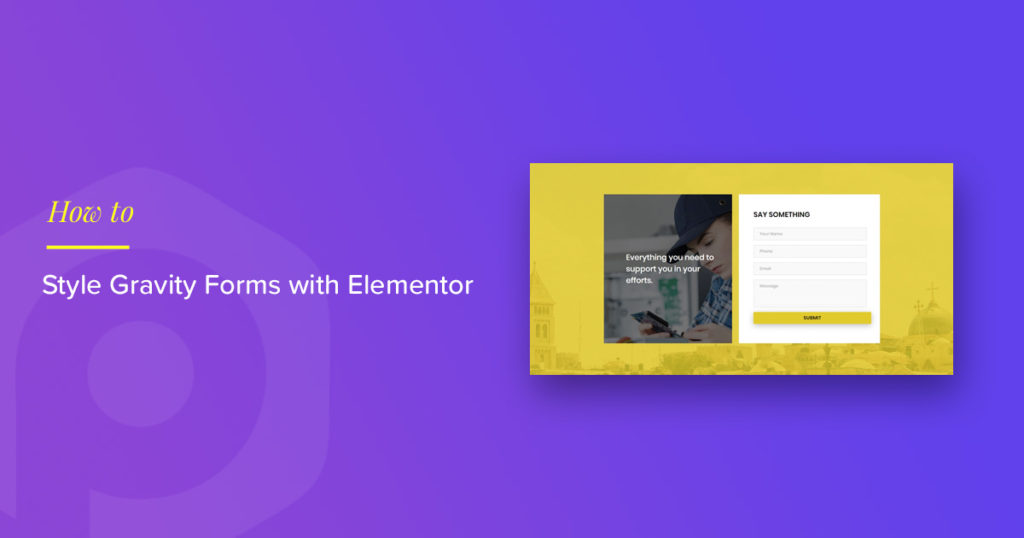
Do you want to style Gravity Forms using Elementor for free?
Gravity Forms is one of the most popular plugins for building contact forms on a WordPress website. It offers seamless customization, and this plugin can add functionality to your forms.
Here, we will see how you can create and customize a contact form for Gravity Forms with Elementor.
Required WordPress Plugins
- Elementor Plugin: For customization of the form using the editor.
- PowerPack Lite Addon for Elementor: This is required to integrate & style Gravity forms into the Elementor editor.
- Gravity Forms Plugin: And, of course, the Gravity Forms plugin to create the form.
Make sure you have these plugins installed and activated before we go any further.
Style Gravity Forms With Elementor
You can check out the video below if you prefer to watch a video. If not, you can go with the instructions in this blog.
Create a Contact Form using Gravity Forms
Firstly, you will be required to create a form if you have not already created one.
For this, go to your WordPress dashboard and click on Forms >> Add New. Now, create a form like any other with the Gravity Forms builder.
You can add a name, email, phone number, and message text area. This is what usually goes for a typical contact form.

Add your Contact Form to the Live Page
Once you have created your form, we can go to the contact form’s customization part.
Go to your Contact Page or any page where you wish to add the contact form and open it in Elementor editor.

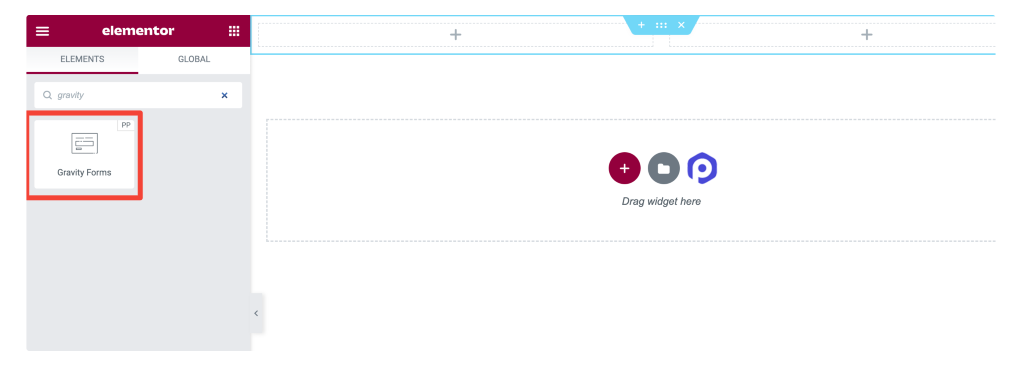
Drag and drop the PowerPack Gravity Forms Styler
Once you are in the editor, drag and drop the Gravity Forms widget on the page; we will begin customizing our contact form made with Elementor.

Gravity Forms Styler: Content Tab
Now, we need to select a form from the drop-down. Select a form, and it will appear right away in the editor.
You can enable/disable the labels, texts, placeholders, etc., from these options. You can also enable or disable the errors in the forms.

Gravity Forms Styer: Style Tab
The style tab allows you to change the form’s design, look, and appearance. In addition, you can easily customize the text area, labels, radio buttons, checkboxes, and submit buttons from the settings.
Here I will change the input boxes’ width and the text area height. I also redesigned the color scheme of the button to match the layout’s theme.
Since the contact form looked a little compact, I added padding to all the elements with the respective settings.

After making all the changes, here is what the final design of the customized Gravity Form looks like:

Next Read: Style WPForms using Elementor
PowerPack Addons for Elementor offers form styler widgets for most of WordPress’s popular contact form builders, including Ninja Forms, WPForms, Fluent Forms, and Formidable Forms.
If you’re looking for an easy tutorial on styling the contact form built using the WPForms form builder plugin, check out our post on how to style WPForms using Elementor.
If you like this widget, you can get it from the WordPress Plugin Repository. However, if you wish to extend the widgets and your editing powers to the next level, you can try our PowerPack Addons for the Elementor Pro version. It comes with 80+ Elementor widgets, which you can use to create more impressive and functional websites with elementor.
Get the PowerPack Pro version here.
What do you think of the Gravity Forms Styler widget? Comment it down below!
If you found this tutorial useful, do share it with others!
