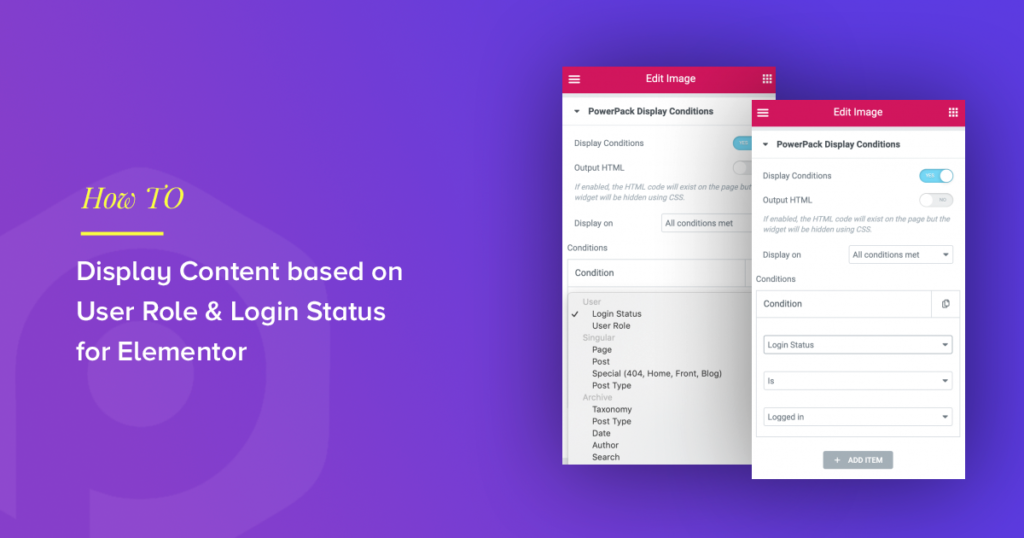
Have you ever wanted to show your website content based on the user’s login status or to show some content of your web pages only when it satisfies a specific condition? You can easily do that & so much more with the Advanced Display Condition feature of PowerPack.
Many websites hide/show their website content based on their users’ login status. It’s not every time you want to display the same content to all your users. There might be some conditions when you need to restrict content or some specific/page based on user role.
What is Display Condition Feature?
Display Condition is one of the most powerful & advanced features. It allows you to show/hide different attributes of the page depending on your user role, date, time, user id, etc.
Putting display conditions to the website content might vary for every website. Some websites might want to display special festive offers only on weekends, or some might be wanted to show different navigation menus to logged in and logged out users. Might be some websites want to avail exclusive coupons for their subscribed users only, or some sites only want to display their picture gallery to their respective clients.
There are several possibilities of variations & combinations. With PowerPack display conditions, you can cover all these possibilities & create unlimited combinations.
Advance Display Condition feature of PowerPack allows you to set conditions for protecting & personalizing your site content. This feature supports content restrictions on widgets, posts, pages, particular pages, custom post types, and posts attachments.
Why restrict content based on User Role & Login Status?
Also Read: How to Create a Full Screen Overlay Menu in Elementor
Elementor gives us the flexibility to create different templates for all pages. Sometimes you need to use the layout for different cases, need to make a few changes & you can go with similar layouts for different uses.
You don’t have to wrangle in duplicating data & making changes in two places. Instead of creating different templates, you can use the Display Conditions feature of PowerPack to hide certain areas depending on the current page.
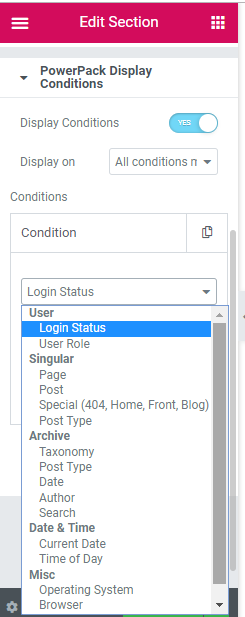
Advanced Display Condition Feature of PowerPack gives you full control of content visibility on Elementor websites. It gives you complete flexibility to choose to show or hide content based on your custom rules. Display rules are categorized into user, User, Date & Time, Page, Archives, & Misc. It allows you to choose if a section or widget is visible or hidden, based on different user conditions.
How to Restrict Content in Elementor by User Role & Login Status?
Adding display conditions on your website is super handy. But first, make sure you have activated & installed the latest version (1.4.9.2) of PowerPack on your website.
Step 1: Open the page in Elementor Editor

To use display conditions, first, you need to open the page in the Elementor editor. For example, if you want to set a certain rule on displaying an offer to only logged in user, you need to open the home page.
Now select the row on which you want to add the condition & navigate to the Advanced tab.
Step 2: Set Display Condition & other attributes
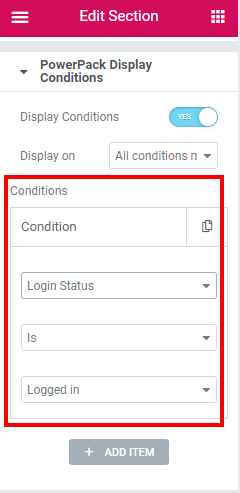
Now, Click on the PowerPack sub-menu section & enable the Display Conditions button.
We want to add display conditions based on the login status of a user as we want to display a special offer to log in users only. We will select the condition as “Login Status.”
Step 3: Define criteria for the condition
Now you need to define specific criteria for the condition. Here we want to display an offer to the logged-in user only. So, select Login Status> Is> Logged In.
Let’s see how you can easily set a custom condition on Elementor Websites:
As you see, in the example mentioned above, I have put the condition on the offer section. The 50% off offer exclusively created for logged-in users only.
Also, here we put a condition on the login button so that it won’t be displayed to the logged-in user.
In the same way, with the Display Condition feature of PowerPack, you can easily restrict other content on your website.
You can display different pricing table for your pro & basic package users. Also, you can display a custom welcome message based on user role i,e admin, editor, subscriber, etc.
Also Check: WooCommerce Display Conditions For Elementor
Get the PowerPack Elementor addons now!
You can get this super helpful feature along with 60+ other creative widgets that will make your website design process more easy and fun!
Also, in our next PowerPack update, we are rolling with the awesome Coupon Widget for our users. Stay tuned for unwrapping all-new exciting features of the coupon widget.

7 thoughts on “How to Display Content based on User Role and Login Status for Elementor”
Will this also work with html block? Let’s say with script in html?
Will this plugin allow replacing the entire page with different content if the user is not logged in or do you have to configure each element individually?
Hello,
This seems like an interesting feature.
Can I also hide things on a page for logged in users?
So that when you log in, certain sections of a page become invisible to you.
Is this possible?
Hello Sam
Yes, you can hide page elements for logged-in users also.
What about custom post type level restrictions ? does it support ?
Hello,
Using this function to hide information depending on connection, is the section hidden (display: none), or removed from the source code of the generated page?
Hello
Both the options are available. You can hide it using CSS or remove the code from the page.