If you are running a WordPress Development agency then we are sure you know how much a customized WordPress dashboard can do for your brand.
Most probably the only person using this will be your client but having a customized dashboard will add up to your brand reputation and the level of professionalism of your product delivery.
In this article, we will look at how you can create a custom dashboard with the help of Elementor and a free addon for Elementor.
Why Create a Custom Dashboard for Your Clients?
Creating a custom dashboard does not only helps your clients, but it also helps your website development agency. In this custom made dashboard, you can add elements which can be useful for your clients and important pieces of information you want your users to read first.
A custom designed dashboard can be used to display:
- A contact form for your Client in case they need any help
- Your agency details and contact information
- Links to documentation and tutorial videos
- Services and Products
- Instruction for Clients
- Updates and news
- Upsells
All this will give you an edge by giving a more personalized touch to the dashboard of any website.
How To Create a Custom Dashboard for Elementor?
Before we jump into the process, let’s see what all are we going to need. If you have a WordPress website ready, you will just need these two plugins.
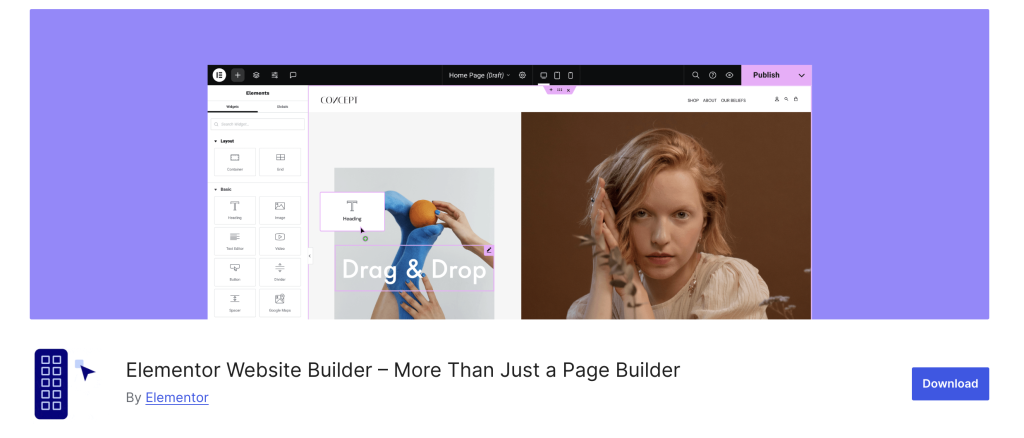
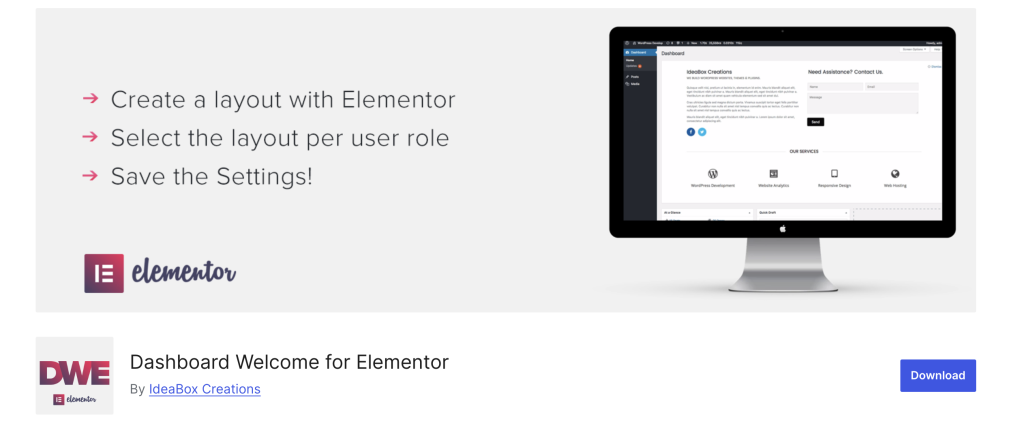
You can get these two plugins from the WordPress repository. Install and activate them on your WordPress website like any other plugin. Once you have the plugins installed and activated, we can begin with it!
Step 1: Add a New Elementor Template
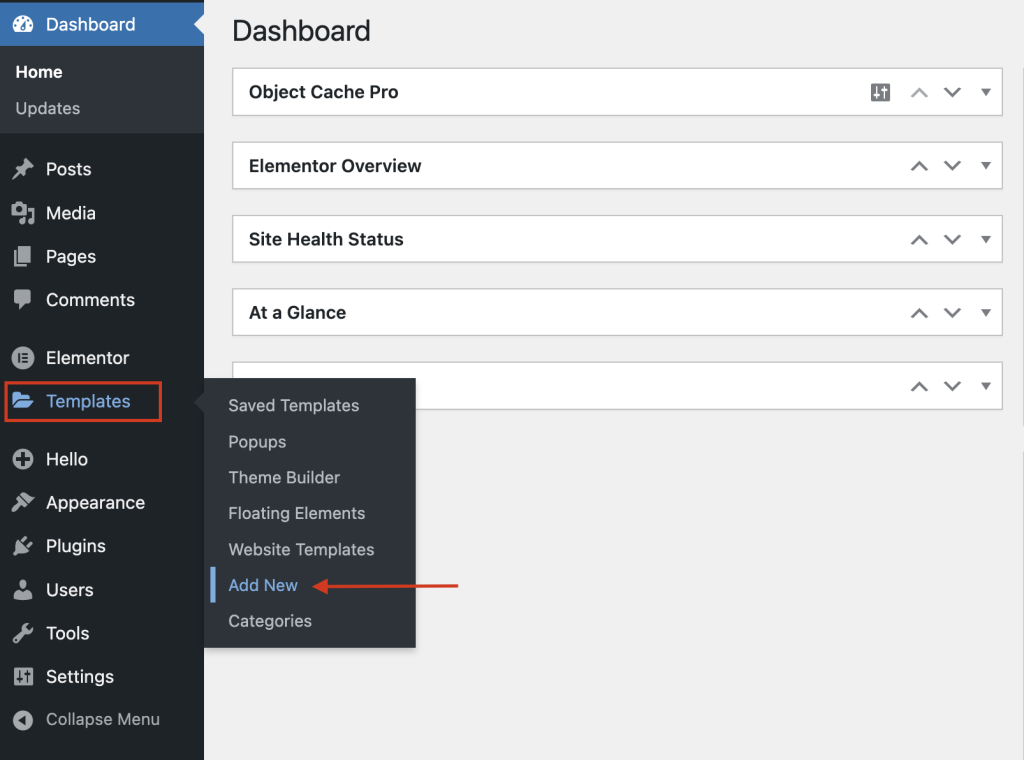
The first thing we need to do here is to add a new Elementor template. For this go to your dashboard and then click Templates >> Add New.
Now select the Page option from the dropdown list and then give your template a proper name. I am going to name my template “Dashboard Template”. Click on the Create Template button.

Step 2: Designing Your Custom Dashboard.
Now we will be designing the Dashboard using the Elementor page builder.
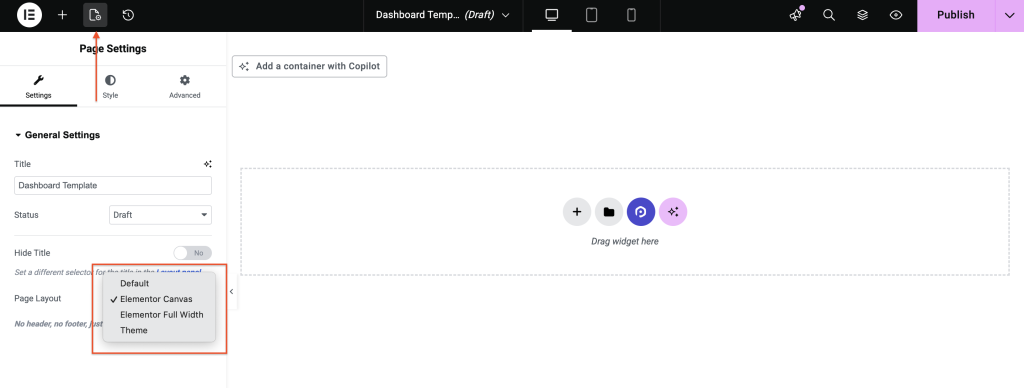
First of all, change the layout of the page to Canvas by clicking on the little page settings icon on the upper left corner and then from the list of page layout, change the layout to Page Canvas.
You can design the Dashboard as per your choice using any widgets you want but do remember that since this will be placed in the WordPress Dashboard, make sure you do consider these points while creating your WordPress Dashboard.
- Although you have the liberty to create the dashboard as per your choice, do make sure it looks professional and matches the theme of the WordPress backend layout.
- Do not stuff up your WordPress Dashboard with too many information and end up making it look annoying and unpleasant. Add only the important elements and make them spacious so they are readable and looks good as well.
- Use columns to make your dashboard content more readable. Preferably 2-3 columns are good for a standard welcome screen.
- Take care of the minute details such as the font and spacing as it all adds up to the overall design. Do not use any loud fonts which can annoy the users. Keep it simple and professional.
If you’ve worked with Elementor before, the process will feel familiar. Design the dashboard just like any other page, while keeping the above points in mind.
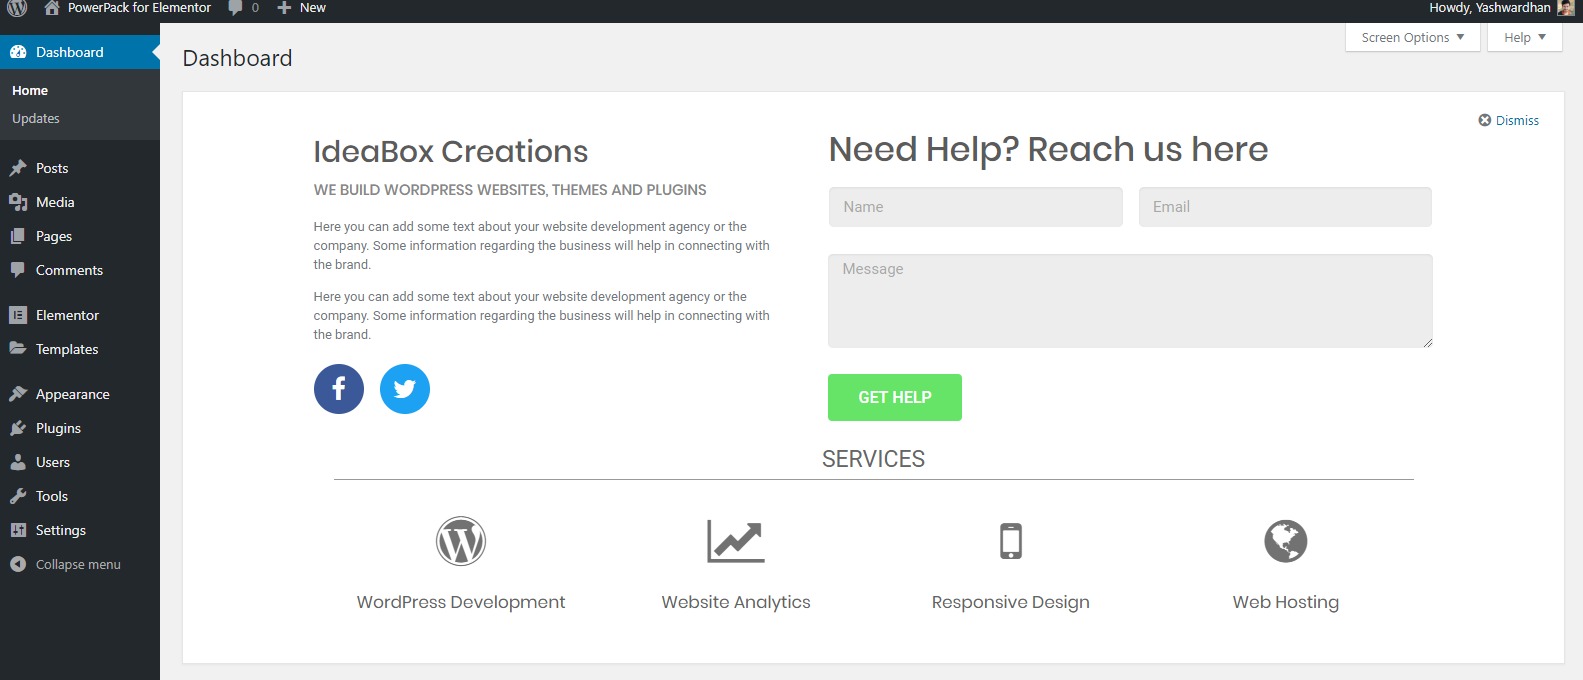
Here is an example of a Dashboard Welcome layout how you would want it to look:
Okay, once you have designed the layout, go ahead and publish the layout.
Step 4: Assigning the Layout to User Roles
Now, one of the cool features of Dashboard welcome for Elementor is that you can create multiple layouts and can assign those layouts to different user roles.
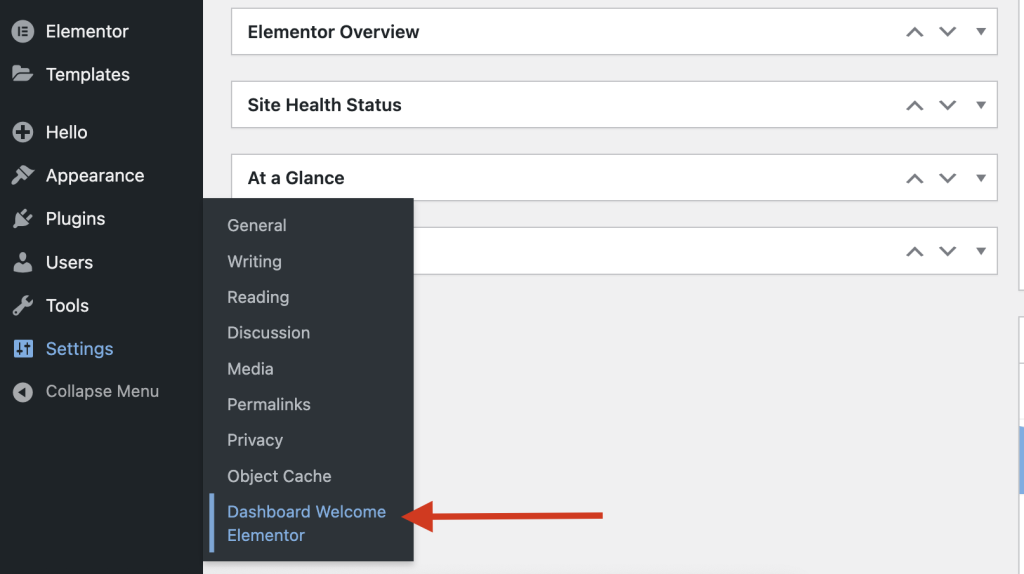
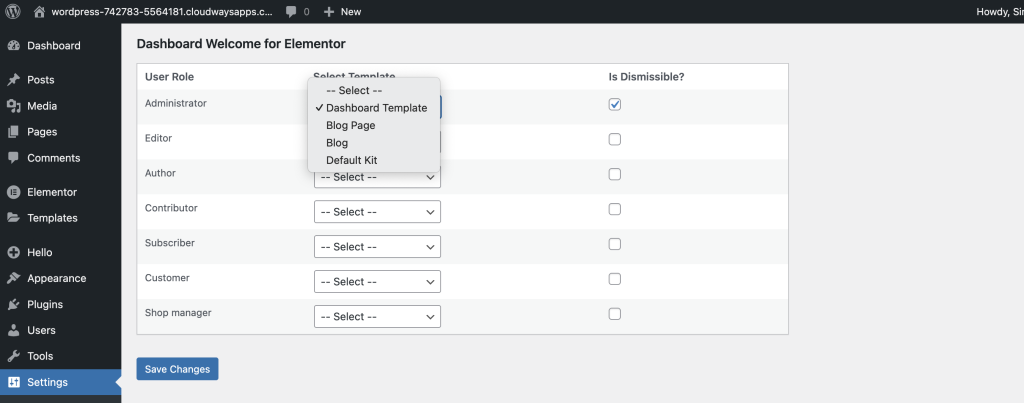
Here, we will be assigning the layout to the admin role. For this, go to Settings >> Dashboard Welcome Elementor and select the layout you have designed from the list for the admin role.
Here the layout’s name is “Dashboard Template” so I have selected the same.
You can also check the “is dismissable” checkbox. Doing this will give a Close option (x) at the top right corner so that the user can remove the welcome screen.
If this option is not activated, the only way the user can remove the welcome screen is by the “Screen options” at the top right corner.
Click on the Save Changes button once you have made the changes.
Now, you can go back to the WordPress Dashboard screen to see the changes there.
Want To Take More Control of the Dashboard Welcome Screen?
Increase your customization power with PowerPack for Elementor. With this Elementor addon, you can do a lot more to your Welcome Screen as it comes with more than 100 premium widgets that you can use on your welcome screen.
The plugin features forms widgets of popular form plugins such as Gravity forms, Caldera forms, Ninja Forms, Contact Form 7, and WPForms.
So, if you are already using one of these forms on your website, you will be able to integrate these forms on your WordPress dashboard welcome screen without any issue using the contact form widget. Learn more about the PowerPack Elementor Addons.
In this tutorial, We have created just a single layout. If needed, you can create more layouts and assign them to be displayed on different user roles.
Just follow the steps, and assign it to a different user role in the Dashboard Settings.
Tell us what do you think of Dashboard Welcome plugin?
Do you think a custom Dashboard can be useful for your business or agency? Comment your thoughts down below!
