
Are you looking for a simple yet creative way to create advanced video galleries on your elementor websites? You have landed on the right spot. In this article, we’ll see a step-by-step process of embedding video galleries without affecting website loading speed.
Adding a video to a page generally impacts the web page loading time. But the Video Gallery Widget of PowerPack works with an advanced feature that only loads essential data initially and doesn’t load any other scripts until the user plays a video. So you can add as many videos as you like and create beautiful video galleries without worrying about your website performance.
PowerPack Video Gallery Widget supports multiple media sources such as YouTube, Vimeo, DailyMotion. You can embed videos from your preferred source and create galleries of the video in just a few clicks.
There is a number of WordPress video plugins available, but many of them have some drawbacks regarding the styling property. PowerPack Video Gallery widget is loaded with multiple styling options that you can use to customize your video gallery to perfectly match your existing website design and look.
PowerPack Video Gallery Widget is loaded with numerous exciting and advanced features, before we proceed to the tutorial part let’s do a quick rundown of all the key features of Elementor Video Gallery Widget.
Key Features of Video Gallery Widget
- Multiple Video Sources: YouTube, Vimeo, Self-Hosted
- Flexibility to add custom title and description
- Advanced filtering with customization
- Custom Cover Image & Overlay Style
- Play Option: Inline or In Lightbox
- Border and Padding Option
- Stying options to customize every aspect of the video gallery
Now we’ll see how you can create a video gallery section using the PowerPack Video Gallery widget.
First, make sure you have Elementor, and the PowerPack Elementor Addon installed and activated on your website.
Let’s begin!
Create a Video Gallery with Elementor
Now to create a video gallery section, first, choose the page and open it in the elementor editor. Now look for the video gallery widget in the elementor widget area and drag and drop the Video Gallery Widget on the page.
Make sure to check the PP icon on the upper right corner of the video gallery widget.
This is the default layout of the PowerPack Video Gallery Widget.
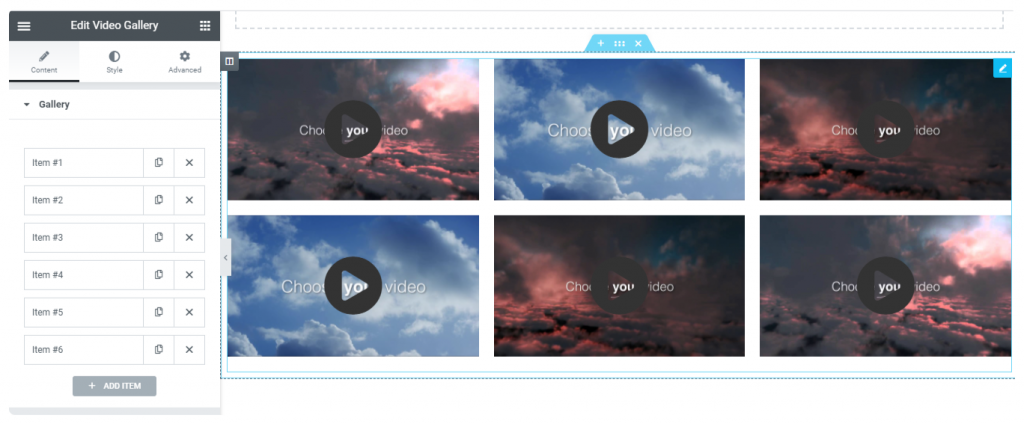
Content Tab
Content tab includes four sub-sections: Gallery, Filter, Play Icon, and Gallery Settings.
In the Gallery subsection, you can choose your video Source, add Title, define a Description and add a Filter Label for your video.
Choose Your Video Source
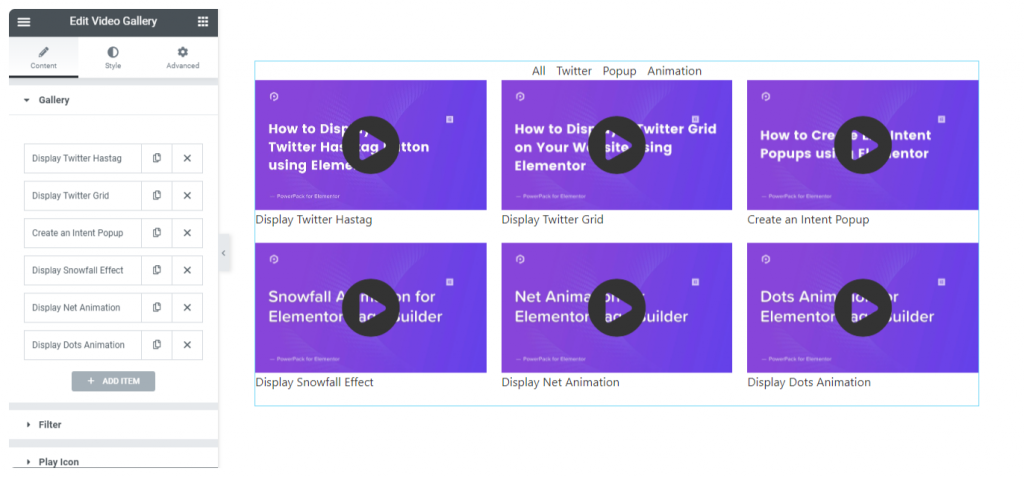
You can mix and match multiple videos from multiple sources and define titles, descriptions for every single video.
Here I have chosen videos from YouTube, defined video titles, and added filters. This is how the video gallery layout looks like.
Enable Filter
The second subsection is Filter. Enable the filter toggle to see the filters of the video gallery.
Also you get the flexibility to customize the play button icon of your video gallery. You can either add an image as an icon type or choose an icon from the icon library.
The last subsection is Gallery Settings; as the name suggests here, you will find the advanced setting options for your video gallery. Here you can find options to:
- Display your Video Gallery Layout to be displayed in a grid or carousel.
- Define the number of columns
- Aspect ratio for videos
- Mute the videos
- Choose to play videos Inline or In Lightbox
- Define ordering for videos
Style Tab
In the style tab, you’ll find several settings to customize your video gallery as per your preference.
You can adjust the columns and rows gap. Customize video title and description in terms of color and typography.
Lastly, you get styling options to customize your filters. You can alter typography for filters and adjust the horizontal and vertical spacing. Choose a color and background color. Add a border type, define border-radius and padding, and even add a box shadow if you want to.
This is what a basic video gallery looks like after customizing the video gallery widget’s style settings.
Get Video Gallery Widget for Elementor!
I hope you find this article helpful. Using the PowerPack widget, you can create amazing video galleries on your website that too without compromising website loading speed.
Click here to get the Video Gallery Widget for Elementor with PowerPack, one of the best and most creative Elementor addons. PowerPack offers more than 60 creatively designed widgets and powerful extensions that you can use to create beautiful websites.
Also, if you’re looking for dedicated WordPress video gallery plugins, check our post on the best WordPress video gallery plugins for more options.
If you liked this article, share your thoughts in the comments below. For more PowerPack tutorials, please subscribe to our YouTube Channel.
