
Increasing brand awareness & reaching a wider range of audiences need promotional strategies for your brand, product, and service. Promotional strategies, such as an offer a sale running a discount, help you attract visitors and lure them into purchasing from your shop.
Almost everyone feels satisfied and rewarded by getting reasonable offers or discounts on their favorite products. As such, these happy and satisfied customers eventually become your regular customers.
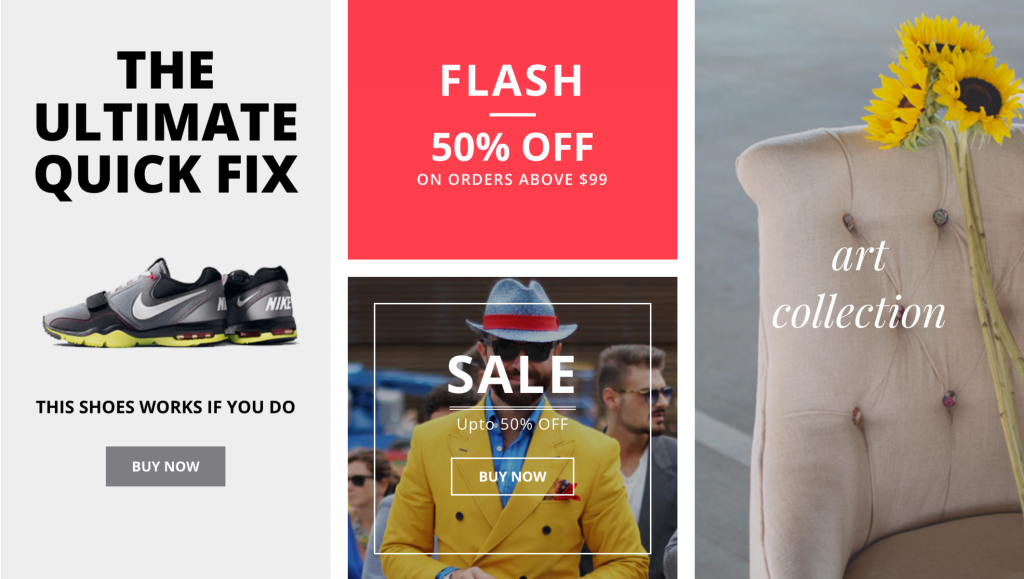
You can easily display offers & sales alerts for your business product through promotional banners.
If your business website is built using WordPress and Elementor page builder and you’re looking for a simple way to create and display a promotional banner, you’ve landed on the right page.
In this article, we’ll provide you with detailed step-by-step instructions on how to create a promo box in WordPress using Elementor and PowerPack Elements.
So without any further ado, let’s move ahead to the tutorial.
How to Create a Promo Box in WordPress Using Elementor
To create a promotional box or banner on your WordPress website, first, you must have activated and installed Elementor and PowerPack Addons for Elementor.
PowerPack Elements is the best Elementor Addon. It offers more than 80 creative & user-friendly widgets for Elementor. You can use PowerPack widgets to upgrade Elementor functionality and build a stunning WordPress website.
Speaking of creating promotional banners using the Elementor page builder, PowerPack includes a powerful widget for creating promotional banners – Promo Box Widget.
PowerPack Promo Box Widget comes with flexible, user-friendly, and handy features that help create a promo box in WordPress – without touching a single line of code!
Let’s see how you can use this widget to display attractive promotional banners on your site.
Drag and Drop the PowerPack Promo Box Widget
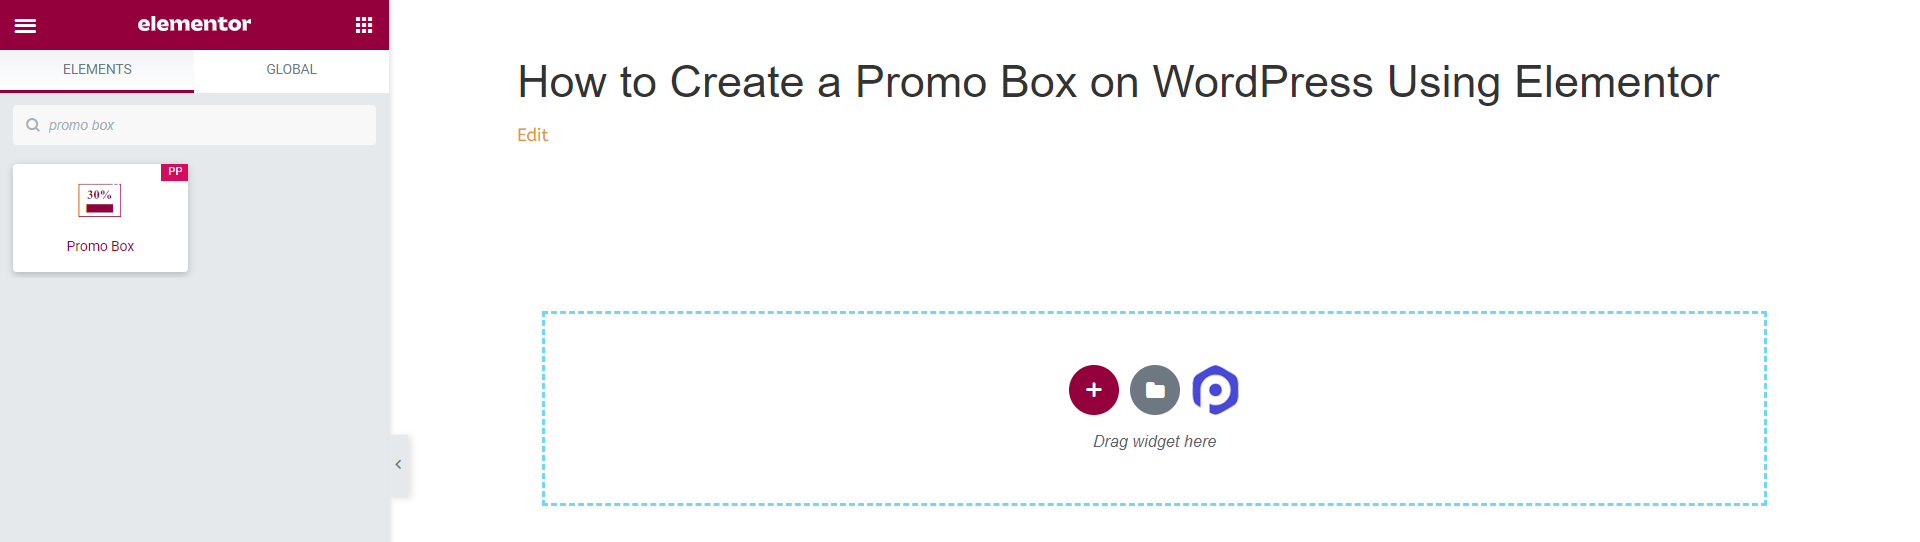
First, open the page in Elementor editor, and in the search bar, type’ Promo Box’ and drag & drop the widget on the page.
Make sure to check for the PowerPack PP sign on the top-right corner of the widget.
Content Tab of the Promo Box Widget
A content tab of the Promo Box Widget has three subsections to add and customize the content part.
You get options to edit content such as Content, Icon, and Button.
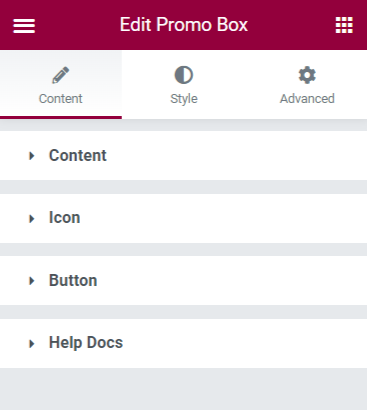
Let’s have a quick look at the options available in the Content Tab of the Promo Box Widget.
1. Content
In this section, you get options to customize the Promo Box content.
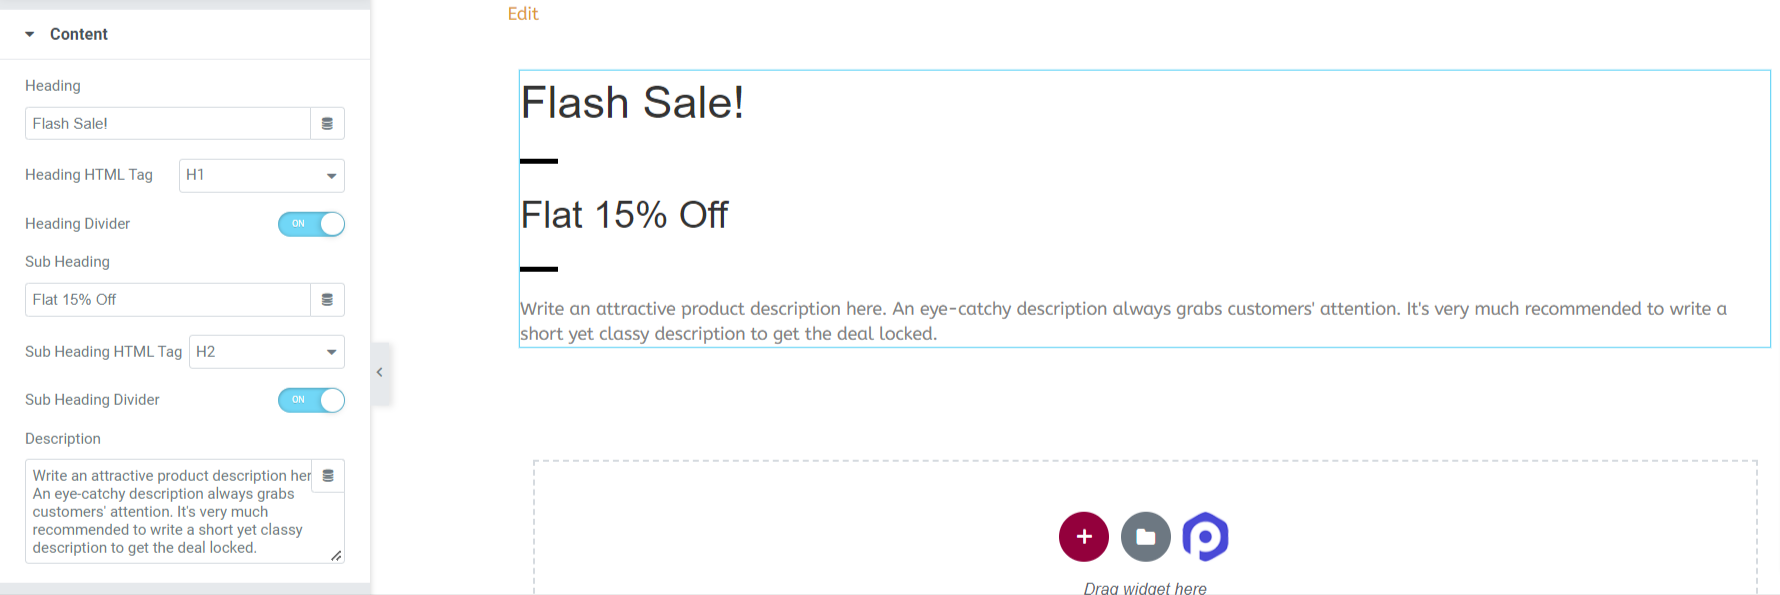
Let’s see all the options that this Content section provides:
- Title: As the name itself suggests, you can add a custom heading or title to your promo box element.
- Heading HTML Tag: This feature allows you to select the HTML Tag for the title.
- Heading Divider: Toggle on the Heading Divider option to add a separator between heading and subheading.
- Sub Heading Title: Add a subheading for your promo box.
- HTML Tag: Here, you get the option to select an HTML tag for the subheading.
- Sub Heading Divider: Toggle on the Sub Heading Divider option to add a separator between the sub-heading and description.
- Description: With this option, you can add a description for your promotional banner.
2. Icon
This feature allows you to display any specific icon image or business logo in your Promo Box.
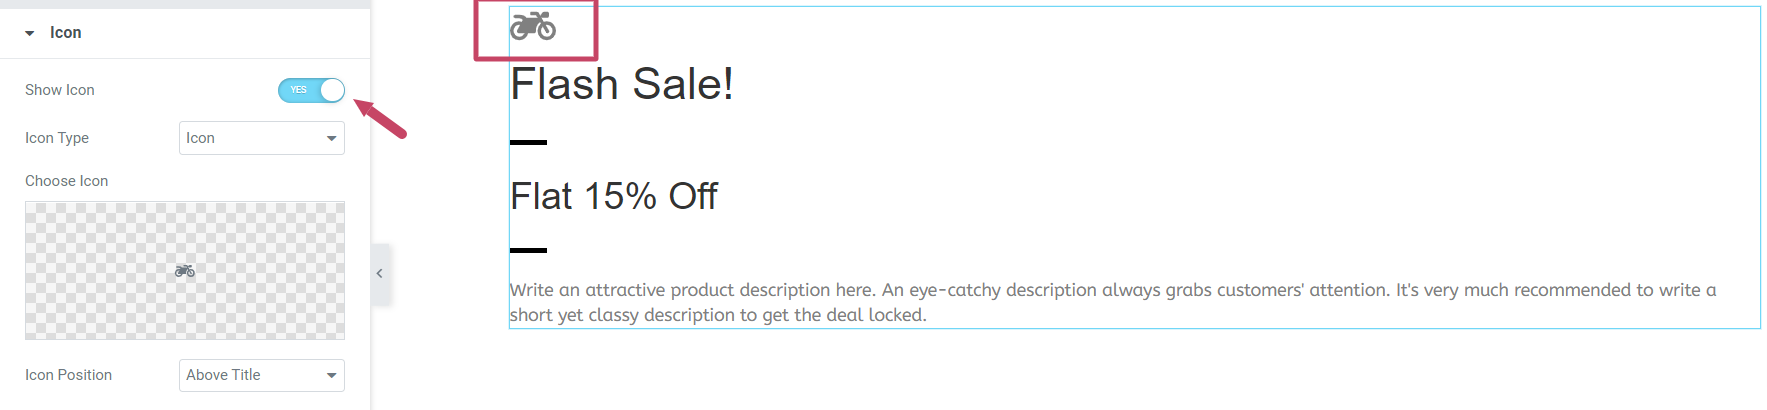
After enabling the Show Icon option, a few options will appear to customize the icon image or logo.
- Icon Type: Here, you can select the icon type for your promo box. You can either choose the standard “Icon” option or upload a custom “Image” and display it as an icon in your promo box.
- Icon Position: Using this option, you can adjust the positioning of the icon.
3. Button
Enable the Button feature to display a call-to-action button.
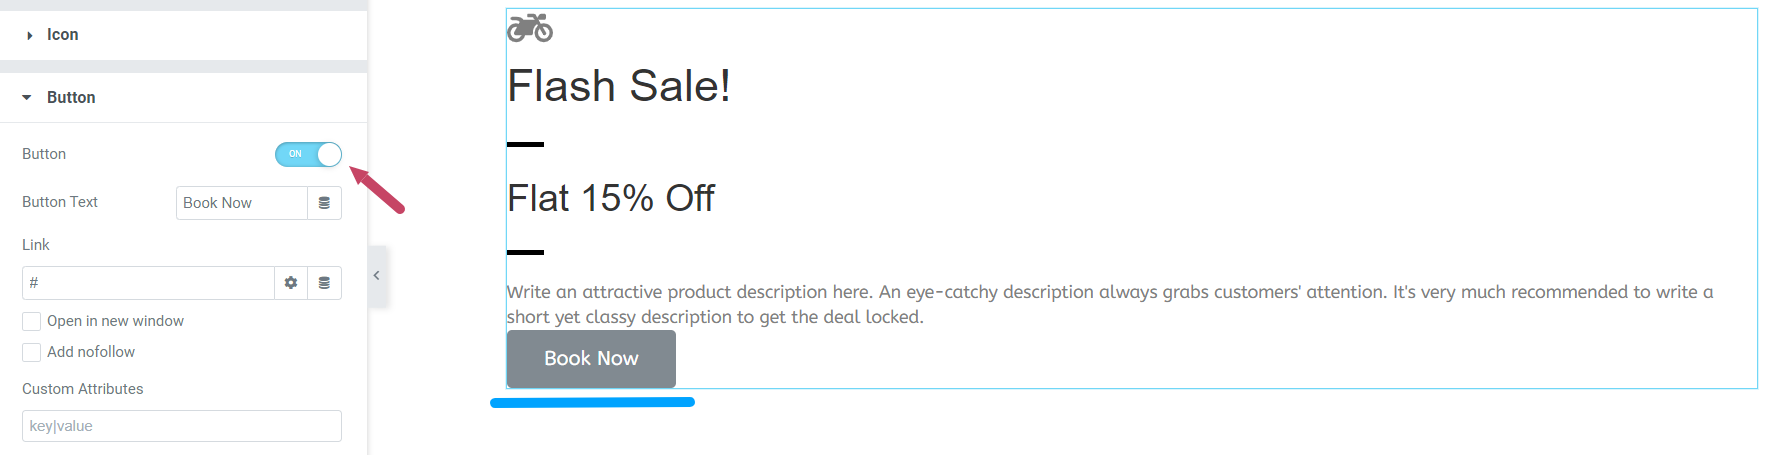
Once you enable the Button feature, you’ll get two more options where you can add a button text and also link the URL of your product site directly.
Customize Style Tab of the Promo Box Widget
On clicking the Style Tab of the Promo Box Widget, you’ll see the following interface:
The Style tab includes subsections where you’ll get the flexibility to style your Promo Box widget in every aspect.

Let’s see the functionalities the Style section offers:
1. Promo Box
In the Promo Box section, you’ll get these options: Background Type, Height, Border Type, Border Width, Border Color, Border Radius, and Padding.
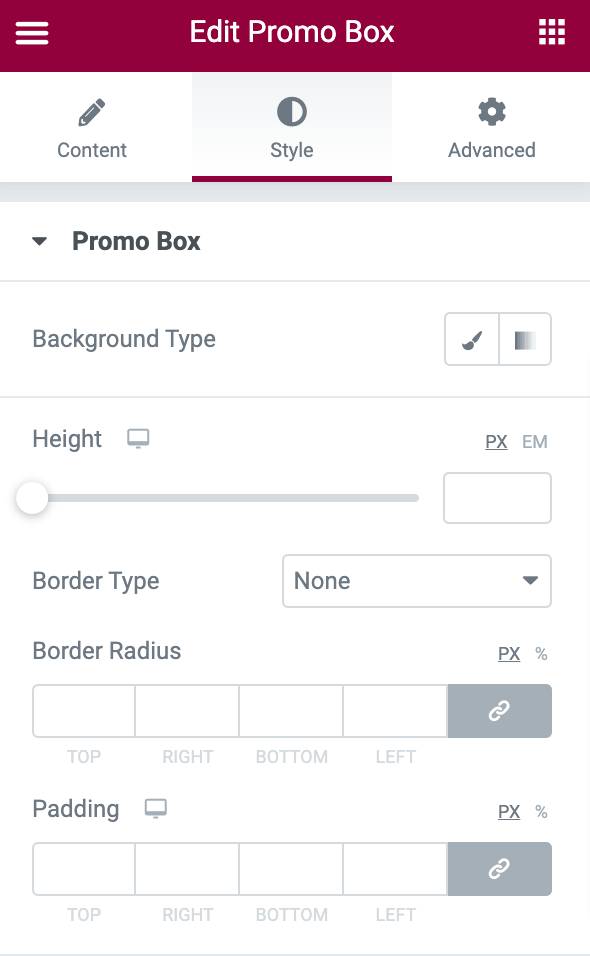
Let’s see how you can make use of these features to style your Promo Box.
- Background Type: It allows you to add a background image or a solid color to your Promo Box. Just click on the add image option, then choose an image of your product from the media library. Then click on Insert Media to add the image.
- Height: Adjust the height of the widget with this option.
- Border Type: You can choose the border type here.
- Width: In this option, you get the flexibility to adjust the width of the border.
- Border Color: You can groom the border of the widget by styling the border color.
- Border Radius: In this option, you can adjust the border radius.
- Padding: This feature allows your widget to look beautiful and organized. Adjust the padding according to the look you want.
This is how the Promo Box looks after making use of these styling features:

2. Overlay
Enable the Overlay feature to decorate your promo box with an overlay image or a solid color.
3. Content
This section allows you to style the content of your Promo box in every aspect.
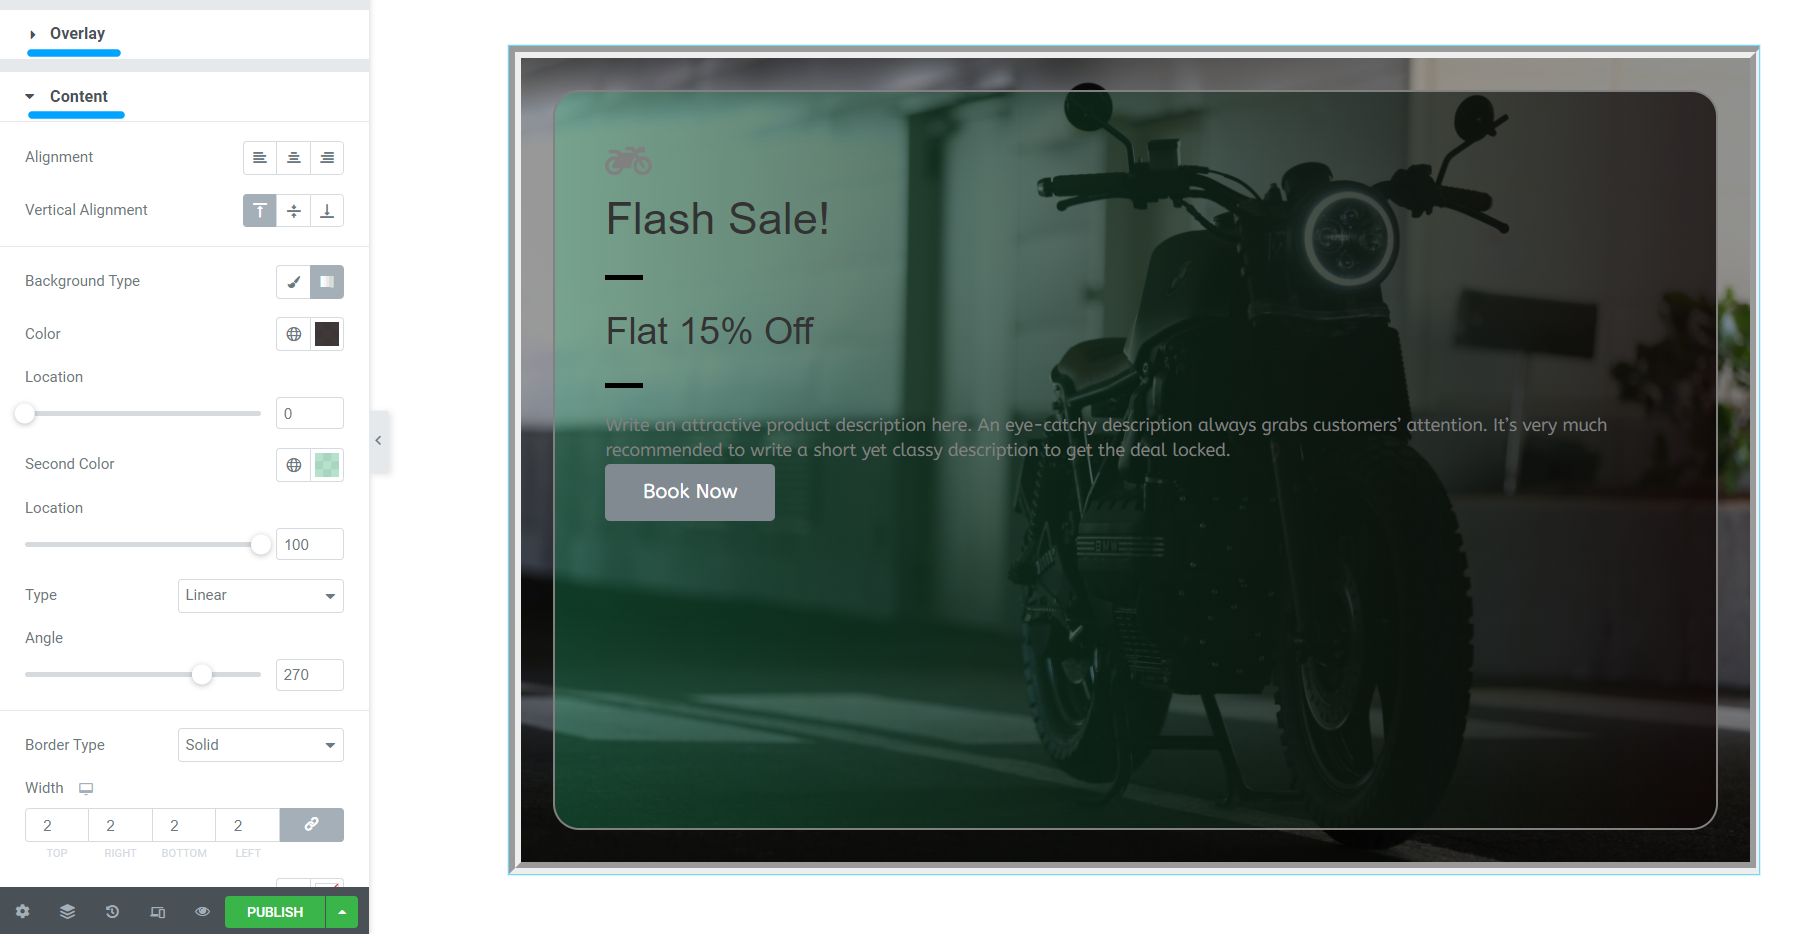
Let’s see the options here:
- Text Alignment: This option allows you to adjust the alignment of the text.
- Vertical Alignment: This feature allows you to adjust the vertical alignment of the content in the Promo Box.
- Background Type: You can add a background color or image to the content part in the Promo Box.
- Border Type: Using this option, you can add a border to your content.
- Border Radius: If you’ve allowed the border to the content part, you can style it by adjusting its radius.
- Padding: If you’ve added a border, adjusting this feature will help you organize and style your content and border beautifully.
4. Icon
This option comes with a couple of features, such as:
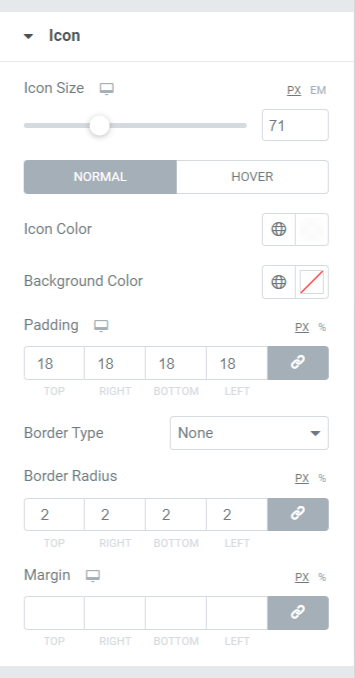
- Icon Size: This option will allow you to adjust the size of the icon.
- Icon Color: Using this option, you can change the Icon color.
- Background Color: This option allows you to add background color for the icon.
- Padding: As the name says, you can adjust the padding of the icon according to the look you want.
- Border Type: You can select a border type for the icon with this option.
- Border Radius: You can style the icon by adjusting the border-radius in this option.
- Margin: This margin feature allows you to adjust the icon applied to the Promo Box.
5. Heading
With this feature, you get options to customize the heading using various options like Color, Typography, and Spacing.
6. Heading Divider
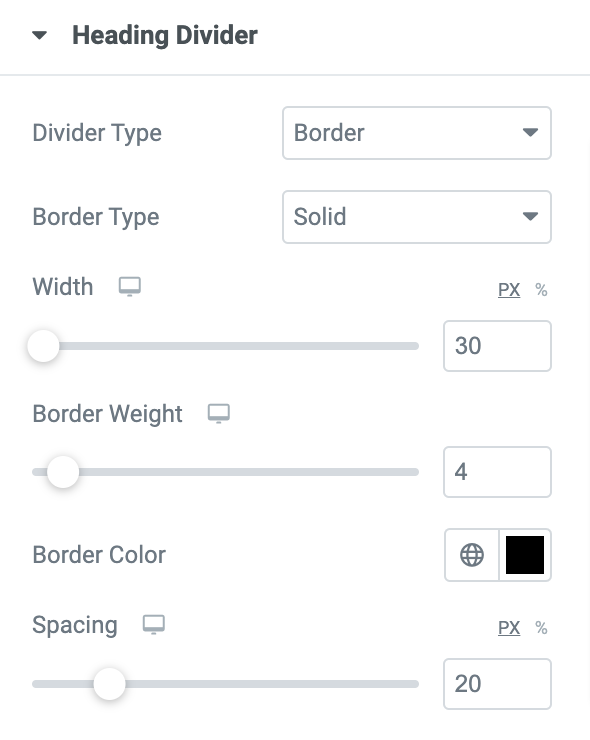
- Divider Type: Choosing this feature gives you two options: either to add the bottom border to the heading or insert an image.
- Border Type: If you’ve allowed the border option, you get options here to select the border type between heading and subheading.
- Divider Width: Divider Adjust the divider width here.
- Border Weight: Here, you get the flexibility to control the border Weight or the thickness of the border.
- Border Color: If you’ve chosen the border, you can change its color here.
- Spacing: In this option, you can adjust the spacing between the divider and the subheading.
7. Subheading
A subheading includes content for promotional purposes, depending on the product offer you’re applying. Add some subheadings in this subsection. This option includes features like Color, Typography, and Spacing.
8. Sub Heading Divider
The Subheading divider includes multiple options to style the subheading element of the promo box. You can change color, add a background, etc.
9. Description
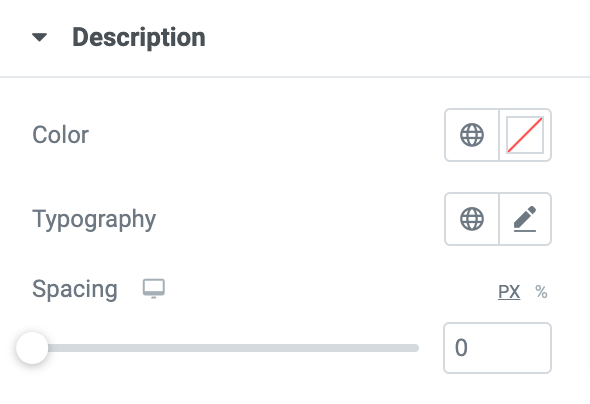
In the Description subsection, you can briefly describe your business product. A short & simple yet creative description always grabs customers’ attention. Add your product description here and customize the text using Text Color, Typography, and Spacing features.
10. Button
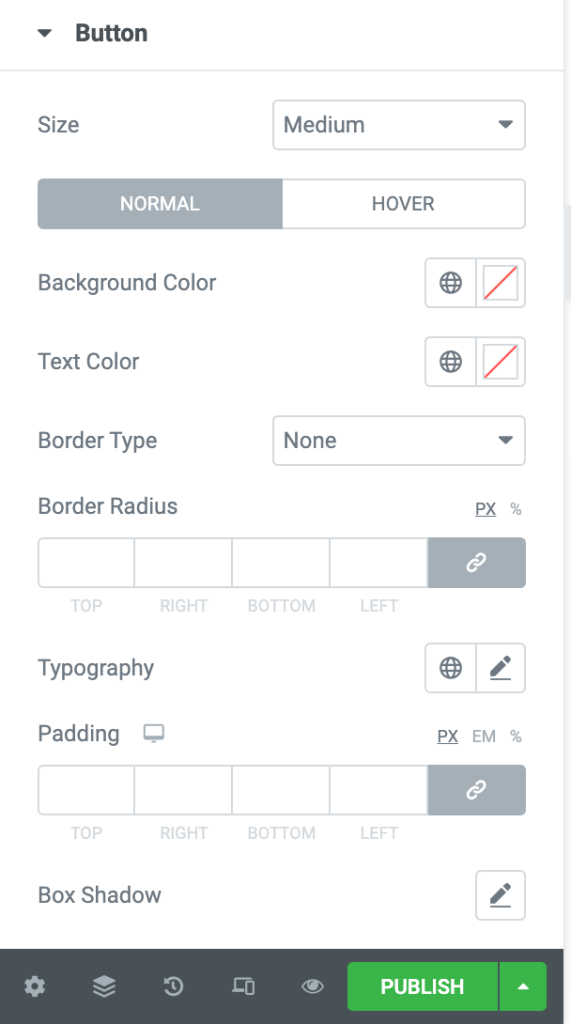
If you consider enabling this option in the Content tab, you can style this call-to-action button with a bulk of features, offering features like:
- Size: Button size can be controlled using this option.
- Background Color: You can style the button background color here.
- Text Color: With this option, you can choose the color of the text displayed over the call-to-action button.
- Border Type: This option allows you to select the border type of the button.
- Radius: Border radius can be adjusted here.
- Typography: Here, you can style the text by customizing the typography.
- Padding: You can easily adjust the padding to customize the call-to-action button here.
- Box Shadow: This option allows you to customize the box-shadow in both horizontal and vertical directions.
Customize Promo Box Widget Using Options available in the Advanced tab
With some additional features, you can customize the widget in every aspect. Some of these features come built-in with every widget you use in Elementor. Explore each section of the Promo Box Widget and create attractive promotional box designs on your WordPress websites.
Check out the landing page of the PowerPack Promo Box Widget to get some design inspiration.
Get Your PowerPack Promo Box Widget Now!
Adding promotional batches to your website will entice customers to buy your products and transform your web page into a professional one.
Also, to create a sense of urgency and FOMO among your visitors, you can display countdown timers on your product sales pages. Check out our post to learn how to create a countdown timer using Elementor on WordPress websites.
We hope this tutorial helped you learn how to create a promo box in WordPress to promote your products’ deals/offers. Click here to get a PowerPack Promo Box Widget for Elementor.
If you’ve reached here, we assume you’ve gone through our whole article, and you loved it too. Please feel free to drop your comments here; we’d love to receive your replies. Also, join us on Twitter, Facebook, and YouTube.
