
Are you looking for a way to create a table on your WordPress website using Elementor?
The tabular form of data is considered one of the most efficient ways of displaying data. Anything that tops tabular data or tables is Charts, and ironically they too are made with the help of tables. If you use Elementor, you can quickly create and style a table with the Elementor Table widget.
To bring this efficient displaying of data on a website built with elementor, we have designed Elementor Tables widget. This PowerPack widget comes with loads of customization and design power which you can use to design your website.
Tables can be used to display various forms of data like:
- List of Products/Items
- Product/Item Features
- Price List
- Services List
- List of Team Members, Employees, etc.
- Schedule
Let’s take a look at how you can create a Table with Elementor or display data from a CSV file easily with Elementor Table Widget.
Also Read: How to Create a Dual/Variable Pricing Table in Elementor
How to Create a Table using the Elementor Table Widget?
For this tutorial, you will require Elementor and PowerPack Elementor addon installed and activated to create a table. Let’s begin!
Firstly, open the page in the Elementor editor in which you want to add the Table. For this, log in to your WordPress Dashboard > Pages.
Now select the page on which you wish to add the table. Now drag and drop the Elementor Table widget on the page.
Make sure to check the “PP” icon on the top-right corner of the widget.
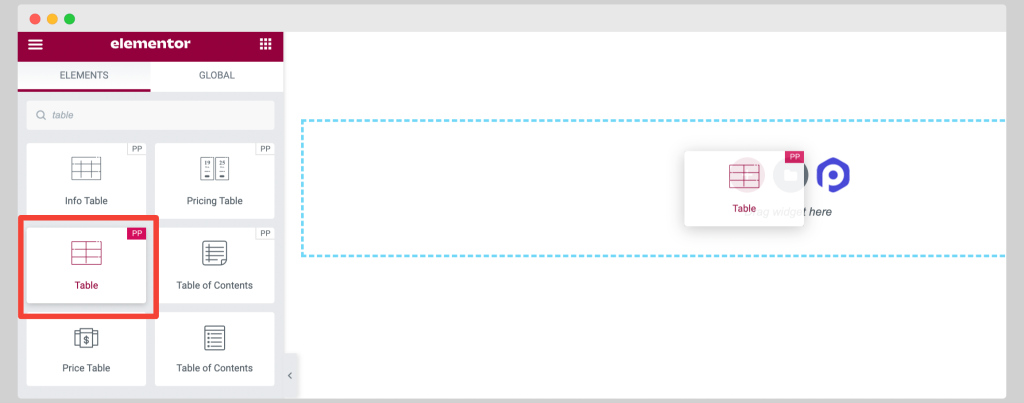
As soon as you add the widget on the page, you’ll see default layout of the table.
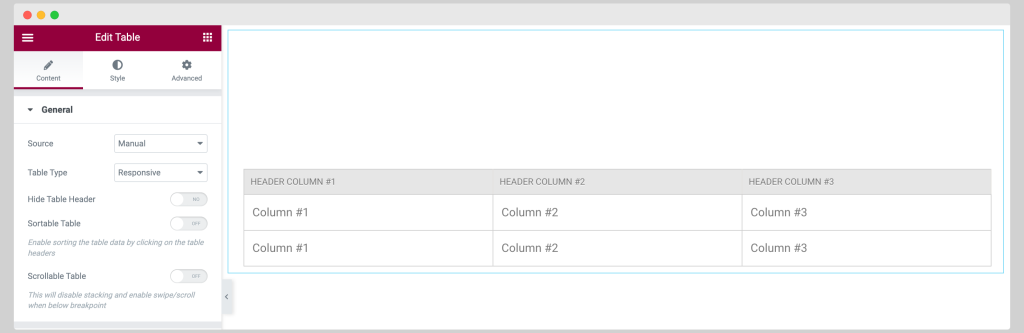
Like every Elementor widget, here you’ll also find three main functional tab:
- Content Tab for adding content to the table
- Style Tab for customizations and give styling to the table
- Advanced Tab for controlling other additional features.
Let’s explore options in each tab one-by-one.
Elementor Table Widget: Content Tab
In the Content tab, the first option you’ll find is Source.
You can select if you want to import a CSV File or if you would rather enter the data Manually.
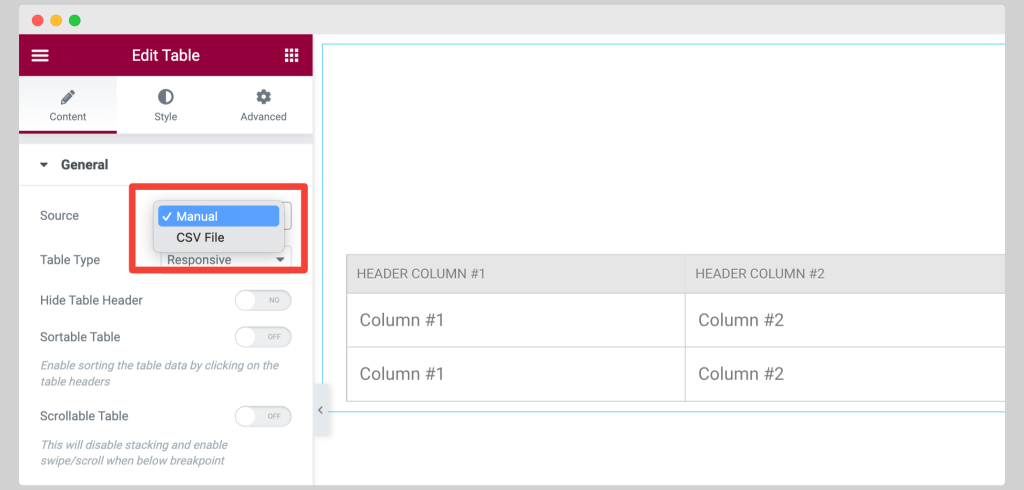
In this tutorial, we are going to import a CSV file instead of manually entering the data.
Create Table by uploading CSV in Elementor
Select the source as “CSV File” and upload the CSV. As soon as you insert the CSV file, you will see the table showing up in the editor.
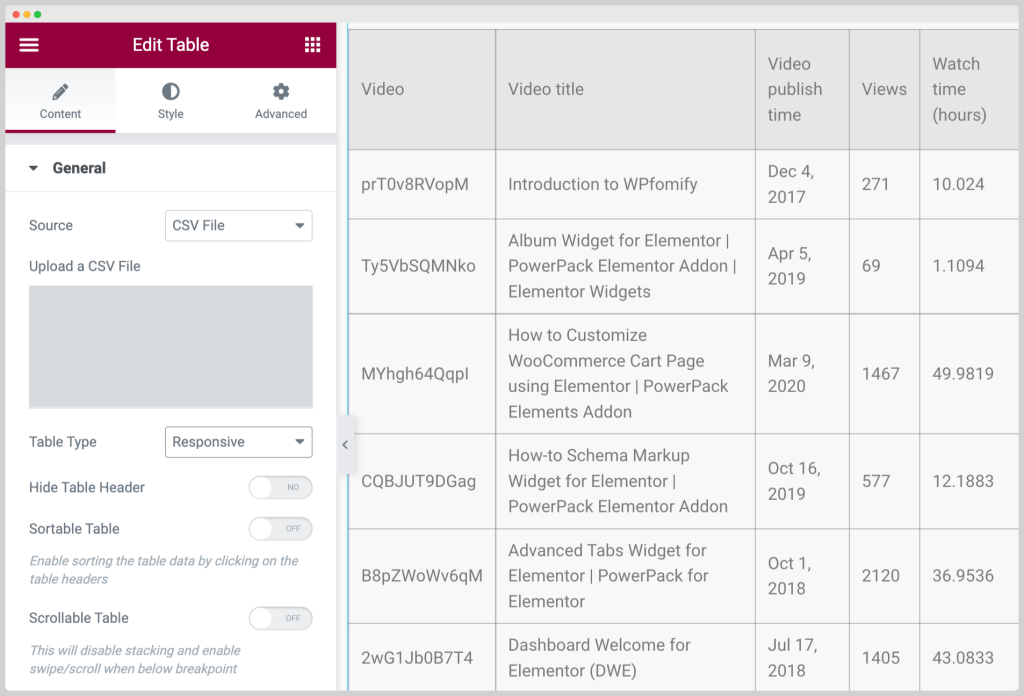
Other options you get in the Content Tab are:
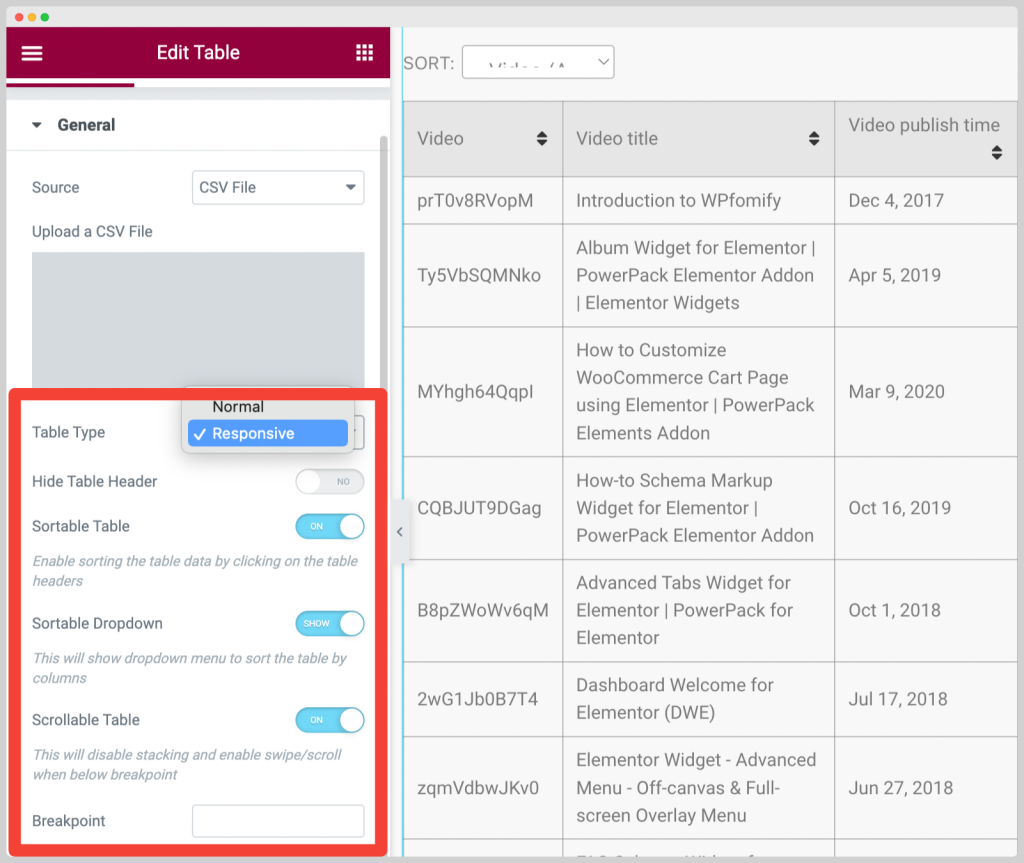
Create Sortable and Scrollable Table in Elementor
- Table Type: Choose Responsive or Normal table type.
- Hide Table Header: If you want to hide the header of your table, enable this option.
- Sortable Table: You can sort the table by columns with this option.
- Scrollable Table: This option disables stacking and enables swipe/scroll at breakpoints.
Elementor Table Widget: Style Tab
Now we will change how the table looks with the Style tab.
- Table Settings: Here, you can change the width, alignment, and the border-radius for the overall structure. I have changed the alignment to center and set the width to 100.
- Header Settings: This allows you to customize the header. Here I have changed the vertical and horizontal alignment of the header. Changed the text and background color and customized the typography as well.
- Rows Settings: For each row, you can enable stripped rows and can choose the color of the rows.
- Cells Settings: Here, you can customize your individual cell’s look and design. You can change the vertical and horizontal alignment, typography, text and background color, border, padding, etc.
- Footer: These options let you customize the design of the footer. I have not made any changes here as we do not have the footer on our table.
- Icon Settings: If you have added some icons using the Content tab, then you can customize those icons as well from the icon settings.
- Column Settings: With these, you can add multiple styles for your columns and can customize them the way you wish to. You can change the body color, heading, and footer colors as well.

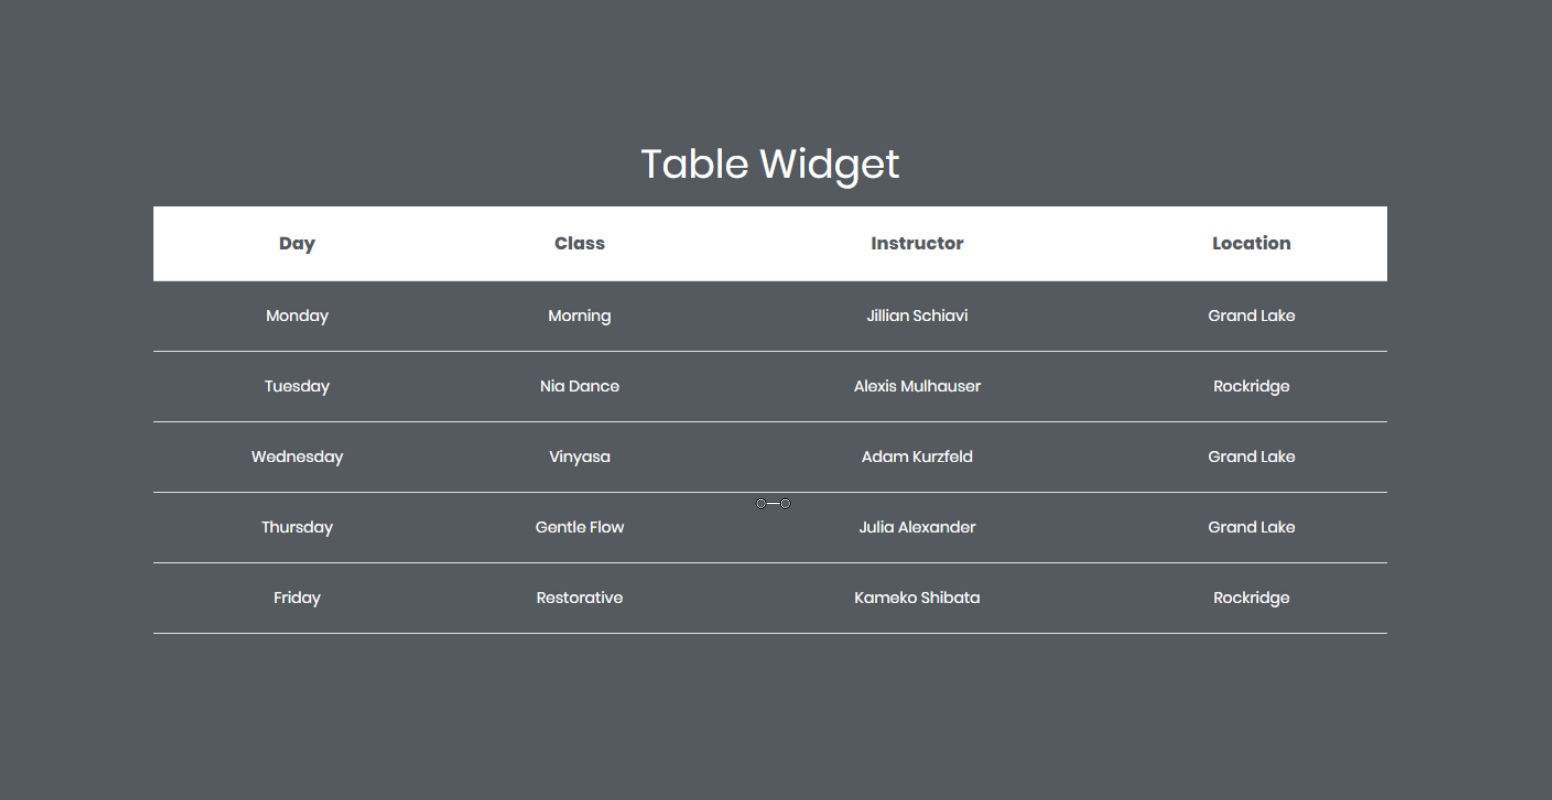
Once you have made all the changes, this is what the Table in Elementor looks like:
How to Create a Table with a CSV File?
It can be a time-consuming task to add the data manually and create a table. If you have the data in a CSV file, then you can directly import the CSV file to create a table using the PowerPack Elementor Table widget. You simply need to upload the CSV file. The Table widget will import all the data from that file to a table in Elementor.
If you want to make your table more interactive, you can do that too with the sortable feature, which gives your users the option to sort the table as per their needs. You can do loads of alterations to your table and can make it look the way you want from the Style tab.
Winding It Up!
With all the settings options of the Elementor table widget, you can create one using the Elementor in no time. You can check out the demos of the table widget as well to give you more idea of what you can do with the widget.
If you liked this widget, you could get it with the PowerPack add-on for Elementor. This addon gives you more than 50 creatively designed widgets that you can use to take your WordPress design to the next level. Get the PowerPack add-on now!
What do you think of this widget? Let us know by commenting down below!
If you liked this step-by-step tutorial and found it helpful, do share it!

5 thoughts on “How to Create a Table on a WordPress Website Easily Using Elementor?”
Helpful article Yash, Any option to create buttons inside a table?
hi is it possible to integrate links html inside the csv file ?
good tips. very useful
How to add a table search?
How to add a pic on table?