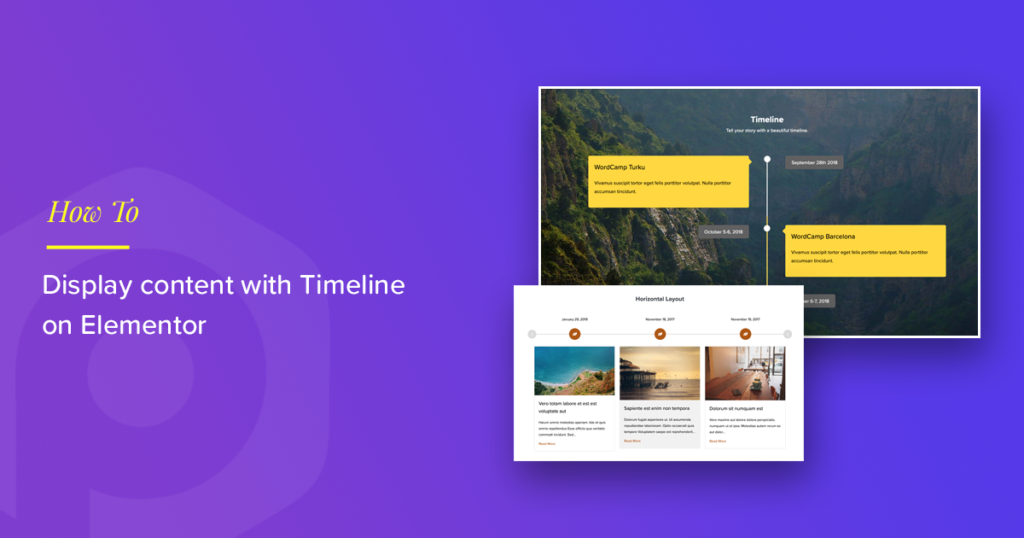
Timelines are a great way to show the content of your website. Elementor Timeline widget allows you to add interactive timelines on your website pages without having to wrangle with the code.
You can create a horizontal and vertical timeline layout with various styling options and animations.
In this post, we’ll see how you can display content in a Timeline format using Elementor and PowerPack Elementor Addon’s Timeline Widget.
First, we can see where you can use the timeline format?
- You can display the company’s history and progress with a timeline in chronological order.
- Using the timeline, you can showcase your achievements.
- You can create a timeline for the blog post.
Are you looking for more inspiration? Check out the demo setup for Elementor Timeline Widget on our website.
How to Create a Timeline using Elementor Timeline Widget
Now that we know the possible use cases of Timeline on our website let’s see how we can add it using Elementor.
To add the Timeline to any page, you will need to install and activate both Elementor and the PowerPack Elementor addon plugins.
Also Read: How to Sky Rocket your Web Design Business with Elementor
Launch Elementor Editor
Log in to your WordPress Dashboard < Pages. Now select the page on which you wish to add the Timeline widget and click the “Edit with Elementor” option/button.
Now you can drag and drop the Timeline widget in place in the Elementor editor. As soon as you add the Timeline widget, you’ll see the timeline appear with default settings.
The below screenshot shows what your page would look like after adding the Timeline widget.
Elementor Timeline Customization in Content Tab
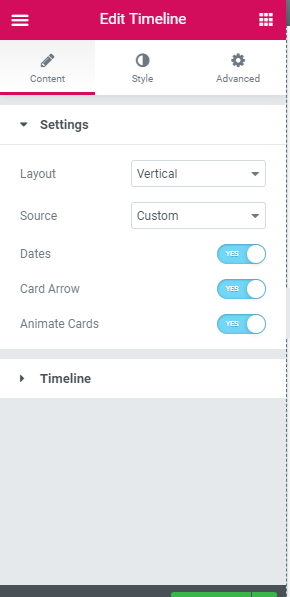
Layout: This is the first section of the Timeline; you will see the options to create a Horizontal Elementor Timeline or a Vertical Elementor Timeline.
Source: This section allows you to select the timeline source. If you choose Custom as a source, then you have the option to choose the type of custom cards that retrieve in the timeline as content, and if you want your blog posts to display in the timeline widget, you can select the Posts option.
You can also enable and disable the date here and animate the cards from the settings.
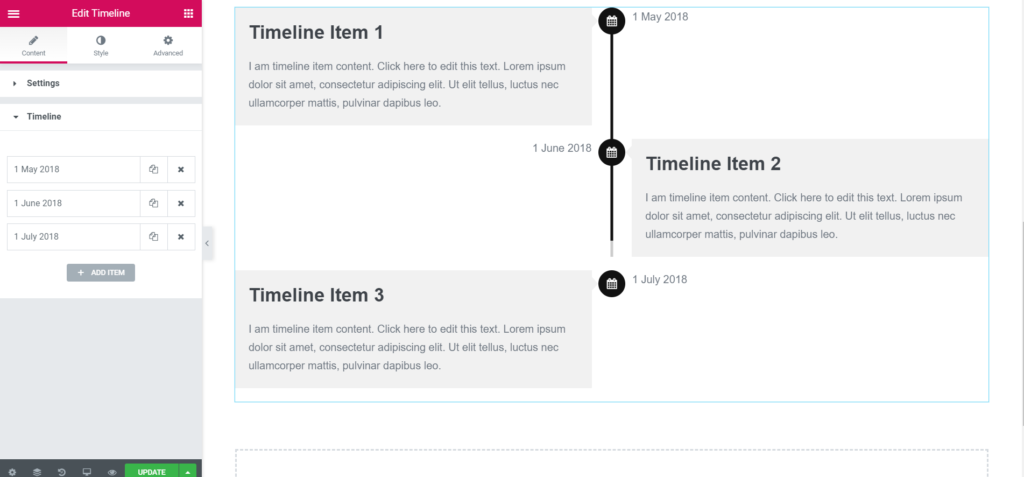
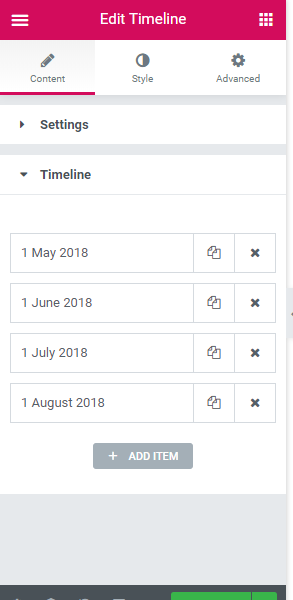
Timeline: In the Timeline subsection, you choose the Title and Date for each card individually. You can also add an Image and style each card separately.
To make changes to the timeline content, click on the timeline section.
After clicking, you see a stack of boxes displaying the dates inside; each box indicates an individual section of the timeline.
Click on the box, and you find options for changing content and adding images to the timeline.
From the content tab, you can change the title and description, respectively.
For adding images, click on the image tab and enable the show “image button.” Now you can select an image for the timeline element.
NOTE: Making changes in the individual section doesn’t affect the other sections of the Timeline.
You can add more sections to the Timeline with the Add Item button, and likewise, you can remove the section from the Close button above.
Elementor Timeline Customization in Style Tab
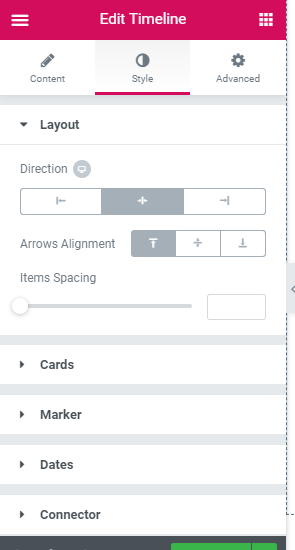
In the style tab, you have plenty of options to customize the content of the timeline. Here you can completely modify the timeline, layouts, cards, typographies, and many more!
Layout Settings: Here, you can change the position of the Timeline: left, right, or center. You can also change the arrow alignment and fix it at the top, middle, or bottom of the arrow.
Card Settings: In this section, you customize the card; you can adjust card and content padding, change the text alignment, add the background color of your choice, select the border type and adjust the card’s border radius. Here you can also adjust the space between the image and the content of the card.
This section also allows you to customize the card title; you can easily style your title, content, color, alignment, typography, etc.
Marker Settings: Here, you can easily customize the marker; you can choose an icon, letter, or number from the drop-down list.
You can adjust marker size, marker background size, and marker color and add a border to the markers as well.
Date Setting: This allows you to customize the date; you can change the font color from the subsection, add a border and background color, and can adjust the border radius and padding.
You can also add shadow to the box.
Connector Settings: This is the last section of the style tab. Here, you can change the spacing between connector and card, and you can adjust the thickness and coloring of the connector.
Here are some examples of the beautiful Elementor timelines made with the PowerPack timeline widget!
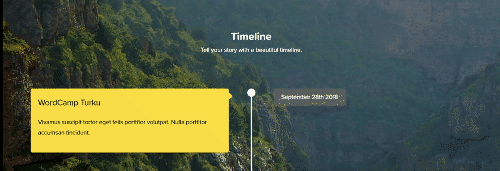
Vertical elementor timeline
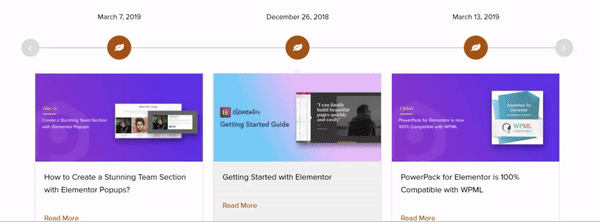
Horizontal-elementor-timeline
Wrapping it up!
PowerPack Elementor Timeline widget lets you create astonishing and beautiful timelines for the website. You can also check out the landing page of the Timeline widget to get an insight into what you can do with the widget.
Get the Timeline widget for Elementor with PowerPack, the best Elementor addon. PowerPack offers more than 50 creatively designed widgets that you can use to take your WordPress design to the next level.

9 thoughts on “How to Display Content in a Timeline format Using Elementor”
I can’t find this element in PowerPacks elements. Is it still there
Hi Tamás
Yes, it’s available with the Pro version of PowerPack. Are you using the same? If you are facing any issues, please feel free to contact us.
Did you mean the elementor Pro or is there in your Powerpack a Pro version too.
I canˋt find info on the page
Hi Dragan,
Timeline widget is available with PowerPack Pro. 🙂
I’ve looked and looked. Can the button option be turned off per timeline item?
Hi Daniel,
Yes, you can enable/disable buttons for every timeline item if you are adding the items using the repeater fields. If you are displaying dynamic content like pages or posts then you can use CSS to hide the button.
I’m searching for a timeline that can display categories or tags ( or better if it’s custom taxonomy ) as well for my custom post type timeline. Can I achieve this? Thanks
Hi Zen,
You can use the timeline widget to display content from Custom Post Type and Taxonomy. You get query options similar to Elementor’s Posts widget.
Hello! Thanks for your answer, however I am honestly more interested weather I can display categories or tags of custom post types on every card, like:
– title
– featured image
– excertp
Custom taxonomy: ( #category1 #category2 #category3 )