
One page, minimal websites are in trend and have become popular due to their simplicity. One-page navigation websites focus on sharing important information without any clutter. It’s easy to create a good content flow, keep the user engaged, and lead them to a call to action. With a One-page navigation widget for Elementor, you can create an excellent one-page website or add an on-page navigation effect on any page.
Its functionality lets you add an amazing scrolling effect to your landing page or any other page of your site. This navigation system has a simple configuration, and it comes with multiple styling options that you can work with.
In this tutorial, we will see how you can easily create an impressive one-page website with Elementor and PowerPack Elementor Addons.
How to Build a One-Page-Website using Elementor?
One page website can be a great fit for personal portfolio sites for web designers, photographers, and freelancers. You can also use one-page navigation on a page describing product features, special offers, etc. One Page websites can also be good for building a resume if you are starting out or if you want to share minimal information about yourself.
Let’s see how you can easily create a one-page website with Elementor and a one-page navigation widget for elementor. For this tutorial, you need to have Elementor and PowerPack Elementor addon installed on your WordPress website.
Step 1: Building Page Structure
To create a one-page website, you first need to add all the sections and block contents to the home page.
You can add new sections by simply clicking on the “+” icon in the Elementor editor.
After adding sections, you’ll find three tabs in the edit section: Layout, Style, and Advanced.
Navigate to the advanced tab and add a unique CSS ID. I’ll prefer to name it sequentially to make it easy to remember.
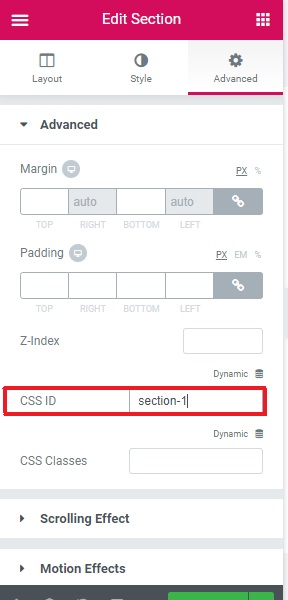
Note: Each section on the page needs a unique CSS ID. We used this CSS ID later to link the One-Page Navigation widget with the section.
Step 2: Activate One-Page Navigation Widget
Now, you are done with adding sections and naming CSS ID. So it’s time to activate the One-Page Navigation widget from the Elementor Dashboard.
For that, we have to drag and drop the widget in the “Drag widget here” section. The below screenshot shows what your page would look like after adding the One-Page Navigation widget.
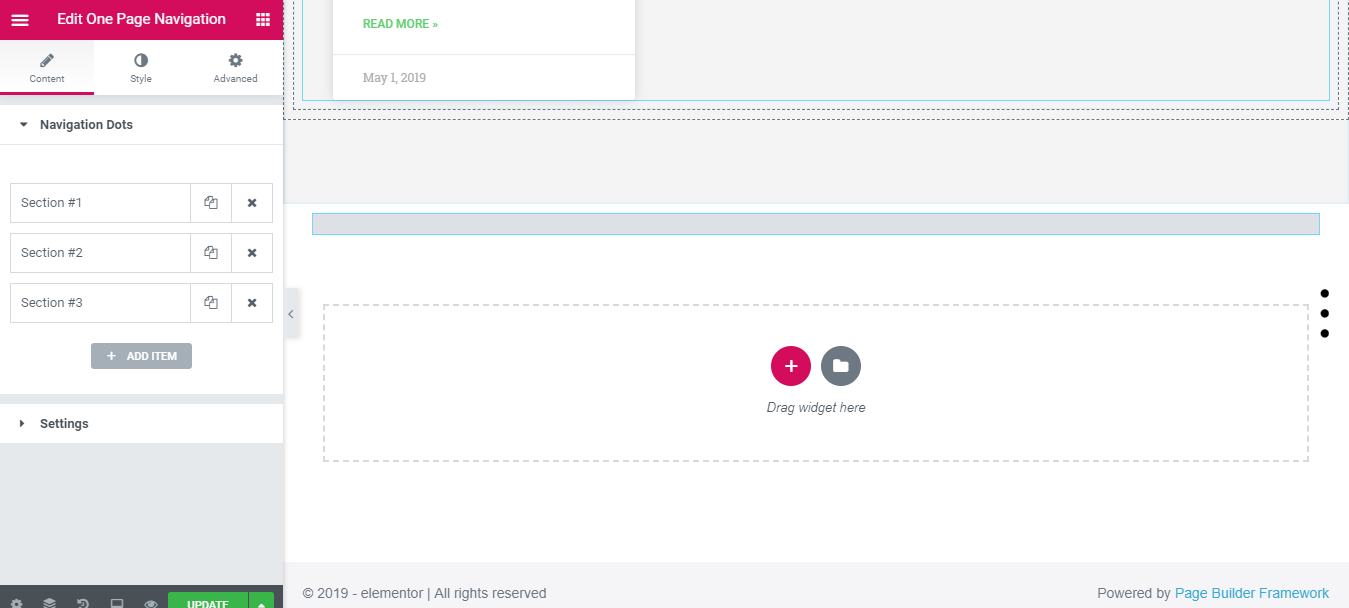
Step 3: Elementor One-Page Navigation Customizations in the Content Tab
Here you see the Content tab has two sections: Navigation Dots and Settings.
Navigation Dots: This section allows you to add Section Title, Section ID, and Navigation Dots.
Give each dot a proper title so that it makes a resemblance to each section of your page.
How to add SECTION ID for each section?
For adding SECTION ID, Click on the section and select the “Edit Section” option.
Now navigate to the Advanced button of that particular section, copy the CSS ID from there and paste it into the SECTION ID.
Follow the process for the rest of the sections as well.
This section also enables you to choose custom navigation dots for the sections of your page.

Settings: Here, you can enable or disable the tooltip, tool arrow, scroll wheel, and scroll keys.
This section also gives you to control the speed of your navigation. You can increase or decrease scrolling speed as per your website needs.
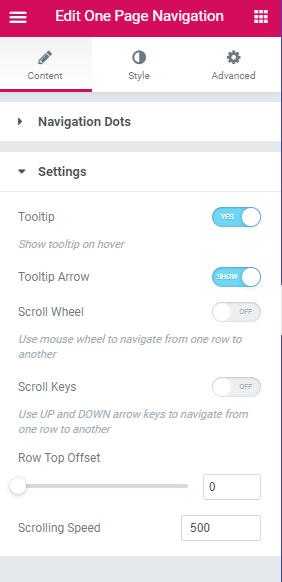
You can add more dots by clicking on the Add item button, and likewise, you can remove the dot from the Close button above.
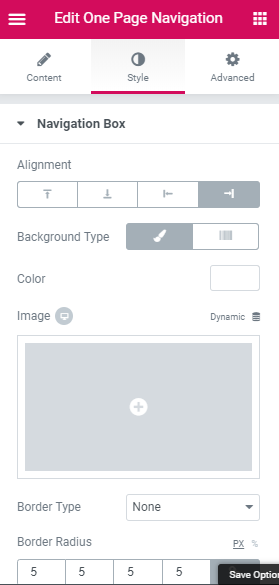
Step 4: Elementor One-Page Navigation Customizations in the Style Tab
From the Style tab, you can change alignment, color, size, tooltip, and many more features of the one-page navigation.
Navigation Box: This section allows you to change the alignment and background of the navigation box.
You can also add box-shadow and styling to the border.
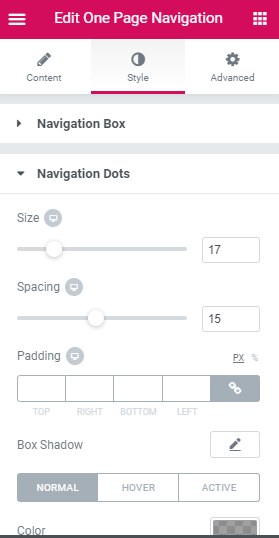
Navigation Dots: Here, you can change the size and spacing of the navigation dots. Also, you can choose the color and background color of the navigation dots.
Moreover, you can add a border to the dots and adjust the border-radius.
Tooltip: This section allows you to design a tooltip of your navigation box; you can change the background and text color of the tooltip.
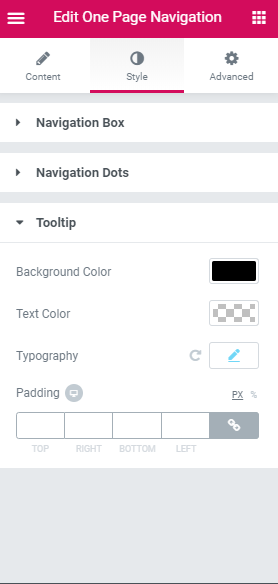
You can also change the typography of your tooltip content.
Here is an example of an amazing one-page website building with a one-page navigation widget of Elementor.
Get One-Page Navigation Widget for Elementor
You can enhance your user experience and create some fantastic one-page websites with a one-page navigation widget for Elementor. For more inspiration, you can check out the demo page of the One-Page Navigation widget.
Get the one-page navigation widget for Elementor with PowerPack, the best Elementor addon. PowerPack offers more than 50 creatively designed widgets that you can use to take your WordPress design to the next level.
