
Searching for a way to add counters to your website using Elementor?
Number Counter widget is an easy-to-use widget and the perfect way to display your milestones. Let’s say you have completed 1000+ client projects; you must be proud of that (and you should be!) But a simple text line that says you have completed so many projects will not do justice to your achievement.
For instances like these, we have created Elementor Number Counter widget. Now, you can display your achievements, milestones, or journey in numbers more elegantly.
The number counter widget displays the number by counting the specified digits, just like you roll the numbers in a casino lottery machine! Sounds cool, right? Well, it looks cool, too!
This is what the Number Counter widget for the WordPress website looks like in action:

Let’s see how you can create an achievements section on your website with the Counter widget.
Using Number Counter Widget
Here, we will learn how you can create the “Achievements Section” with the Counter widget. For this, you will require the Elementor Builder and the PowerPack Lite Addon for Elementor.
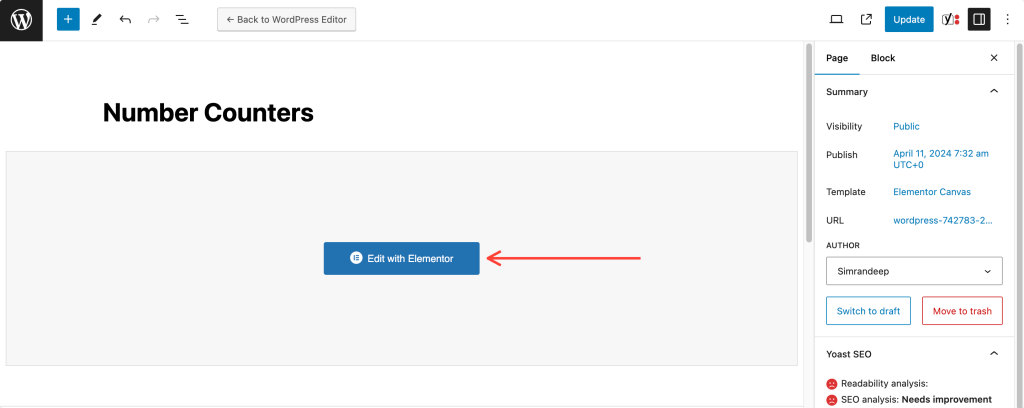
Open the page where you want to add the counters in the Elementor editor by clicking the Edit with Elementor link for the respective page.
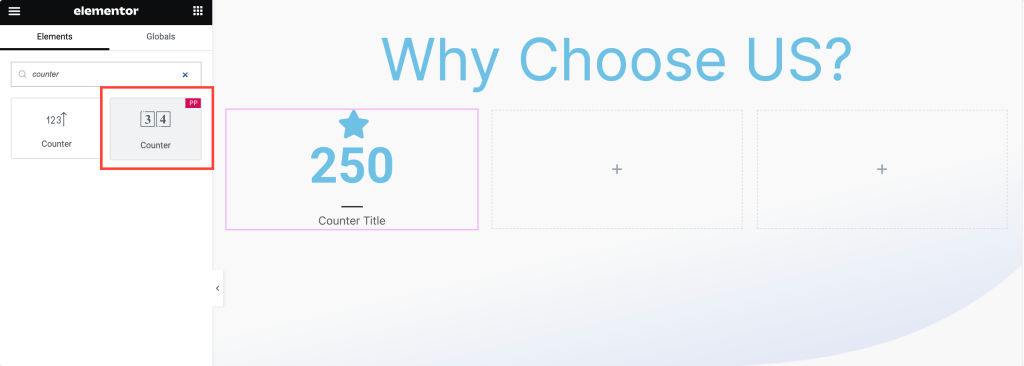
Once you are in the editor, look for the Number Counter widget in the Elementor widget panel.
Once the widget appears, drag and drop it on the page. Now, we will begin the customization of the counter.
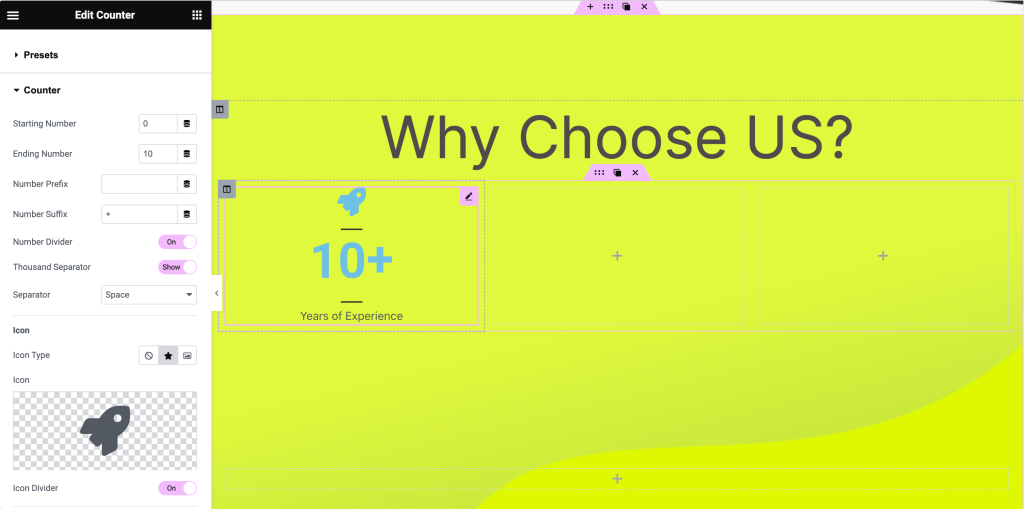
Content Tab of the Number Counter Widget
In the content tab, you can change the information and data displayed on the counter.
The options you’ll get in the Content tab are:
- Presets
- Counters
Presets are the pre-built template of the PowerPack widget. We have added 3 pre-styled number counter templates for the Counter widget for Elementor.
If you want to design your counters from scratch, simply choose the Default option in the Preset tab.
We are also customizing the counters from scratch so that we can demonstrate all the setting options of the PowerPack Counter widget.
And here are the changes we made in the Counters section:
- Changed the icon for the counter by selecting one from the list.
- For the number which will be rolling in the counter, I simply entered the number in the counter number field.
- Changed the Title for the counter using the Title subsection.
- Enabled the number divider to add more space to the counter.
- Decreased counter speed to ~1200 using the Settings sub-tab.
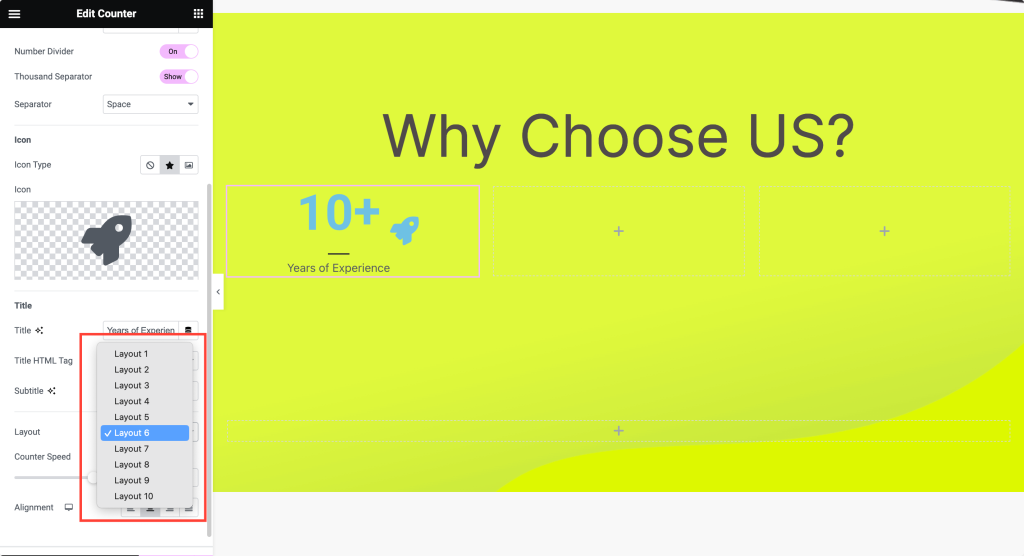
Also, you get 10 different layout options for your number counter display. Select any layout as per your site preference and look.
These were the changes for this specific counter. You can alter the settings as per your wish. Once you have added the number and made the desired changes, we will move on to the Style tab.
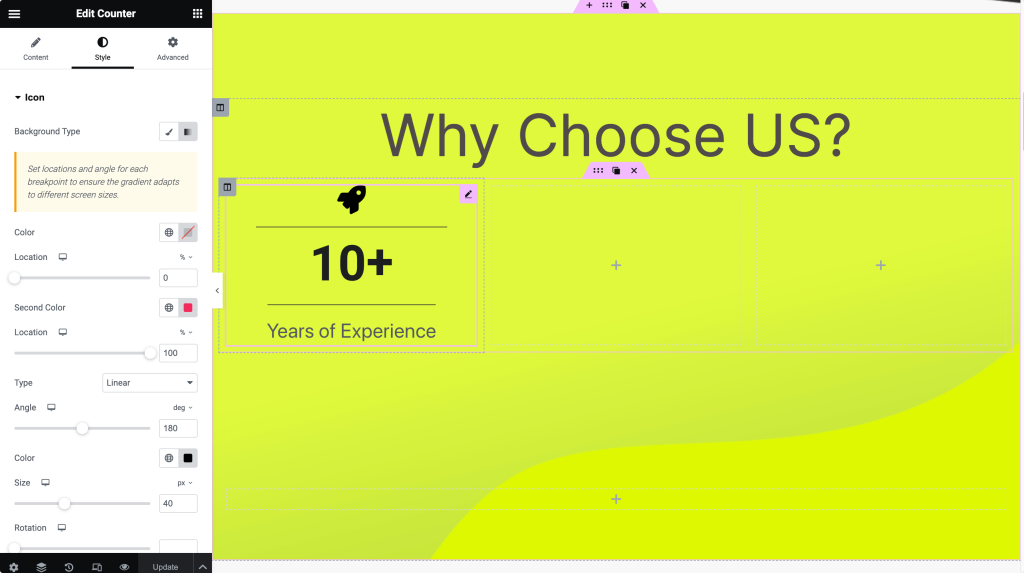
Style Tab of the Number Counter Widget
Here, you can change how your counter’s contents appear regarding font, color, spacing, etc. Here are the changes I have made in the Style Tab:
- Changed the Icon‘s color to a black shade, altered the size to 50, and added a bottom margin of 5 px.
- For the number, switched the color & changed the font and font style to match the design.
- Lastly, for the title, changed the color and adjusted the typography of the text.
- Changed the color of the Number Divider to ‘black.’
Duplicate the Design of the Elementor Counter Widget
Since we are creating a full achievements section, we will require more than one counter. To create more counters, we will first duplicate the counter we have designed, then change the details for each counter from the content tab.
To duplicate, right-click on the widget and click on the Duplicate option. Then, you can drag and drop the widgets into the respective columns so they are aligned next to each other.
Once aligned, we can change the data in the Counters. We will change the Icon, Number, and Title for the Counters, and the rest will remain the same.
Change for respective counters’ details, and once you are done, your counter section will look something like this:

Now, you can publish the page to set your counters in action. That is it! You have successfully added counters on your page with the Elementor Page Builder.
Summing it up!
This widget can be used in many places. You can check our landing page for more examples of designs you can make with the Counter widget.
Counter widget is part of the PowerPack lite, and you can get loads of functionalities with the Pro version of PowerPack for Elementor. You get access to more than 80 creative widgets, which you can use to make your website more awesome!
Click here to get PowerPack Addons for Elementor.
What do you think of the Elementor Number Counter widget? Where are you going to use it on your website? Comment it down!
