
Showcasing clients’ testimonials on your website is the most prominent way to gain trust, build credibility, and get more conversions.
If you are looking for an easy yet creative way to display testimonials on your website, you have landed on the right spot.
In this tutorial, we’ll show you how to create a testimonial slider on your Elementor & WordPress websites using PowerPack Elementor Addons.
How Do You Add Testimonial Carousel in Elementor?
The best tool to add a testimonial carousel in Elementor is by using the PowerPack Addons for Elementor.
PowerPack Addons come with a dedicated Testimonial Widget that allows you to easily create an impressive testimonials section on WordPress using the Elementor page builder.
Additionally, you get plenty of styling and customization options to style the testimonial section per your design preferences without adding any custom CSS or code.
The best feature of the Testimonial widget is that you can display a testimonials carousel on any page or post without affecting your page loading speed.
Apart from advanced features and styling options, you also get multiple granular options to customize carousels. You can set carousel moving speed, enable/disable autoplay, set navigation type, and many more…
Before we proceed to the tutorial part, let’s check out some key features of the testimonial widget:
Key Features of Testimonials Widget for Elementor
- Multiple layouts: Grid, Carousel, and Grid
- Stylish skin types
- Advanced option for slider customization
- Customer rating display
- Extensive styling and customization options
Also Read: How to Create a Conversion Oriented Landing Page with Elementor
Create Stylish Testimonial Carousel with Elementor
Now we’ll see a step-by-step process to create testimonial carousels with Elementor and PowerPack.
Adding the Elementor Testimonials Widget
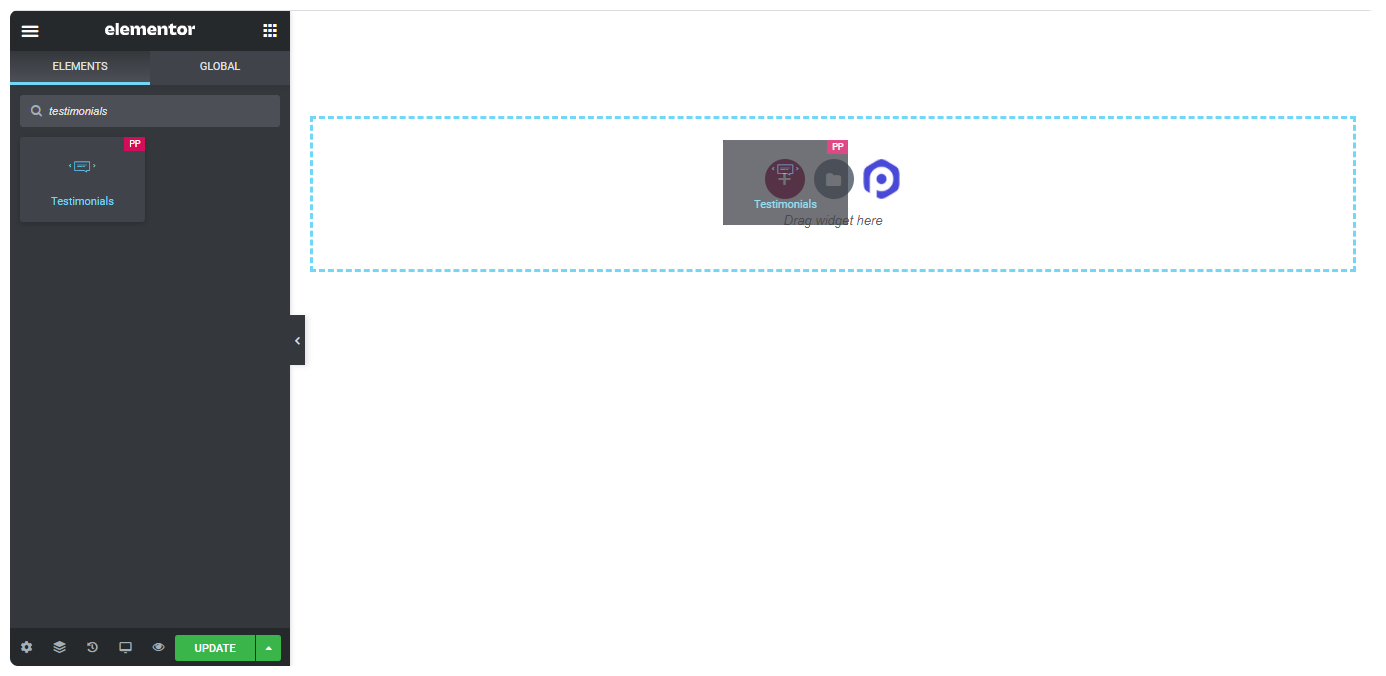
Open the page in the Elementor editor, and drag and drop the Testimonials Widget. Make sure to check the PP icon on the upper right corner of the widget.
Customizations in the Content Tab of Testimonials Widget
Now the second step is to define the content and set the layout for our testimonial.
With PowerPack Elementor Testimonials Widget, you can add Reviewers’ Names, Images, Positions, and Star Ratings.
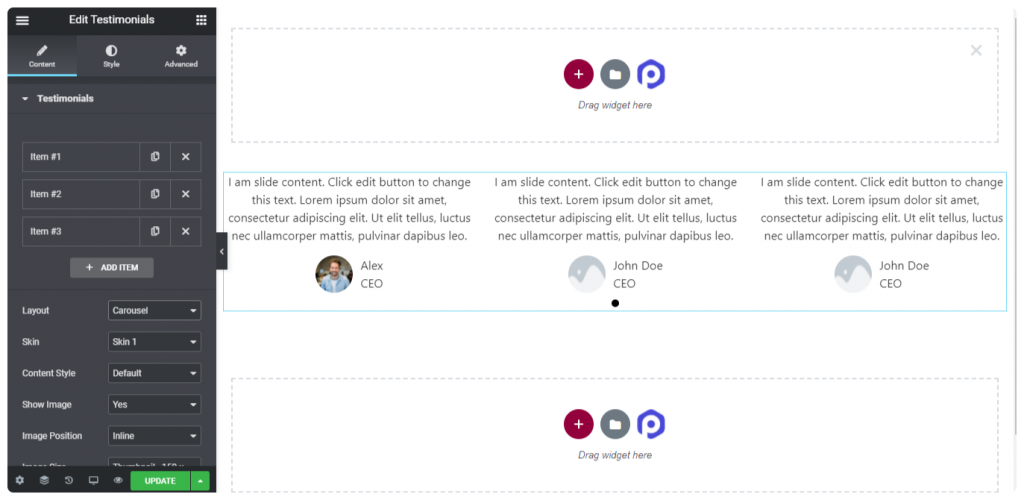
After adding your reviewers’ information, you need to set a layout for your testimonial section.
Since we want to display our testimonials section in the carousel layout, we’ll choose Carousel as a layout option. This feature helps you build an interactive testimonial carousel for your Elementor websites.
You can also showcase testimonials in the Slideshow and Grid layout if you want.
Next, you need to choose the skin type for your testimonial carousel; with the PowerPack widget, you get multiple stylish skin types for your testimonials section.
On top of that, you can
- Enable/disable image display
- Define the image position to be inline or staked
- Set the image size as per your choice.
Moreover, if you want to display a Quote Icon, you can easily do that too.
Advanced Options for Slider
With PowerPack, you get advanced customization options for your testimonial carousel. You get the flexibility to set:
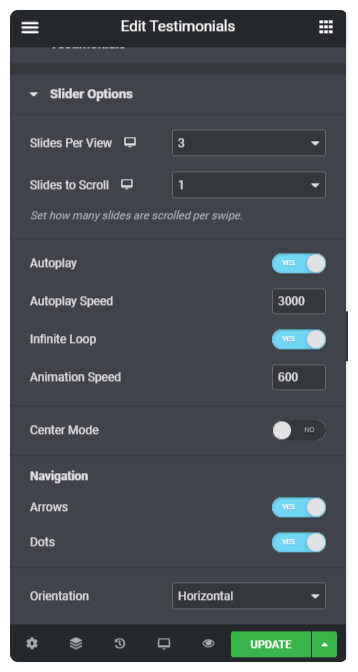
- Slide per view and slides to scroll
- Auto-play speed
- Animation speed
- Center mode
- Arrow or dot navigation
- Horizontal or vertical orientation
Customizations in the Style Tab of Testimonials Widget
In the Style Tab of Testimonial Widget, you get complete control over the styling property of each element. From color to typography, you can alter everything as per your choice.
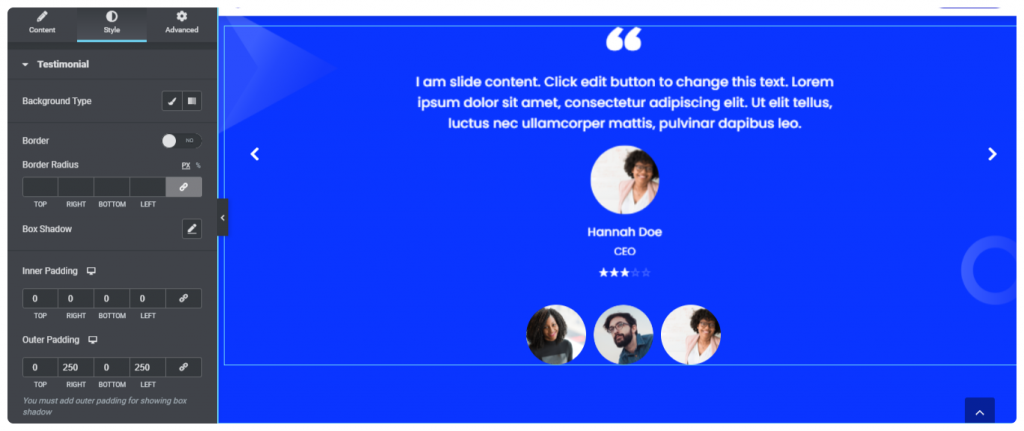
First, you can set column spacing and background type for the testimonials section.
- Also, you can highlight Testimonials by adding Borders to them. You can also set border color, define border width, and add border radius and box shadow.
- Talking about the Text Content, you can alter typography, color, set font, add background color, and set position as per your liking.
- For Images, you can adjust image size and add border type. Set border-radius and also add a box shadow to the images.
- If you have added Star Ratings on testimonials, you can style them as well. You can change color, and size, and adjust the spacing between the stars.
- Apart from layout and text customization options, you can also customize Navigation Arrows and Pagination Dots.
Get PowerPack Testimonial Widget for Elementor Now!
PowerPack Testimonial Widget is super easy to use. You get all customization options at your fingertips. Using PowerPack, you can create attractive testimonials sections on your website.
Get the Testimonials widget along with 60+ creative PowerPack widgets. Click here to get PowerPack now!
If you liked this article, share your thoughts in the comments below. For more PowerPack tutorials, please subscribe to our YouTube Channel.
