Looking for an easy way to create a custom header with Elementor?
Creating a custom header for your WordPress site can seem like a daunting task, but with the PowerPack Elementor Addons, it’s as easy as ABC. PowerPack provides a dedicated Header and Footer builder that allows you to effortlessly design and implement headers or footers according to your preferences.
In this guide, we’ll walk you through the process of creating a customized header for your WordPress website using Elementor Lite and PowerPack Addons for Elementor. Let’s get started!
Why Create Custom Headers?
Before we proceed, let’s talk about why having a custom header is so important. Your website’s header is often the first thing visitors see. It sets the tone for your site and provides critical navigation elements. A well-designed header can:
- Enhance your brand identity
- Improve navigation and user experience
- Highlight important information and calls-to-action
Before You Begin
Ensure you have the following plugins installed and activated on your WordPress site:
Create a Custom Header With Elementor
Designing Your Elementor Header
Step 1: Create a New Page
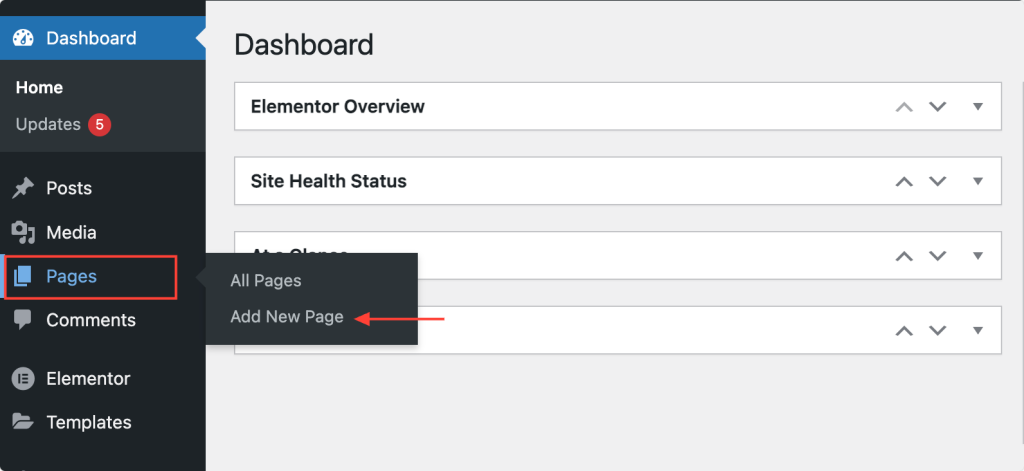
We will start by creating a new page in your WordPress dashboard. Navigate to Pages >> Add New. Creating a new page specifically for your header helps keep things organized and allows you to design without interfering with your existing content.
Step 2: Name Your Page
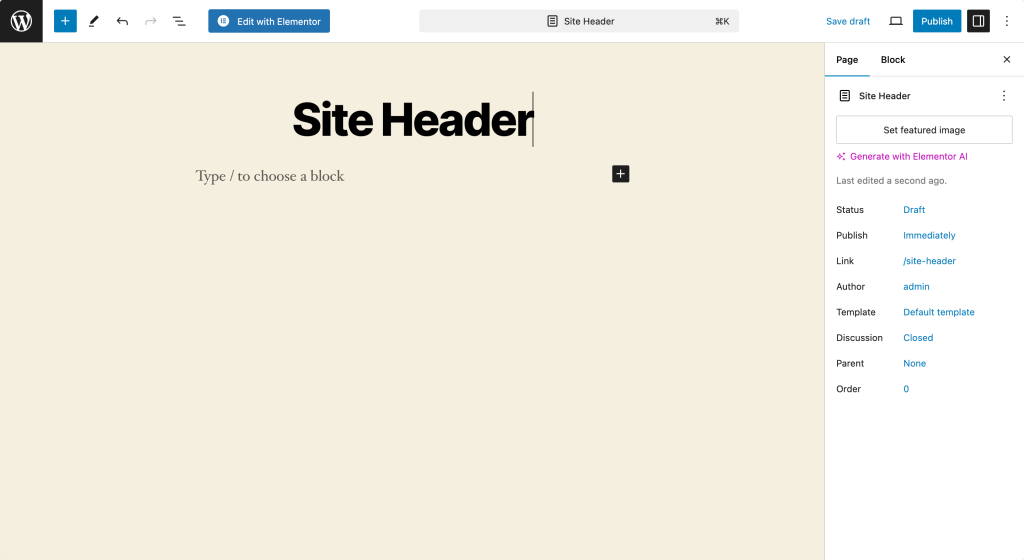
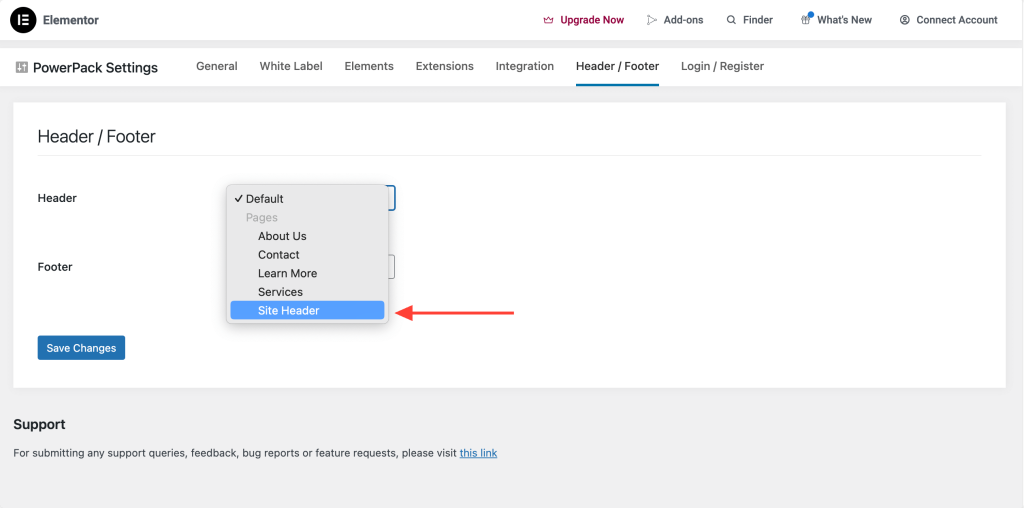
Give your page a proper name that clearly indicates it’s the header page of your website. For example, you might call it Custom Header or Site Header. Naming it appropriately will help you quickly identify it later when setting it up as your header.
Step 3: Edit With Elementor
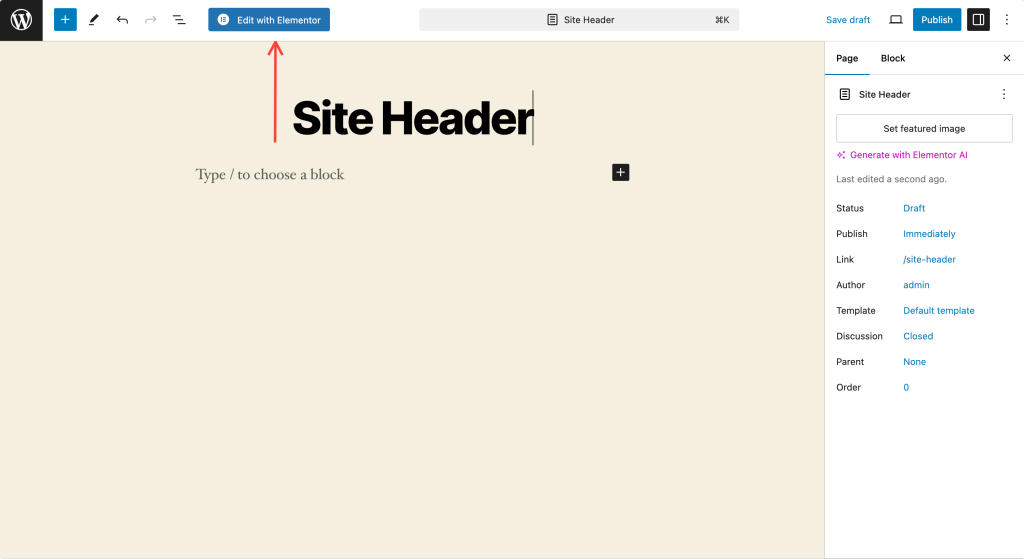
Next, click on the “Edit with Elementor” button to open the Elementor editor. This step will take you to the Elementor interface, where you can start designing your header.
Step 4: Set the Page Layout
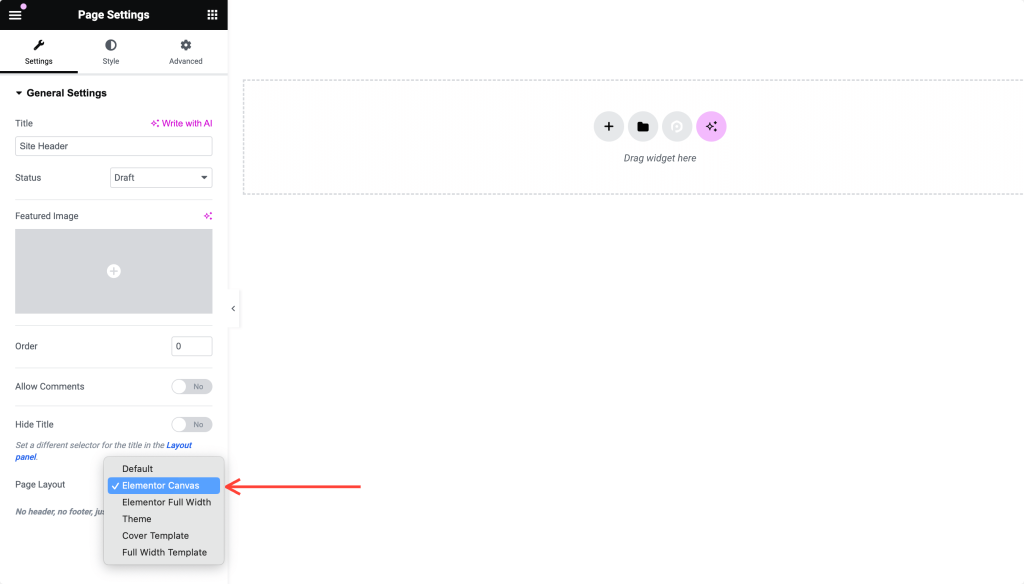
In the Elementor editor, click on the settings icon (the gear icon at the bottom left corner). Set the Page Layout to “Elementor Canvas.”
This setting provides a blank canvas to work on, free from any default theme elements that might interfere with your design. This clean slate is ideal for creating a header from scratch.
Step 5: Design Your Header
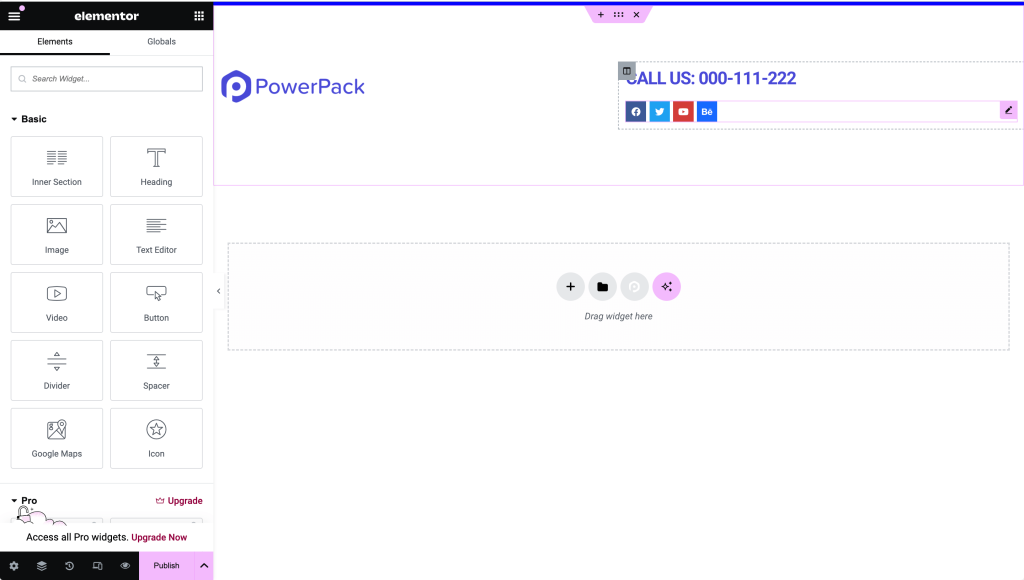
Now it’s time to unleash your creativity and design your website header from scratch. Let’s break down the steps:
Create a 2-Section Layout
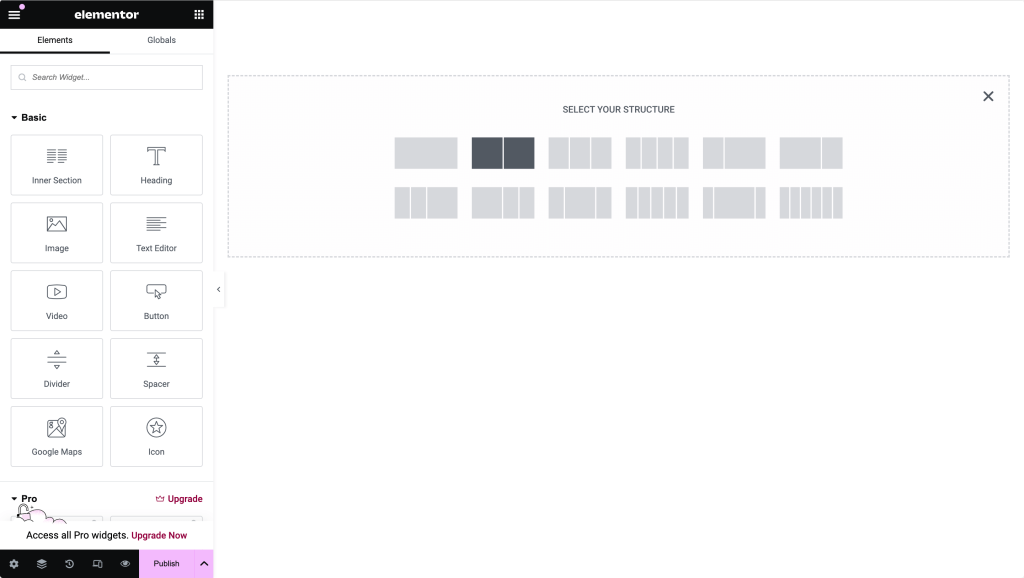
Start by creating a two-section layout. Click on the “+” icon to add a new section and choose a two-column structure. This layout allows you to place different elements in distinct sections of your header.
Add a Logo Image
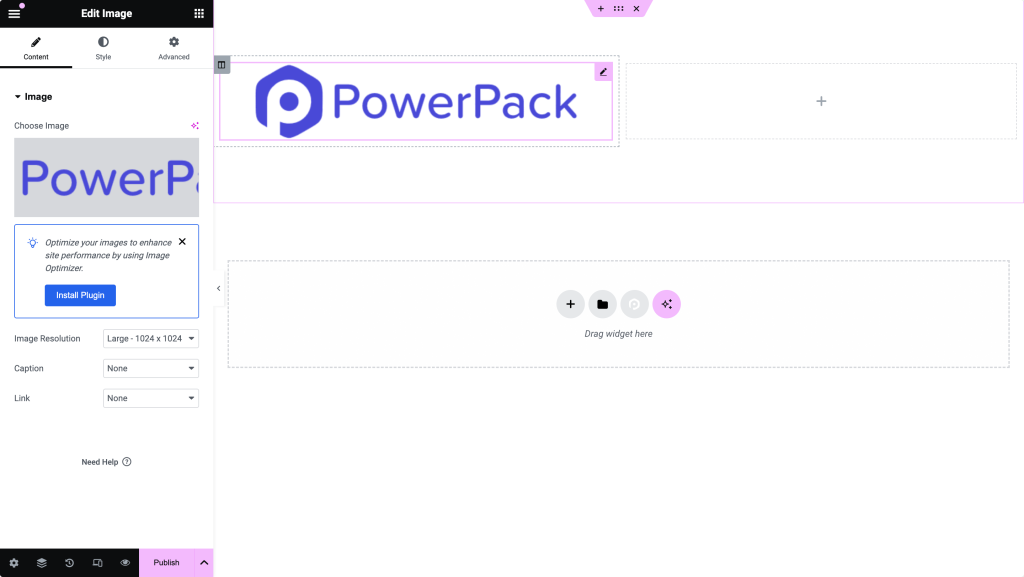
In the first section, add an image widget. Upload your logo image to this section. Adjust the size and alignment as needed to fit your design. Your logo is often the first thing visitors see, so make sure it’s clear and well-positioned.
Add a Heading Widget
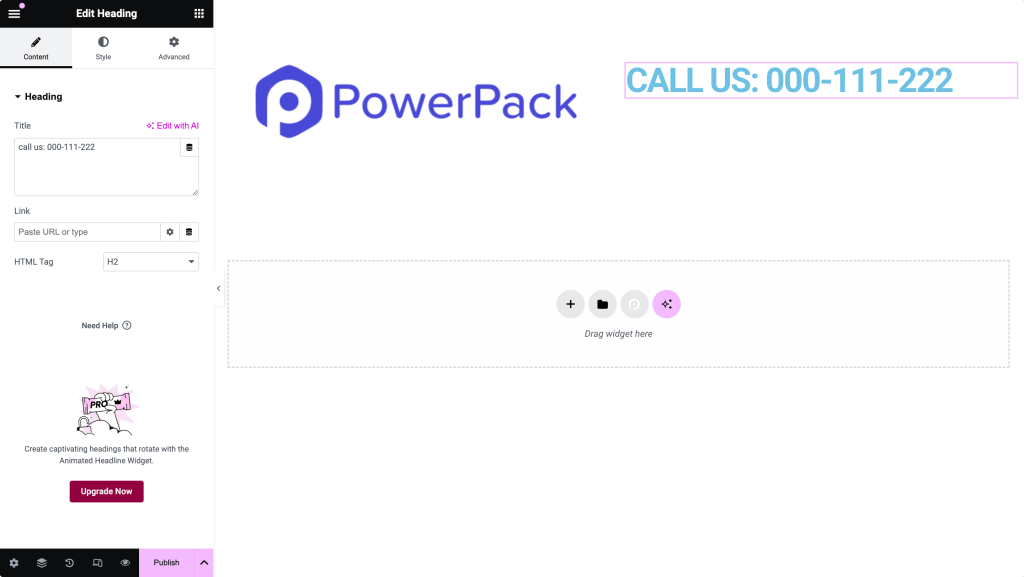
In the second section, add a heading widget. This could be your site title, tagline, or any other text you want to feature prominently in your header. Customize the font, size, and color to match your brand identity.
Add Social Sharing Icons
To make your header more interactive and connected, add social sharing icons. You can find the Social Icons widget in Elementor, drag it to your header, and customize it with your social media links. This step helps your visitors easily connect with you on different platforms.
Add a Navigation Menu
Lastly, add the navigation menu to complete your header. You can use the PowerPack Advanced Menu widget to include your site’s primary navigation.
Customize the look and feel of the menu to match your design preferences. The navigation menu is a crucial part of your header, guiding visitors to different parts of your site.
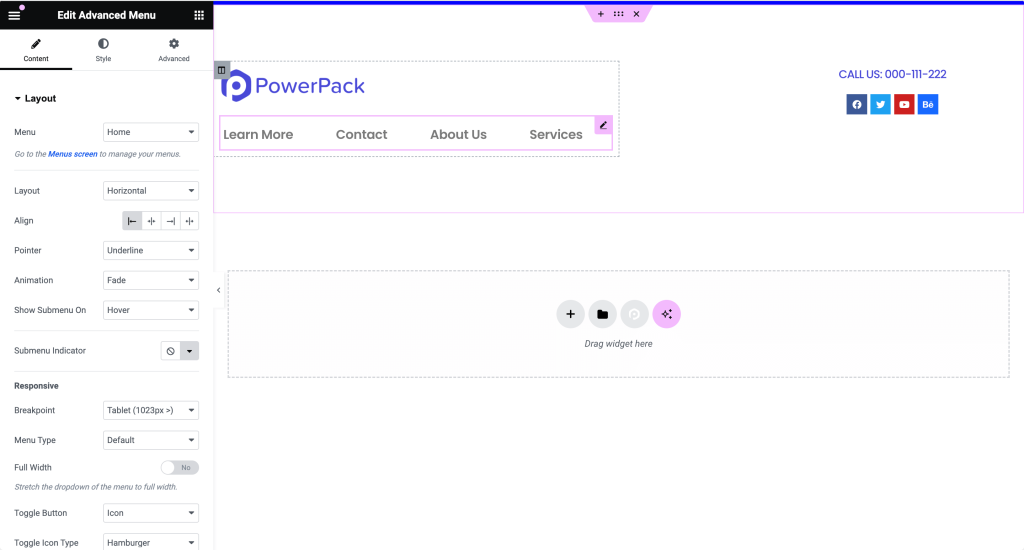
If you haven’t created a menu yet, go to Appearance >> Menus to create one.
You can personalize all these elements to match your site’s layout and design preferences. For instance, you might want to add a search bar, a call-to-action button, or even a contact number, depending on your website’s needs.
Step 6: Test Your Header
Before finalizing, preview your header on different devices to ensure everything looks and functions as expected. Elementor’s preview options are a great way to see how your header performs across various screen sizes.

Step 8: Publish Your Header
Once you’re satisfied with your header design, go ahead and publish the page. Click the “Publish” button at the bottom to save & publish your page.
Now, you have a beautifully designed header ready to be set up.
Setting the Page as Header Using PowerPack Settings
Now, the crucial step is to set the designed page as your website header using PowerPack. Here’s how:
Step 1: Go to PowerPack Settings
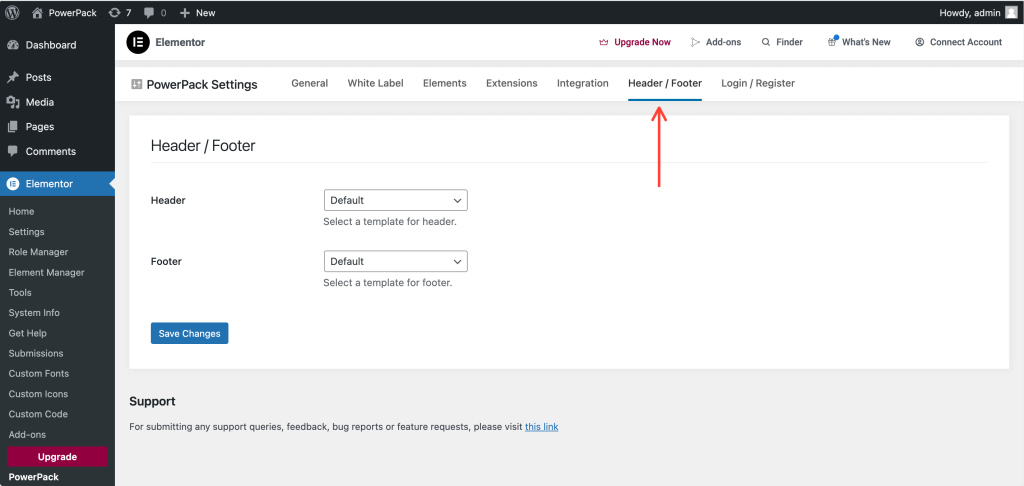
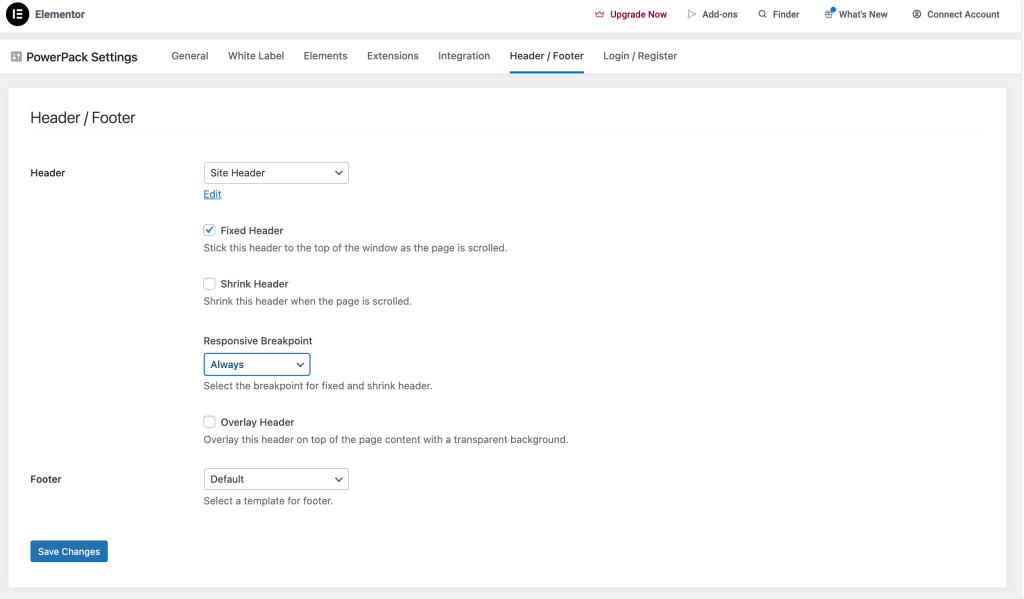
In your WordPress dashboard, navigate to Elementor >> PowerPack >> Header/Footer. This section is where you’ll configure your custom header and footer settings.
Step 2: Select the Header Page
On the Header/Footer settings page, you’ll see two options: Header and Footer. Select the page you just created as the header. This action tells WordPress to use your newly designed page as the site header.
Step 3: Choose Header Options
After setting the header page, you’ll see additional options:
- Fixed Header: Keeps the header fixed at the top of the page as you scroll. This option is great for ensuring your navigation menu is always accessible.
- Overlay Header: Makes the header overlay the content of the page. This style can give your site a modern look, especially if you use a transparent background.
- Shrink Header: If you select Fixed Header, an option to enable Shrink Header will appear. This feature makes the header shrink when you scroll down the page, saving space and keeping the focus on your content.
Step 4: Save Your Changes
Don’t forget to click the “Save Changes” button after setting your options. This step is crucial to ensure all your settings are applied.
Step 5: Check Your New Header
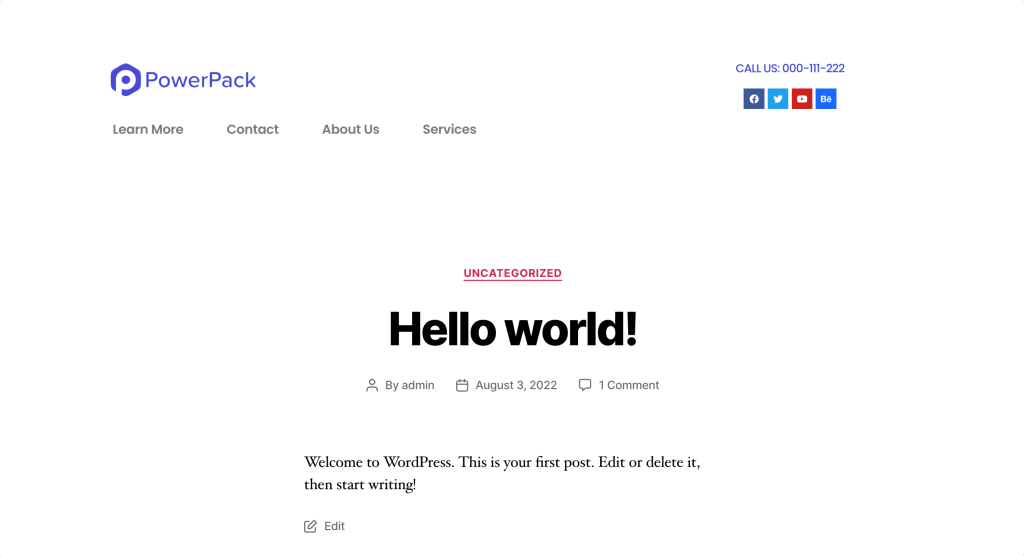
Visit any page on your website to see your newly created header in action at the top of your web pages. Make sure everything looks and functions as expected. Test the navigation links, logo visibility, and any other interactive elements you’ve added.
Wrapping Up!
And there you have it! By following these detailed steps, you can design a unique and functional header that enhances your site’s appearance and usability.
You can add different elements and styles to create a header that represents your brand. A well-designed header not only improves user experience but also makes a strong first impression.
Including the headers, footers also play a crucial role in any website’s design. So, if you’re looking for a simple and hassle-free way to create a footer using Elementor, check out the detailed post on how to create a footer using Elementor.
