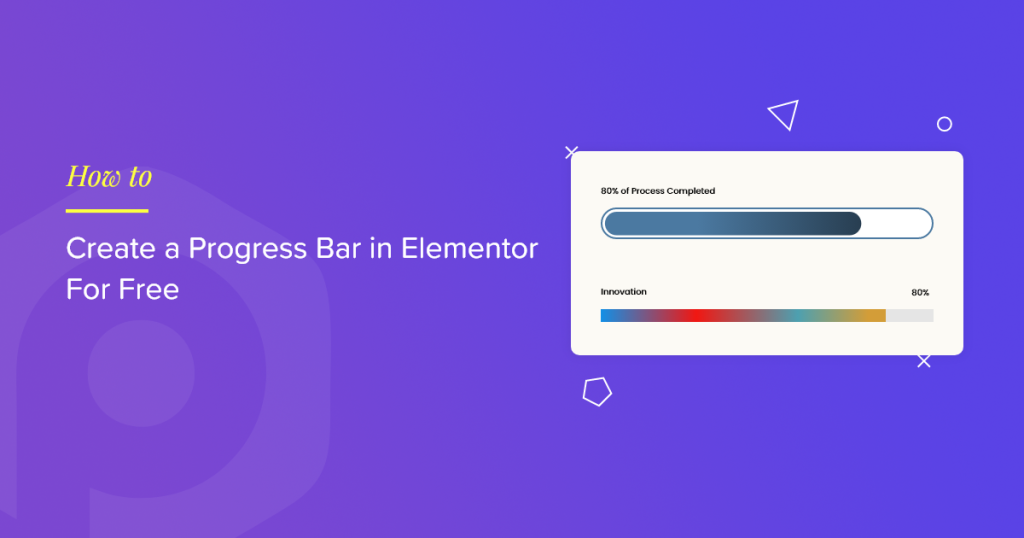
Looking for a simple way to add progress bars on your Elementor websites?
Progress bars are an interactive way to represent progress, goals, or even statistics on your WordPress website. Using a progress bar, you can showcase project completion rates, skills, and even fundraising progress.
Guess what? You can now create stunning progress bars in Elementor without spending a single penny. Yes, you heard it right! We’ve recently added the Progress Bar widget for Elementor as part of the PowerPack Elements Lite version. [Free Version]
So, let’s see how you can create beautiful progress bars using the Progress Bar widget from PowerPack Addons.
Create a Progress Bar in Elementor Using PowerPack Addons
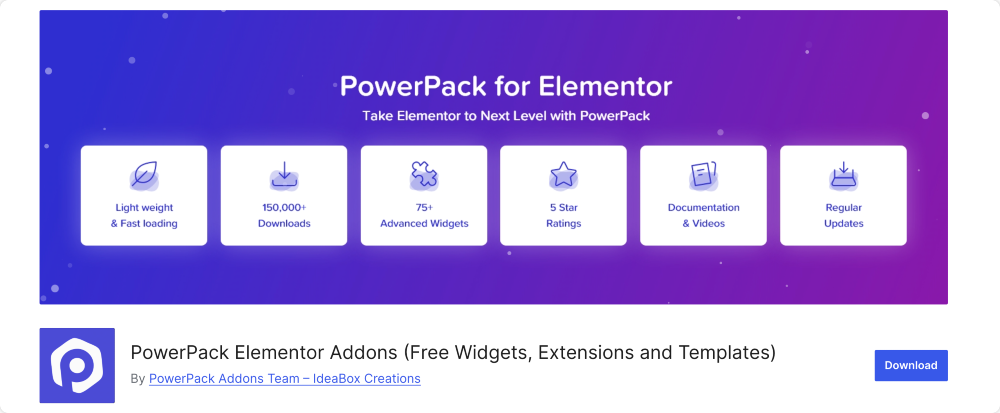
Step 1: Install and Activate PowerPack Elementor Addons Lite
To get started, make sure you’ve installed the free version of PowerPack Addons for Elementor. It’s available on the WordPress plugin repository, so you can easily search and install the plugin directly from your WordPress dashboard.
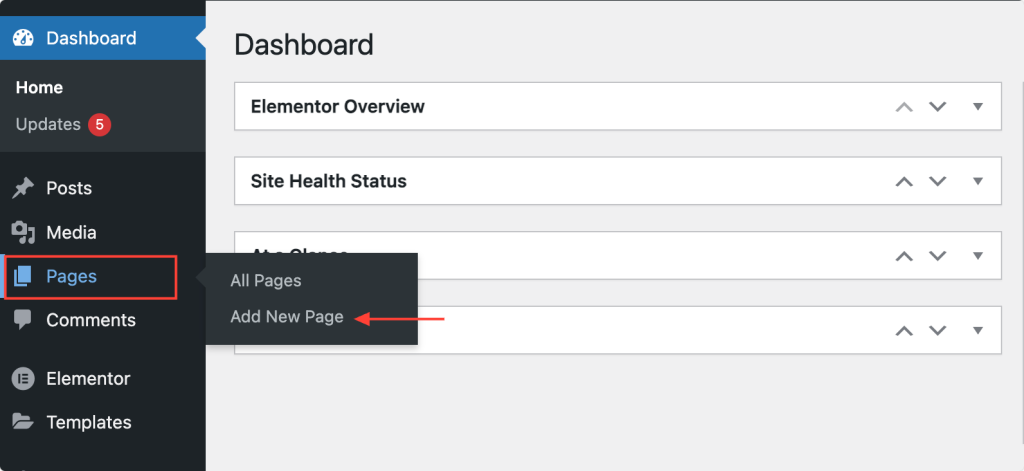
Step 2: Create or Edit a Page in Elementor
Once you activate PowerPack Addons, next, create a new page or edit an existing one using Elementor editor.
Step 3: Drag and Drop the Progress Bar Widget
Search for the “progress bar” widget in the Elementor panel. Make sure to check the “PP” icon to ensure you’re using the PowerPack widget.
Next, drag and drop the widget onto your page.

Step 4: Choose Progress Bar Type
The Progress Bar widget offers four unique types of progress bars:
- Horizontal Line
- Vertical Line
- Circle
- Half Circle
Choose the one that best suits your design and requirements.
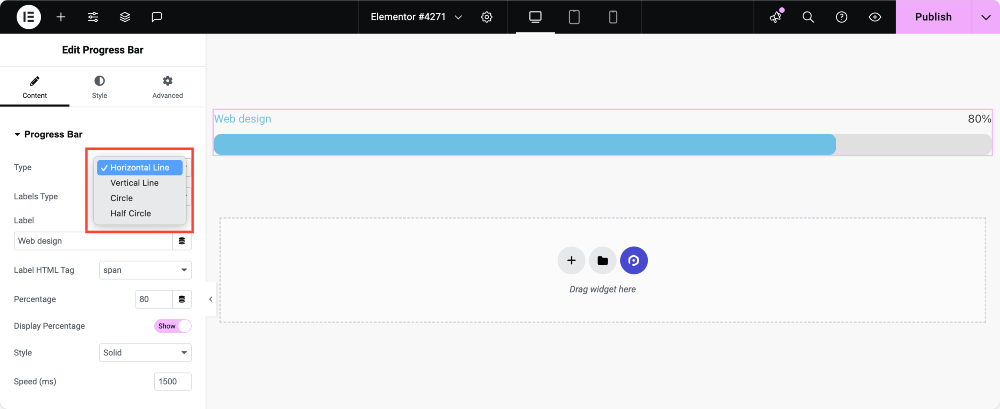
Note: Customization options vary based on the progress bar type you select.
Step 5: Select Label Type
Decide how you want to label your progress bar:
- Single Label: Use one label to describe the progress.
- Multiple Labels: Add more than one label for additional context.
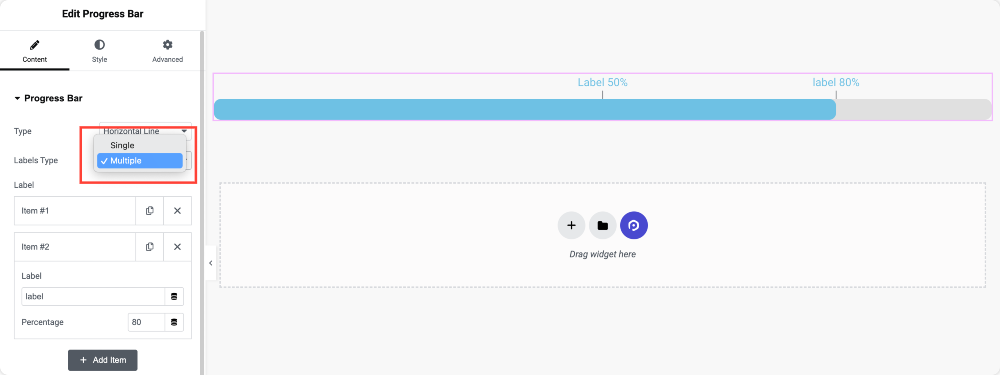
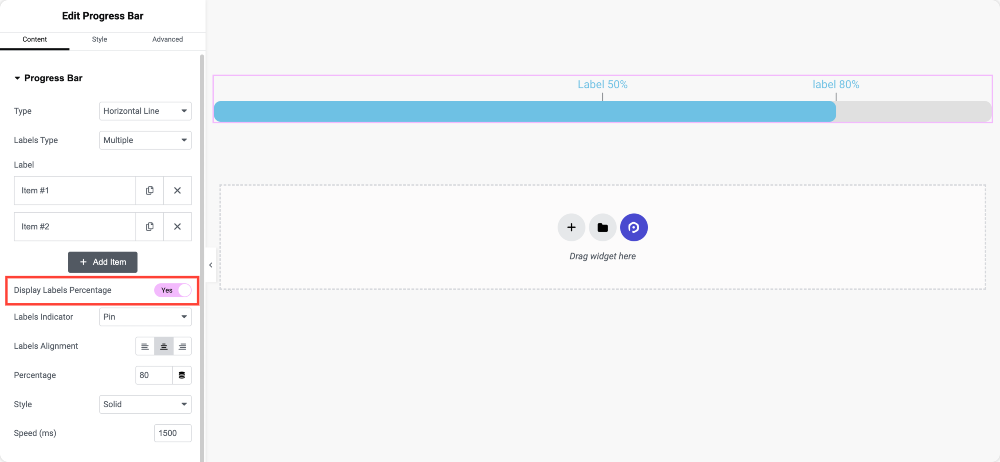
Step 6: Enable “Display Percentage”
Turn on the “Display Percentage” toggle if you’d like to show the percentage value directly on the progress bar.
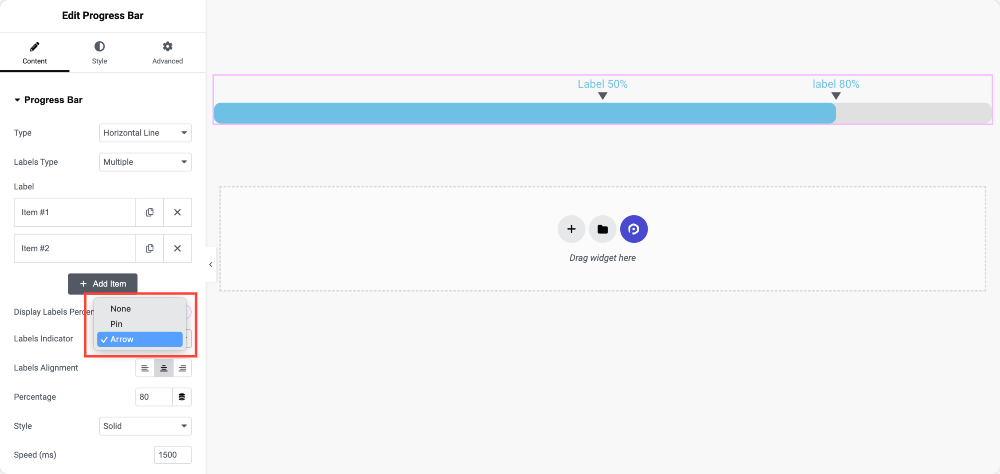
Step 7: Choose Label Indicator
For added interactivity, you can select a label indicator. Options include:
- Pin: A marker that points to the current progress.
- Arrow: An arrow indicator that moves along the progress bar.
- None: Keep it simple without an indicator.
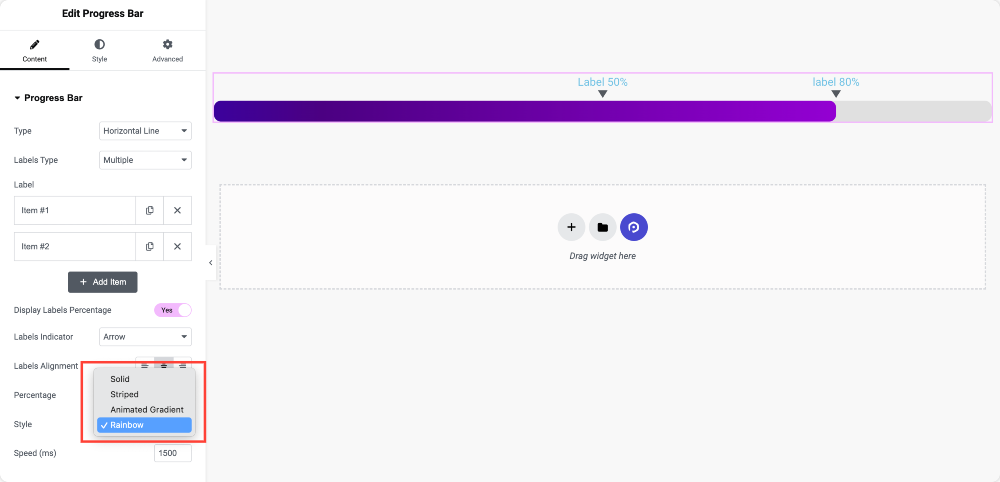
Step 8: Choose a Style for the Progress Bar
Make your progress bar even more appealing and eye-catching by choosing a style. Options include:
- Solid: A classic and clean look.
- Striped: Add stripes to the progress bar for a textured effect.
- Animated Gradient: A sleek, modern style with animated gradients.
- Rainbow: Bright and colorful for a fun, vibrant design.
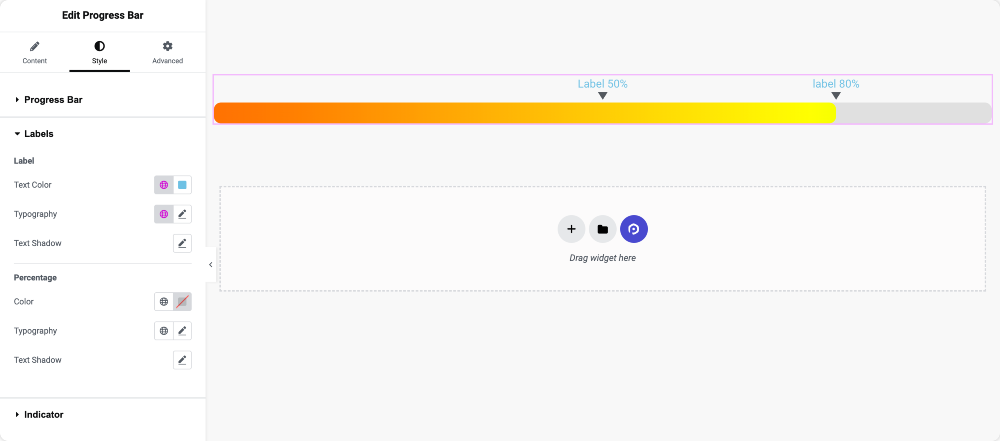
Customize Your Progress Bar Further in the Style Tab
Once you’ve set up the content, head over to the Style Tab for more customization options. Here’s what you can do in the Style Tab:
- Adjust Thickness: Define how thick or thin the progress bar should be.
- Set Border Radius: Give the progress bar rounded corners for a softer look.
- Change Label Color: Match the label color with your site’s theme.
- Alter Label Typography: Customize the font, size, weight, and more.
And More: Explore additional options to tweak every detail of your progress bar.
Benefits of Using Progress Bars on Your Website
Progress bars are powerful tools that enhance user experience and make your website more engaging. Here’s why you should consider adding progress bars:
- Visual Appeal: Progress bars add a dynamic touch to your website, breaking the boring static text and images. They grab attention and keep users engaged.
- Encourage User Interaction: For websites with goals or milestones, progress bars create a sense of urgency and motivate users to take action. For instance, fundraising progress bars inspire donations by showing how close you are to reaching the goal.
- Boost User Engagement: Interactive elements like progress bars make your website more engaging.
- Improve User Experience: By visually indicating progress (like course completion or project updates), progress bars set clear expectations and create a smooth browsing experience.
Final Thoughts
Creating a progress bar in Elementor has never been easier! With the Progress Bar widget from PowerPack Addons Lite, you can add eye-catching and interactive progress bars to your website for free.
So what are you waiting for? Install PowerPack Addons Lite today, and give your Elementor website a creative touch with stunning progress bars!
Got questions or need help? Drop them in the comments—we’re here to assist you!
