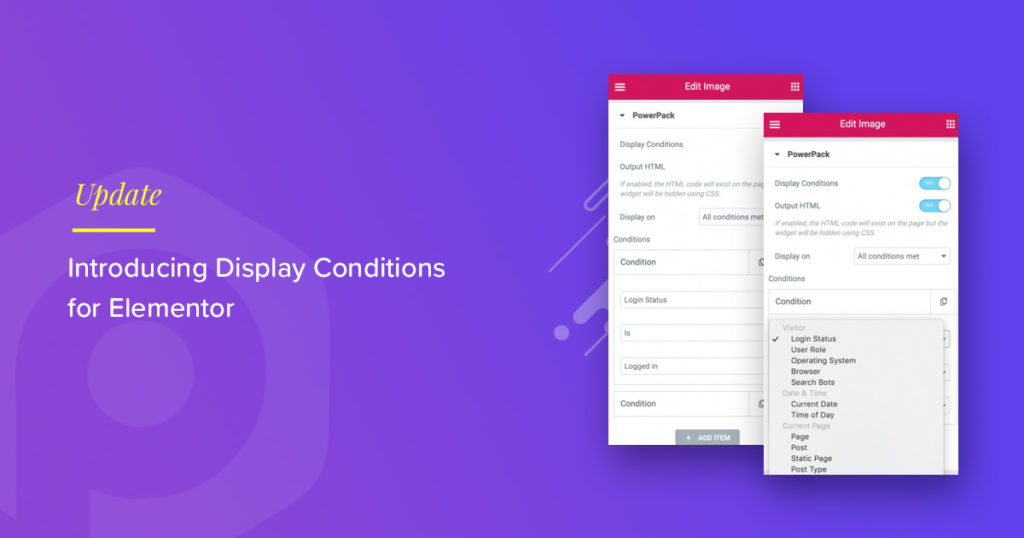
Have you ever wanted to display some content of your web pages only when it satisfies a specific condition? If yes, you can easily do that now with the Display Conditions feature of PowerPack’s latest update.
With this PowerPack update, we have added the powerful Display Conditions which will allow you to add display conditions to widgets/rows easily by selecting the options from the dropdown list.

With this feature, you can do a lot more and can improve the UX of your website to a great extent. If you are having a hard time understanding how you can use the display conditions, don’t worry.
Here are some instances that will help you understand this feature better:
- You can create restricted content for your readers be restricting it to your subscribers only. You can restrict the content to any other user role.
- If you want to display a message to your visitors accessing the website using a specific Operating System or Browser, you can do that easily by selecting the respective option from the list.
- If you running flash sales or discounts or anything time related, you can do that by setting the date and time a visibility condition. The content will only appear when it satisfies the condition. You can even add a condition as the day of the week and the content will appear on that day of the week only!
- Want to display a message or a row on only a specific post type, taxonomy, or even authors archive? You can do that with the display conditions feature in no time.
- How about a single page or a static page like 404? Yes, you can set a condition to display content on pages and post types as well.
If you prefer watching a video instead, you can check it here.
How to Use Display Conditions?
Adding display conditions on your website is really easy. Firstly, make sure that you have all the latest version of PowerPack installed and activated on your website. Once you have done that, we can proceed.
Now, to use display conditions, you need to open the page where you want to add the conditions. For example, if you want to add a certain time rule displaying a row on your home page displaying offers and discount on a specific date, you need to open the home page.
Now select the row on which you want to add the condition.
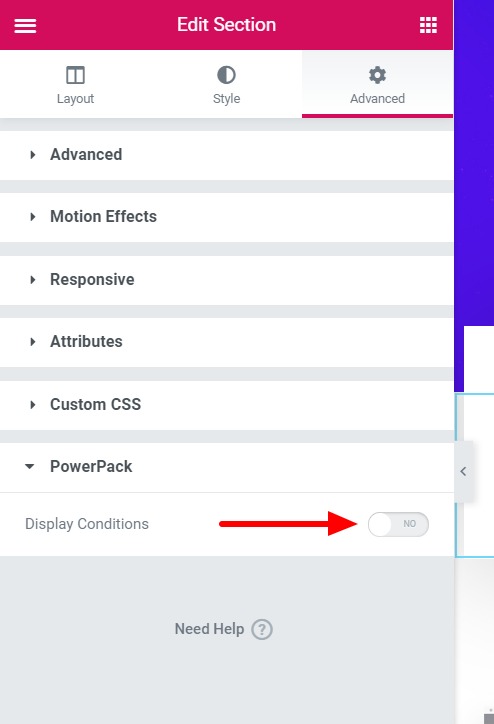
Now go to the advanced tab and there you will see the PowerPack sub-menu. Click on it and enable the Display Conditions.

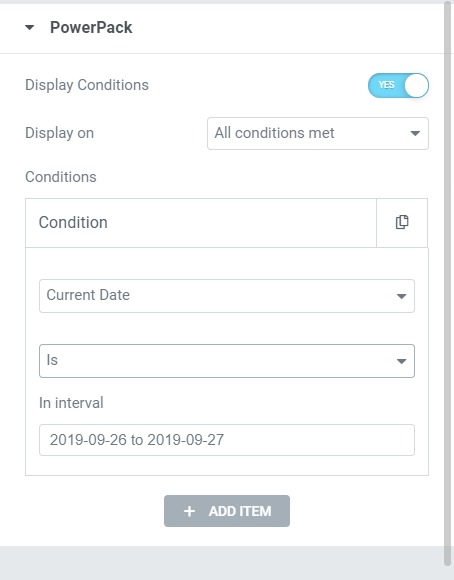
Now we will add the condition. Taking our previous example of displaying offers on the website only on a specific date, we will select the condition as “Current Date”.
Now, select the criteria for the condition and select the date or interval for the condition to work on. This was just a single condition. You can add more conditions and can define if the condition works if all conditions are met or when any condition is met.

If you want to know more about all the conditions, you can check that here.
Over To You!
If you are a PowerPack power user, you can start using the Display Conditions feature on your web building process right away. If you do not have access to PowerPack, you can get it here.
Let me know what do you think of this feature? Is there anything else you want us to add as a condition in this feature? Let us know by commenting it down!

1 thought on “PowerPack Update: Introducing Display Conditions for Elementor”
Ability to specify a parent page would be awesome, Like Only show on sub page of Service.