
Looking for a simple way to create coupons page using Elementor? Great! You’ve landed on the right page.
In this tutorial, we will use the Coupons Widget of PowerPack addon for Elementor to create an interactive coupons page on your WordPress website.
But before we dive in, let’s take a closer look at the features the Coupon widget offers.
Features of PowerPack Coupon Widget for Elementor
The PowerPack Coupon widget for Elementor is an easy-to-use tool that helps you create attractive coupon pages on your website without any coding skills. You can have an interactive coupon page ready with just a few clicks. It’s packed with eye-catching features, making it a flexible and user-friendly choice for Elementor users.
Now, let’s explore some attention-grabbing features of the PowerPack Coupon widget for Elementor:
✅ Coupon Styles
You can choose the style of coupon code easily from the content tab. You can choose your Coupon to show as “Click to Copy,” “Click to Reveal & Copy,” and “No Code Needed”.
✅ Design Freedom
You have total control over customization with the PowerPack Coupon widget. You can tailor every section to your liking, adjusting the widget’s appearance exactly how you want it. The style tab contains all the options you need to give your coupon the perfect look and feel.
✅ Multiple Coupons
You can add as many coupons to your widget by clicking on the “Add Item” button. You can add as many coupons as you want in your widget and add custom content to each of those widgets using the content tab.
✅ Dual Layouts
You get two layout options with the coupon widget: Grid and Carousel layout. You can choose either of the widgets from the settings, and the coupons will be displayed in that layout automatically.
✅ Link Customization Options
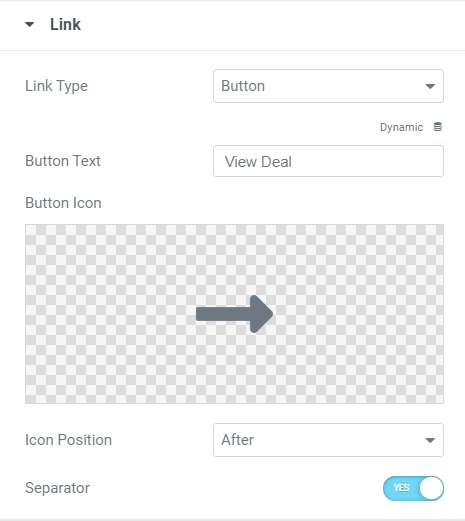
Want to take full control over how your link looks? You can do that easily with the link settings. You can show your link as a text button and add an icon to the link.
With all these features, you can make your coupon widget look and function exactly the way you want. Let’s see how you can use this widget to create a coupon page on your website.
Tools Required:
Creating a Coupons Page with Elementor
Designing a coupon page doesn’t have to be complicated; it’s something you can manage on your own. Rather than hurrying through the process, we’ll take a close look at each step. This way, you can understand the full range of customizations possible using the Coupons widget from the PowerPack addon for Elementor.
If you would prefer to watch a video, here is a video tutorial of the coupon widget.
Step 1: Adding a New Page
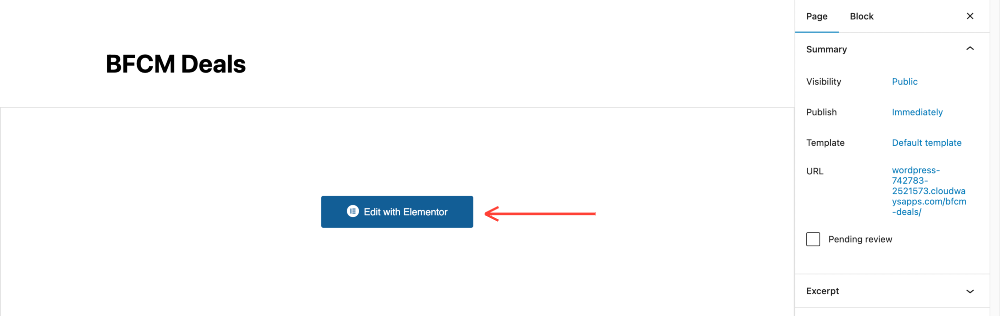
To create a new page, go to your WordPress Admin Dashboard >> Pages and click the add new button. Give your page a proper name, then click the “Edit with Elementor” button.
If you wish to add the coupons section to an existing page, open the page by going to Pages and then opening the respective page in Elementor editor.
Step 2: Adding the Coupons Widget
Now, we need to add the coupons widget on our page. Simply look for the Coupons Widget and drag and drop it on the page wherever you want. You will see three default coupons on the page as soon as you drop the widget.
Step 3: Customizing the Content
The first thing we will do here is to customize the coupons’ content, which can easily be done from the Content Tab. If your coupons are posted as individual posts, you can set your coupon source as posts, which will pull the data automatically. Here, we will be entering the data manually.
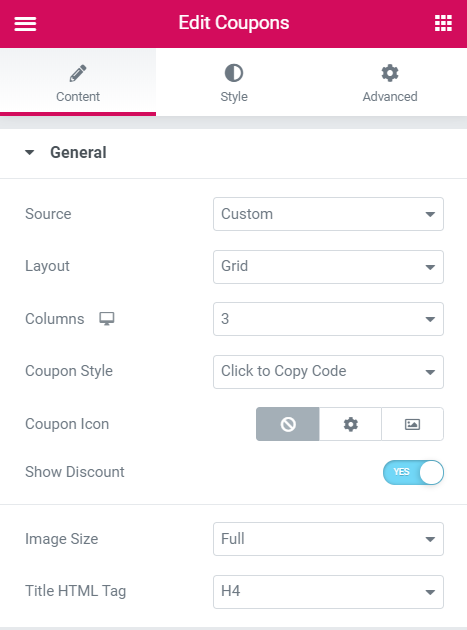
For the layout, you can select the grid or carousel type and change the number of columns you wish to see there from the respective options.
For the coupons, you get three options, ‘click to copy code’, ‘click to reveal code’, and ‘no code needed’. Select the one you want to be displayed.
#1 Adding the Coupons
To add the coupons, go to Content >> Coupons and click on the ‘+ Add Item’ button. Here, you can change the image, discount text, coupon code, title, description, and the link for the Coupon. You can enter the coupon details here and add more coupons per your requirements.
You can change the arrangement of the coupons by simply dragging the coupons up or down in the coupons section under the content tab.
#2 Modifying the Coupon Link
If you wish to alter the link, you can do it too. You can change the link type to a button, title, or box.
Step 4: Styling the Coupons Section
Now comes the styling part; here, you can change and alter how your Coupons in each individual section look easily from the style tab.
Starting with the coupon box, you can change the alignment, spacing, background, bg color, shadow, etc., for the boxes. These settings will be applied to all the coupon boxes in the widget.
#1 Discount Percent and Coupon Code
You can customize the discount text if you have enabled the ‘show discount’ option in the Content tab. You can change the positioning, typography, color options, hover effects, box shadow, margin, padding, etc.
Now, for the coupon code text, you get the option to customize that as well. You can make all the changes we discussed for the discount text, and in addition, you can customize the icons, too.
#2 Modifying the Content style
Like other sections, you can change and customize the content. You can change how the text looks in color, typography, font, weight, color, margin, etc.
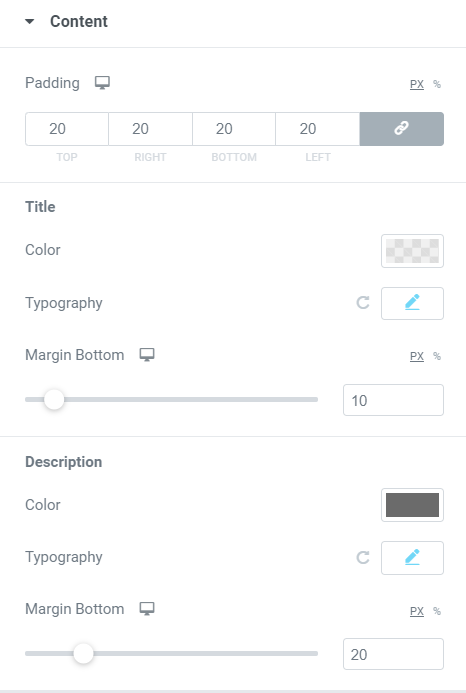
You can make these changes for both title and description separately.
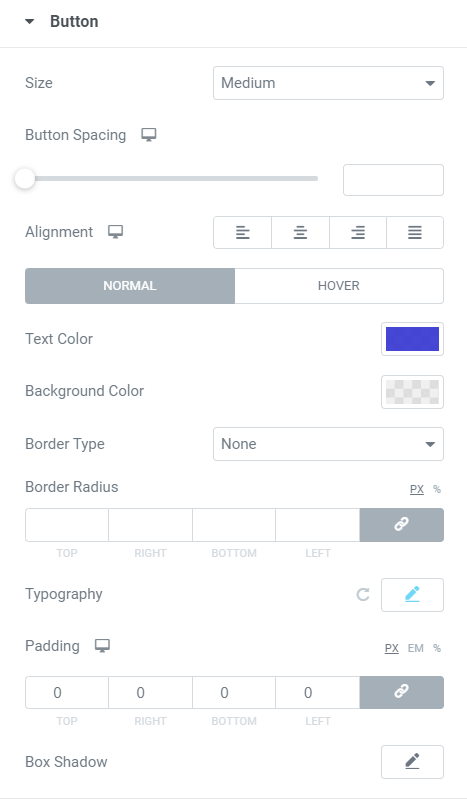
#3 Button
The button is considered the most important aspect of the Coupon. The user will not go for it if it is too loud or shady. Try to keep it matching with the overall design of the Coupon. Remember not to make it too flashy.
Regarding styling, you can change the size, spacing alignment, text color, radius, typography, shadow, icon, separator, etc. With these settings, you can modify your button to look exactly how you want it to look.
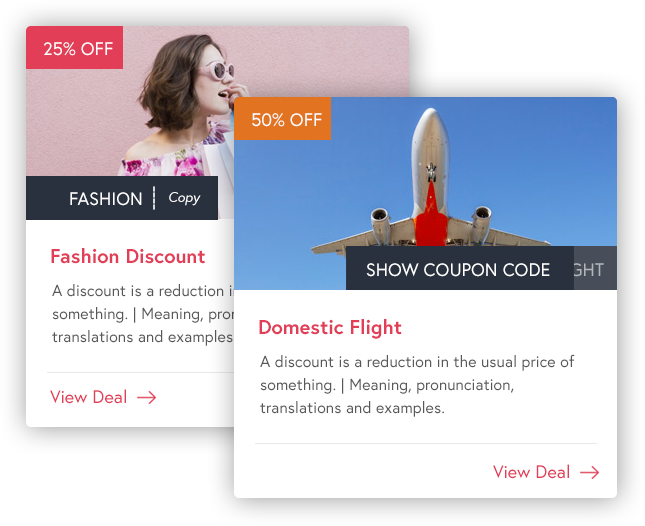
Here is what our coupons section looks like after making all the changes:
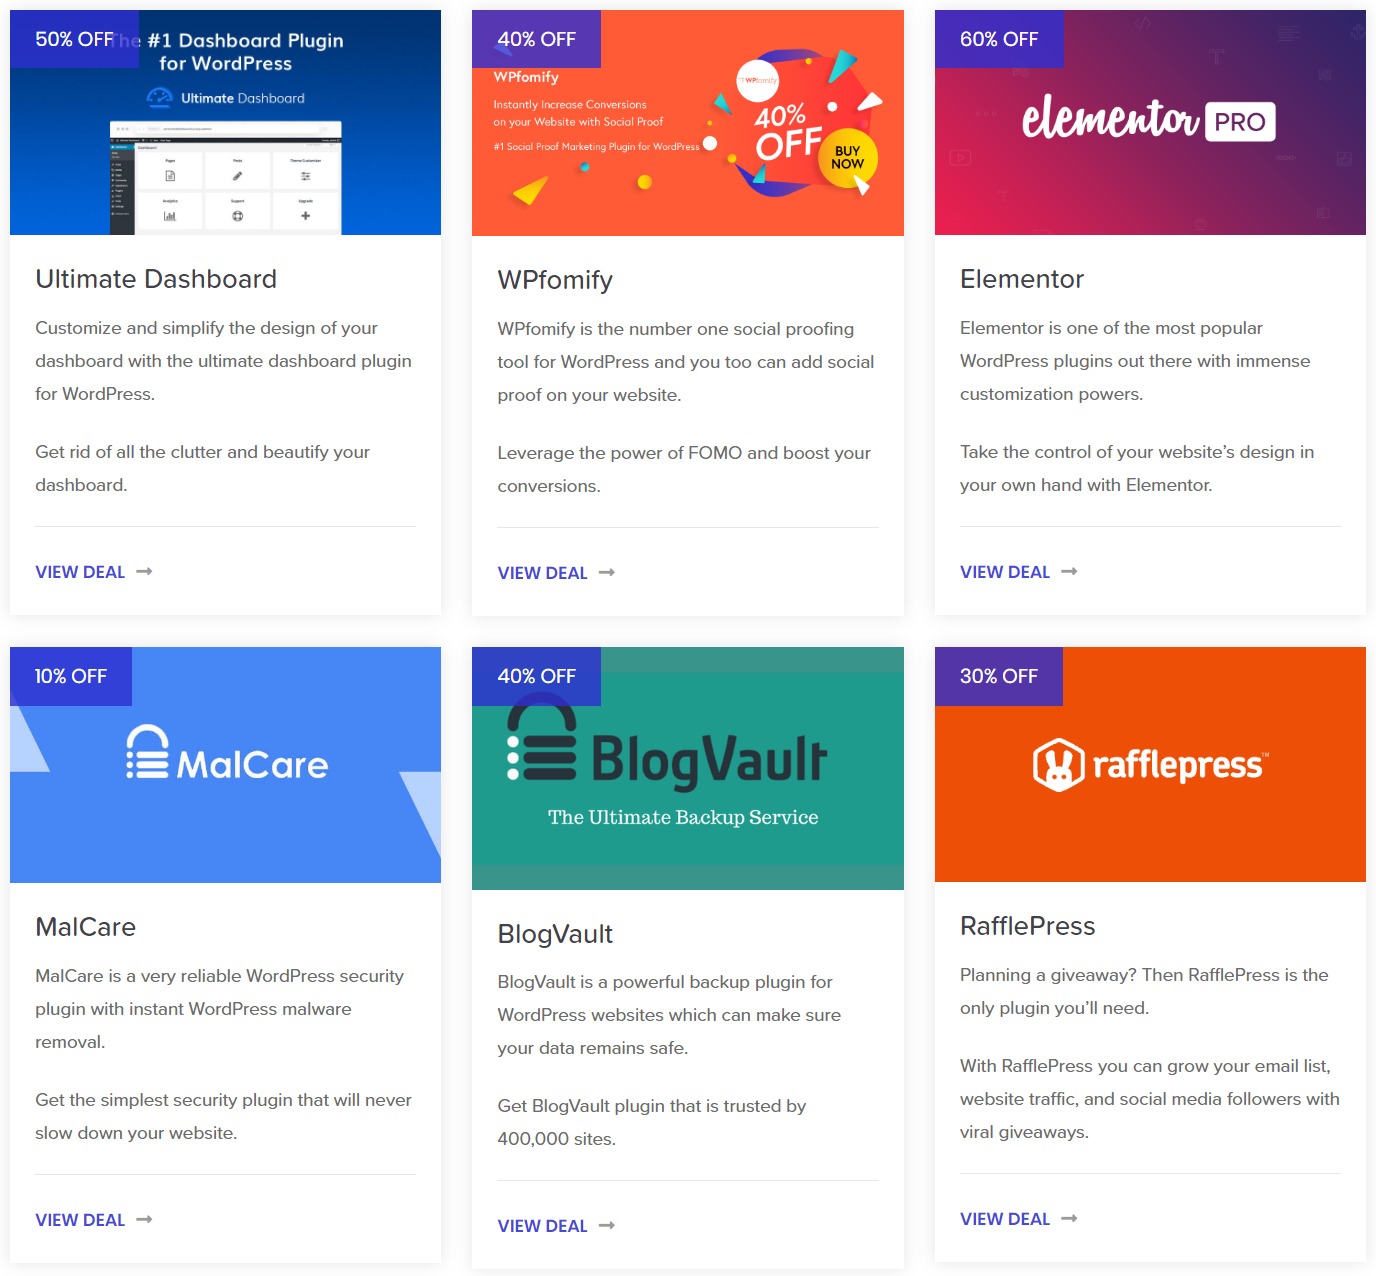
That is how simple it is to create a dedicated coupon page in WordPress using Elementor and PowerPack Addons.
Now, let’s check how creating a dedicated coupon page on your WordPress website can significantly boost your site’s performance during special events like Halloween and Black Friday/Cyber Monday (BFCM) deals.
Adding a Coupon Page on WordPress: Benefits
- Centralized Offers: A coupon page acts as a central hub where visitors can find all your Halloween or BFCM deals in one place. Instead of scattered promotions across your site, having them in one location streamlines the user experience.
- Enhanced User Experience: Users love simplicity. A well-organized coupon page provides a clean and easy-to-navigate interface, making it effortless for visitors to find relevant deals without digging through your entire site.
- Increased Conversions: Users are more likely to purchase When they find exclusive Halloween or BFCM discounts in one place. Coupons create a sense of urgency, especially during special events, leading to higher conversion rates.
- SEO Benefits: A dedicated coupon page optimized with relevant keywords (like “Halloween deals” or “Black Friday discounts”) can attract organic traffic. People often search for event-specific deals, and having a well-optimized coupon page can make your site more visible in search results.
- Email Marketing and Social Media Integration: You can promote your coupon page through email newsletters and social media channels. Direct your subscribers and followers to the coupon page, increasing traffic and potentially attracting new customers.
- Encourages Repeat Visits: If you update your coupon page regularly with new and exciting deals, visitors are more likely to return to your site, especially during festive seasons. This repeated engagement builds a loyal customer base.
- Affiliate Marketing Opportunities: If you are into affiliate marketing, a coupon page can be an excellent way to showcase affiliate products with special discounts. This can lead to increased affiliate earnings during peak shopping seasons.
- Data Collection and Analysis: Observing the traffic and engagement on your coupon page gives you valuable insights into customer preferences. You can analyze which deals are more popular, helping you tailor your future marketing strategies.
- Partnership Opportunities: A well-curated coupon page can attract potential partnerships with other businesses. During events like BFCM, businesses often collaborate for cross-promotions. Having a dedicated coupon page makes it easier to showcase such partnerships.
- Improved Brand Image: Offering exclusive discounts during popular events increases sales and enhances your brand image. It shows customers you know their needs and actively participate in the festivities, building a positive brand perception.
Wrapping Up!
With the Coupons widget, you can create impressive coupon pages on your website without touching a single line of code. You can get more creative and add more sections to the coupons page. You can even categorize your coupons, add multiple widgets, and group the common ones together. It is totally up to your imagination how you wish to do it.
You can get it here if you do not have the Coupons widget or the PowerPack add-on. You’ll get more than 60 creative widgets for Elementor, which you can start using right away!
Let me know what you think of the coupons widget by leaving a comment below!

1 thought on “How to Create a Coupon Page Using Elementor?”
This is amazing! Is there a way to track the coupon reveal clicks or button clicks?