
 [Extended] BFCM Sale! Get up to
 PowerPack Google Maps can be set up in 3 simple steps. Please check them below to use Google Maps.
STEP 1: Getting the API Key#
Get the Google Maps API Key. If you already have an API key then you can copy it from Google's Cloud's Developer Console.
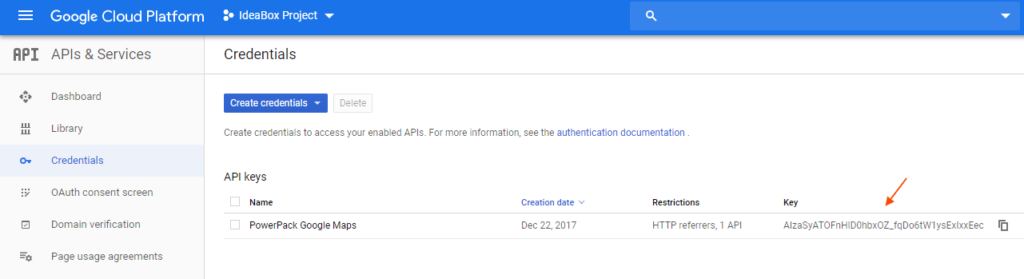
Else please follow the following documentation to generate the API Key.
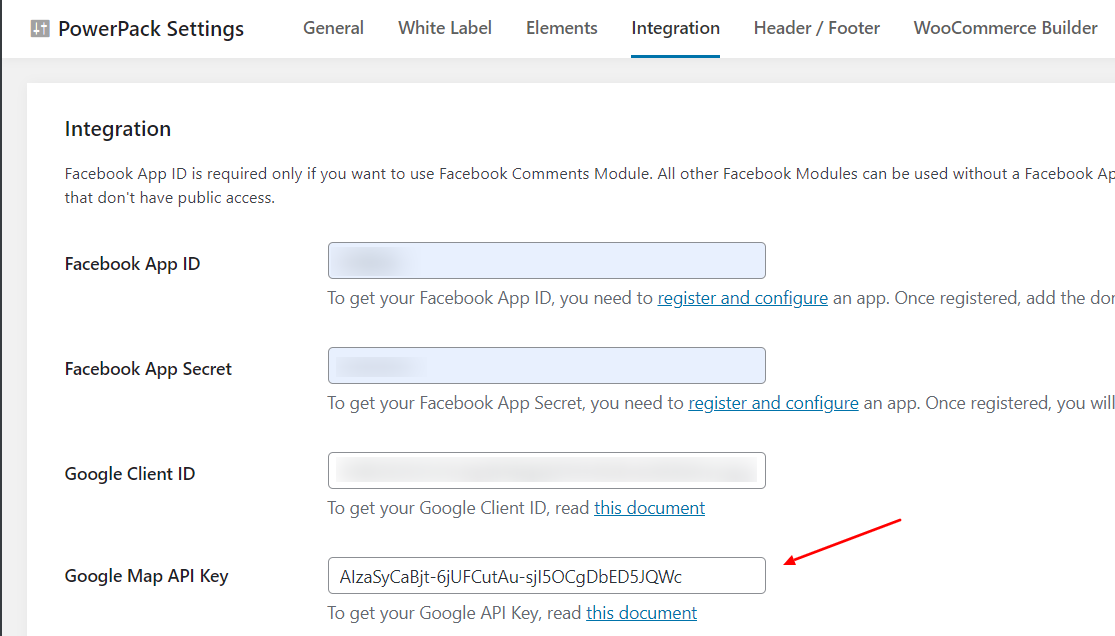
STEP 2: Adding the API Key#
Go to the WP Dashboard > Elementor > PowerPack > General and paste the API key in the Google Maps API Key box and click save.
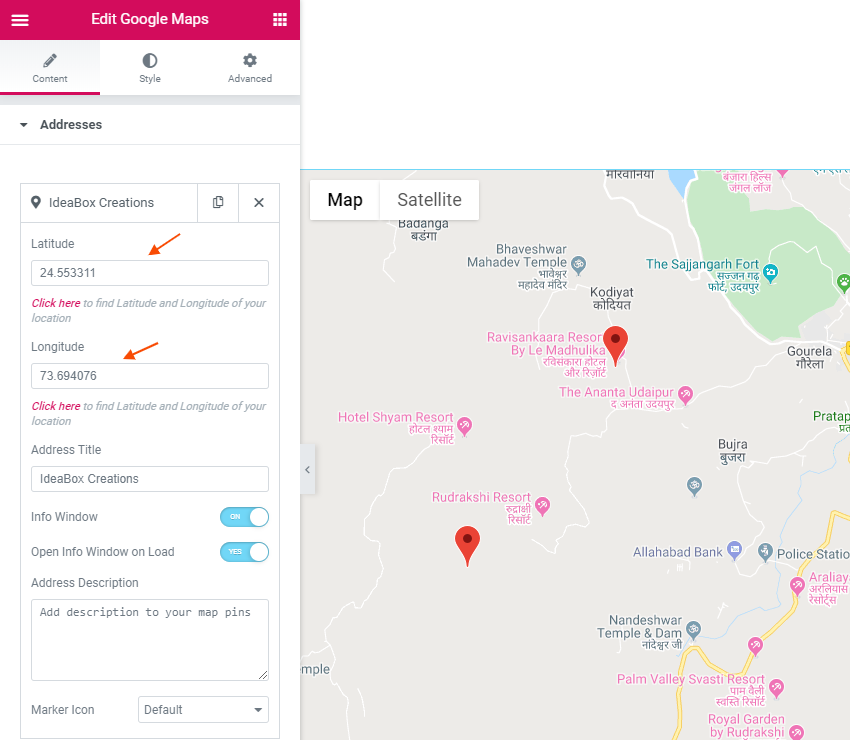
STEP 3: Setting Up the Maps Widget#
Now add the PowerPack Google Maps widget to the page and add the location(s) to the map.
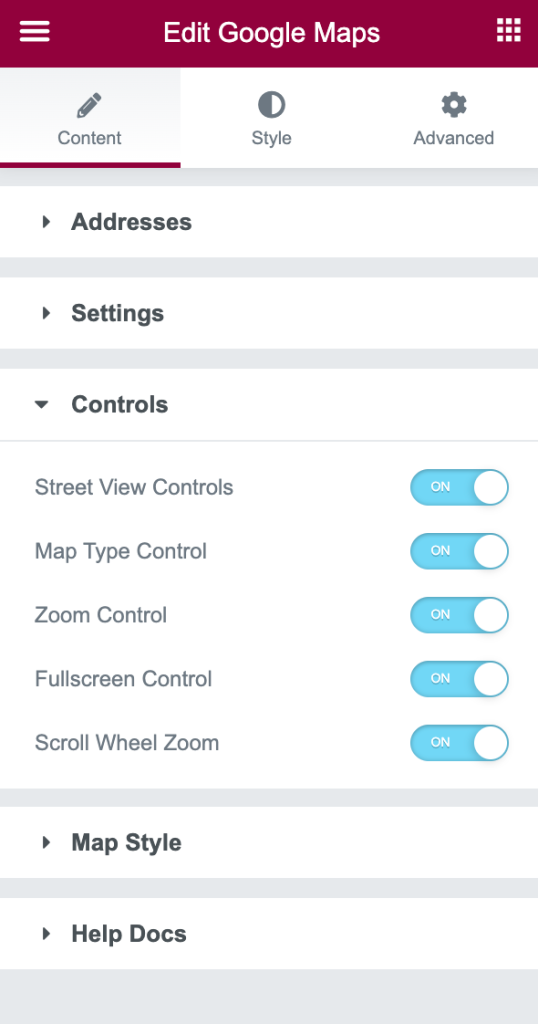
STEP 4: Making General Settings#
After adding the places to the map the next step will be setting Maps' Settings.
1. General Settings:
- Map Zoom Levels - Set the default zoom level of the map.
- Map Type - Select your desired type from - Road Map, Satellite, Hybrid, Terrain.
- Marker Animation - Set the loading animation for the place markers.

2. Controls option allows you to decide which control you want to be displayed in the published map.
3. Map Style lets you select from different types of available styles and also provides the option to add custom map style. You can learn more about adding the custom map style here.
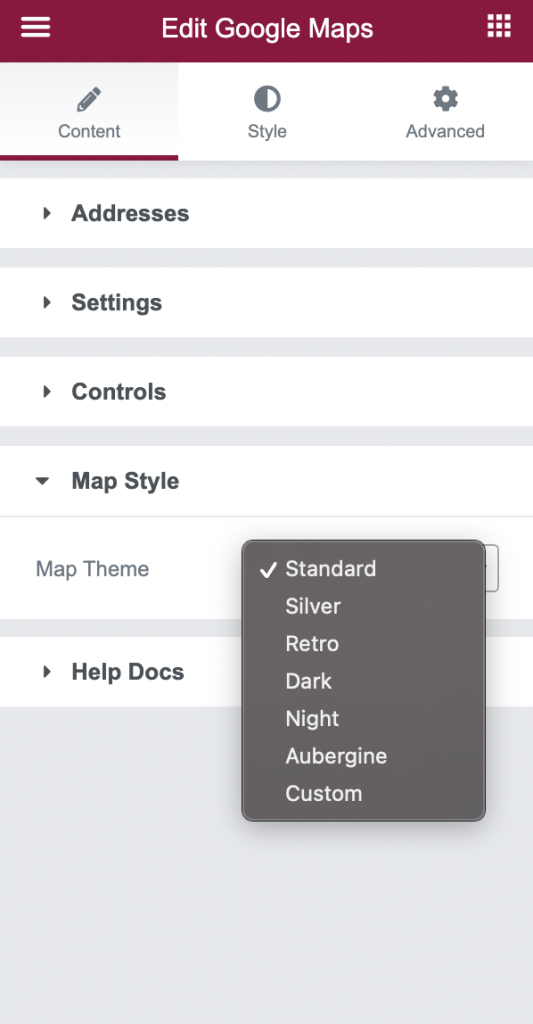
You can check the demo of the Map Styles on our demo page here.
STEP 5: Styling the Maps#
After completing the general settings, you can style Google Maps to complete the setup.