
 [Extended] BFCM Sale! Get up to
Searching for the easiest way to customize WooCommerce My Account Page?
WooCommerce is one of the most used eCommerce platforms on the internet. A recent study suggests that at least 5+ million stores use WooCommerce to sell products (digital or physical) on the Internet. Remarkable, isn’t it?
Mostly the user interface and experience feel the same for all the WooCommerce stores. All the stores have a look-a-like add-to-cart to the checkout process on the My Account page.
WooCommerce My Account Page contains information regarding a user’s order, invoices, payment methods, addresses, and other profile details. So, a website with a customized My Account page would give the user a stunning feel.
But, as we know, customizing WooCommerce pages is no easy task. Although Elementor Pro has widgets that can be used to customize the Product page of WooCommerce, there isn’t any widget to customize the My Account page.
Here comes the PowerPack’s WooCommerce My Account widget that you can use to customize the My Account page of WooCommerce. The best part is it doesn’t require Elementor Pro! Yes, it works with the free version of Elementor.
In this tutorial, I will start with the basics, and we will dive deep into customizing every aspect of the WooCommerce My Account page.
So, without any further ado, let’s jump into it!
How to Customize WooCommerce My Account Page?
We have also created a short, to-the-point video explaining how you can customize the WooCommerce My Account Page. So, if you like the video explanation, I suggest you look at it.
Now, let’s continue. To customize the My Account Page, we will be using these three plugins:
- Elementor Free Version: Get Elementor.
- WooCommerce Plugin: Get WooCommerce.
- PowerPack for Elementor: Get PowerPack.
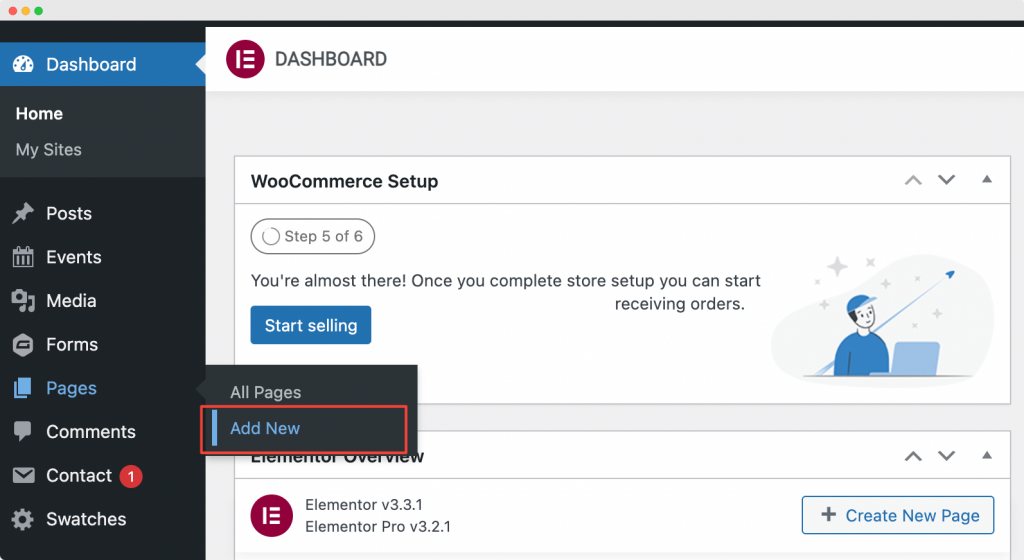
Once you’ve installed and activated these plugins, you would have to create a new page by heading over to your WordPress Dashboard > Pages > Add New.
Create New Page
Name the page “Custom WooCommerce My Account Page.”
Next, click on “Edit with Elementor” to open the page in Elementor Page Builder.
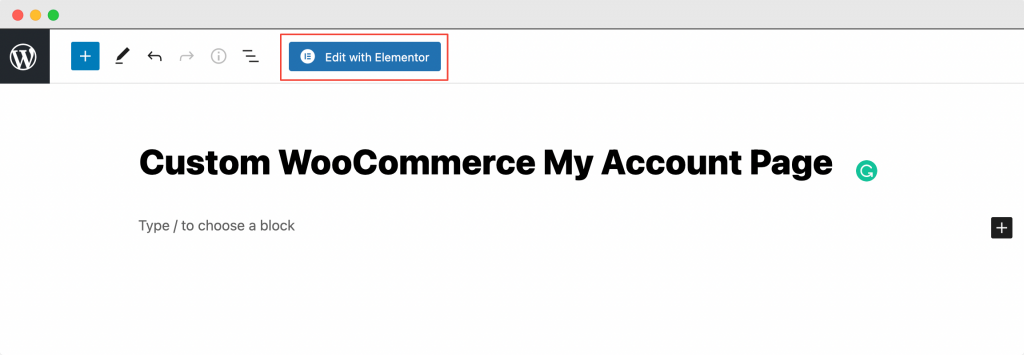
Launch Elementor Editor
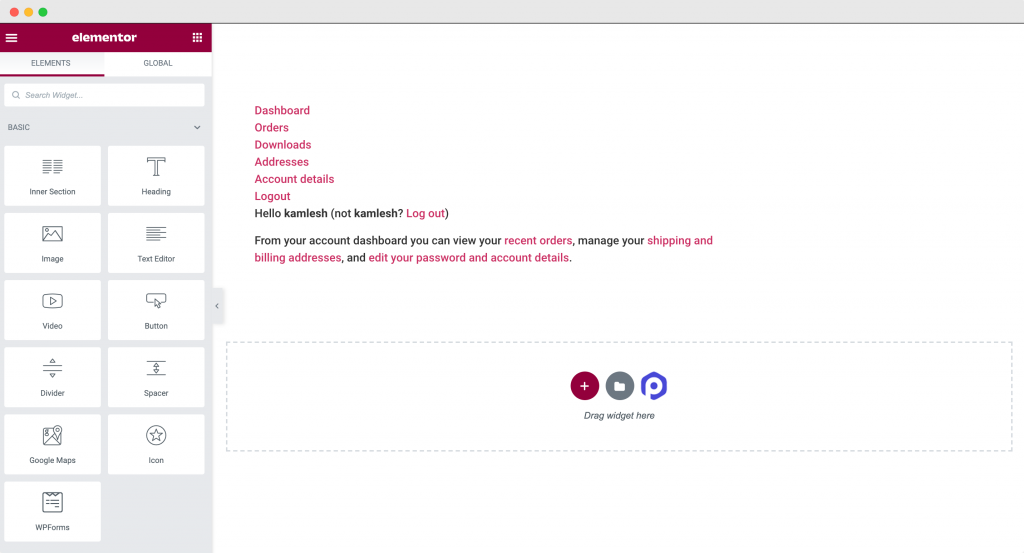
When you click “Edit with Elementor,” the Elementor editor will open up. Next, drag and drop the PowerPack My Account widget in the Elementor editor. As soon as you add the widget, you’ll see the My Account tabs appear with default settings.
The below screenshot shows what your page would look like after adding the My Account widget.
Now that we have added PowerPack’s WooCommerce My Account widget to the page, we will customize and style the default My Account page of our WooCommerce store in the Elementor editor’s Content and Style tab.
PowerPack WooCommerce My Account Widget Customizations in the Content Tab
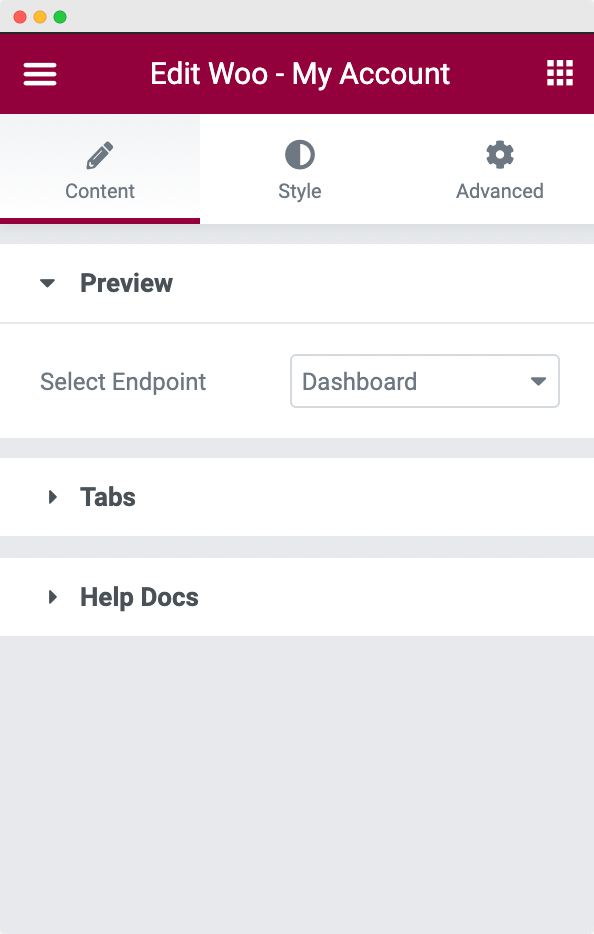
There are two sections in the Content tab of My Account Widget: Preview and Tabs.
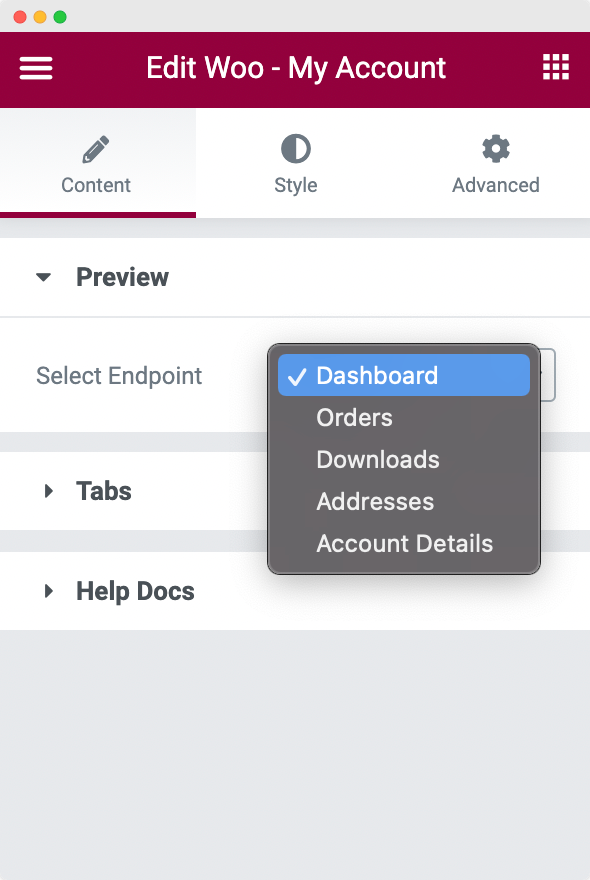
- Preview: In this section, you can select the endpoint that’ll be opened for you to customize your site’s My Account page. You can choose from the available endpoints: Dashboard, Orders, Downloads, Addresses, and Account Details.
- Tabs: In the tabs section, you can choose which tabs you want to show or hide. You can choose to show/hide the available tabs: Dashboard, Orders, Downloads, Addresses, Account Details, and a Logout link.
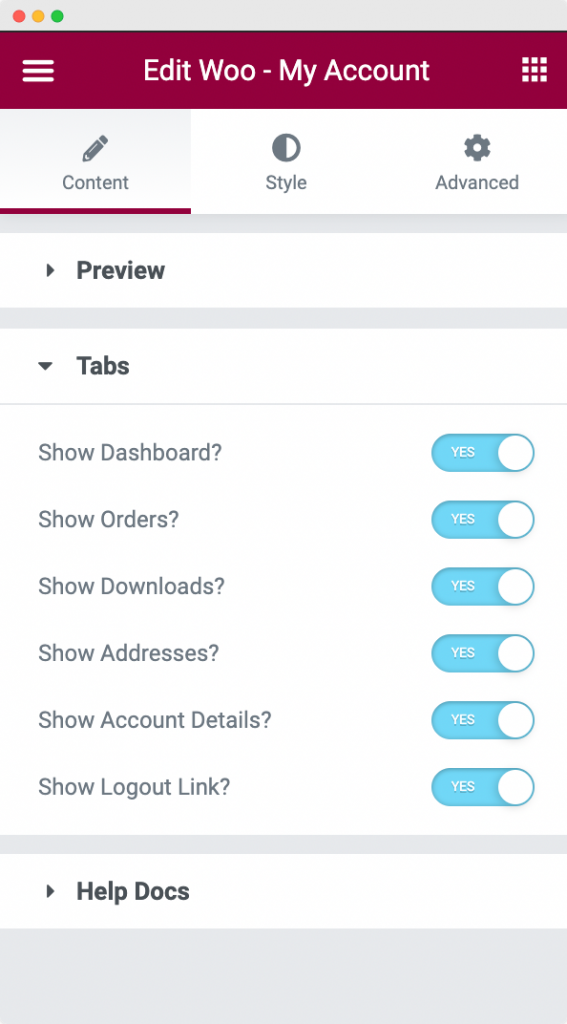
By default, you do not have the option to show or hide tabs on the WooCommerce My Account page. You would have to do this programmatically if you were not using PowerPack’s My Account widget!
Now that we have set up the structure of the My Account page, let’s style it to make it stunning.
PowerPack’s WooCommerce My Account Widget Styling in the Style Tab
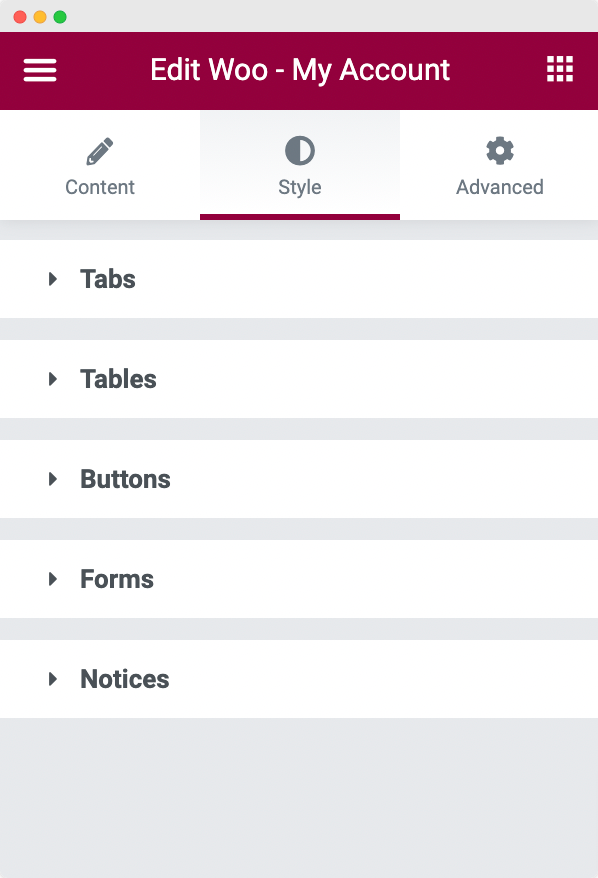
As you can see in the screenshot above, the My Account widget consists of 5 sections in the style tab:
- Tabs
- Tables
- Buttons
- Forms
- Notices
Let us go through each of the sections one by one.
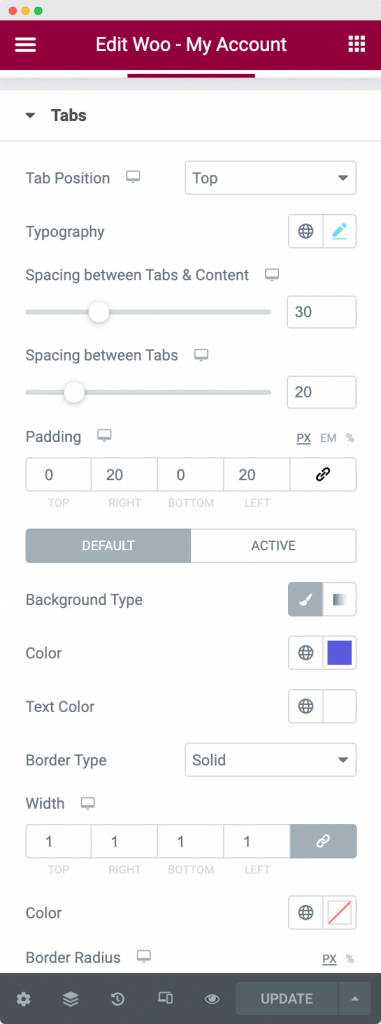
- Tabs: As the name suggests, here, you can customize the position of the tabs, the typography of tab content, background, text, link, and border colors of the tab in default and active tabs. You can further set the spacing between the tabs and spacing between the tabs and content.
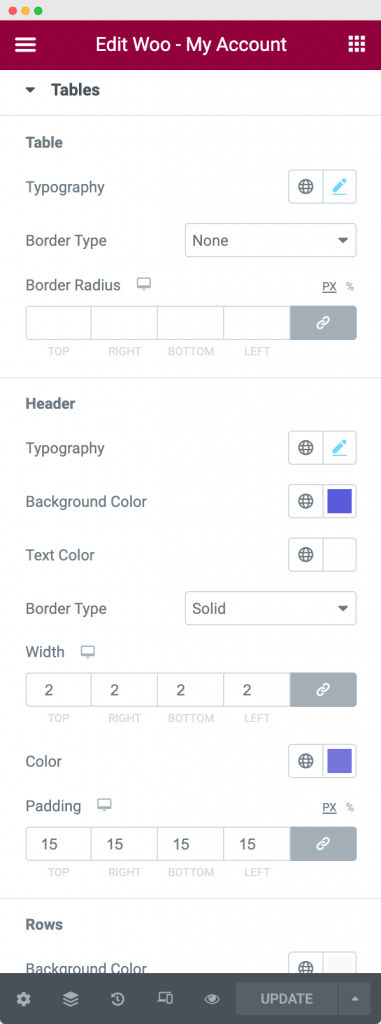
- Tables: You can style your My Account page’s “Orders” table in the Tables section. You can set the typography and border style of the whole table at once, or you can set each one by one for header, rows, and cells. Further, you can also select the text color, background color, and padding for the header text, row text, and text in each cell.
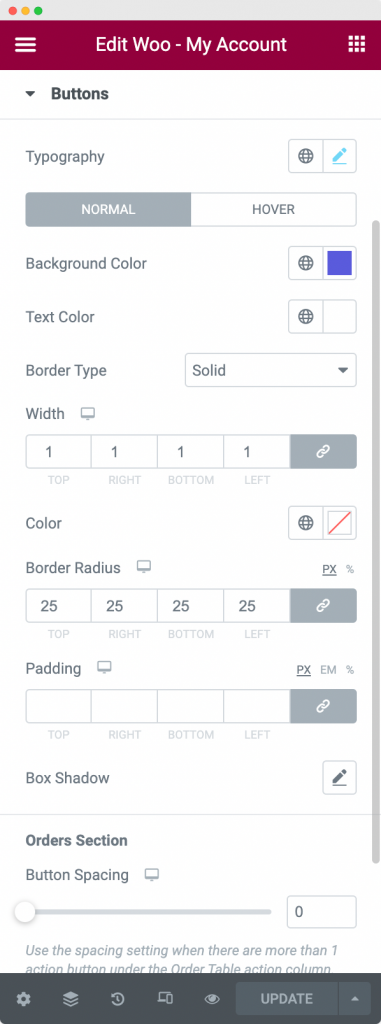
- Buttons: This section is used to style the buttons in different tabs of the My Account page. From this section, you can set the buttons’ typography, background color, text color, and border type in normal and active states. Further, you can also set the padding and button spacing from this section.
- Forms: The My Account page of your WooCommerce store consists of forms like Shipping Address, Billing Address, and Account Details. So, in the forms section, you can style the fields of these forms. You can style headings, submit buttons, labels, and input fields in forms. These fields can be styled by changing their text, background, border, box shadow, link, and link hover color.
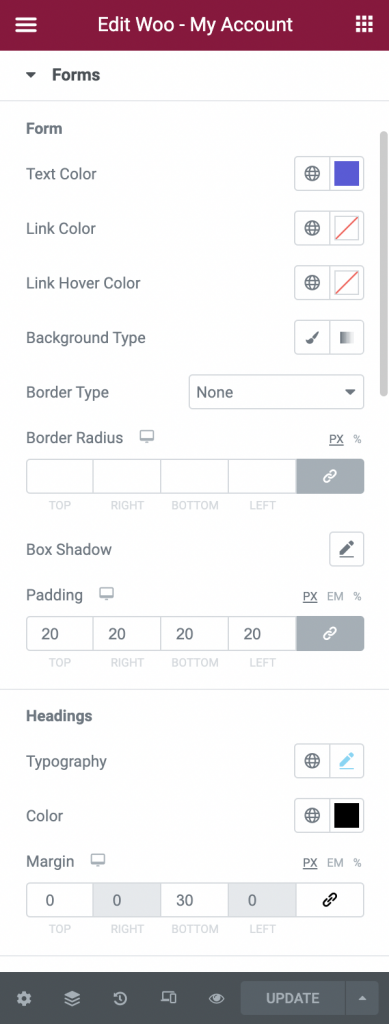
Further, you can align the text in the input field and change the width of the submit button. Next, you can set the padding between each field, the margin between headings and fields, and outside the submit button.
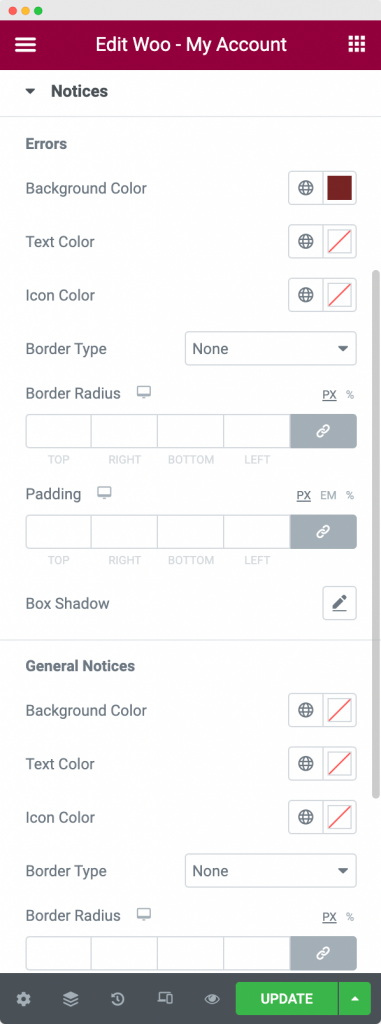
- Notices: In the Notices section, you can style the background color, text color, icon color, border properties, padding, and typography for any notice shown on any of the tabs on the My Account page of your WooCommerce store.
Set the newly created “Custom WooCommerce My Account Page” as the Default My Account Page
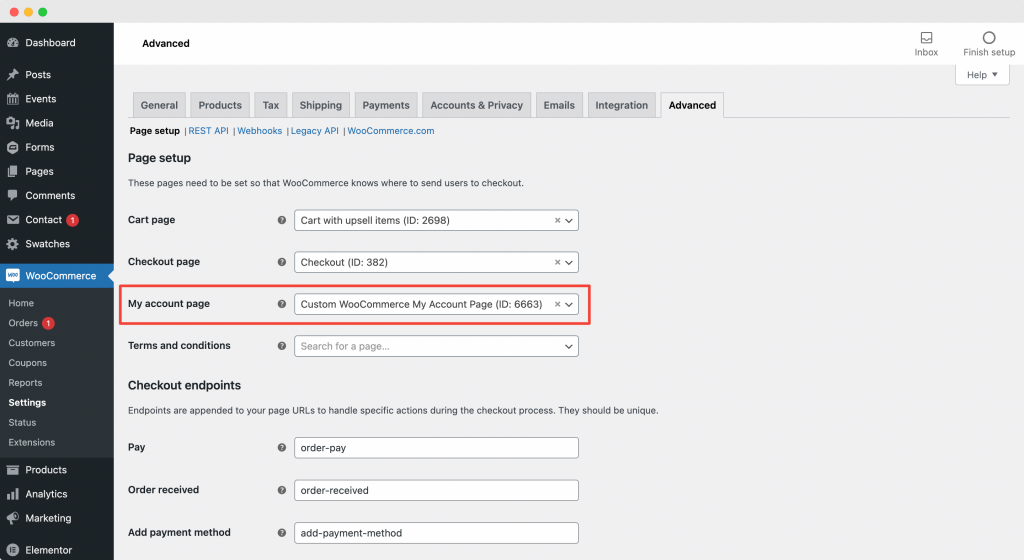
Once you’ve styled and customized the Custom WooCommerce My Account Page that you just created, head over to WooCommerce >> Settings >> Advanced and choose the page that you just created as the “My Account page.” In the below screenshot, we have set the “Custom WooCommerce My Account Page” that we made in the above step as the default “My Account Page.”
This will open up the Custom WooCommerce My Account Page you created using PowerPack’s WooCommerce My Account widget whenever a user heads over to log in to your site.
Wrapping it Up!
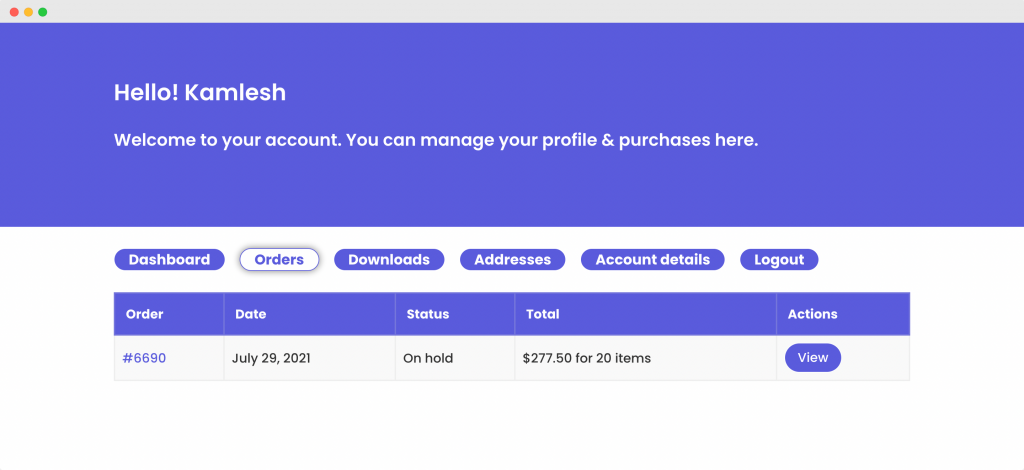
In the above steps, we have customized and styled our WooCommerce My Account page to have a particular stunning, stylish look and feel. We have combined colors, border styles, and box shadow to achieve this look. You can check the options that we used in the above screenshots.
Check out our WooCommerce My Account Page customized using PowerPack’s WooCommerce My Account widget below!
With the help of this tutorial, we are sure you would have been able to set up your Custom WooCommerce My Account Page easily.
You can do a lot more with the PowerPack Addon for Elementor. There are more than 70 creative widgets that you can use to customize your Elementor pages. If you wish to learn more about the PowerPack add-on for Elementor, check here.
What are your thoughts on this tutorial? Do share if you found this helpful guide!
More WooCommerce Tutorials:
